Annie’s Creative Girls Club is a monthly craft subscription specially designed for girls ages 7 through 12.
Each shipment will contain TWO different craft kits to encourage her inner artist. Both kits will include easy-to-follow instructions and all the materials needed to get crafting with minimal adult supervision. She’ll learn fun skills that will last a lifetime: painting, beading, stitching, paper crafting, and much more!
Disclosure: Box was received for review. Post may contain affiliate links.
Subscriptions are $19.98/month + shipping. — For a limited time, you can get your first month for just $3.98 when you use this link to activate the offer!
Let’s see what’s in our Annie’s Creative Girls Club shipment!
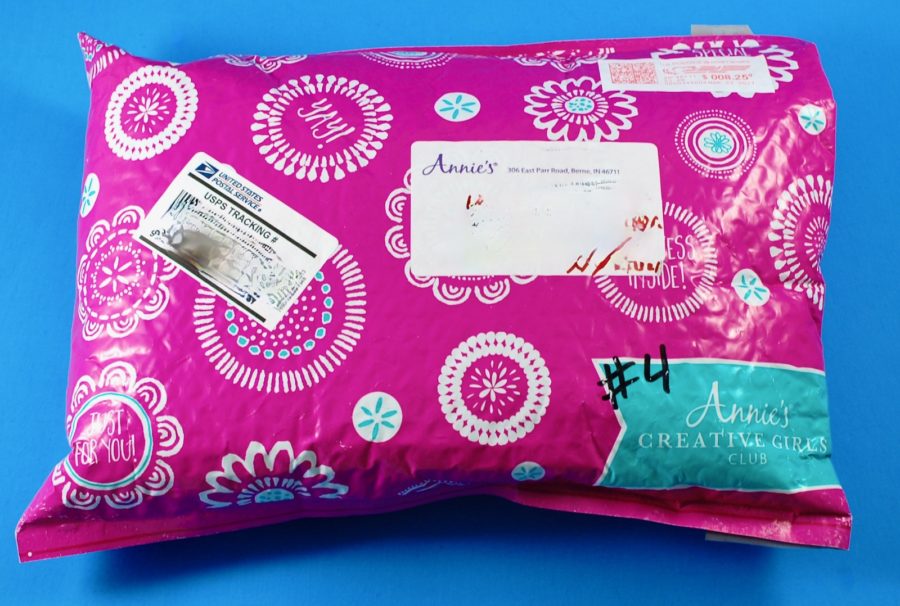
Everything was shipped in a pink & white padded mailer with an Annie’s Creative Girls Club logo in the bottom right corner.
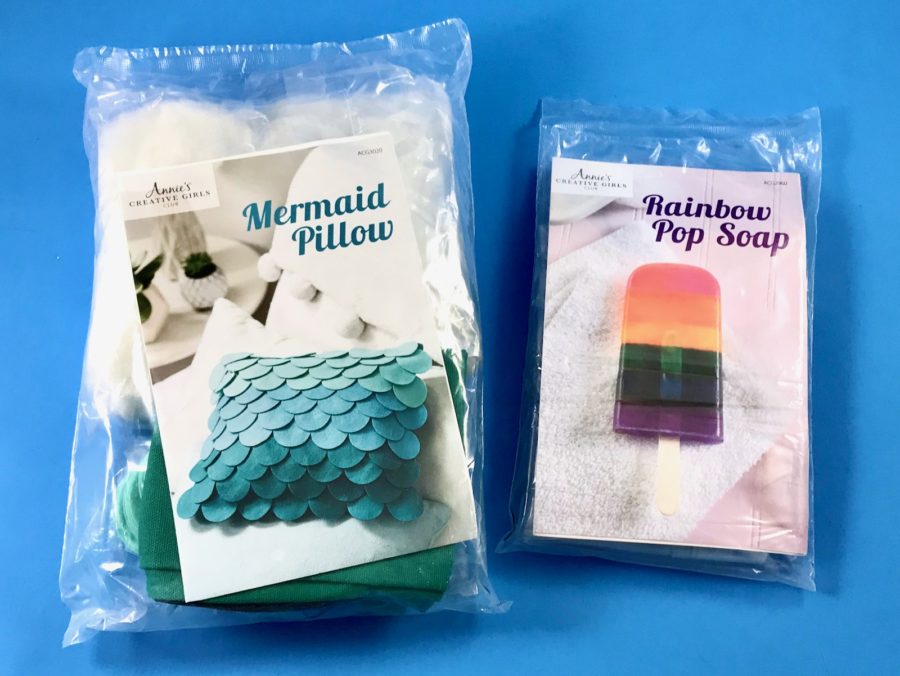
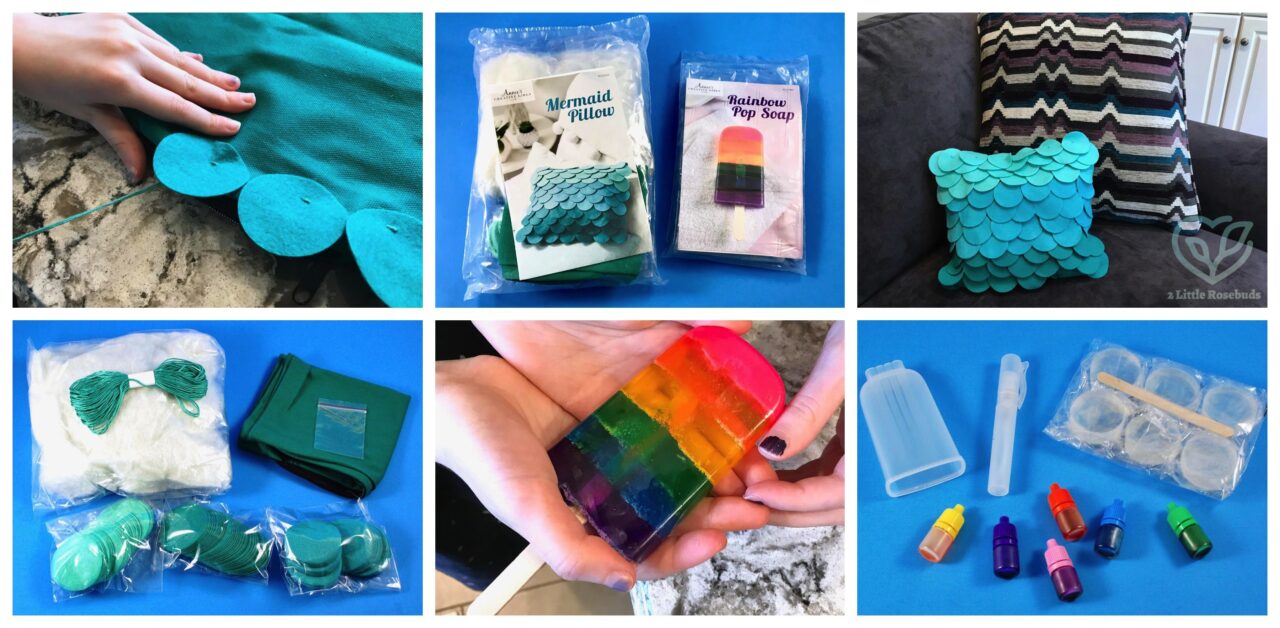
The contents of the envelope! — This month’s projects were “Mermaid Pillow“ and “Rainbow Pop Soap“.
Kit #1- Mermaid Pillow:
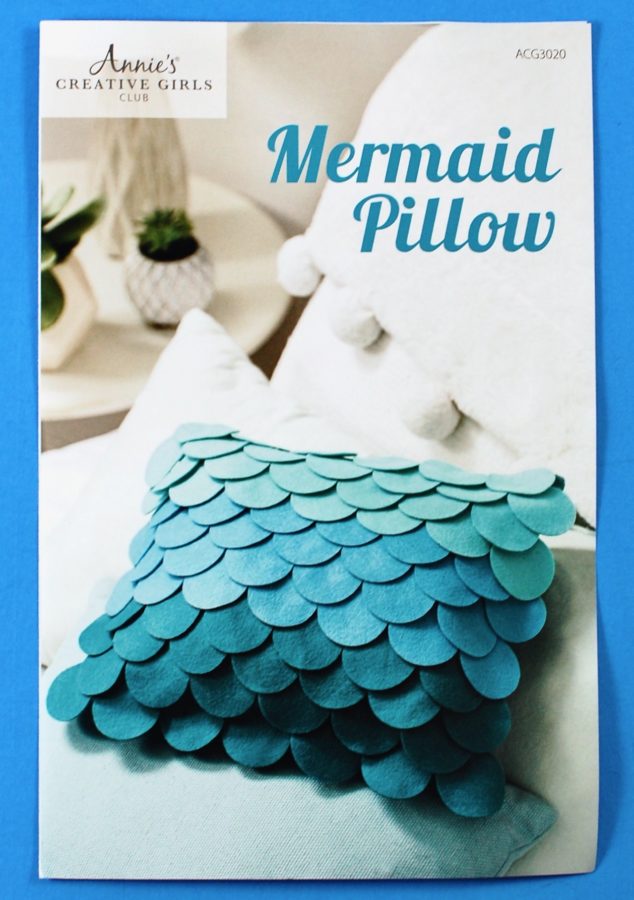
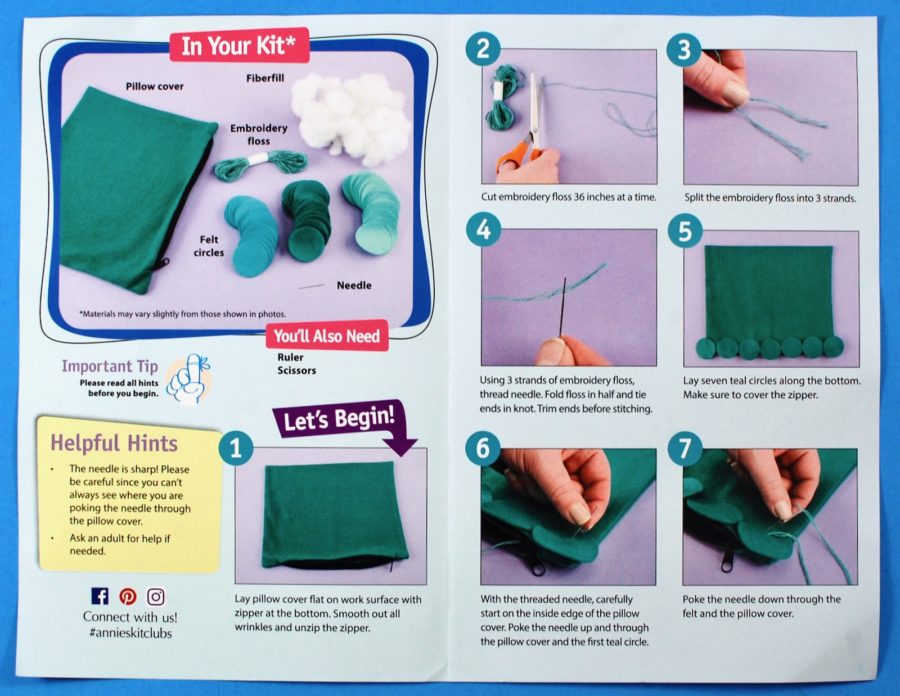
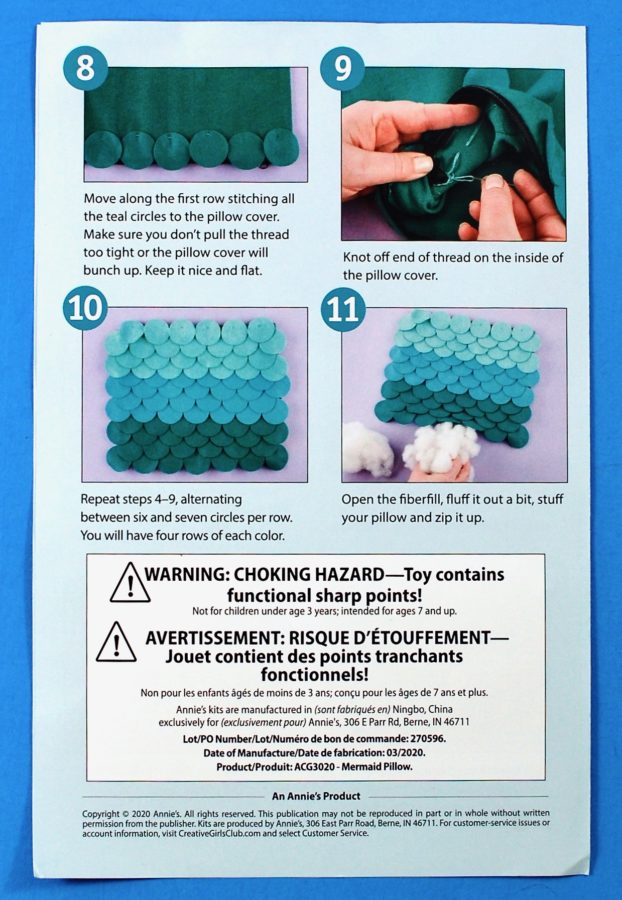
A full color insert provided step-by-step instructions with helpful hints and photos to go along with each step.
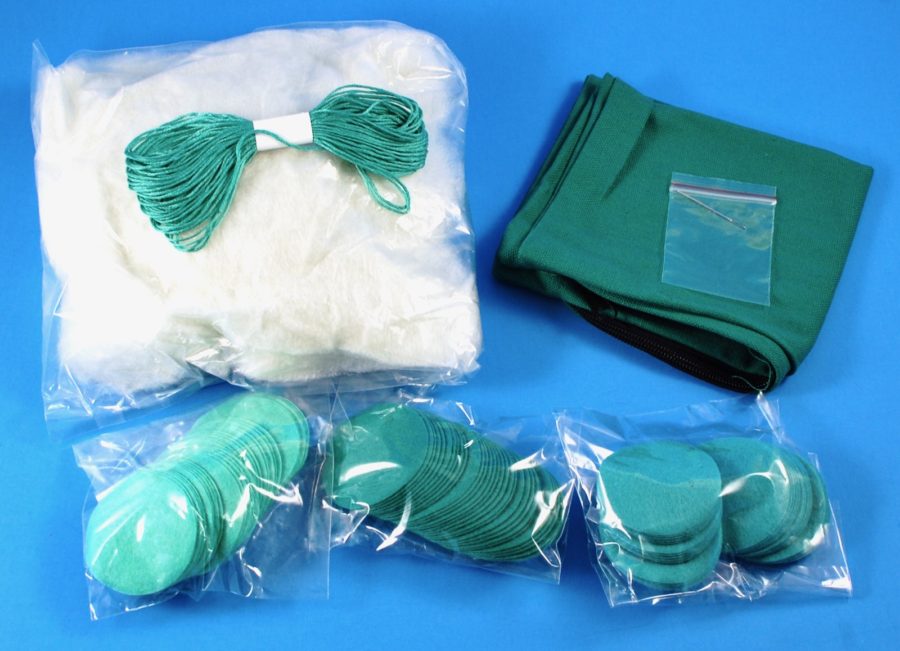
Supplies included a package of fiberfill, embroidery floss, felt circles in 3 colors, a pillow cover, and a needle.
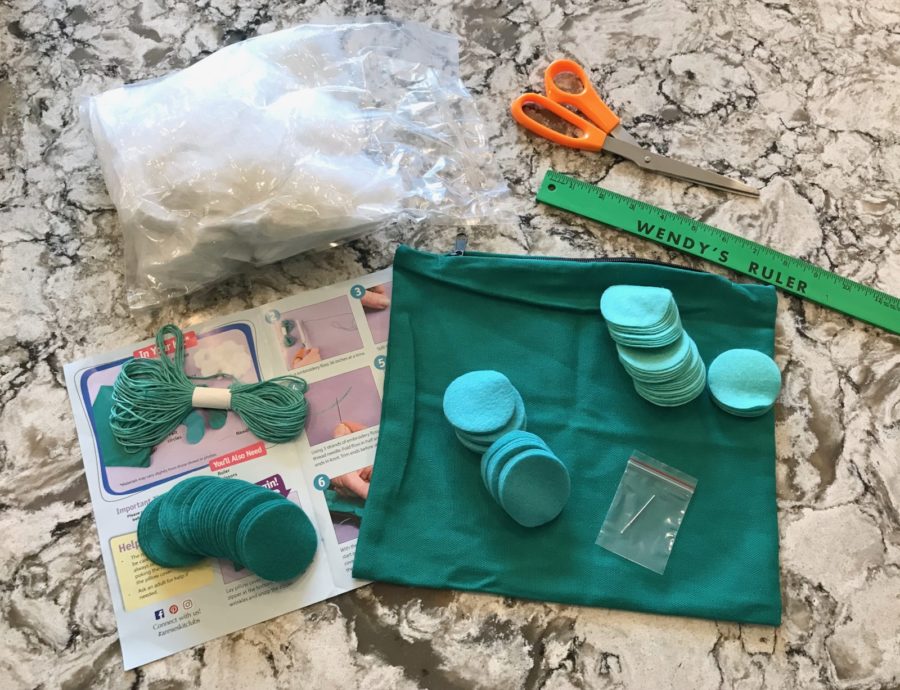
First we spread out all of the supplies, along with a ruler and pair of scissors.
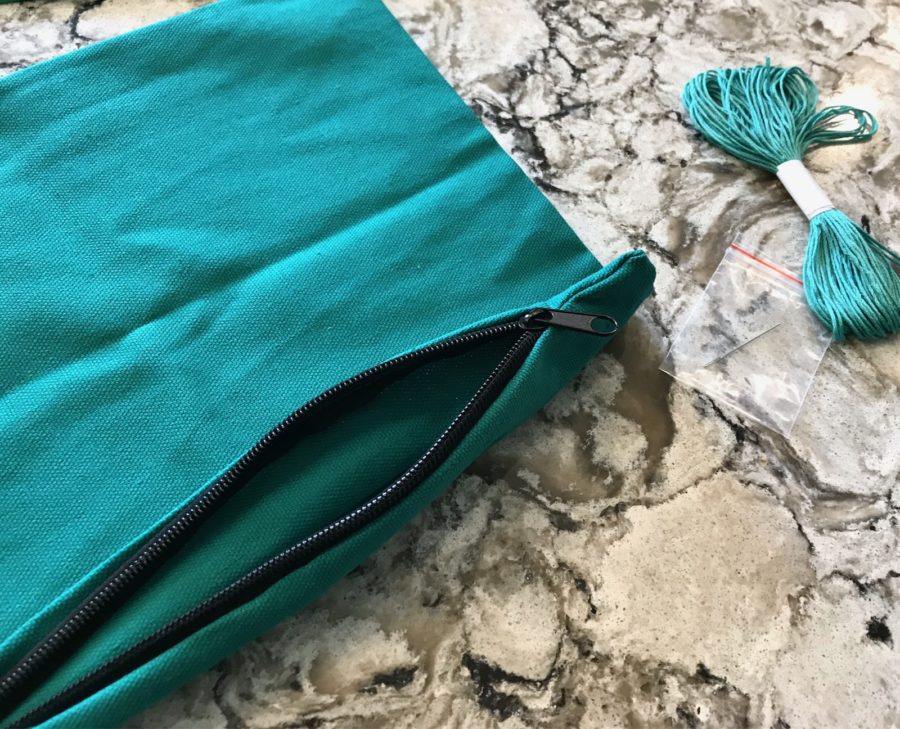
To begin, we placed the pillow cover flat on our working space, smoothed out any wrinkles, and unzipped the zipper.
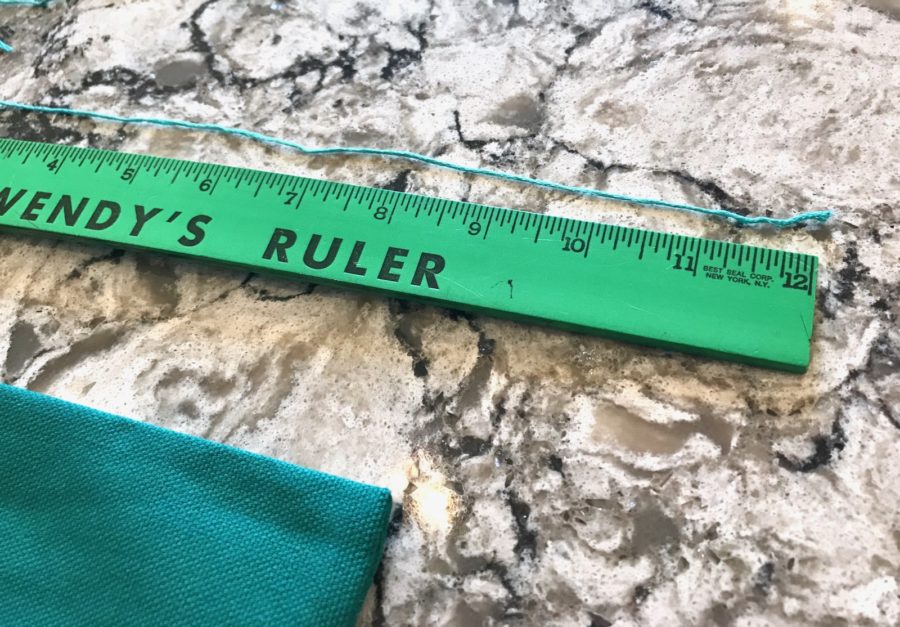
Every row of circles required a 36-inch piece of embroidery floss, which we measured and cut each time.
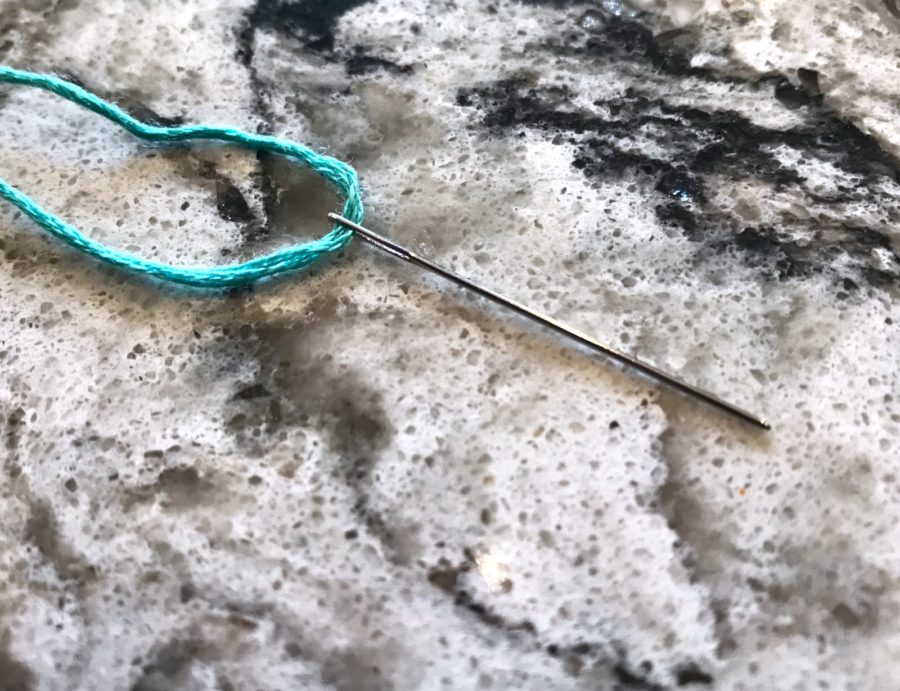
Each piece was to be thread through the needle, folded in half, and tied at its ends.
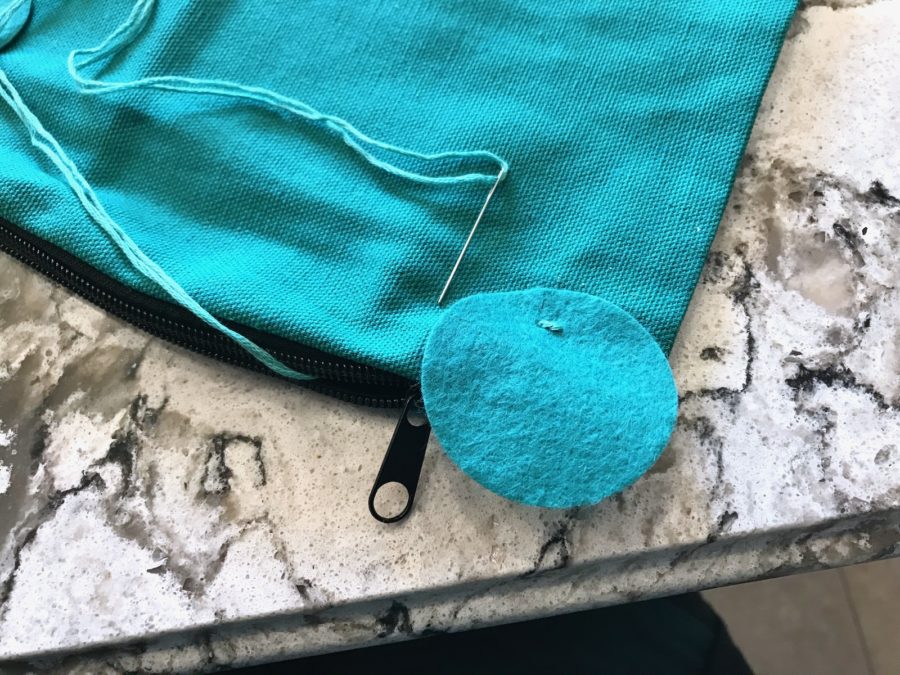
The instructions told us to start at the bottom right of the pillow, near the zipper pull. We pushed the needle up through the inside of the pillow case and through the first felt circle, then back down to form one stitch.
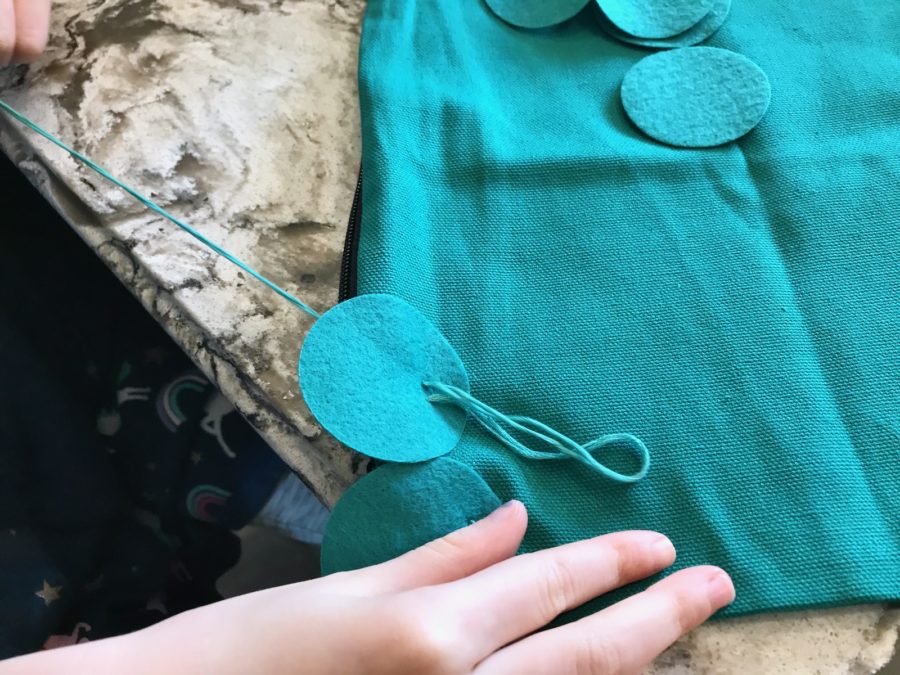
My daughters found it a little tricky to push the needle all the way through the thick-ish fabric of the pillow case, so I did have to heavily assist them through most of this project. Older kiddos, or those with more sewing experience likely wouldn’t have had a problem.
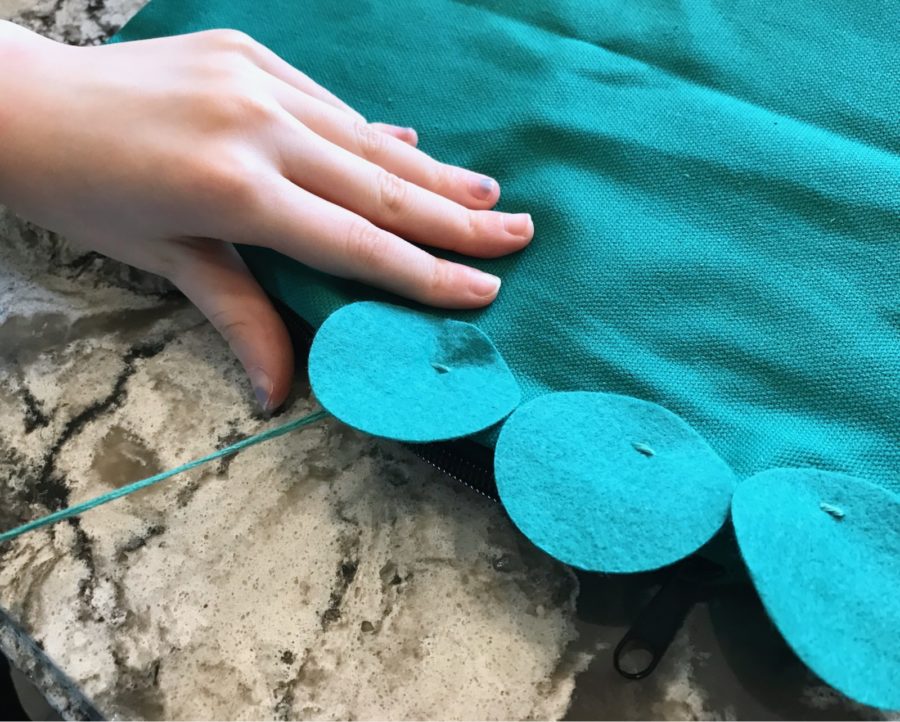
While working we had to make sure not to pull the thread too tight, otherwise the cover would start to bunch up.
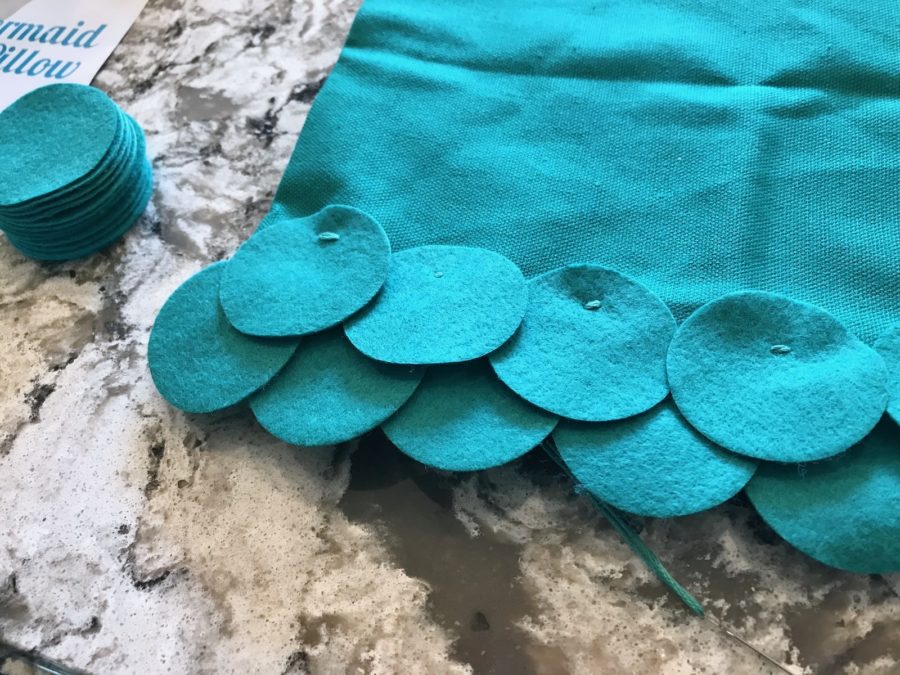
Each color of felt circles were to make 4 rows, alternating between 6 and 7 circles. After each row, we tied the end of the embroidery floss inside of the pillow case and threaded a new one.
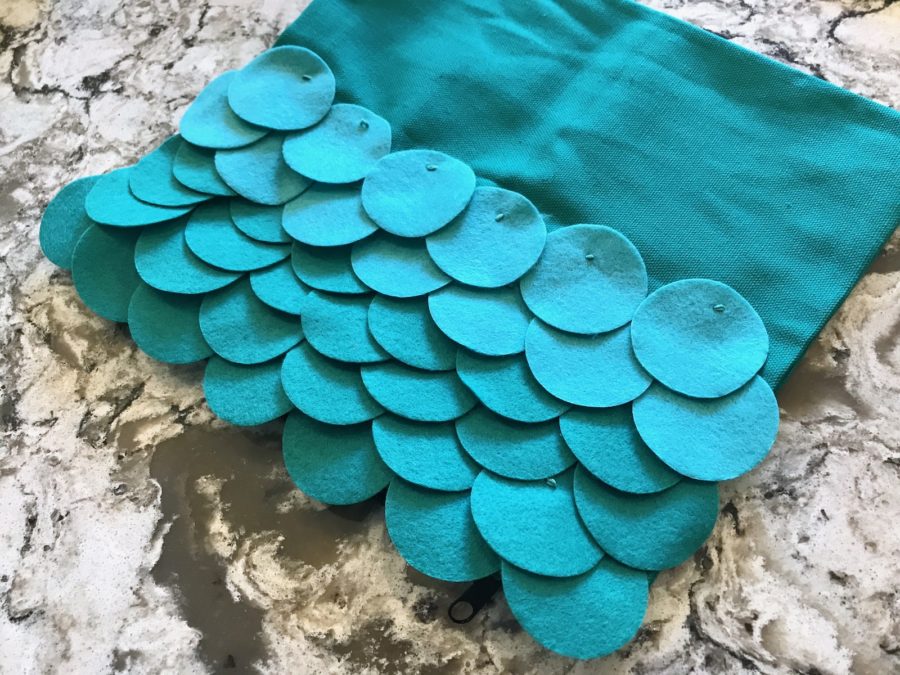
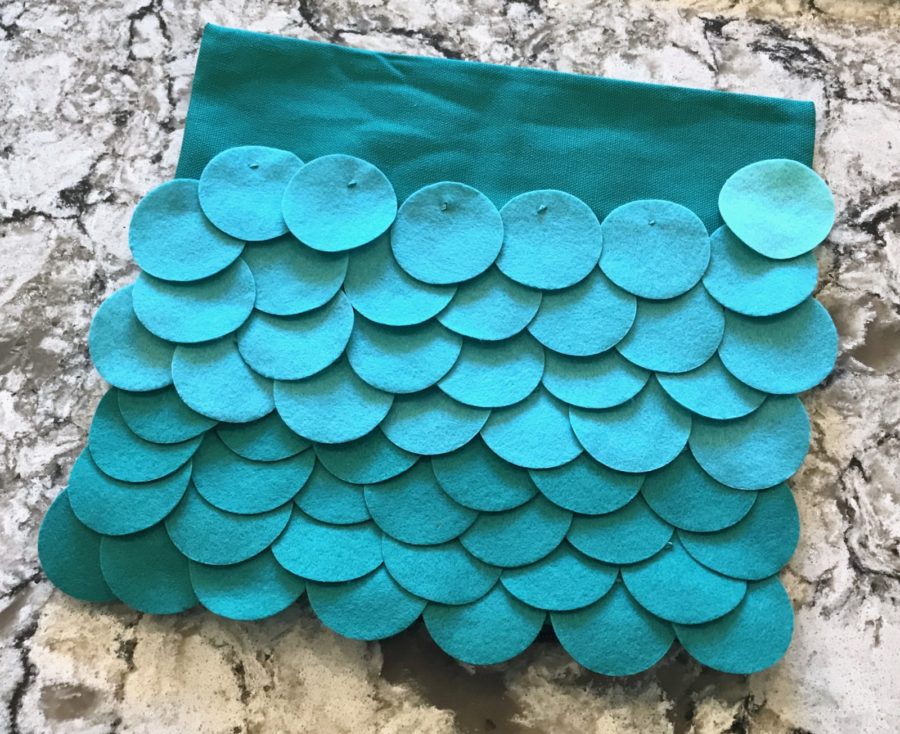
The lighting in the photos above isn’t the best, but you can kind of see the pretty ombre effect as the pattern was nearly finished.
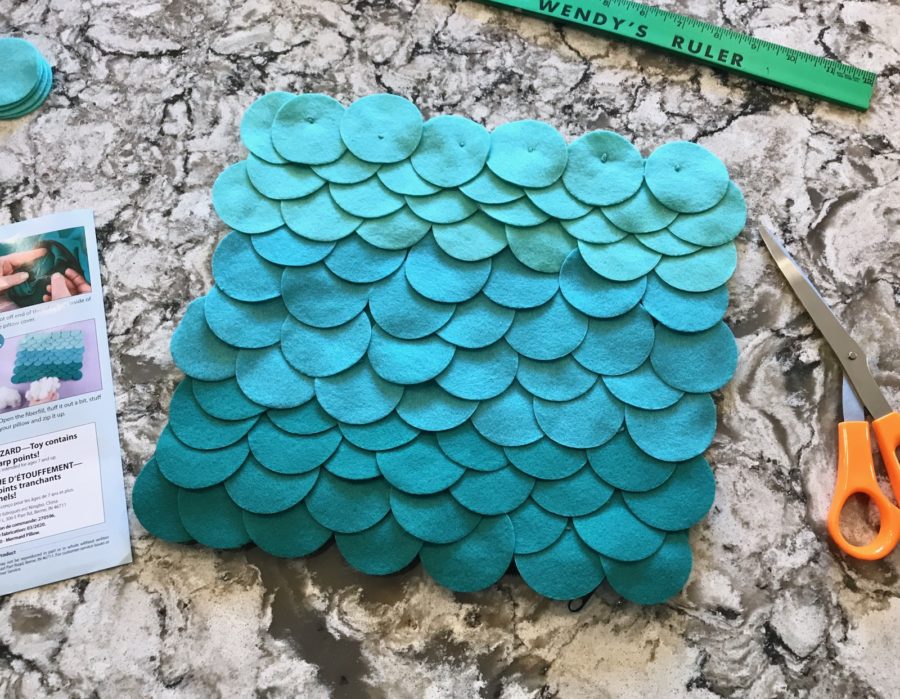
Stitching complete!
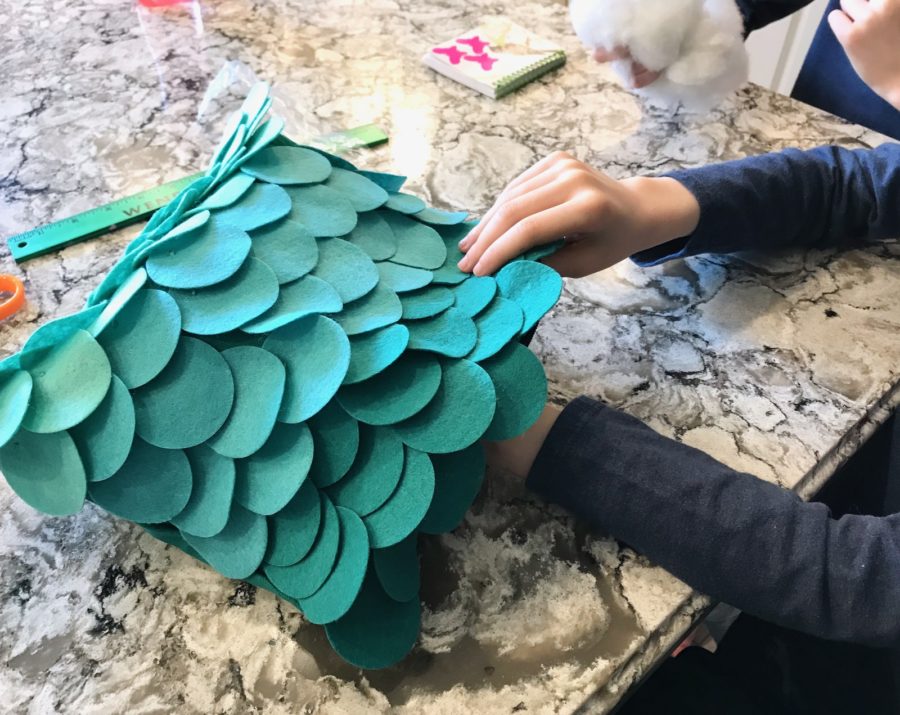
Finally it was time for the girls’ favorite part — adding the stuffing!
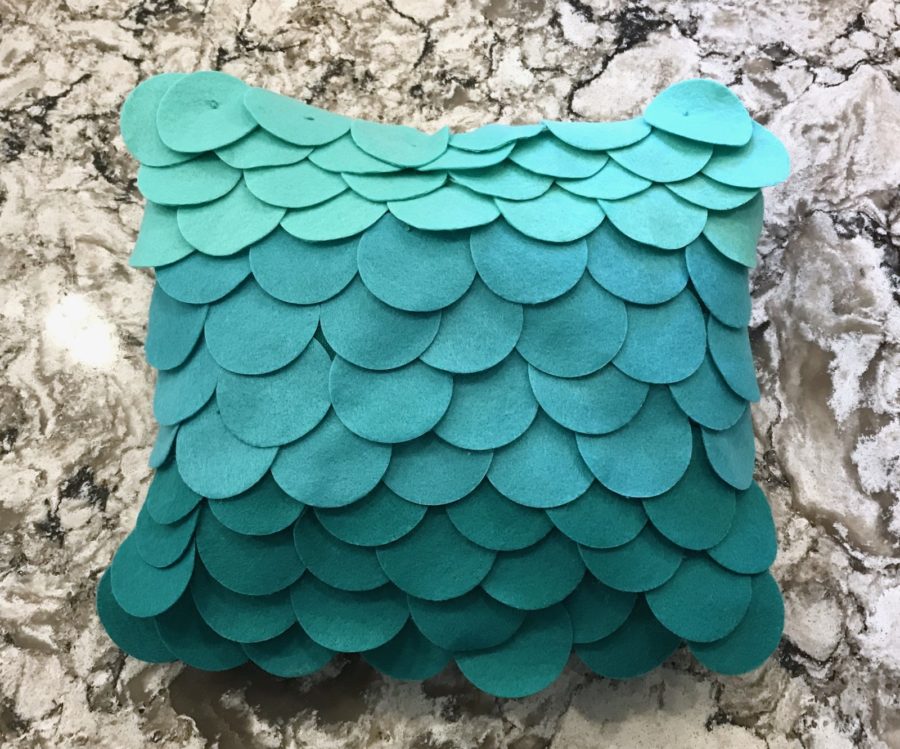
Once all of the stuffing was inserted, we simply zipped up the case and our project was complete.
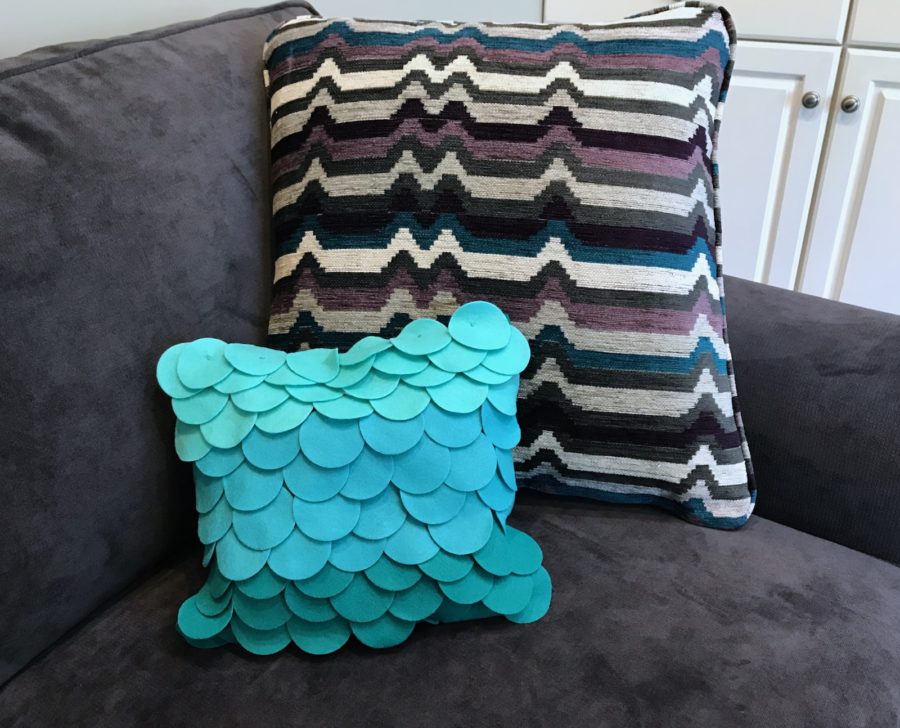
The girls will keep it in their room, but I snapped a quick photo of the pillow in our den to show the colors in better lighting. 🙂
Kit #2: Rainbow Pop Soap:
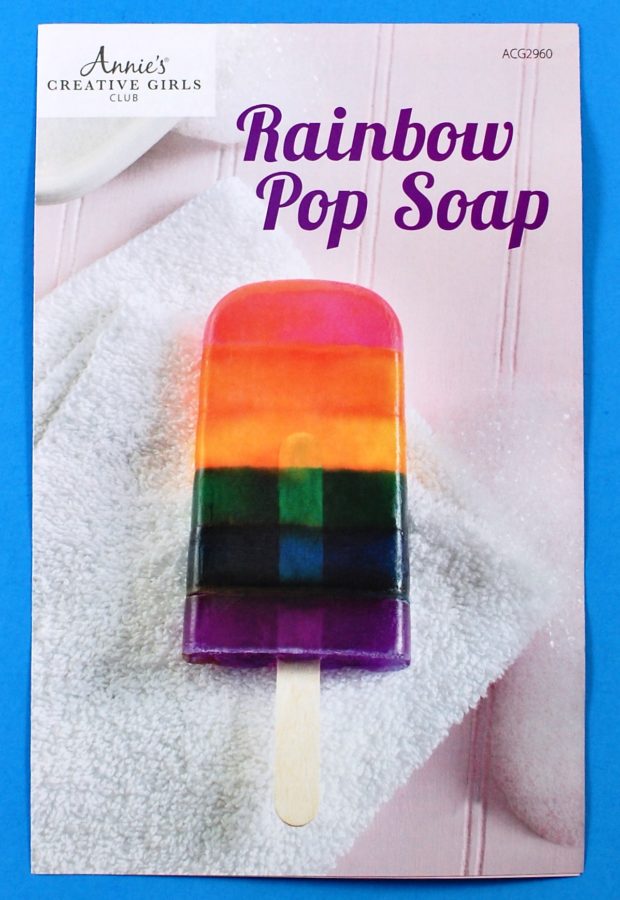
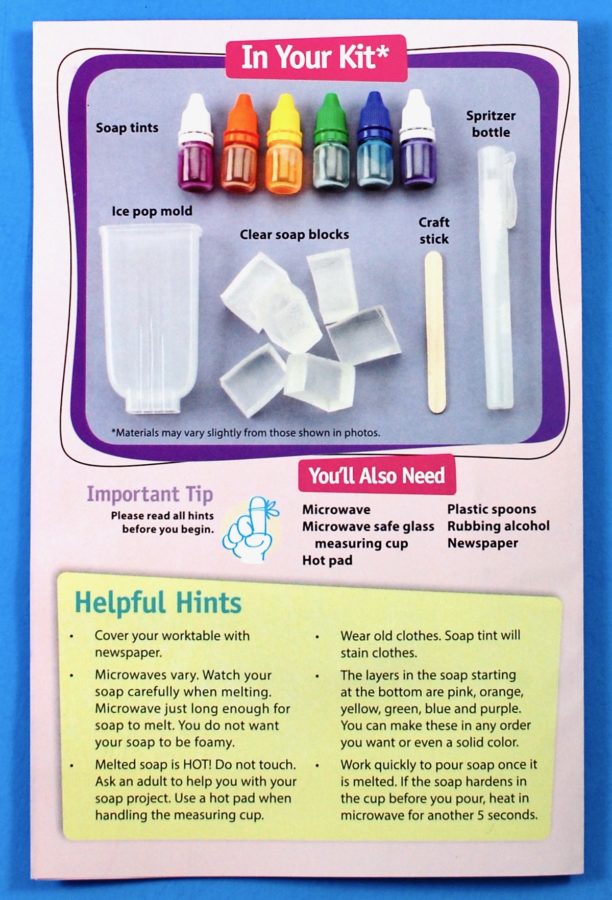
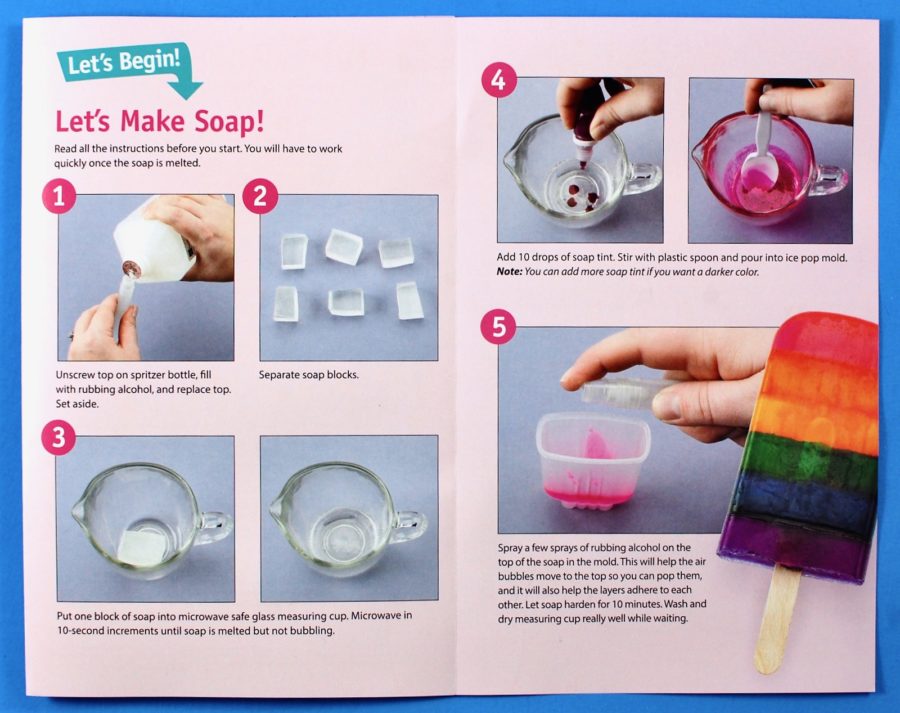
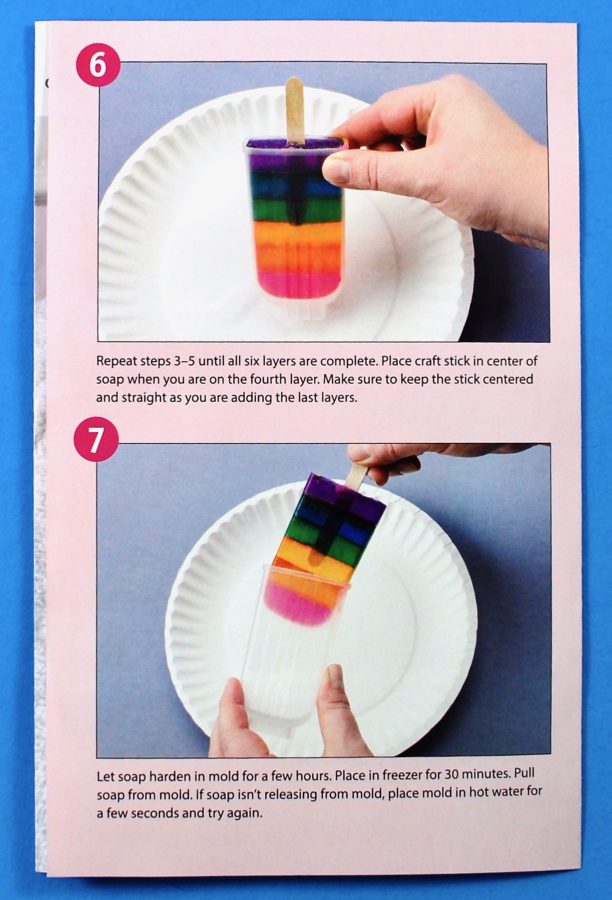
Again, a full color insert provided step-by-step instructions with helpful hints and photos to go along with each step.
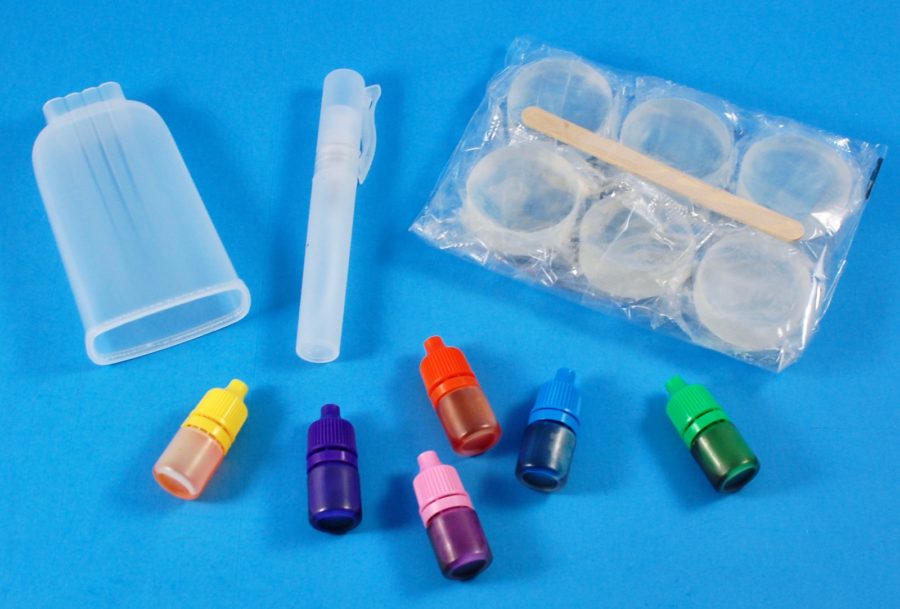
Supplies included an ice pop mold, spritzer bottle, clear soap blocks, a craft stick, and six soap tints.
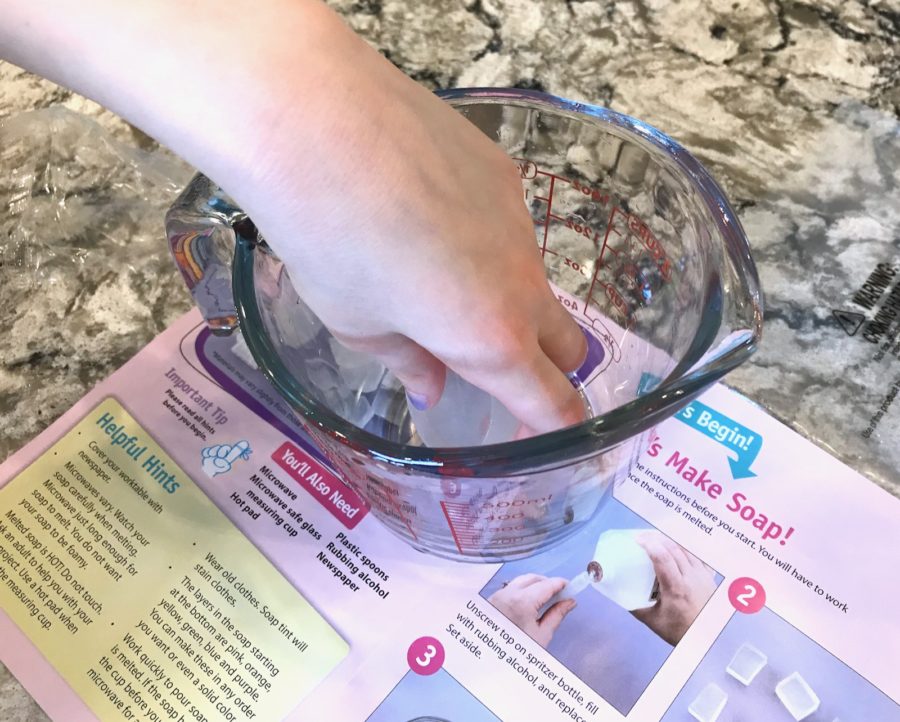
First, we needed to place one soap block into a microwave-safe glass bowl (measuring cup) and heat it in 10-second increments until it was melted but not boiling.
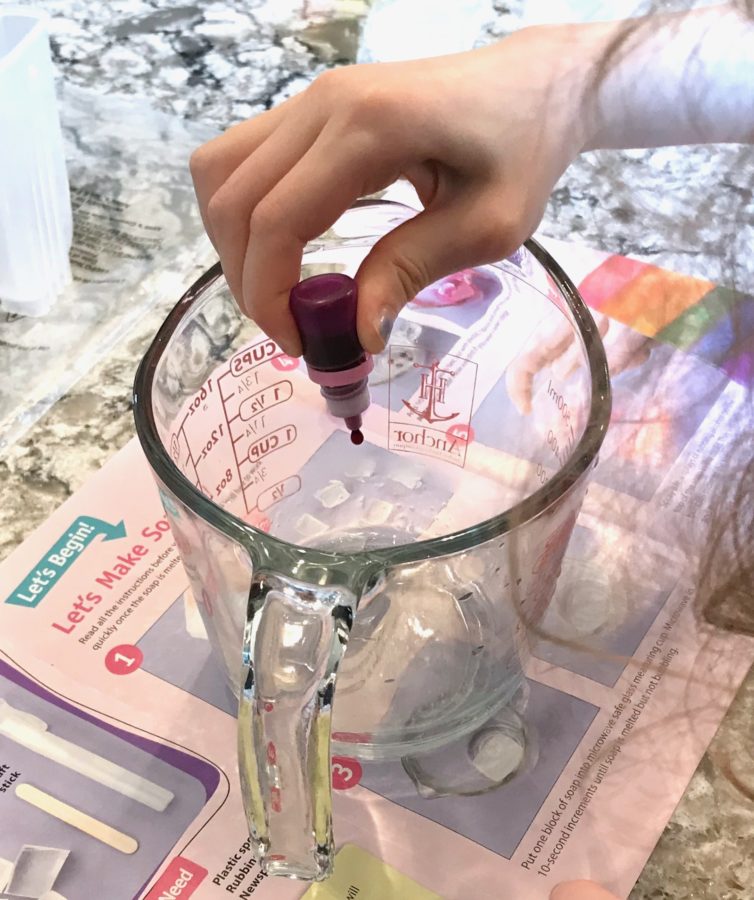
Once melted, we quickly added 10 drops of pink coloring to the liquid and mixed it together. — The soap starts to harden almost instantly, so we had to act fast.
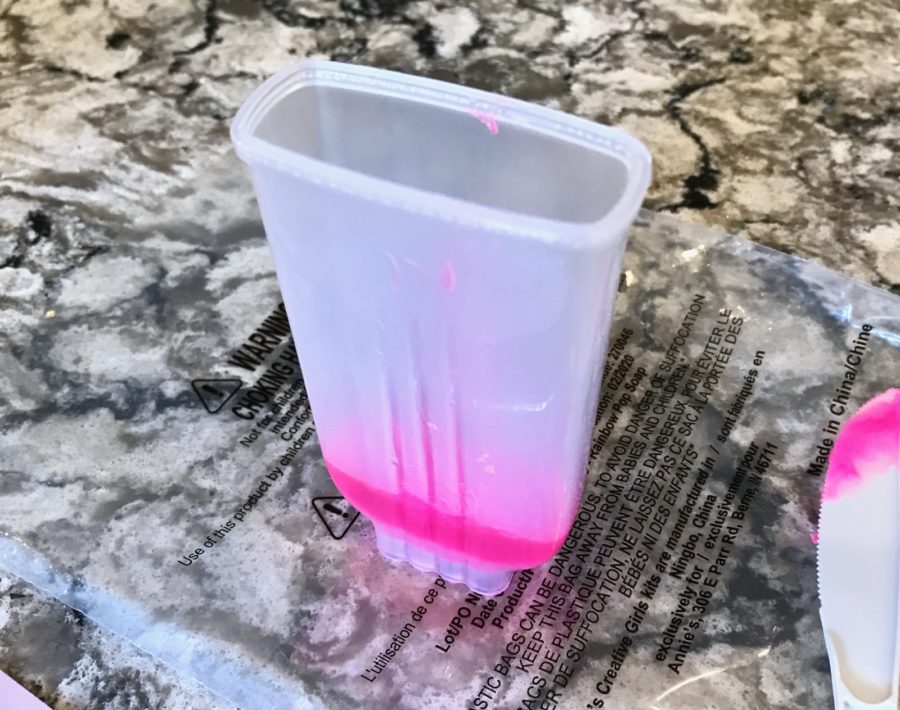
The pink mixture was then poured into the ice pop mold and sprayed with the spritzer bottle of rubbing alcohol (not shown). According to the instructions, this brings the bubbles to the surface so you can pop them and helps the layers adhere to each other.
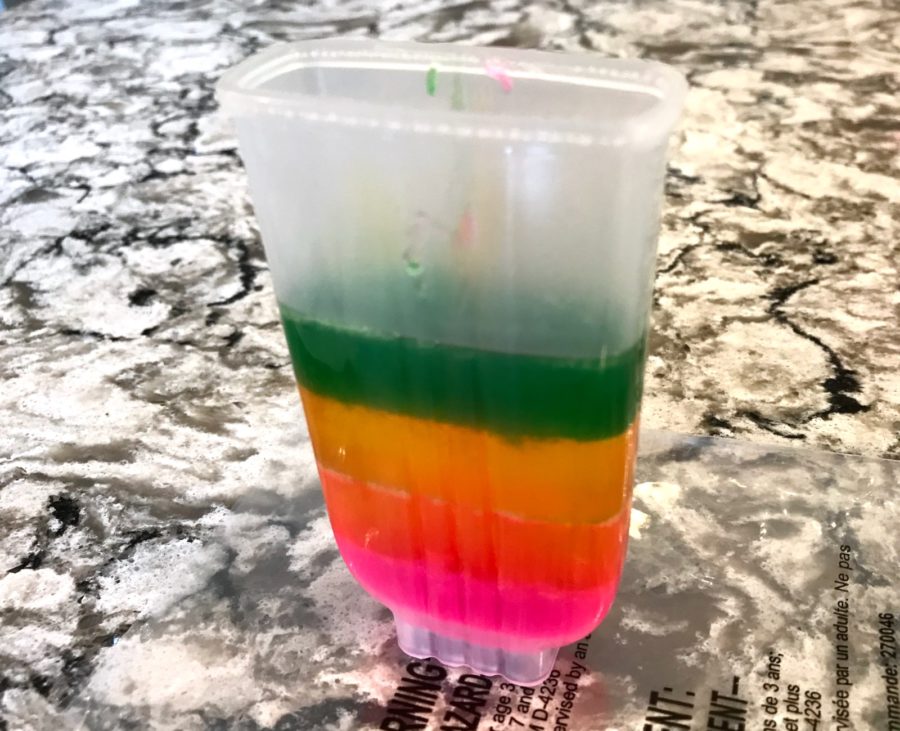
We repeated the process above for each of the colors, waiting 5-10 minutes in between them to allow the last layer to harden a bit before adding another.
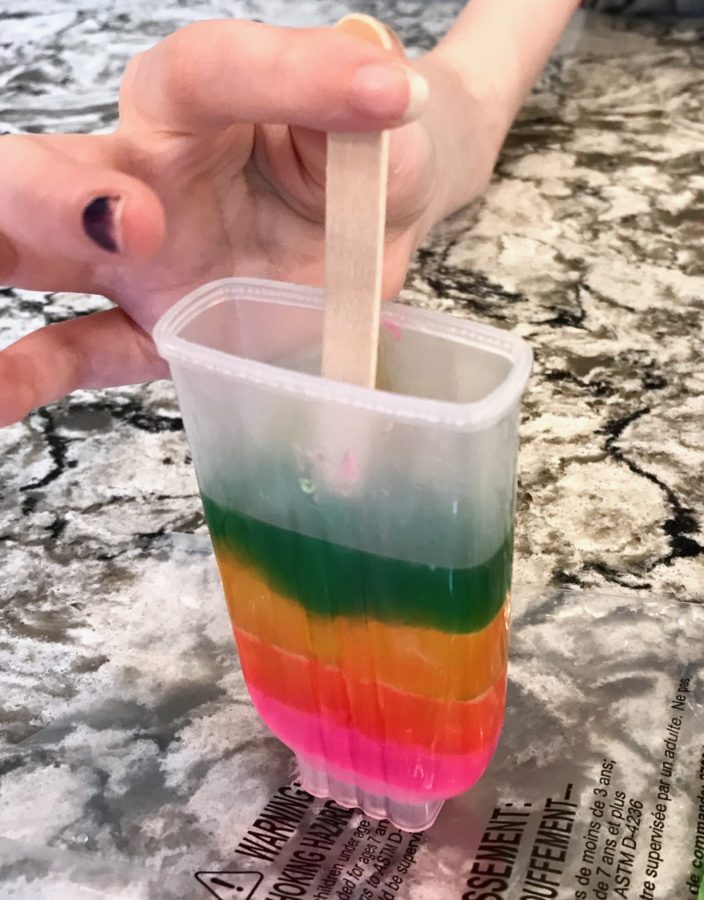
After the fourth (green) layer, we needed to insert the stick and hold it in place while the final colors were added.
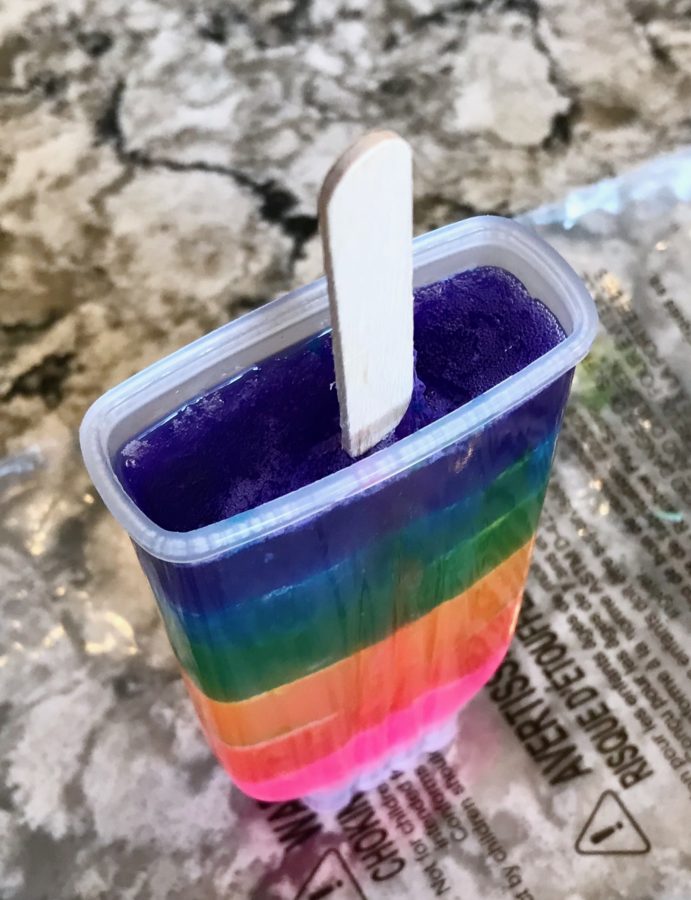
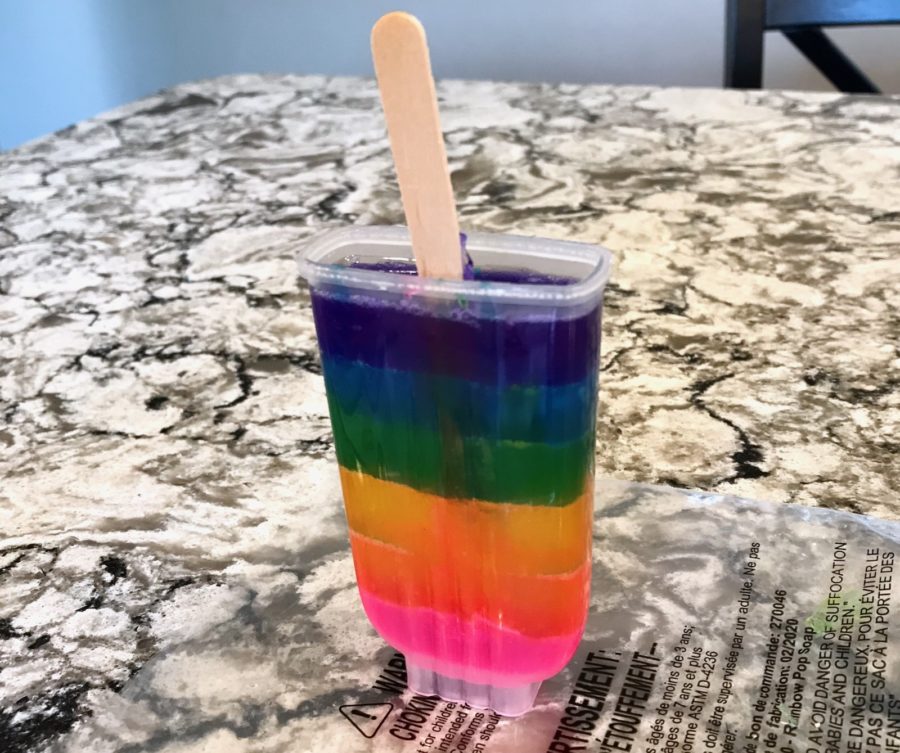
Once all of the layers were done, we placed the soap in the freezer overnight to fully set/harden.
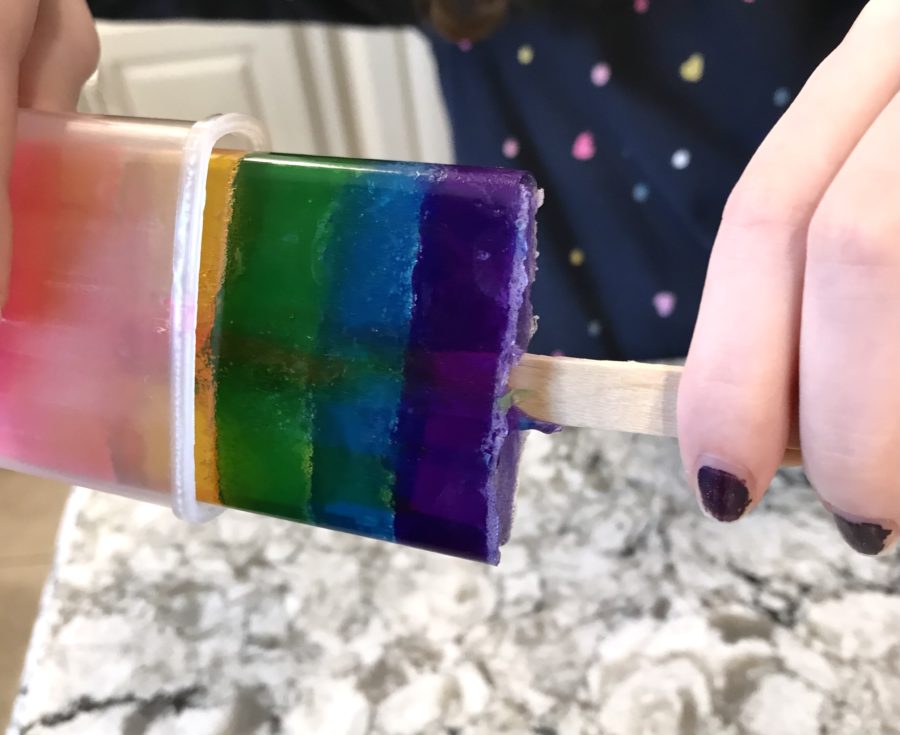
The next day, we removed it from the freezer and after letting it sit out for 20 minutes or so, the soap slid right out of the mold.
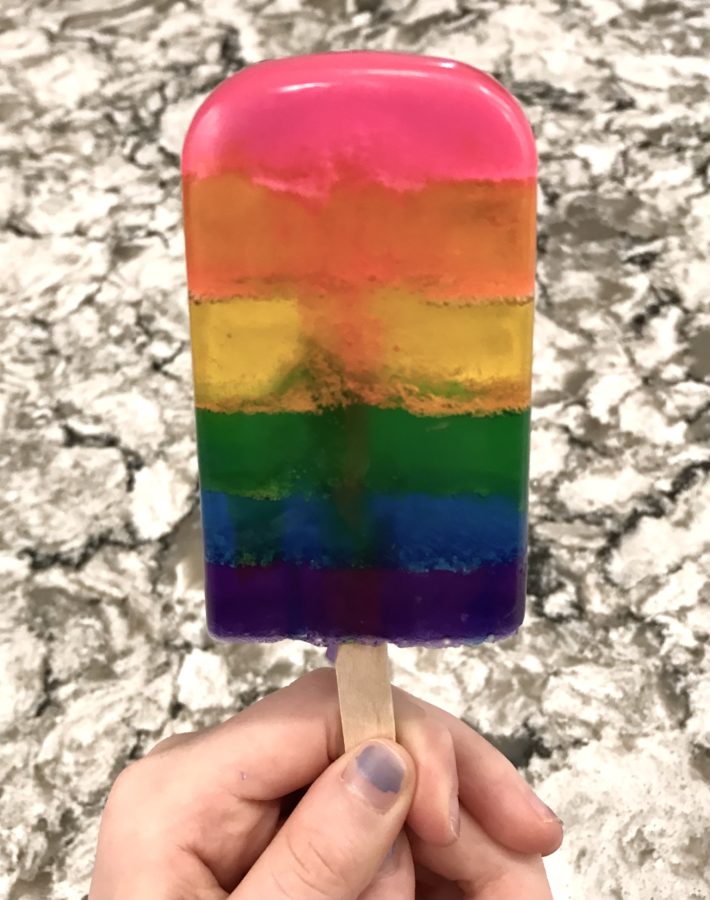
So pretty!! — We also decided to add a bit of mandarin essential oil to each layer, so it smelled as sweet as it looked. 🙂
My girls and I had a lot of fun crafting our newest pair of Annie’s Creative Girls Club projects. While the mermaid pillow required a bit more patience than they were willing to give, they loved the way it turned out and were happy to add it to their bedroom decor. The rainbow pop soap was a huge hit and their favorite Creative Girls Club project to date. 😀 — Remember, for a limited time you can get your first month for just $3.98 when you use this link to activate the offer!

Leave a Reply