Annie’s Creative Girls Club is a monthly craft subscription specially designed for girls ages 7 through 12.
Each shipment will contain TWO different craft kits to encourage her inner artist. Both kits will include easy-to-follow instructions and all the materials needed to get crafting with minimal adult supervision. She’ll learn fun skills that will last a lifetime: painting, beading, stitching, paper crafting, and much more!
Disclosure: Box was received for review. Post may contain affiliate links.
Subscriptions are $19.98/month + shipping. — For a limited time, you can get your first month for just $9.99 when you use coupon code “SHARE50” at checkout!
Let’s see what’s in our Annie’s Creative Girls Club shipment!
Everything was shipped in a pink & white padded mailer with an Annie’s Creative Girls Club logo in the bottom right corner.
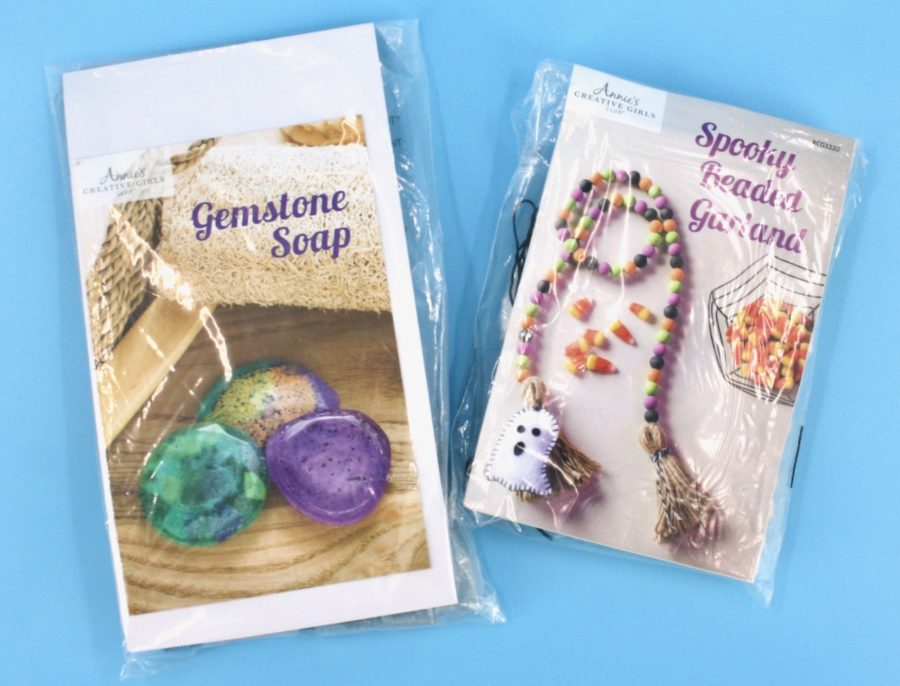
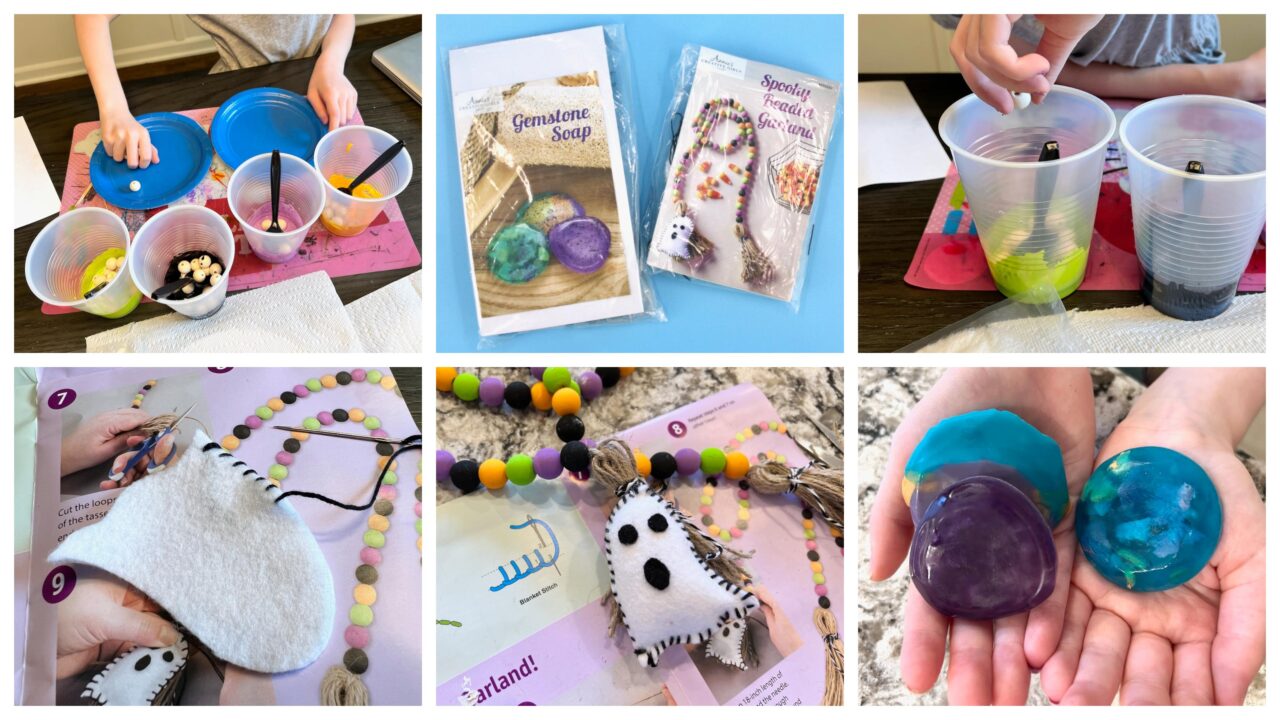
The contents of the envelope! — This month’s projects were “Gemstone Soap“ and “Spooky Beaded Garland“.
Kit #1- Spooky Beaded Garland:
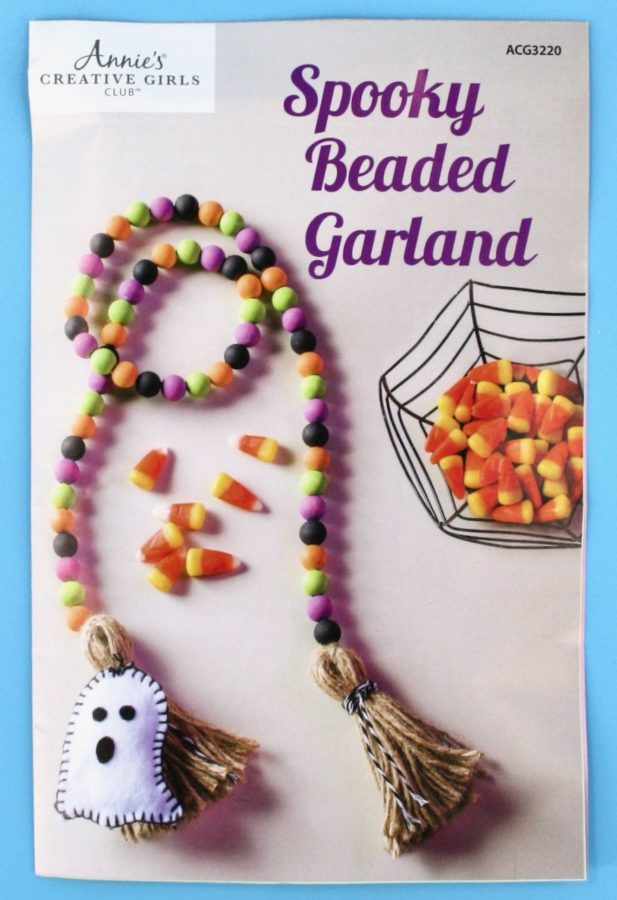
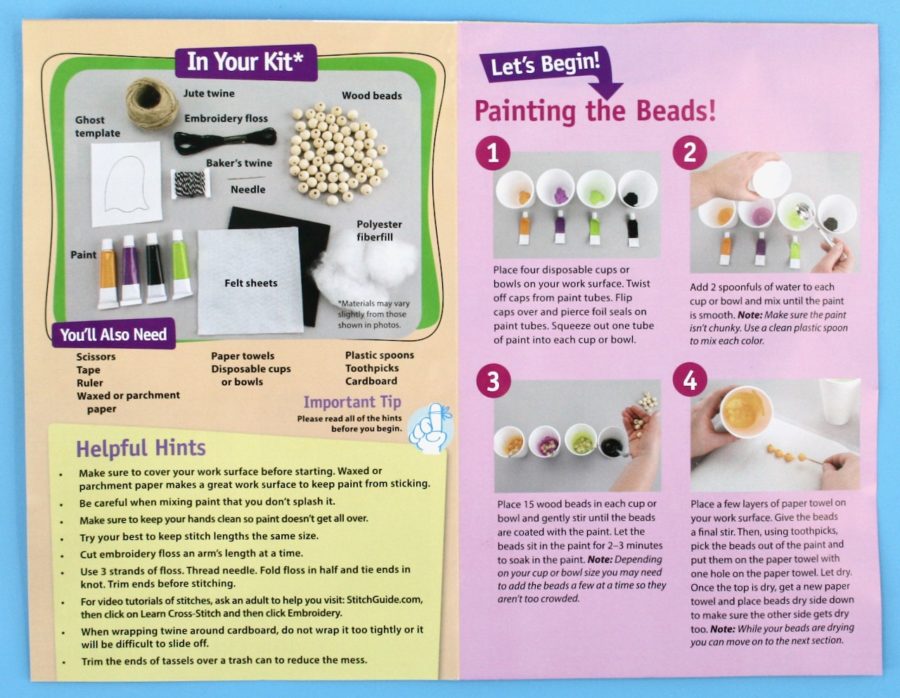
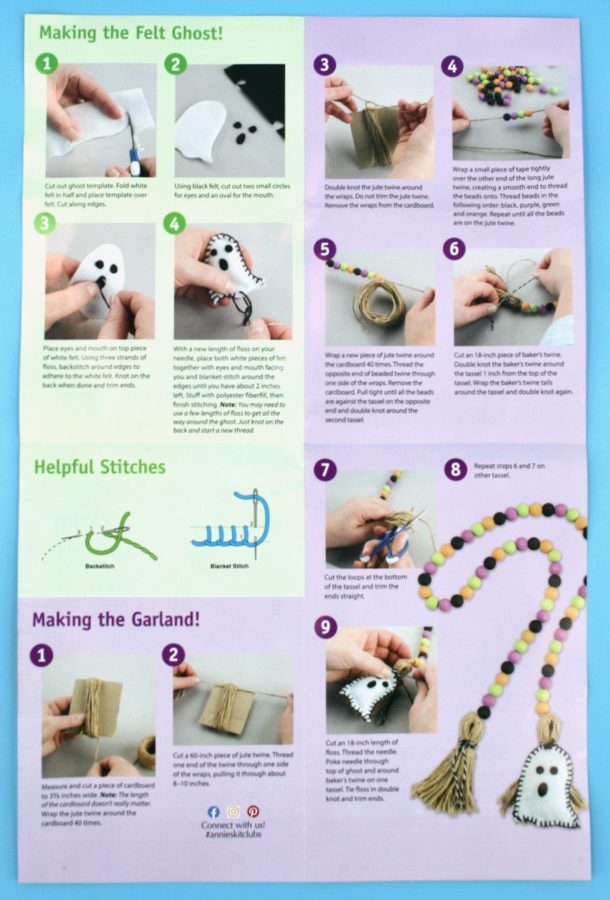
A full color insert provided step-by-step instructions with helpful hints and photos to go along with each step.
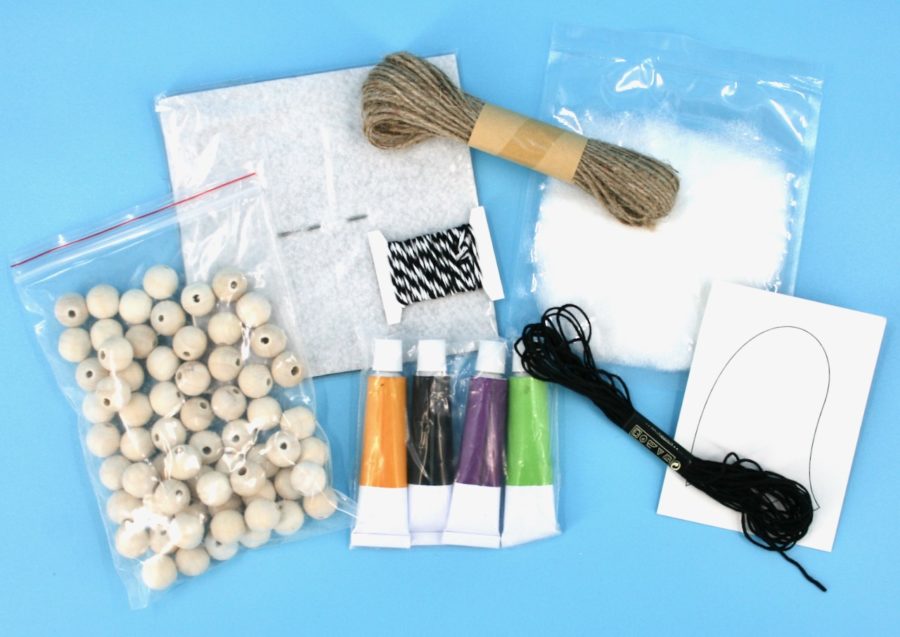
Supplies included wooden beads, felt sheets, jute twine, embroidery floss, polyester fiberfill, a ghost template, baker’s twine, a needle, and a set of paints.
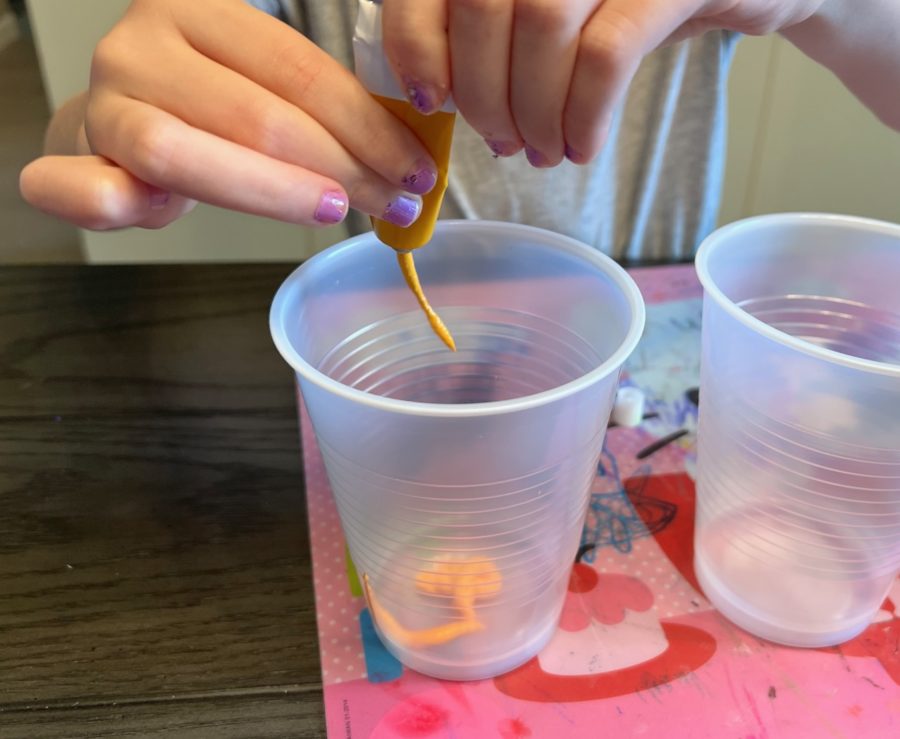
To begin, we needed to squeeze out each of the four paint tubes into their own disposable cup.
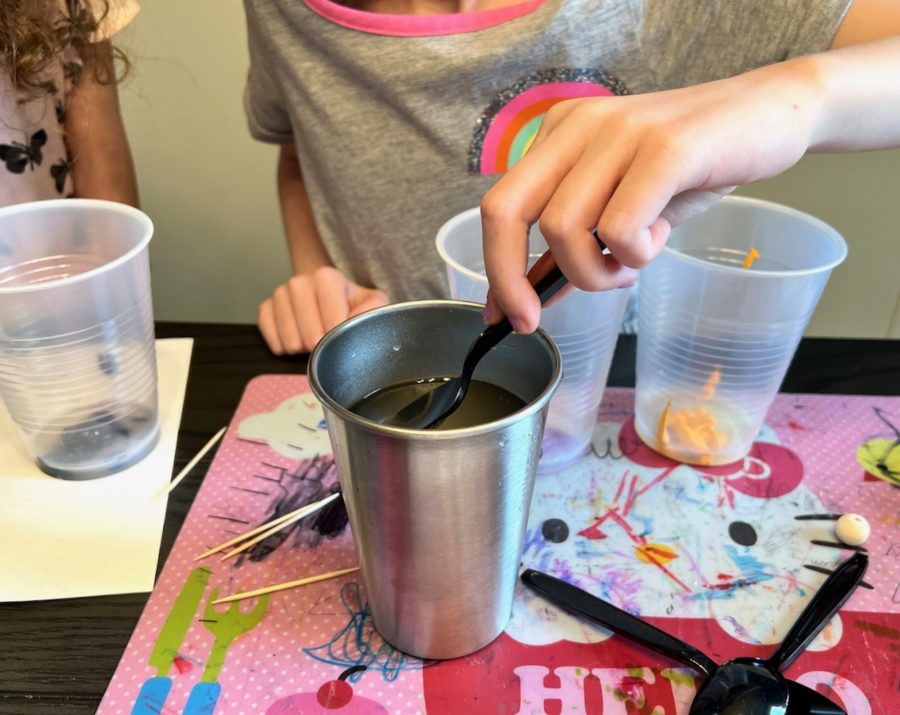
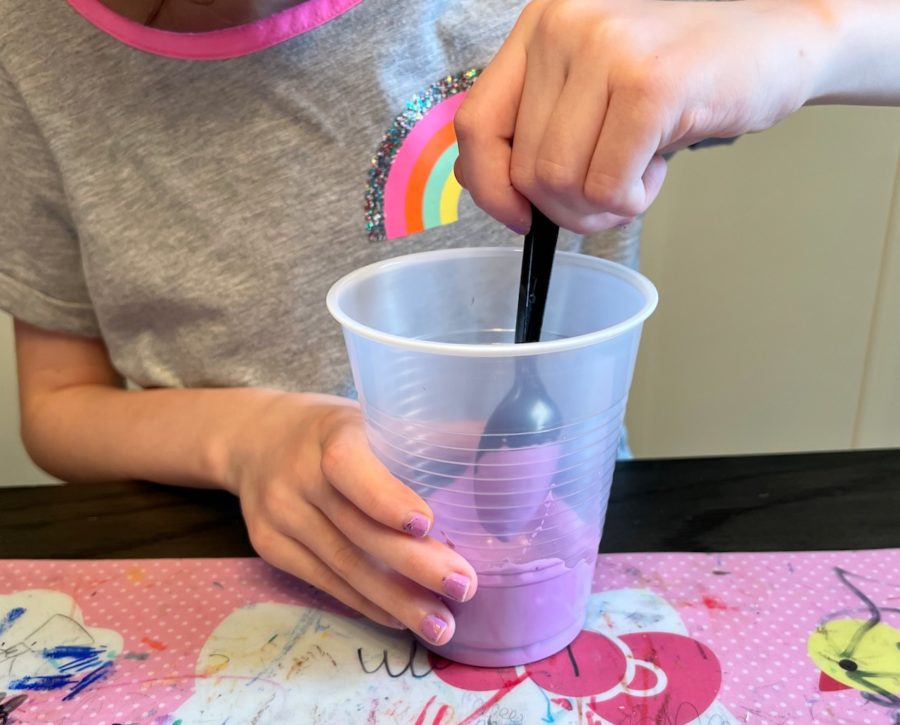
We then added 2 spoonfuls of water into each cup and stirred until completely smooth.
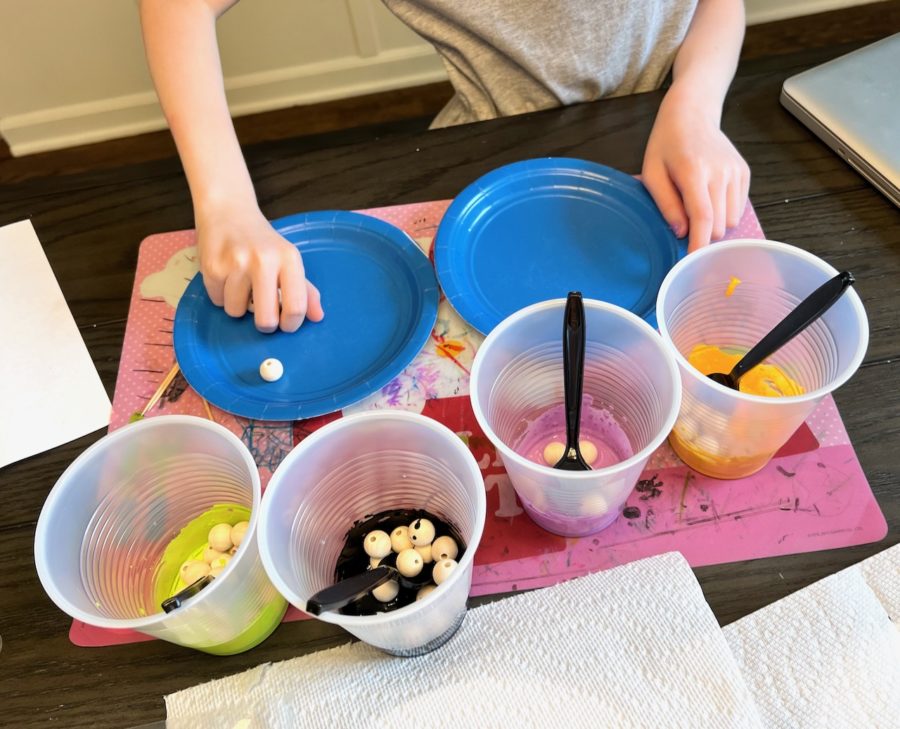
Next, we dropped 15 wooden balls into each of the cups and mixed until they were fully coated with paint. Once coated, we let them soak for about 3 minutes.
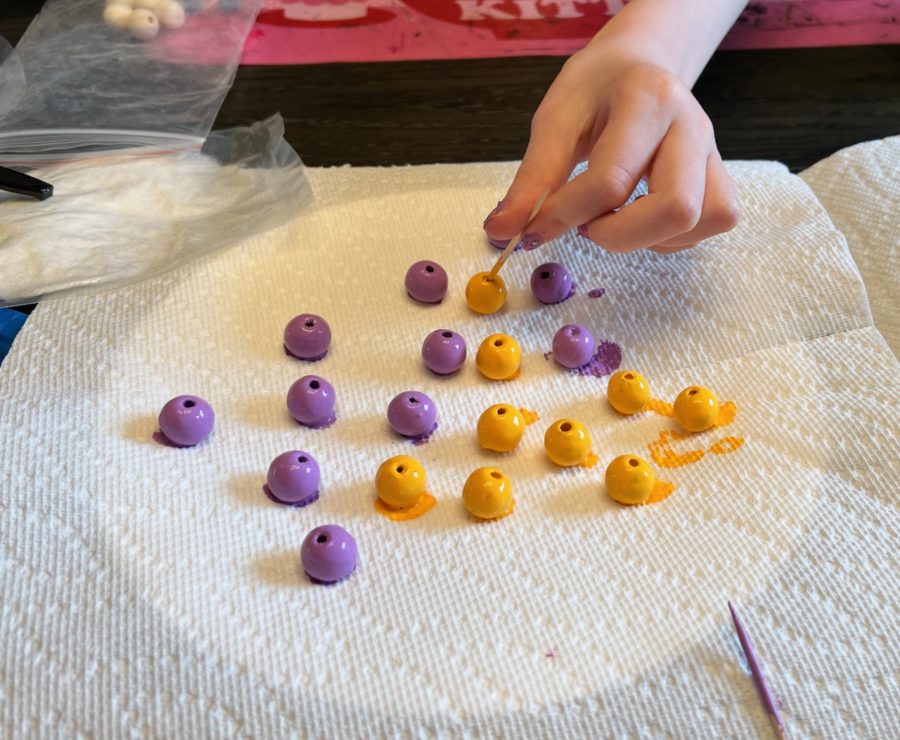
When the soaking was complete, we carefully plucked out each bead with a toothpick and placed them all on a paper towel to dry.
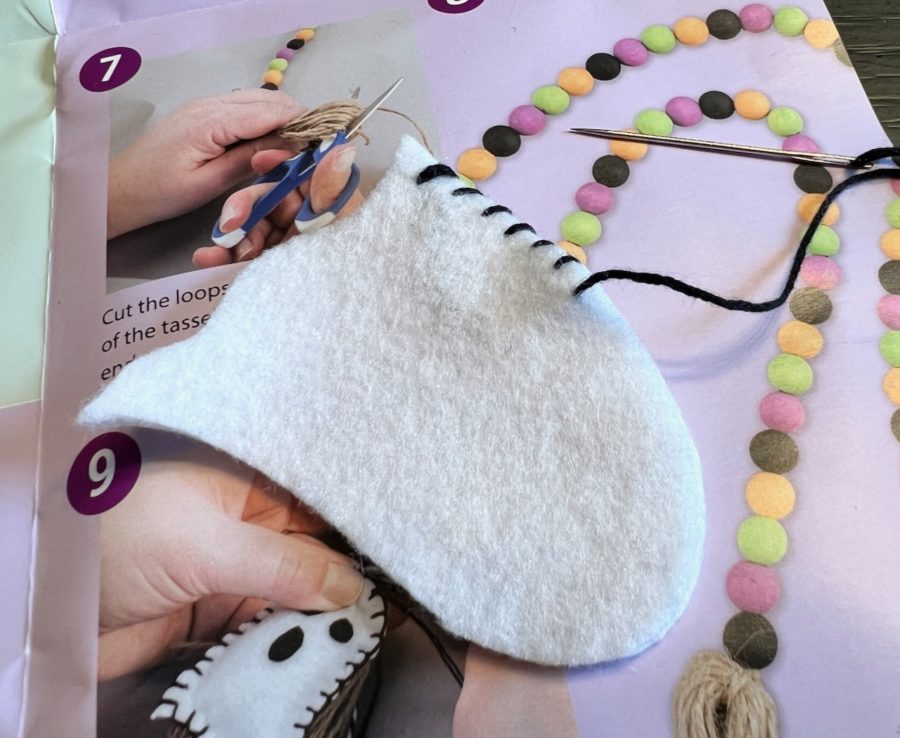
The paint would take a bit to dry, so in the meantime we started working on the felt ghost. Using the included template, we traced the ghost onto the sheet of (folded) white felt and carefully cut him out. Next, we began stitching him together with the provided embroidery floss.
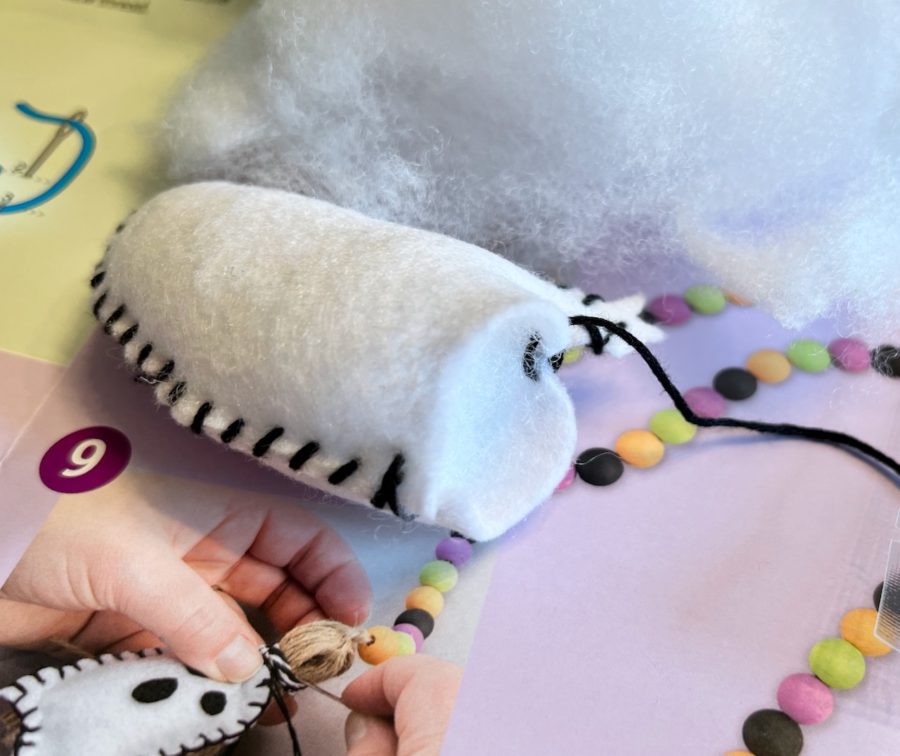
With about two inches left to sew, we filled the little guy up with the polyester fiberfill stuffing.
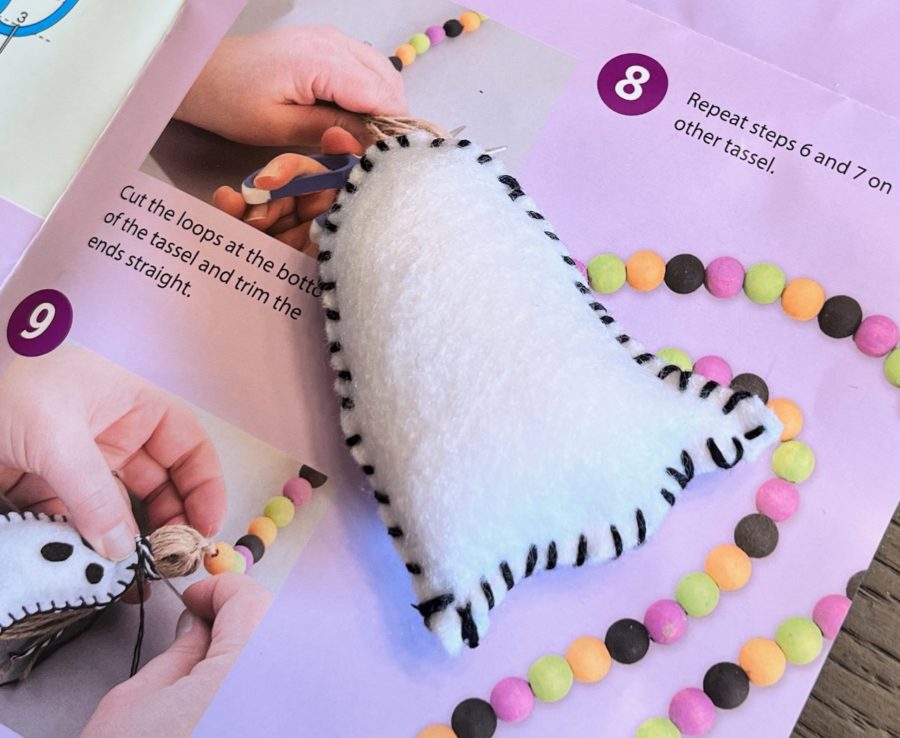
Sewing complete! — We decided to take the easy route and hot glue the felt eyes/mouth on, which I forgot to snap a photo of.
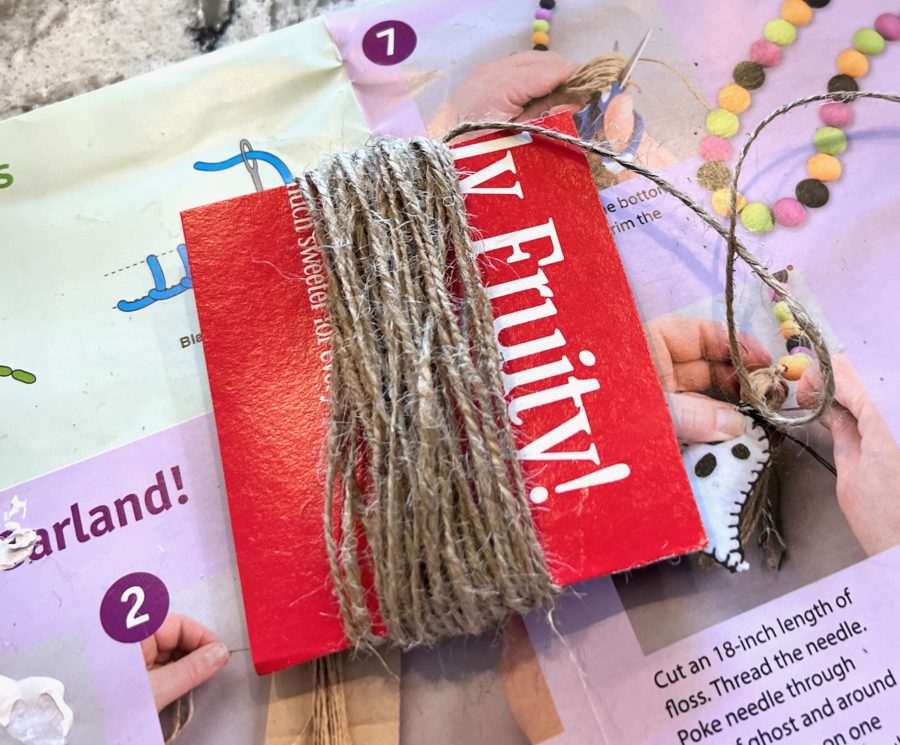
The following day (when we were certain all the beads were dry), it was time to assemble the garland. We began by wrapping jute string around a 3.5-inch piece of cardboard 40 times.
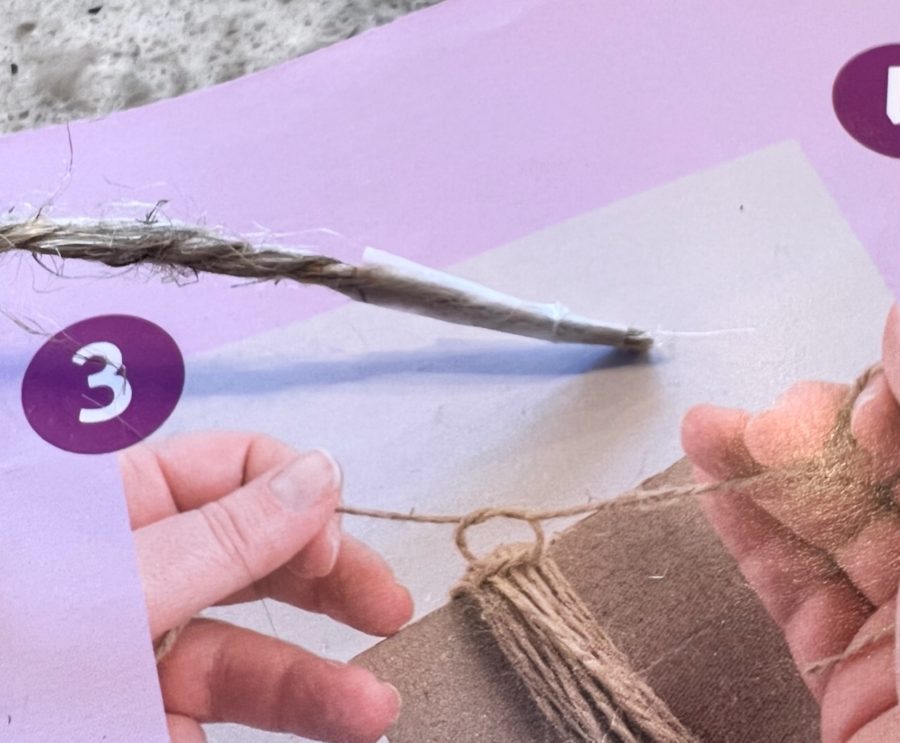
We then cut a separate piece of twine 60 inches long and tied it around the wrapped portion. A small piece of tape was wrapped around the end to make it fit through the beads easily.
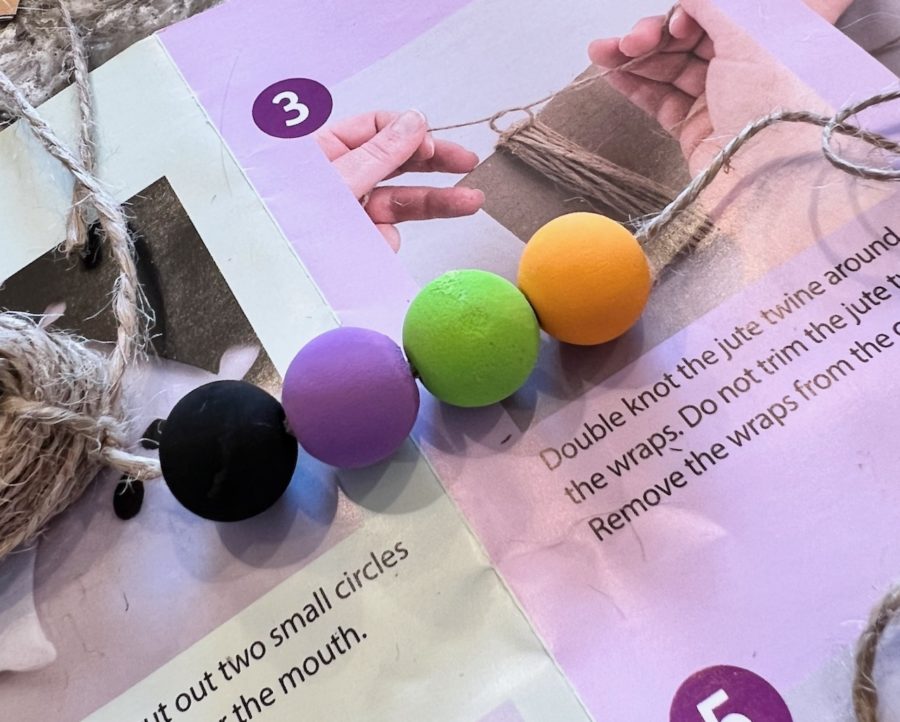
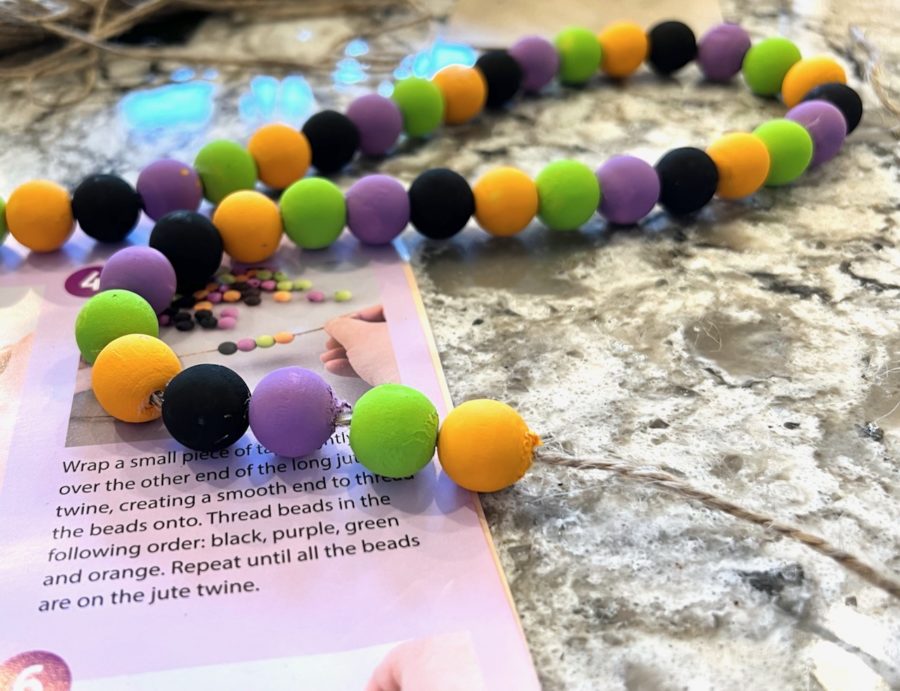
Now it was time to string the beads! — We strung them in the pattern above, repeating until all of the beads were used.
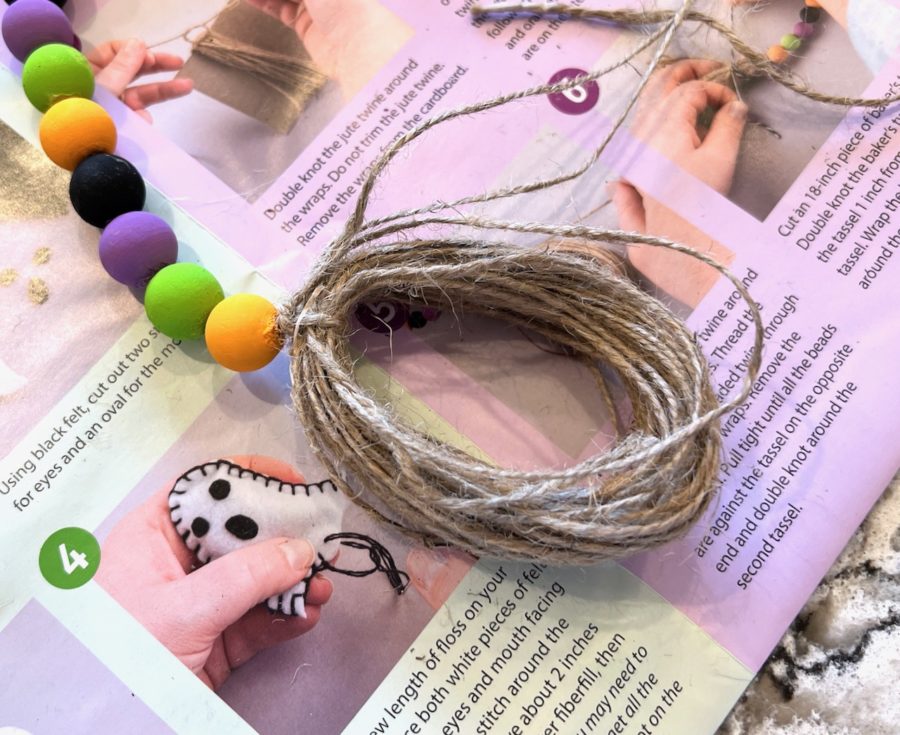
A second tassel was made by wrapping the jute around the same piece of cardboard and attaching it to the end of the beaded twine.
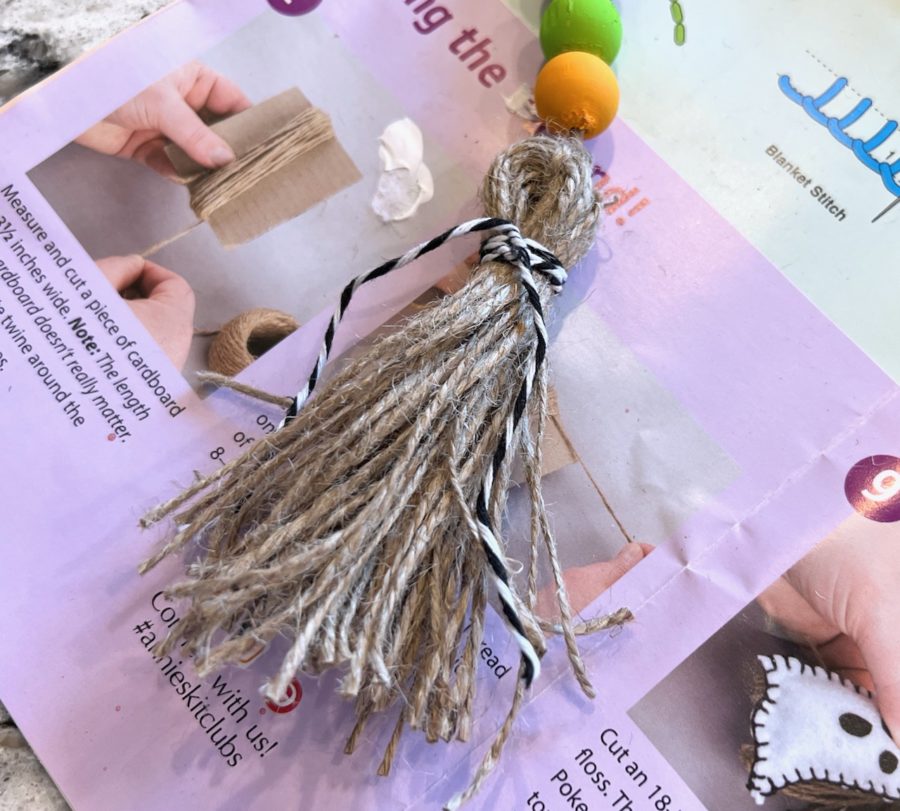
A piece of baker’s twine was then tied around the top and the loops were cut at the bottom to complete the tassel.
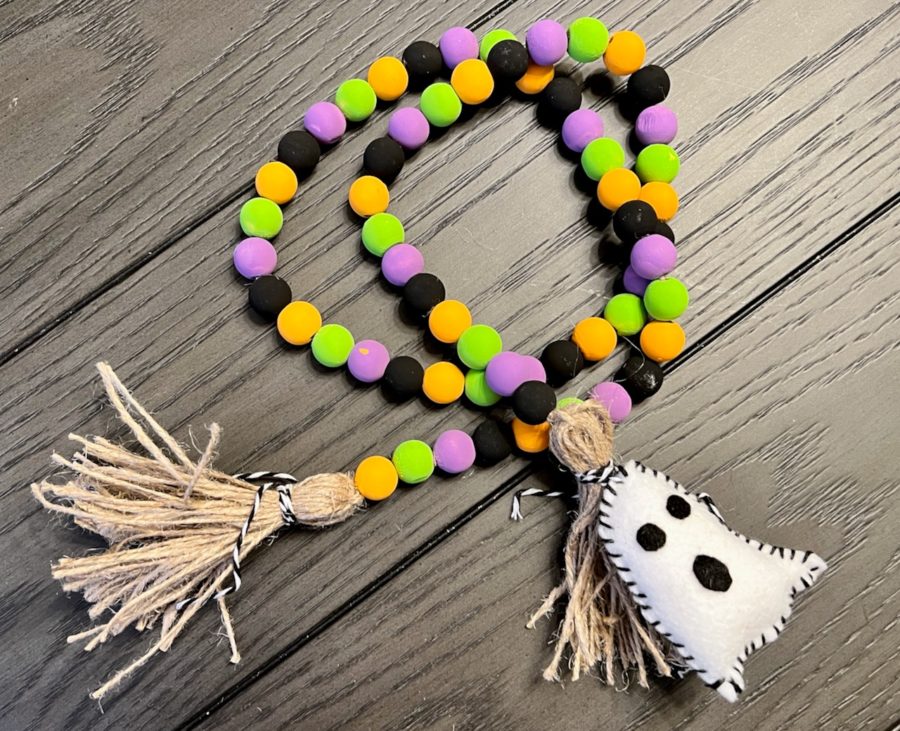
The finished garland turned out SO cute!
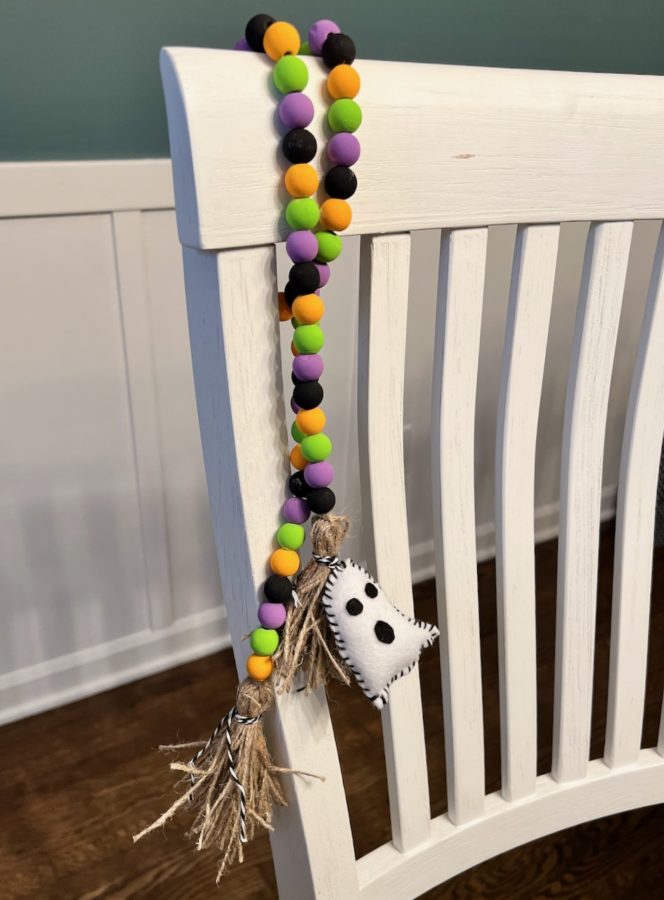
We still haven’t decided on the right spot for it, but we’re excited to make it a part of our yearly Halloween decor. 🙂
Kit #2: Gemstone Soap:
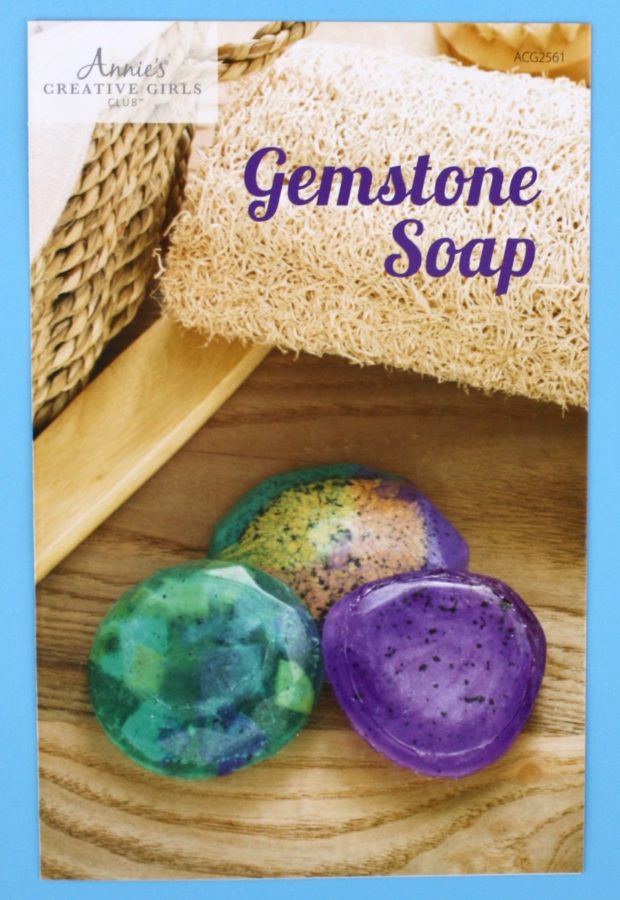
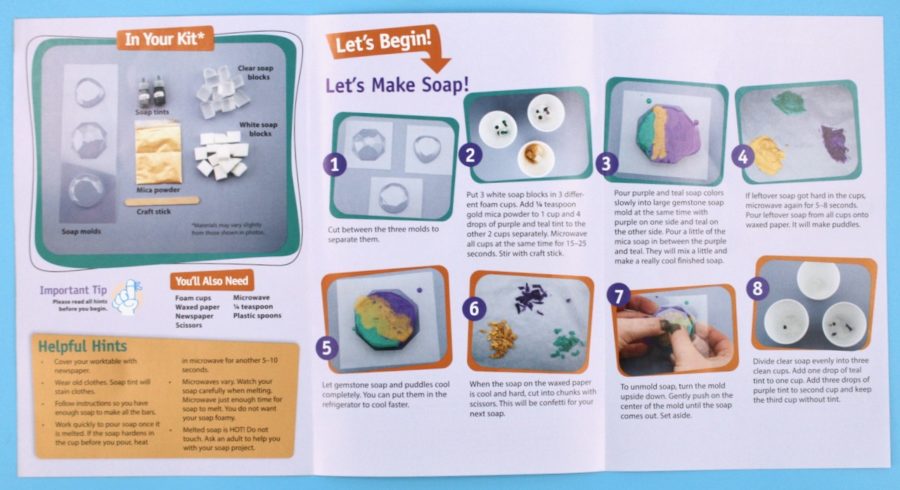
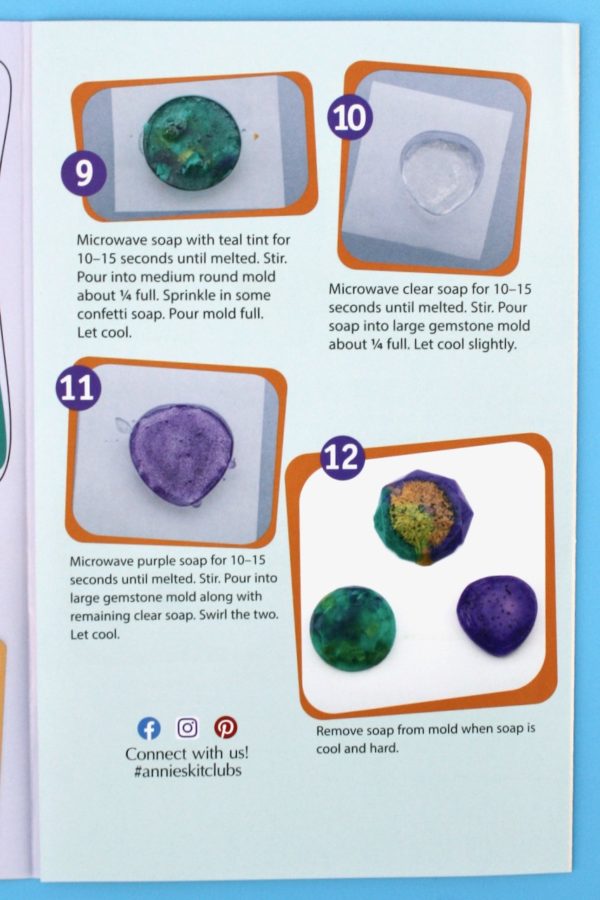
Again, a full color insert provided step-by-step instructions with helpful hints and photos to go along with each step.
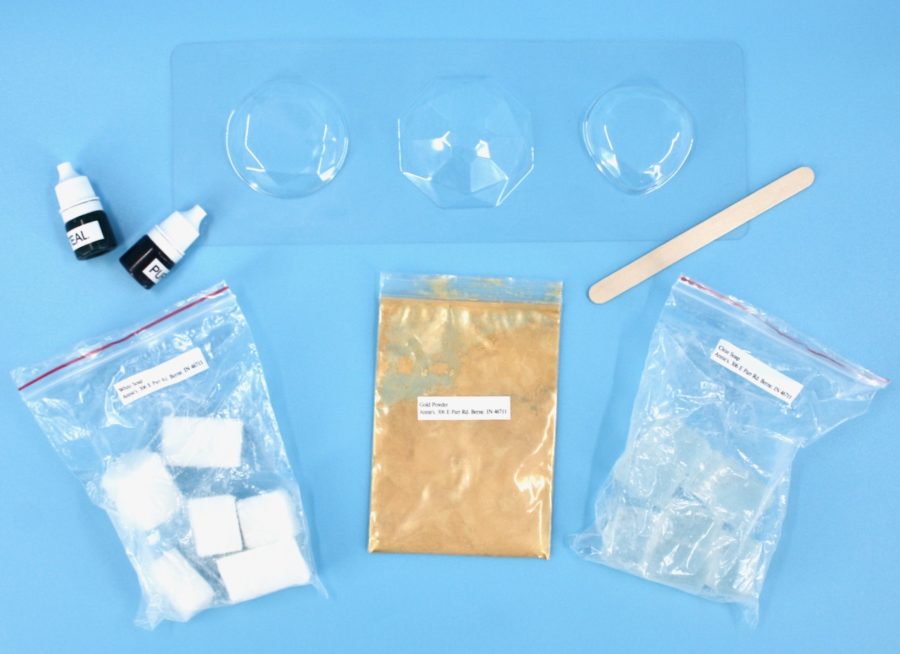
Supplies included soap molds, soap tints, a craft stick, white soap blocks, clear soap blocks, and mica powder.
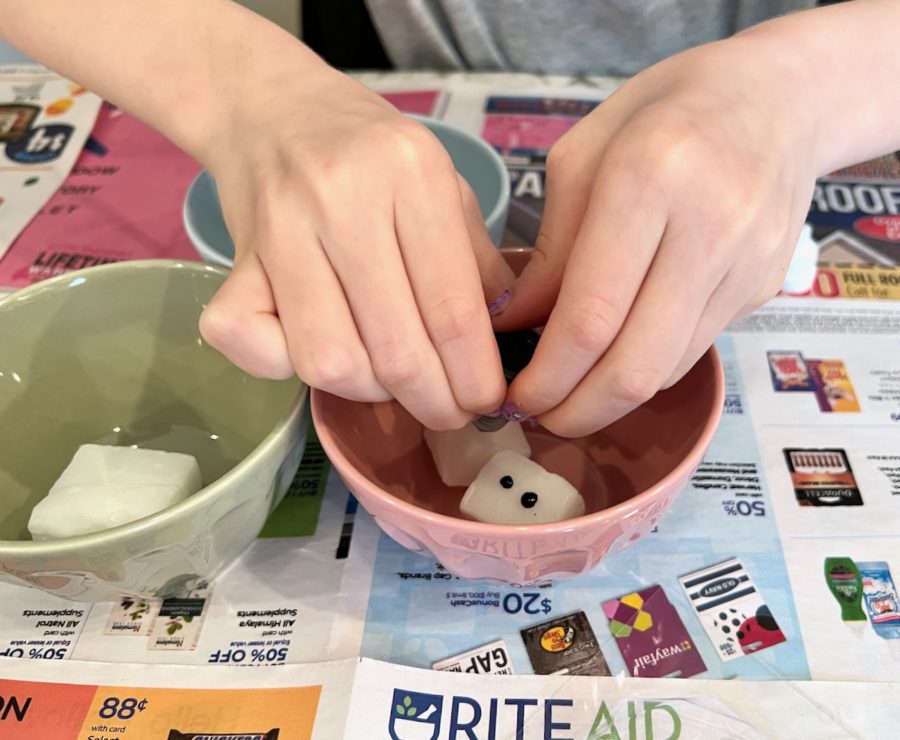
The first step was to add an equal amount of soap to three different microwave-safe bowls and add the indicated amount of dye to each one.
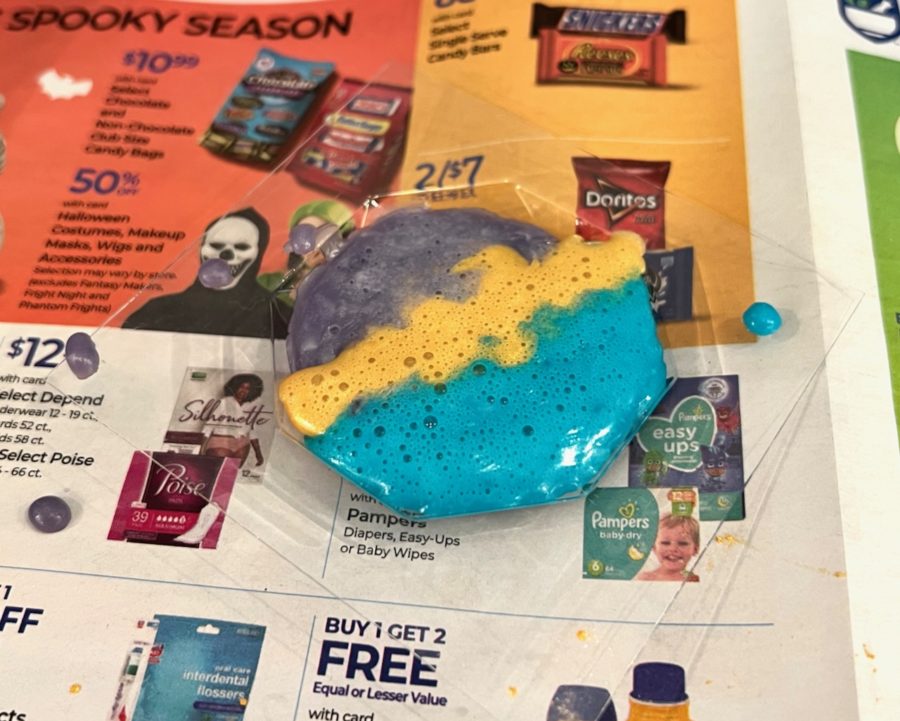
After microwaving each bowl, we quickly poured the melted soap into one of the molds to create a striped pattern.
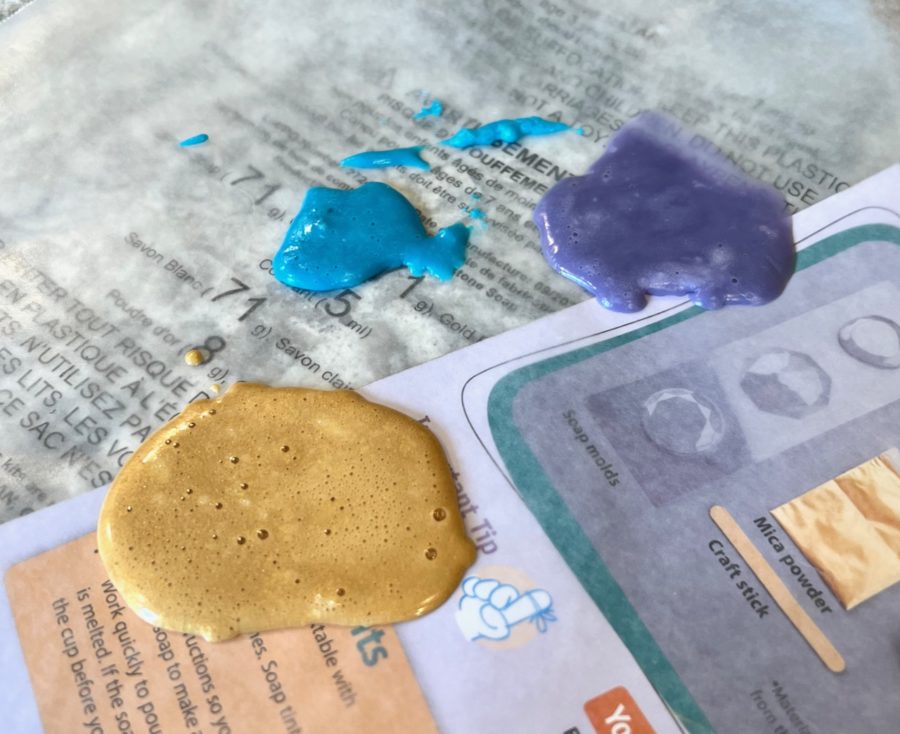
We then poured the leftover soap onto a piece of wax paper to dry. (This would become “confetti” for the next soap.)
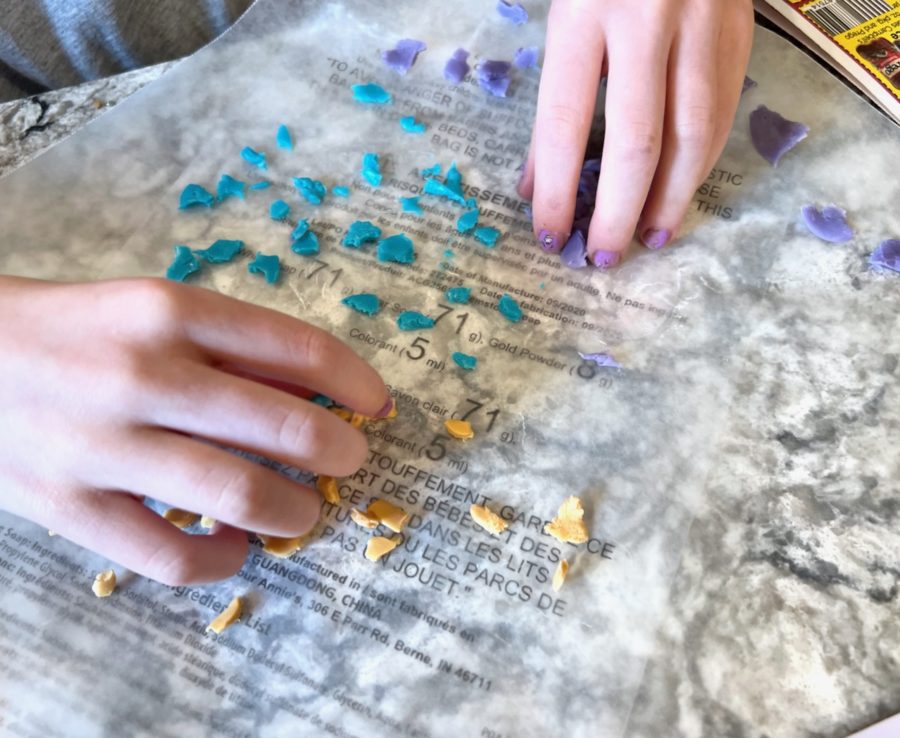
Once fully hardened/dry, we ripped the soap puddles into small pieces.
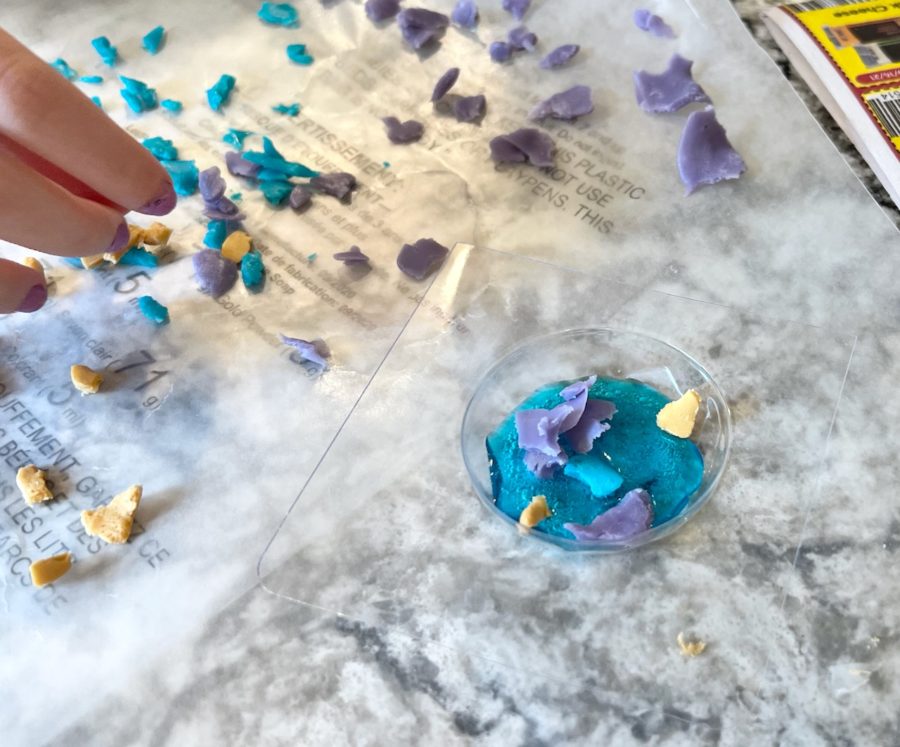
We then melted some of the clear soap with blue tint and poured it into the next mold until it was about 1/4 of the way filled. The “confetti” was then sprinkled on top.
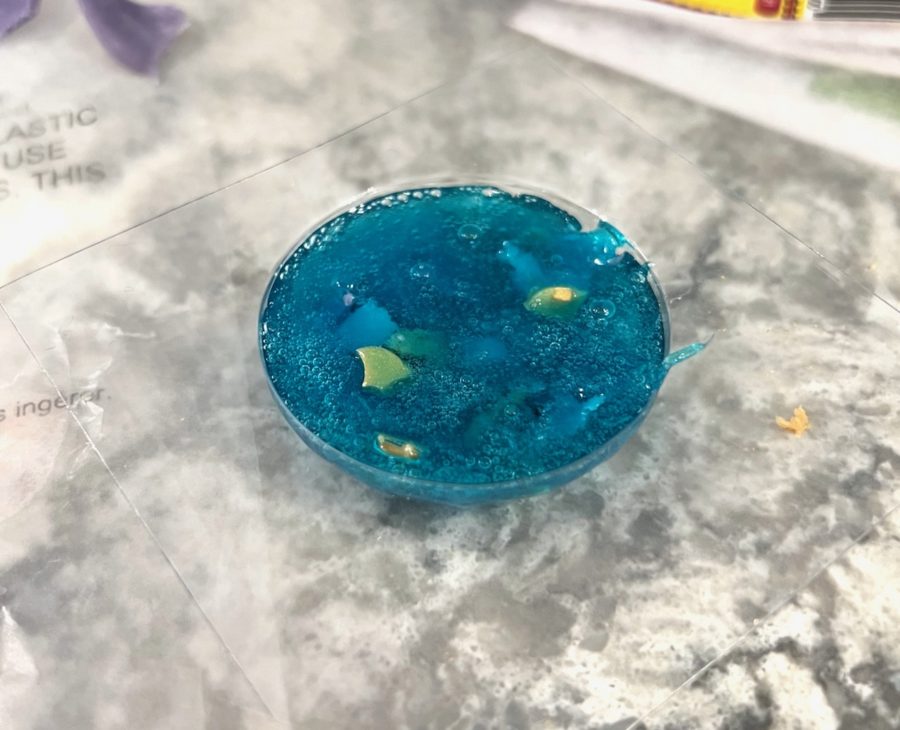
The remaining blue soap was poured in to fill the mold to the top.
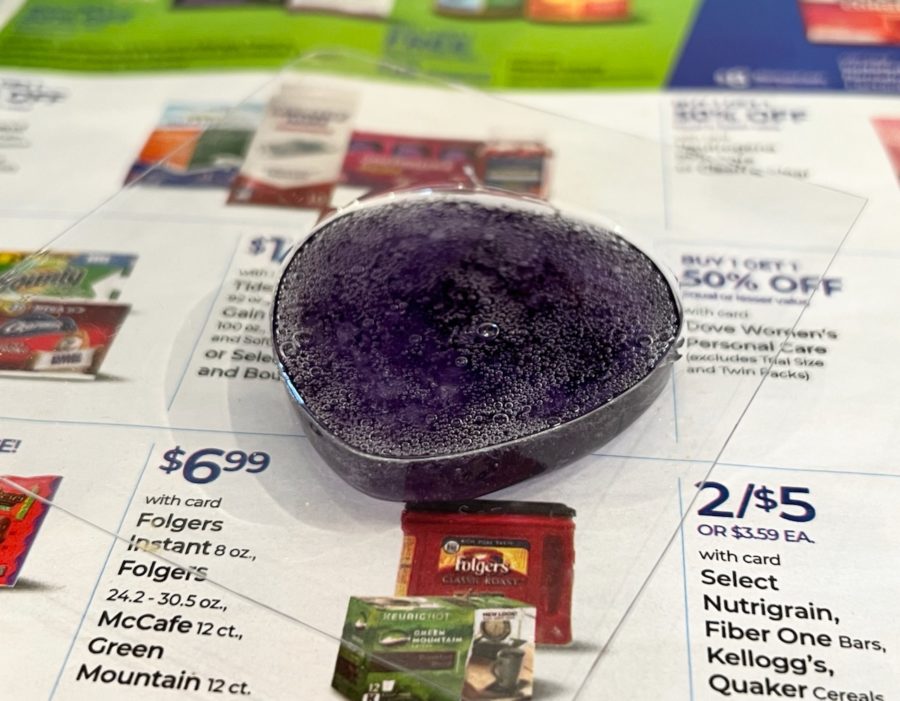
The final soap was created with a mix of purple-tinted soap and untinted (clear) soap swirled together.
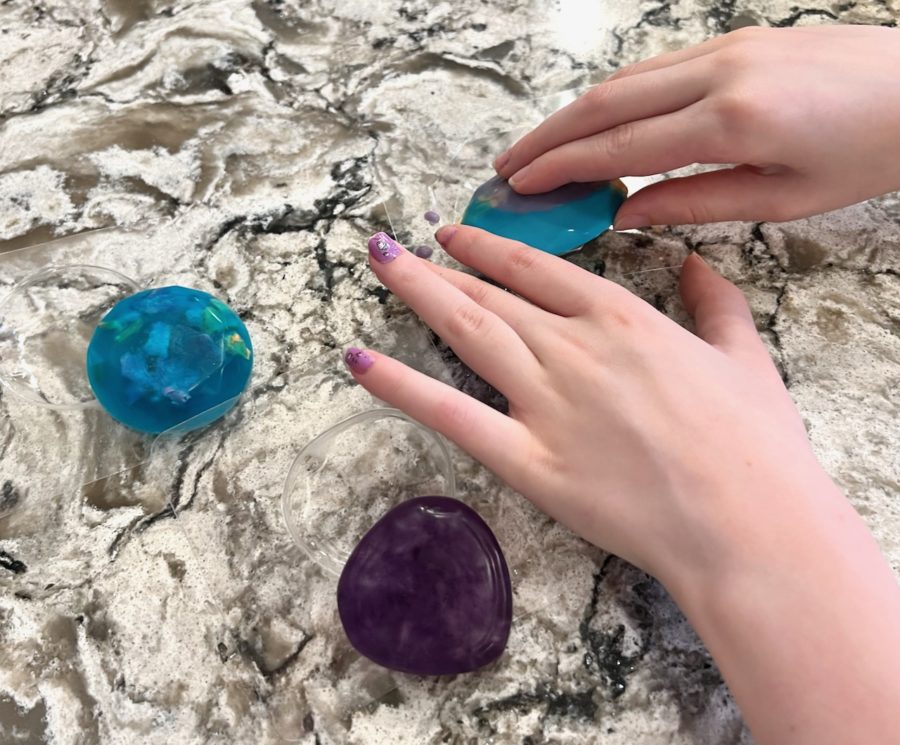
After allowing the soaps to harden overnight, it was time to remove them from their molds.
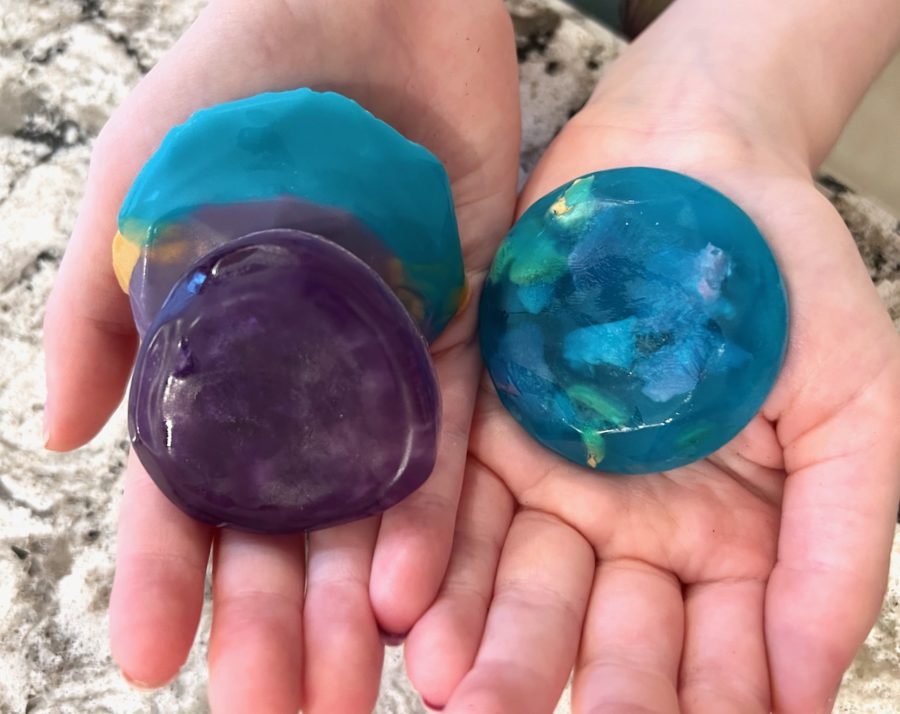
So pretty! 😀
My girls and I all enjoyed crafting our newest set of Annie’s Creative Girls Club projects. Although both kits involved a bit of patience (waiting for paint to dry and soap to harden), we agreed that it was totally worth it. The beaded garland turned out absolutely adorable and the girls have already started using their fun soaps. 🙂 — Remember, for a limited time you can get your first month for just $9.99 when you use coupon code “SHARE50” at checkout!

Leave a Reply