Annie’s Creative Woman Kit-of-the-Month Club is a crafting subscription box that gives you everything you need to start creating gorgeous, handmade, full-of-meaning treasures every month.
Each kit will include all of the crafting materials you’ll need, along with easy, step-by-step instructions to complete the project. — Just use your own basic tools, like a glue gun and scissors, and start creating. Experience crafts like painting, needlecrafts, beading, candle and soap making, mixed-media crafts and a whole lot more with each new kit.
Disclosure: Box was received for review purposes. Post may contain affiliate links.
Subscriptions are $19.99/month, but for a limited time you can save 50% on your first month with coupon code “SHARE50“!
Let’s see what’s in my Annie’s Creative Woman Kit-of-the-Month Club box!
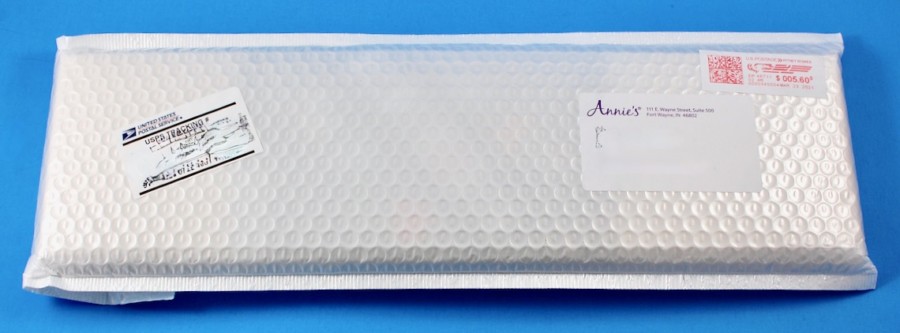
Everything was shipped in a white padded mailer via First Class Mail.
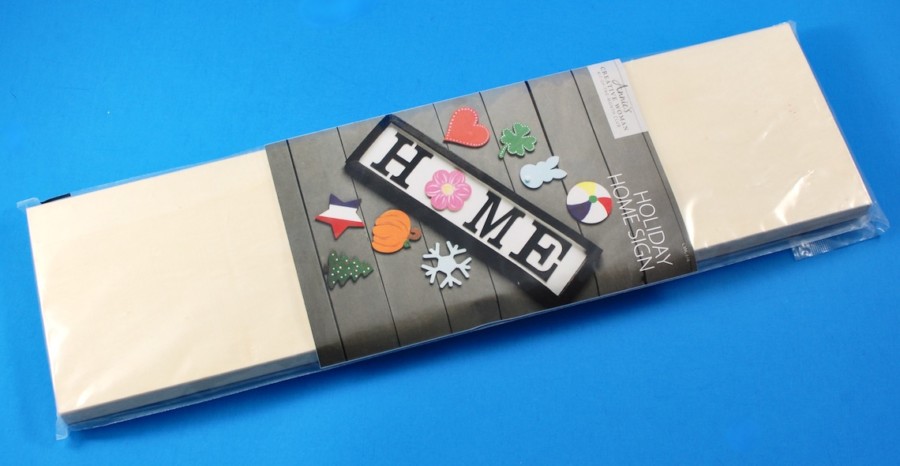
For this review I received the “Holiday Home Sign” kit.
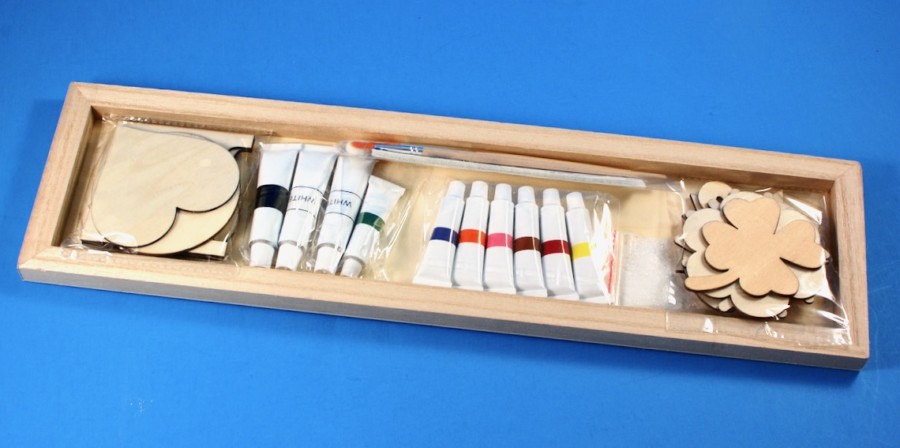
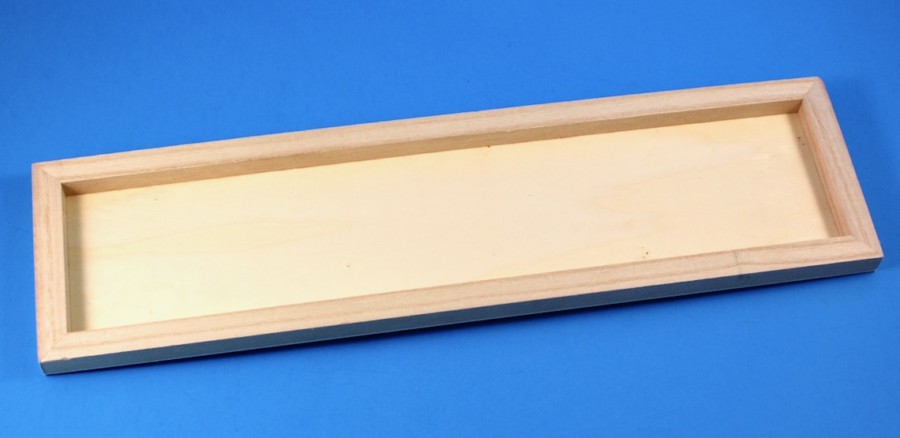
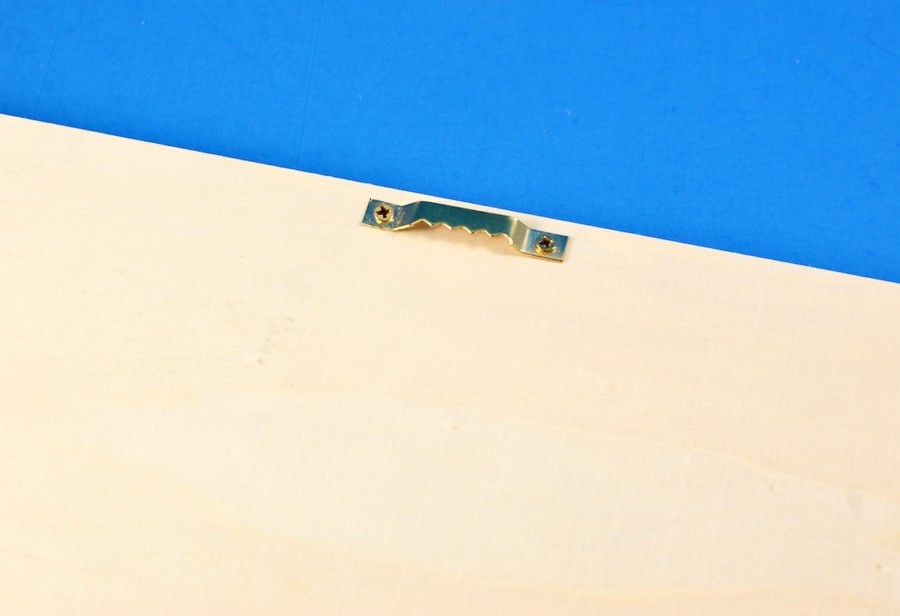
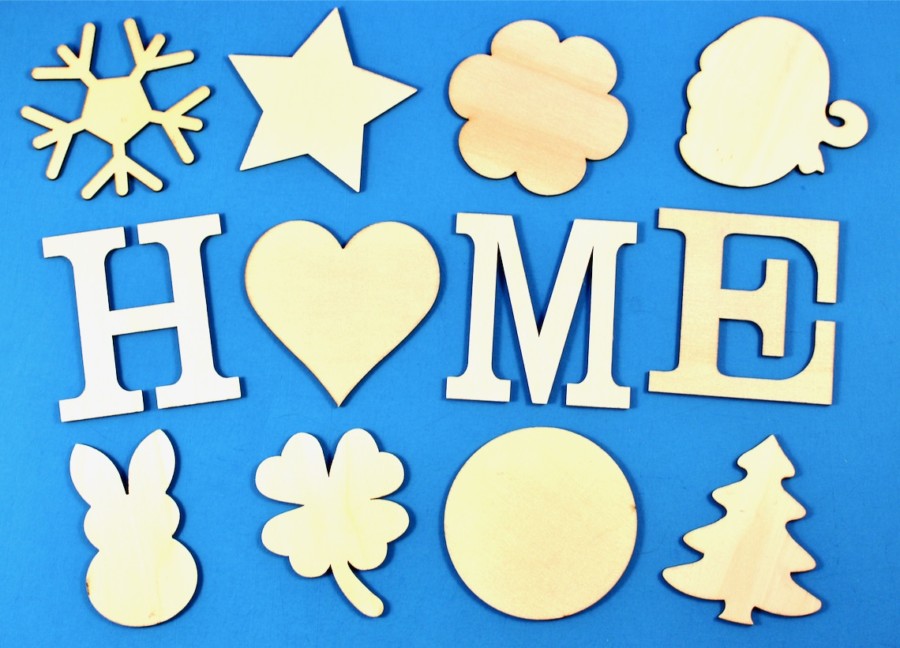
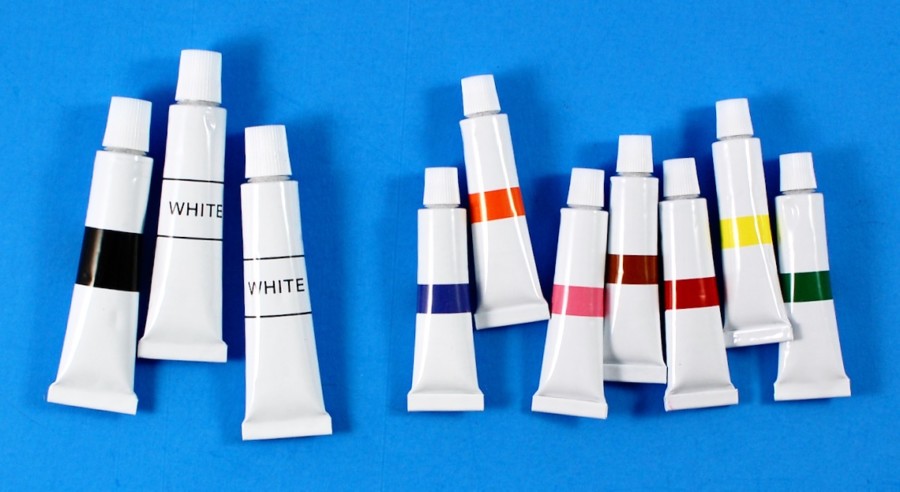
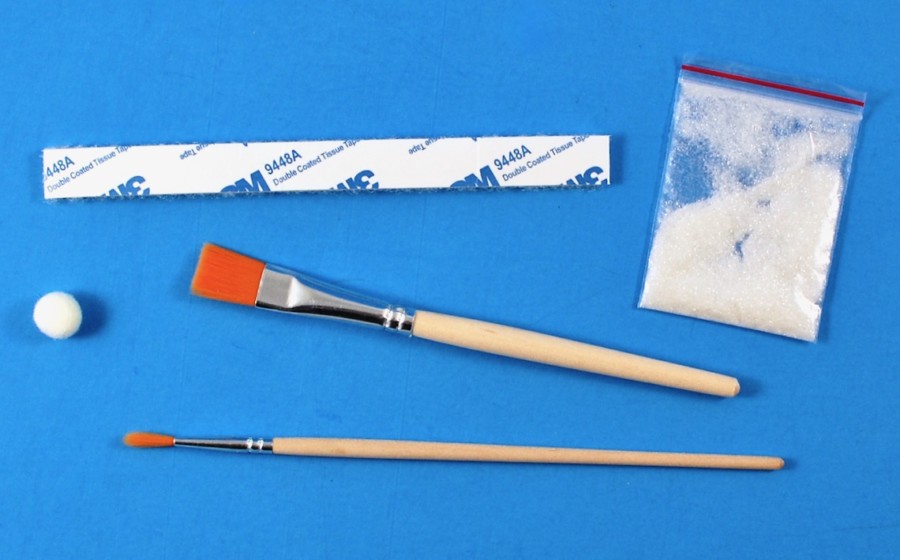
All of the supplies were tucked inside the wooden frame itself and included the following:
- Wooden frame
- Wood cutouts
- Paint
- Paintbrushes
- Hook-and-loop tape
- Glitter
- Felt pom-pom
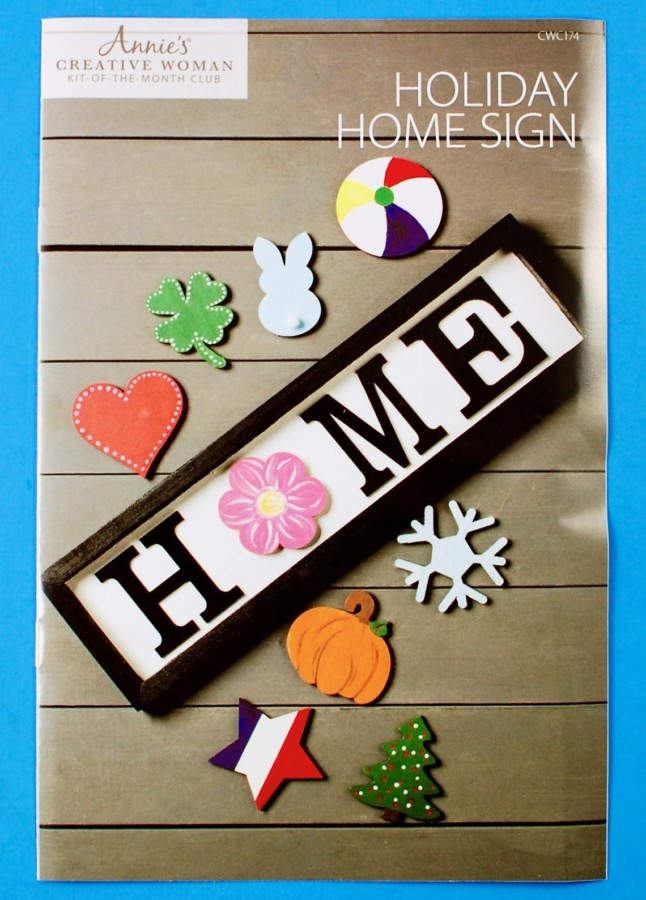
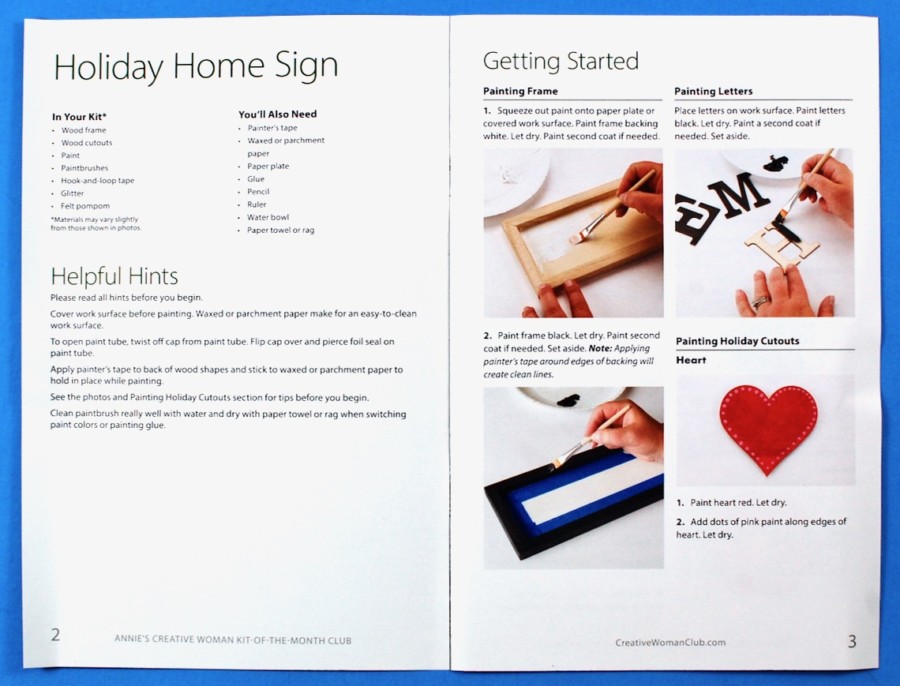
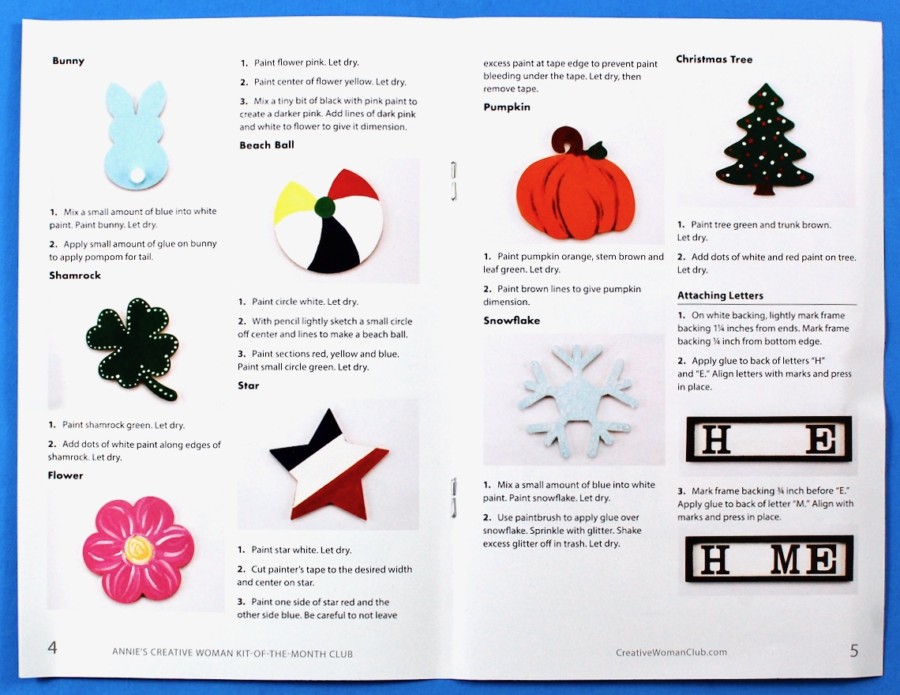
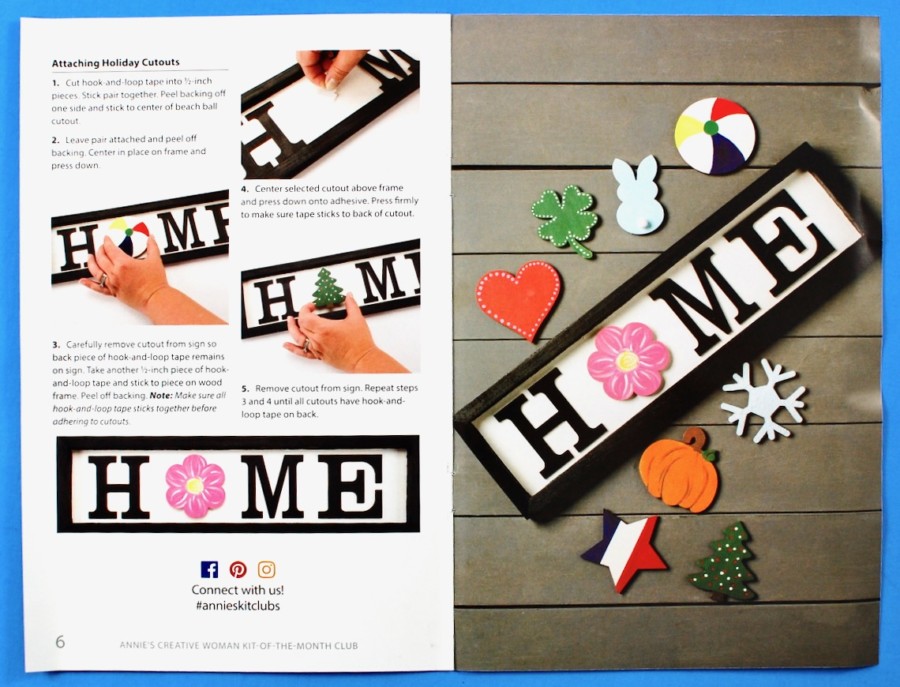
A full color booklet provided step-by-step instructions with helpful hints and photos to go along with each step.
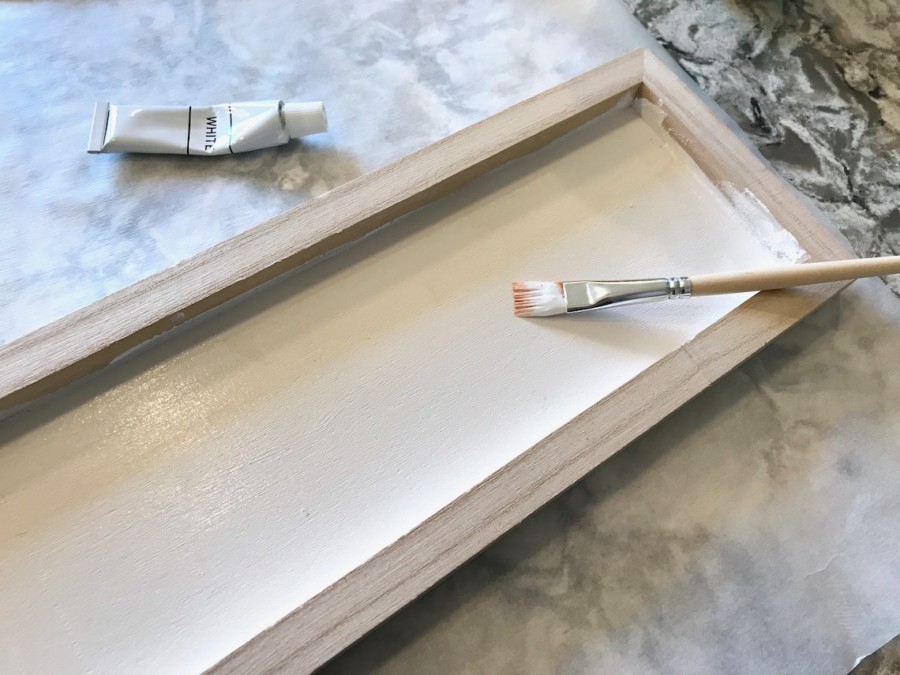
The first step was to paint the inside backing of the frame using the white paint provided.
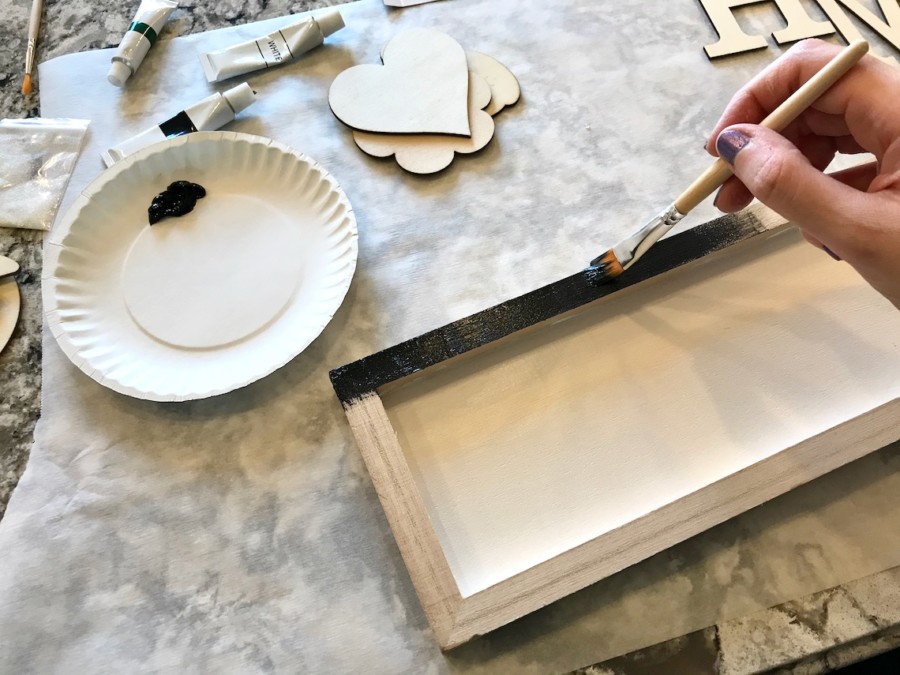
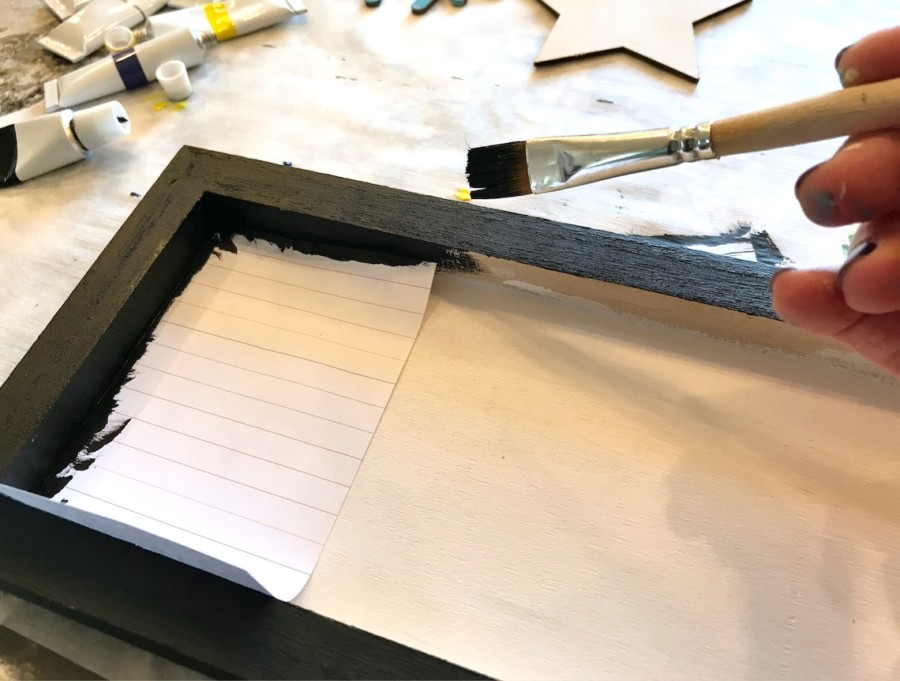
Once the white was dry (I used two coats), it was time to paint the black frame. The instructions suggested using painters tape to place along the border, but I got lazy and used sticky notes. As you’ll see later, this probably wasn’t the best idea. 😉
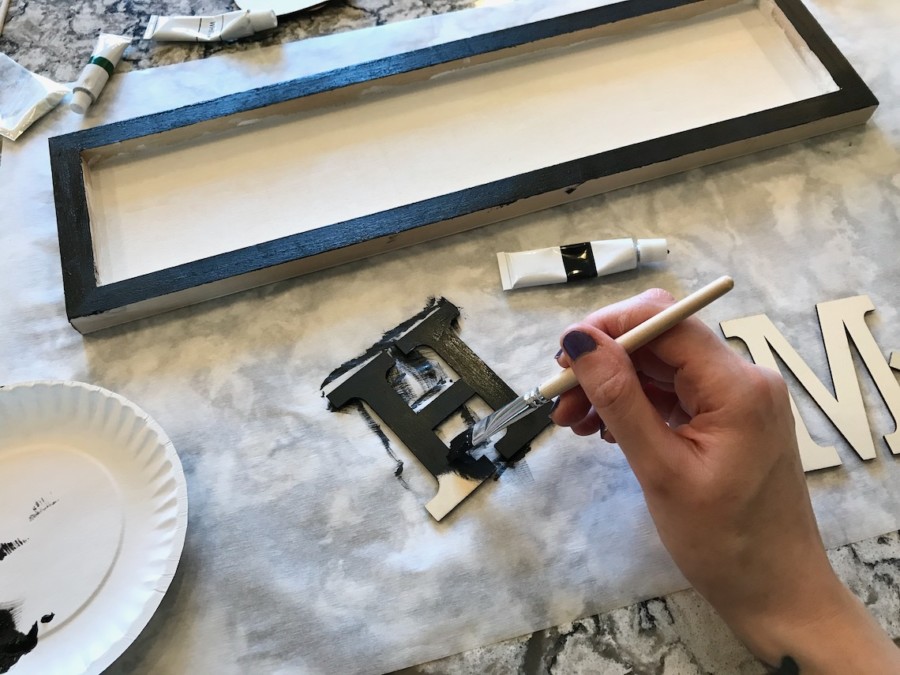
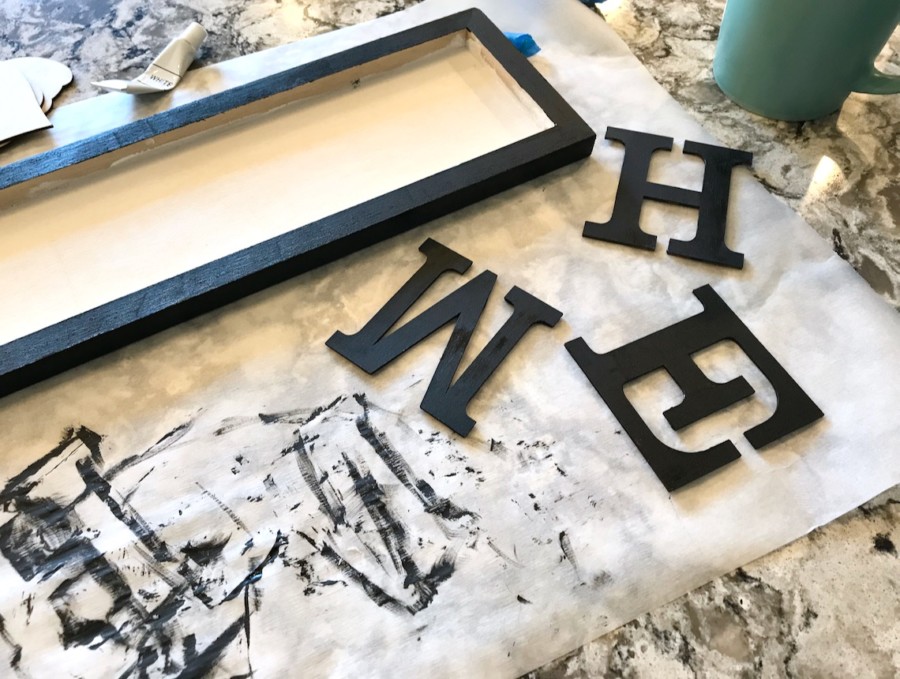
The letters were up next. — One coat was all that they needed.
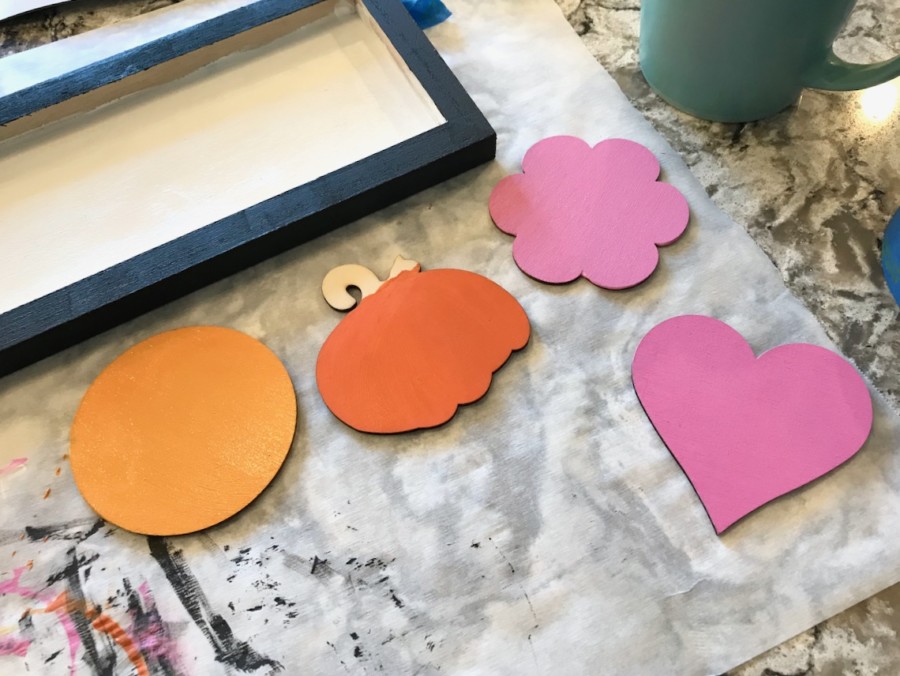
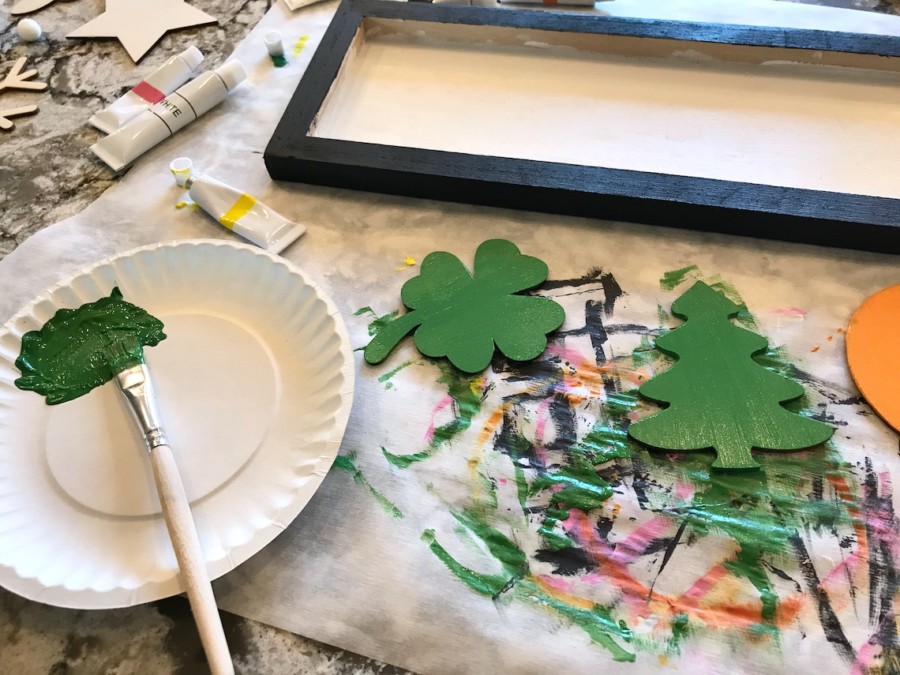
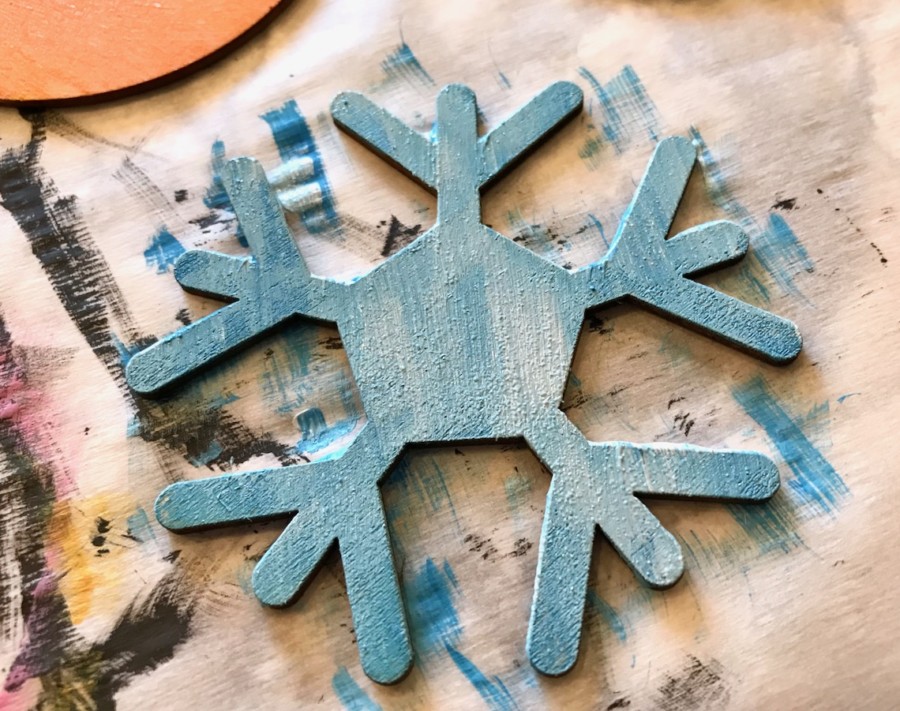
Once the frame and letters were complete (okay, obviously the inside edges were done later 😉 ), it was time to paint the holiday cutouts. The instruction booklet included specific colors/designs to use, but I decided to mix things up and make a few changes with a few of the shapes.
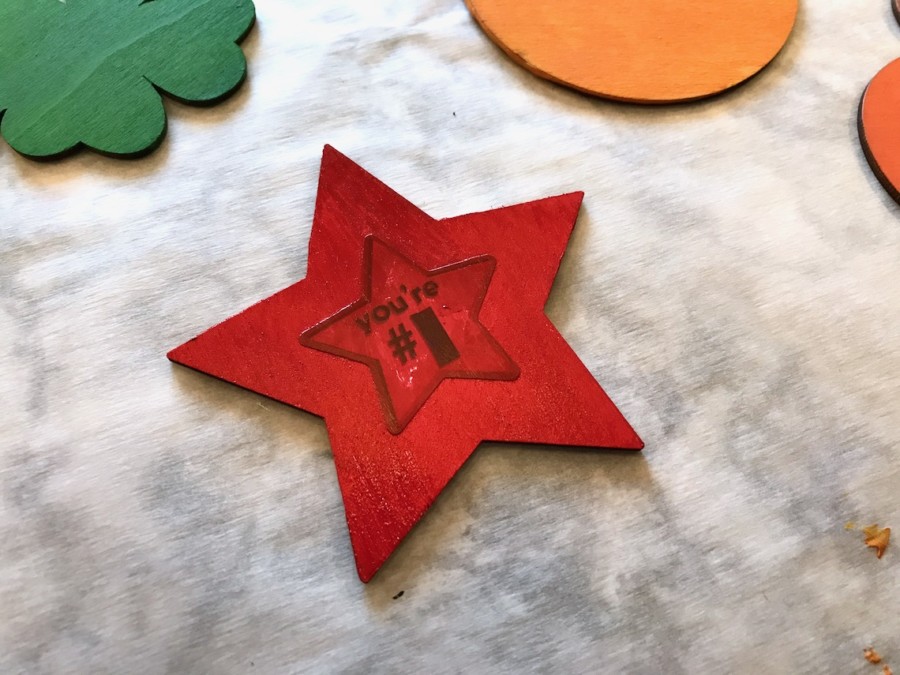
The star in the booklet was painted with red, white, and blue stripes — but I chose to do a different design. After painting it white, I placed a star-shaped sticker in the center, painted over it with red, removed it once dry, and drew a small blue star in the middle.
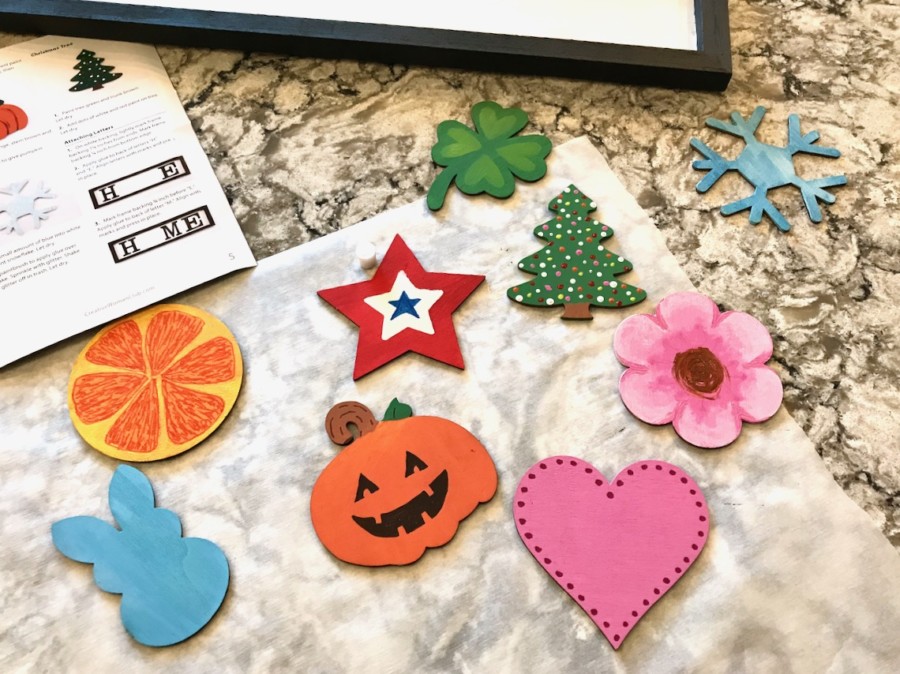
I also made an orange instead of a beach ball, a jack-o-lantern instead of the un-carved pumpkin, and added my own details/color schemes to the shamrock, flower, and heart.
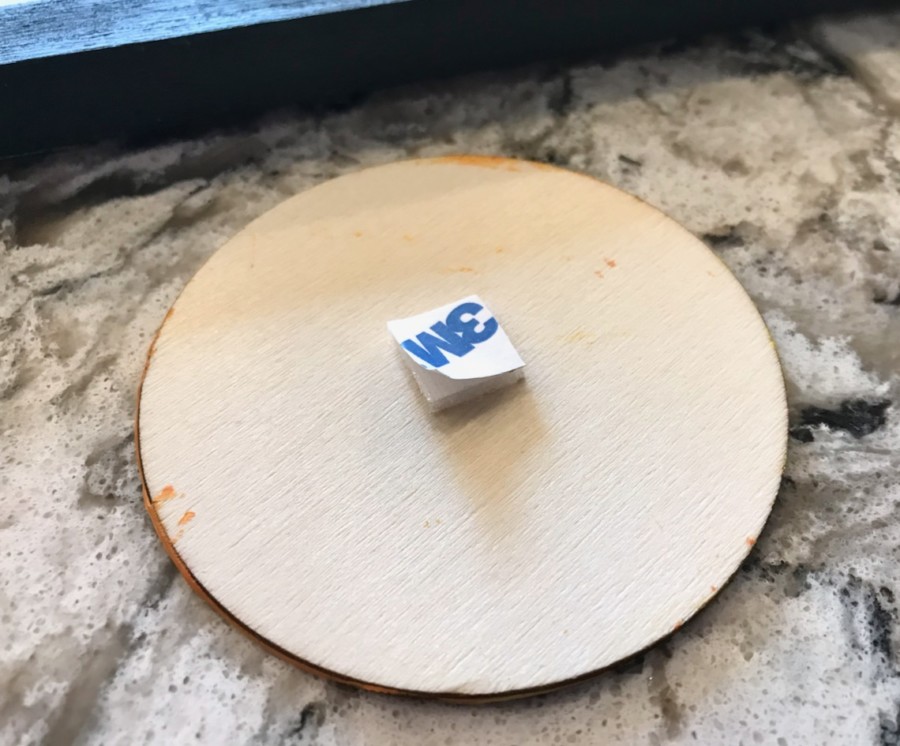
Once all of the cutouts were painted/dried, the letters were glued onto the frame and nine 1/2 inches pieces of velcro were cut for each of the cutouts. I placed one of the pieces onto the back of the orange and placed it on the frame.
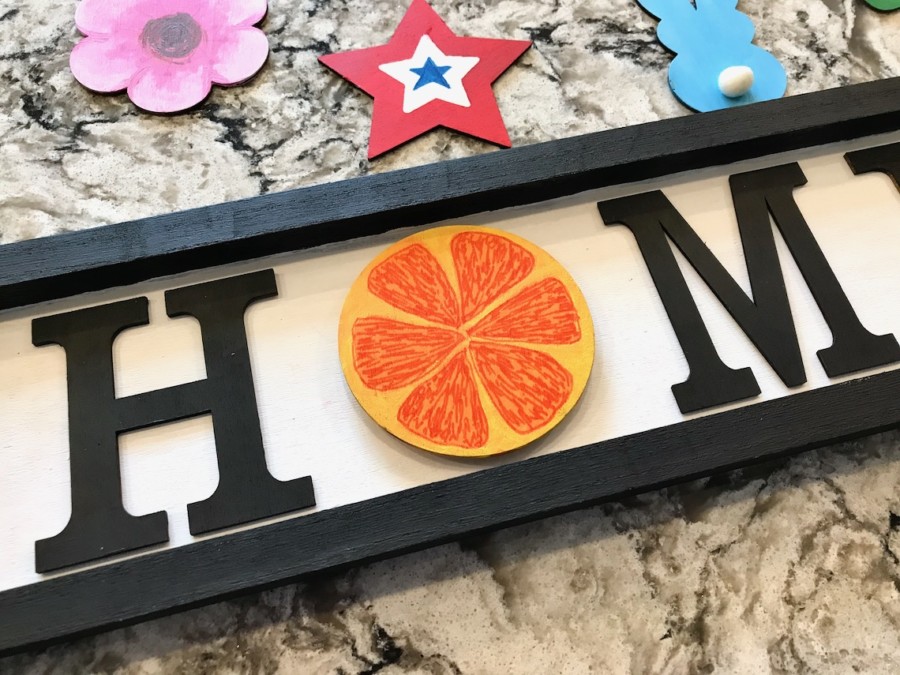
Once in place, the orange was carefully peeled off so that one side of the velcro still remained on the frame and the other on the back of the cutout.
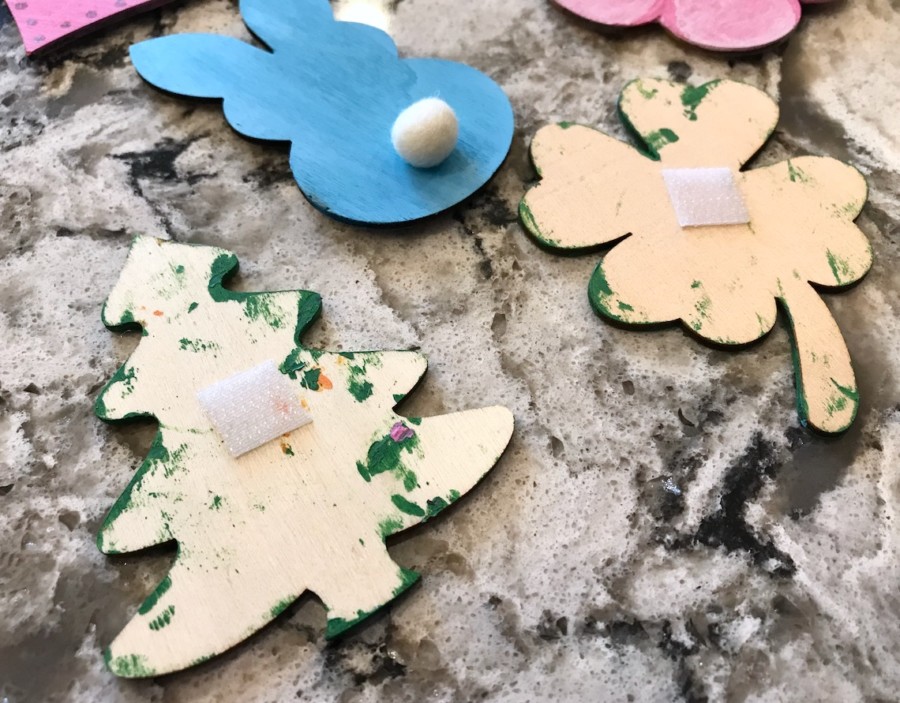
I then repeated the process and applied the correct side of velcro to each of the cutouts. (I also glued on the bunny’s pom-pom tail.)
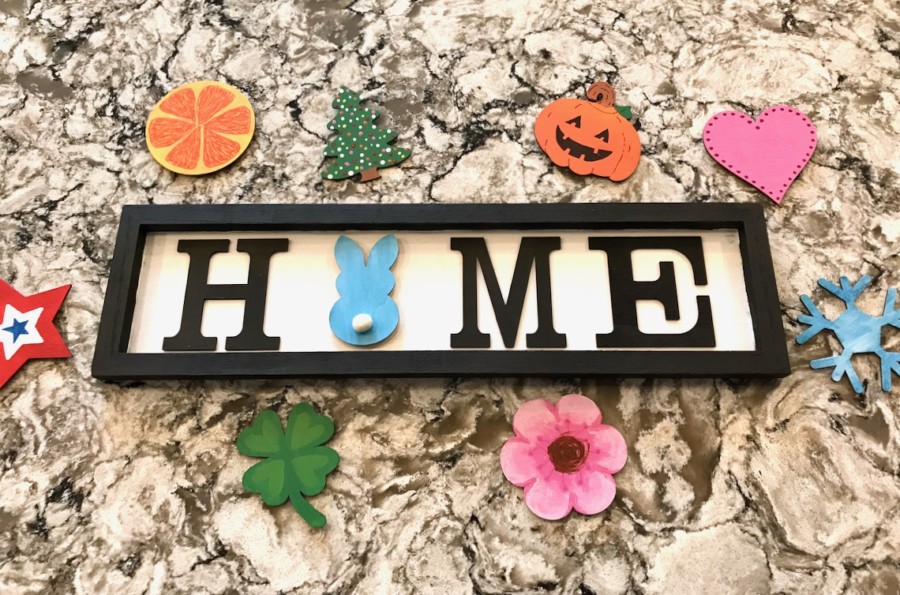
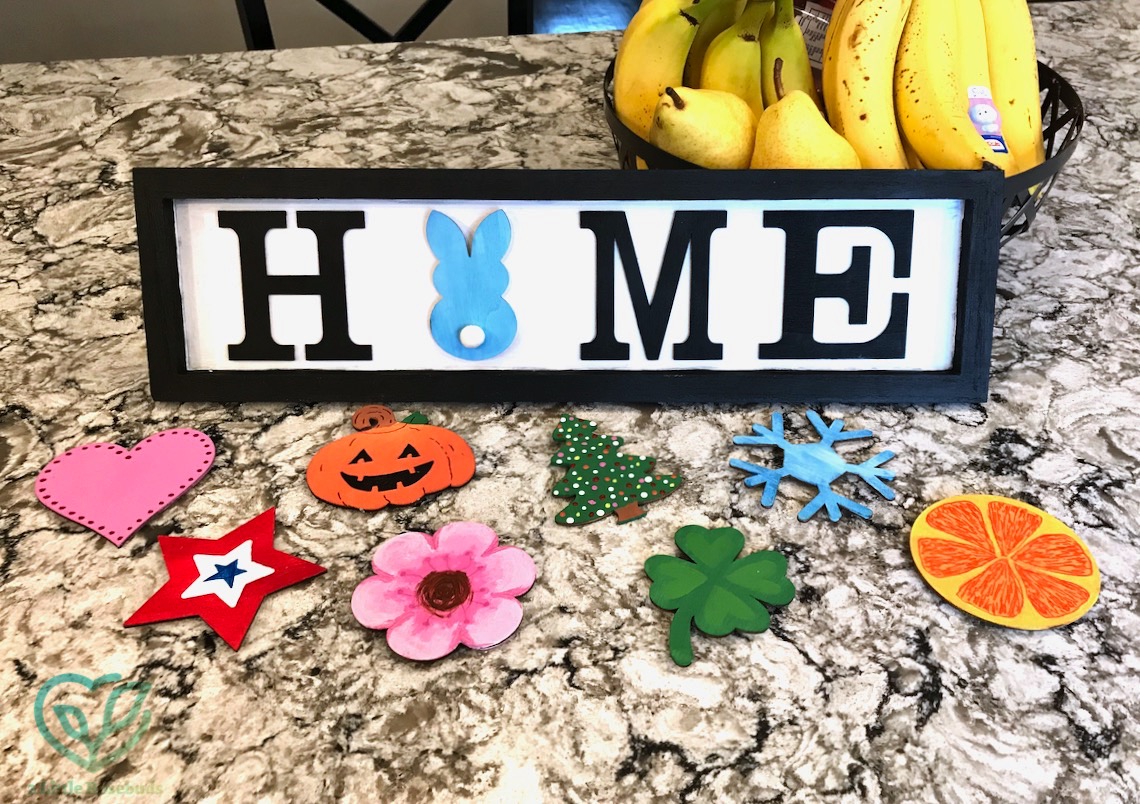
…And my sign was complete! — Aside from my less-than-stellar paint job on the inside of the frame (oops!), I absolutely LOVE how it turned out! 😀
I can easily declare that this was my favorite Annie’s Creative Woman Kit-of-the-Month Club kit to date! I’m not someone who purchases/displays many home decor pieces, but this holiday sign is something I would absolutely consider buying if I happened upon it in a store. I appreciate the simple design/color palette and I love that it can be easily altered to fit the current season. Plus, I love that I was able to tweak the designs a bit to make it more “me”. 😀 — Remember, for a limited time you can save 50% on your first month with coupon code “SHARE50“!

Leave a Reply