Annie’s Creative Woman Kit-of-the-Month Club is a crafting subscription box that gives you everything you need to start creating gorgeous, handmade, full-of-meaning treasures every month.
Each kit will include all of the crafting materials you’ll need, along with easy, step-by-step instructions to complete the project. — Just use your own basic tools, like a glue gun and scissors, and start creating. Experience crafts like painting, needlecrafts, beading, candle and soap making, mixed-media crafts and a whole lot more with each new kit.
Disclosure: Box was received for review purposes. Post may contain affiliate links.
Subscriptions are $19.99/month, but for a limited time you can save 50% on your first month with coupon code “SHARE50“!
Let’s see what’s in my Annie’s Creative Woman Kit-of-the-Month Club box!

Everything was shipped in a green padded mailer with an Annie’s logo in the bottom corner.
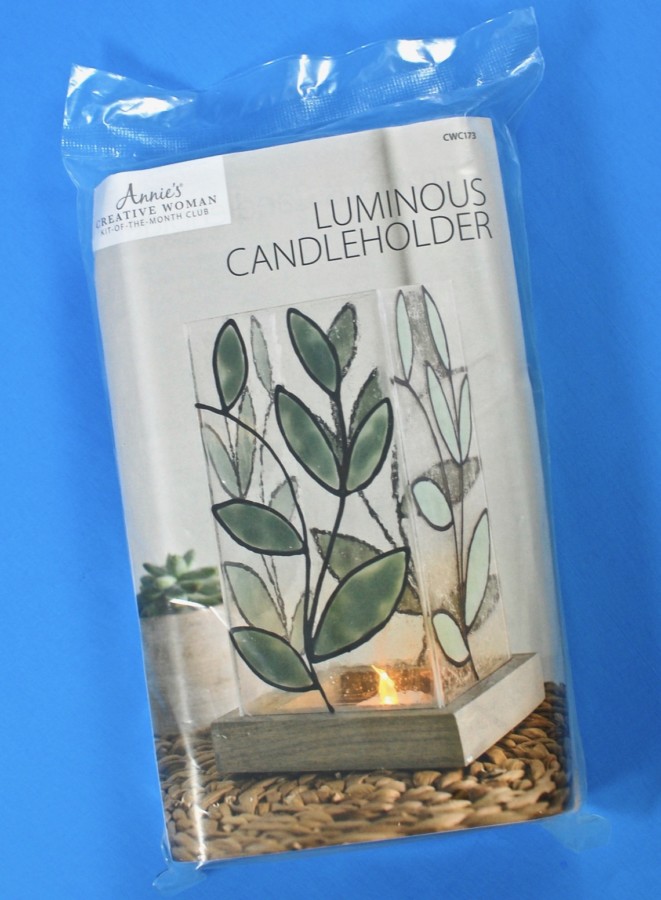
I received the “Luminous Candleholder” kit for review.
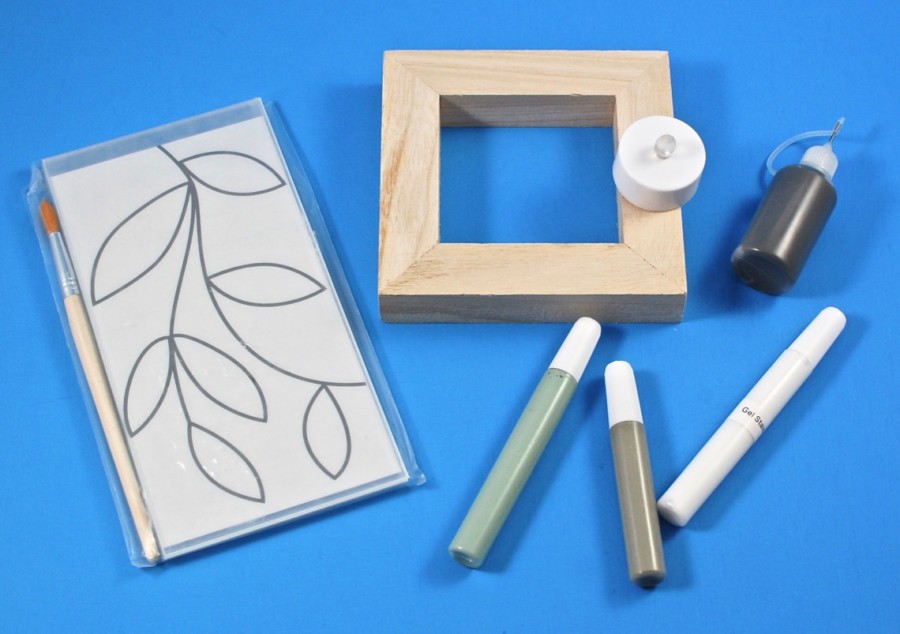
Supplies included 4 acrylic sheets, a wood base, liquid leading, glass paint, sealer, gel stain, a paintbrush, foliage artwork, and a flameless tealight candle.
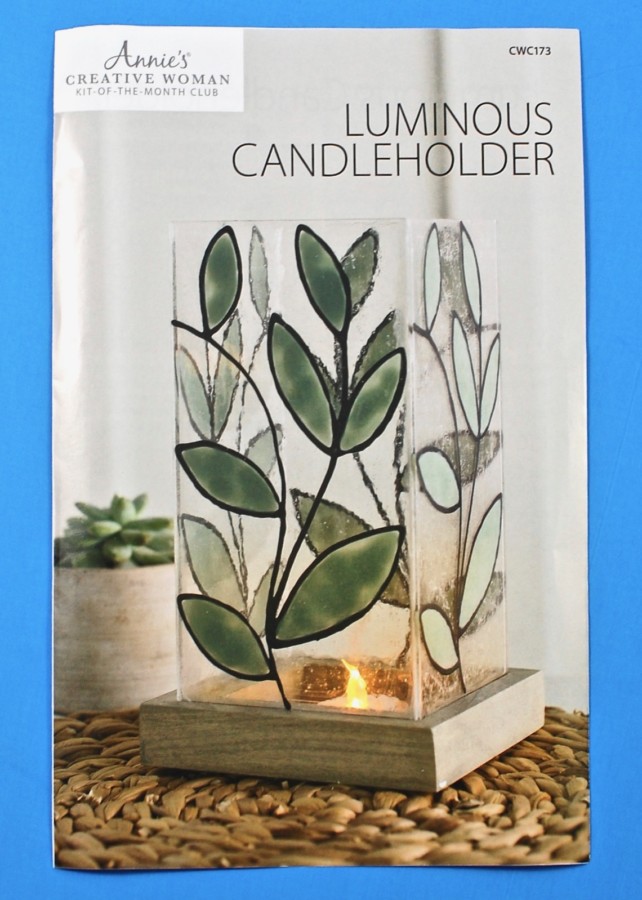
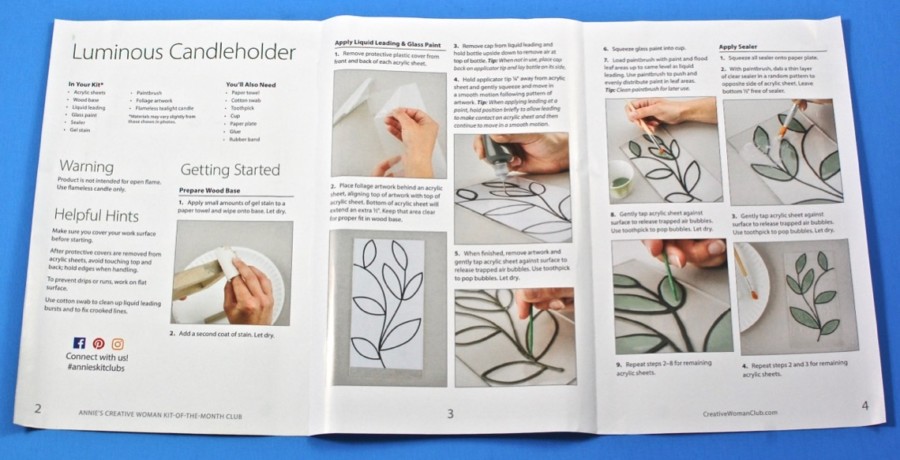
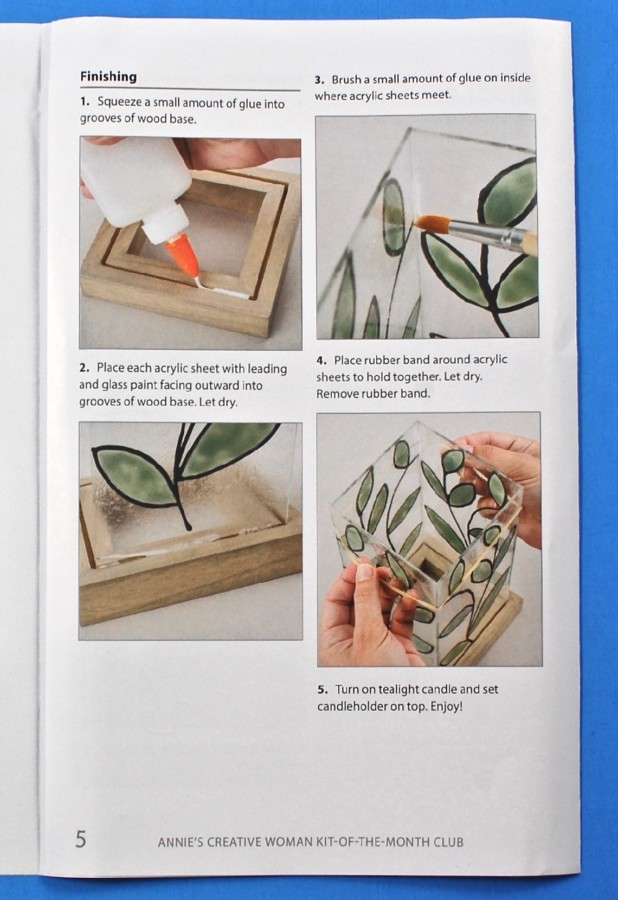
A full color booklet provided step-by-step instructions with helpful hints and photos to go along with each step.
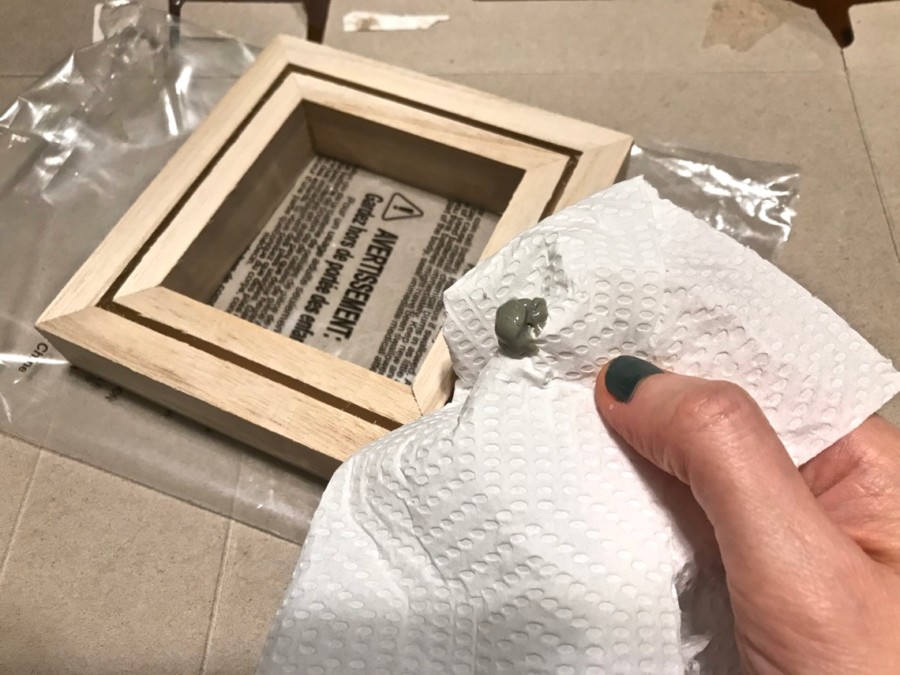
The first step was to apply gel stain all over the wood base using a paper towel. (Although the white bottle had a “gel stain” sticker on it, I thankfully figured out that it was mislabeled and the brown bottle was actually the stain. Hopefully this was only an error in my kit.)
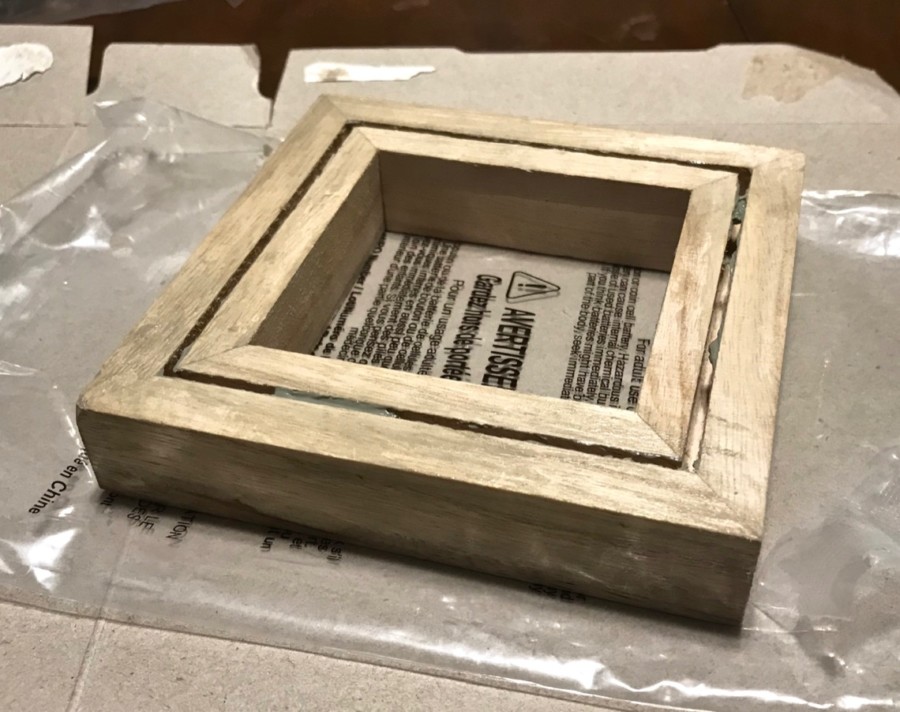
Once the first coat of stain dried, I added a second and set the base aside.
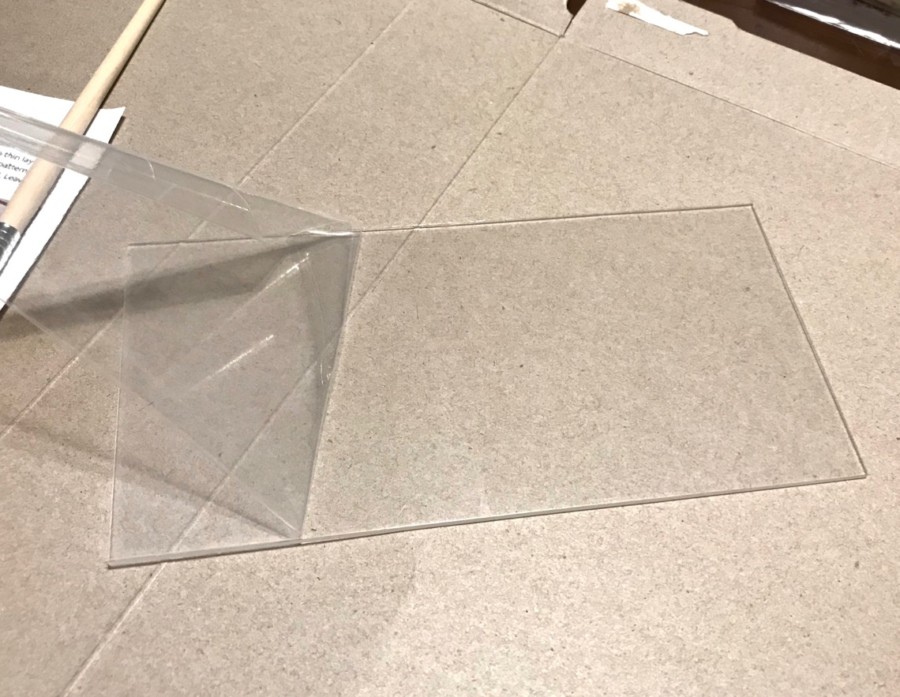
Next, I was to remove all of the protective covers from the front and back of each of the acrylic sheets.
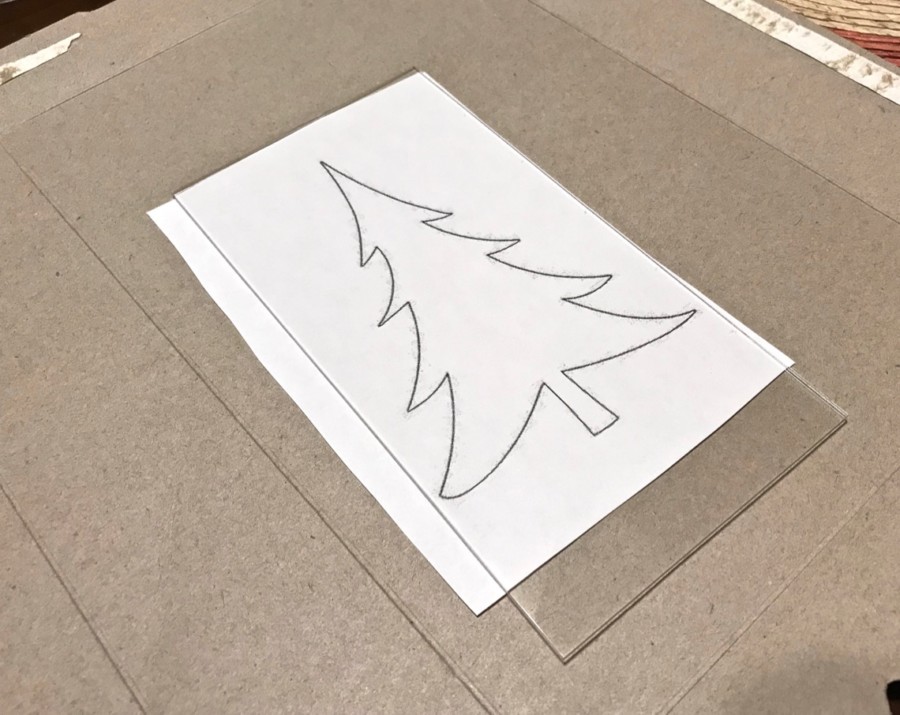
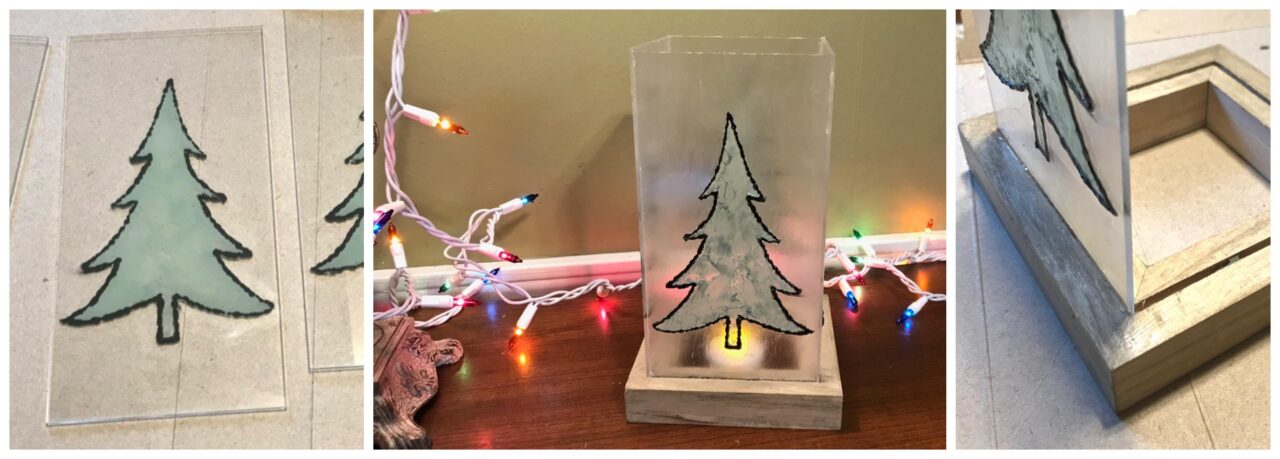
Although I didn’t mind the provided foliage design, I decided to do something a bit more seasonal and found a simple Christmas tree outline to use instead. I placed the artwork behind one of the acrylic sheets with enough space left on the bottom to fit into the wood base.
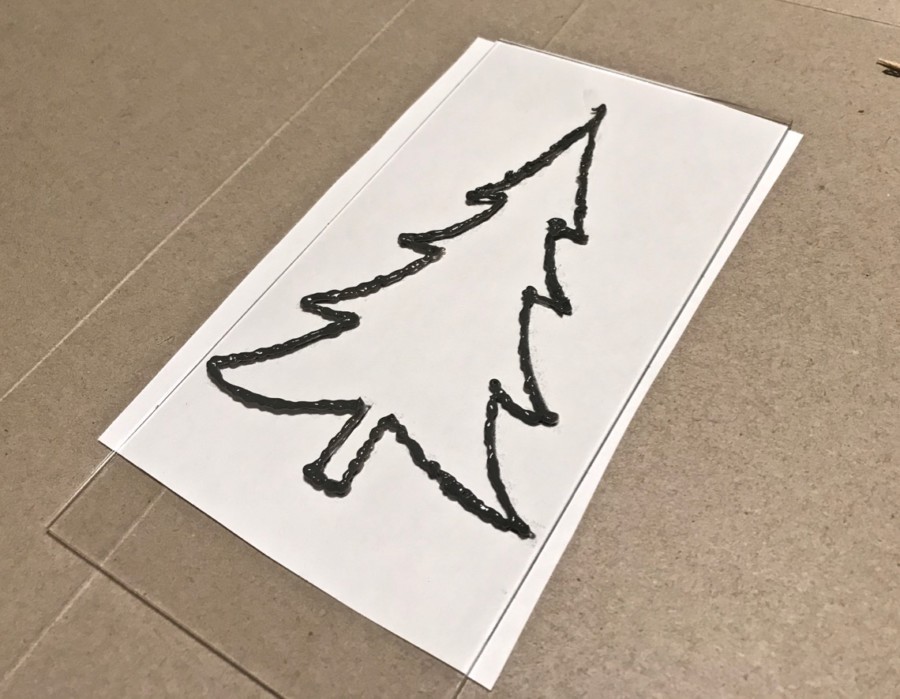
I then used the liquid leading to follow along the lines of the tree… Sounds easy enough, but it was SO hard to get the leading out of the bottle. The unevenness of the lines was not intentional. However, I was thankful that I decided to go with a tree since the jagged edges kind of work. 😉
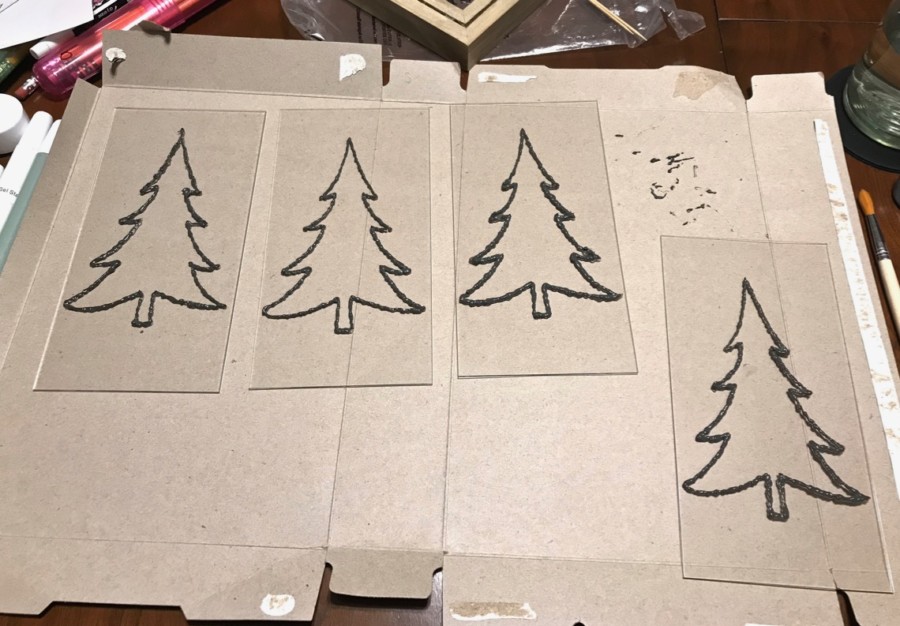
I repeated the process for the other three sheets and set them aside to dry.
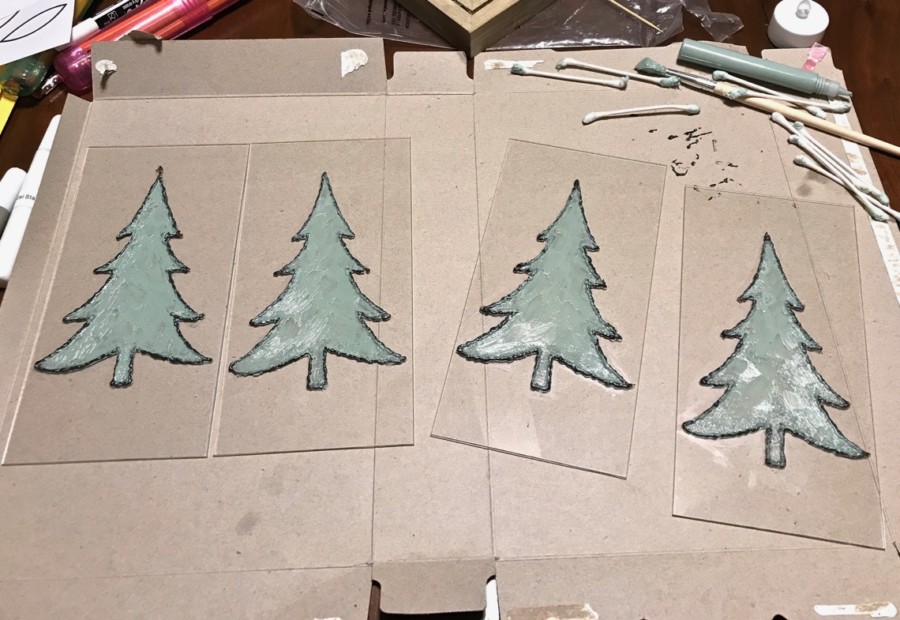
Once the leading was completely dry, it was time to add the green glass paint. The instructions said to “flood the areas up to the same level as the liquid leading”, but the paint was way too thick for any kind of flooding to occur. In hindsight, I should have thinned it out with water but I wasn’t thinking ahead and just tried to fill the trees in as best as I could.
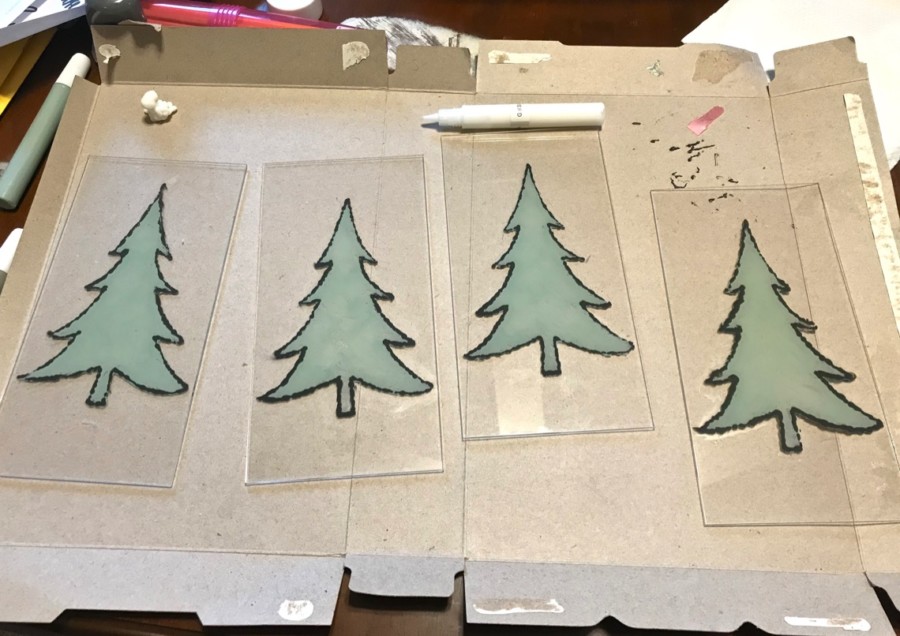
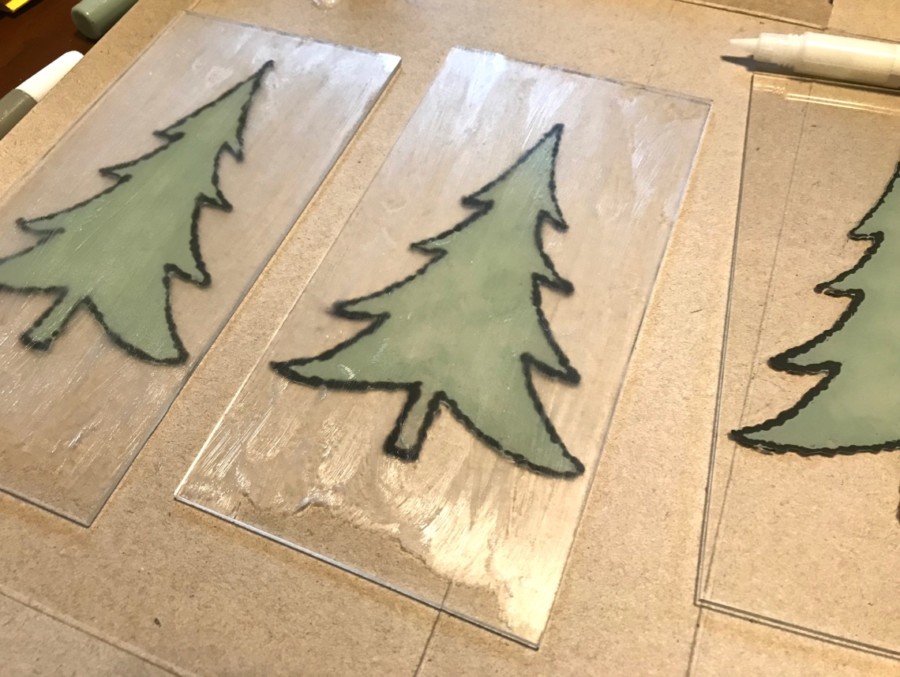
After the paint had dried, I used the paintbrush to apply sealer to all of the sheets on the non-painted sides. The bottom 1/2″ or so was left unpainted to better fit into the base.
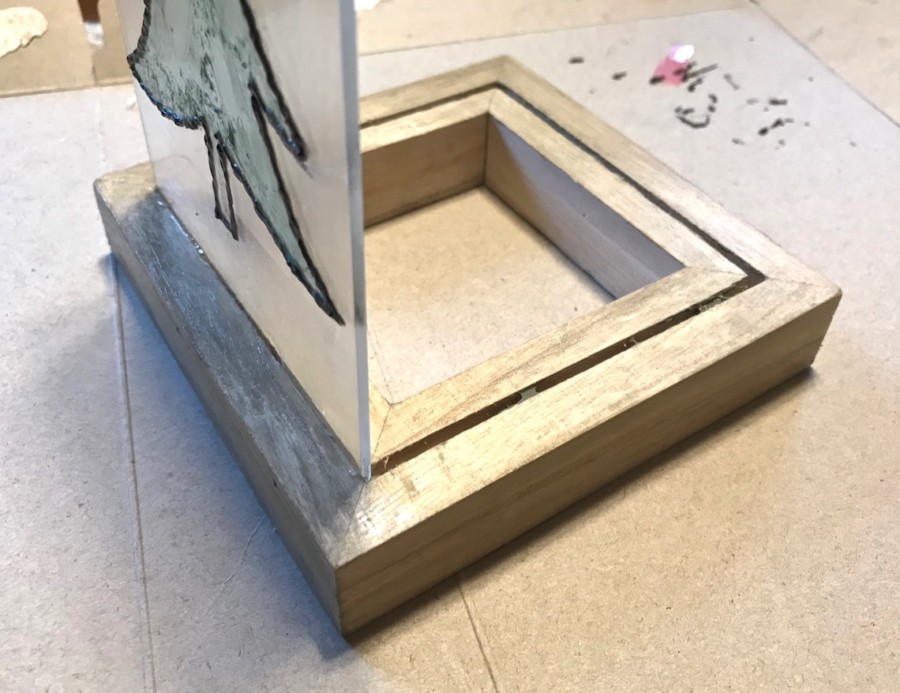
It was then time for assembly! Each sheet was inserted into the base grooves that I had poured a bit of glue inside beforehand.
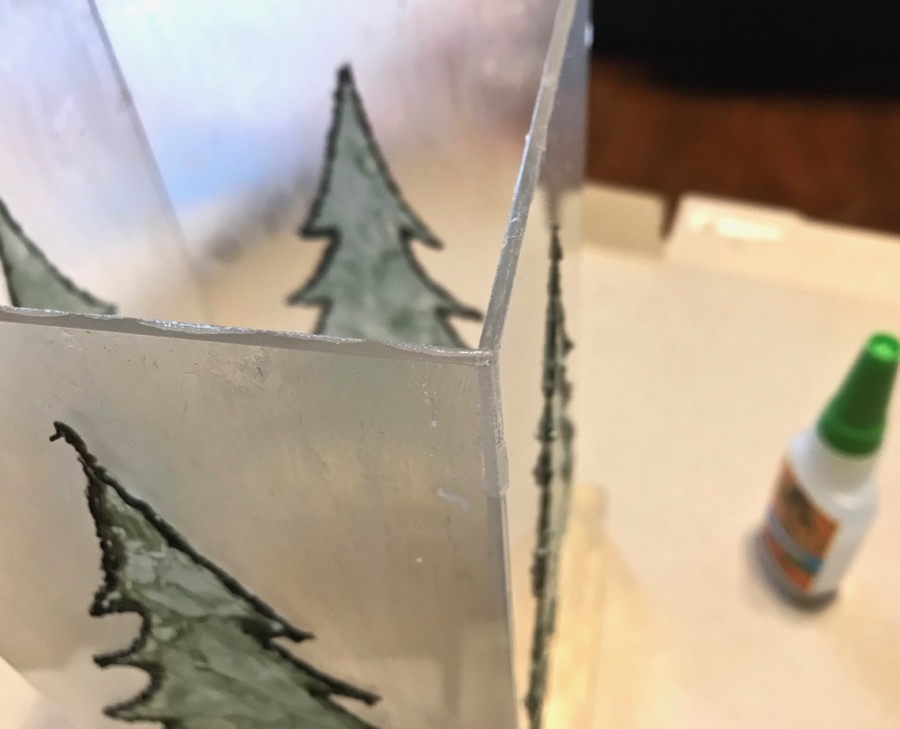
Once all 4 sheets were inserted, additional glue was applied to the corners where each of the panels met.
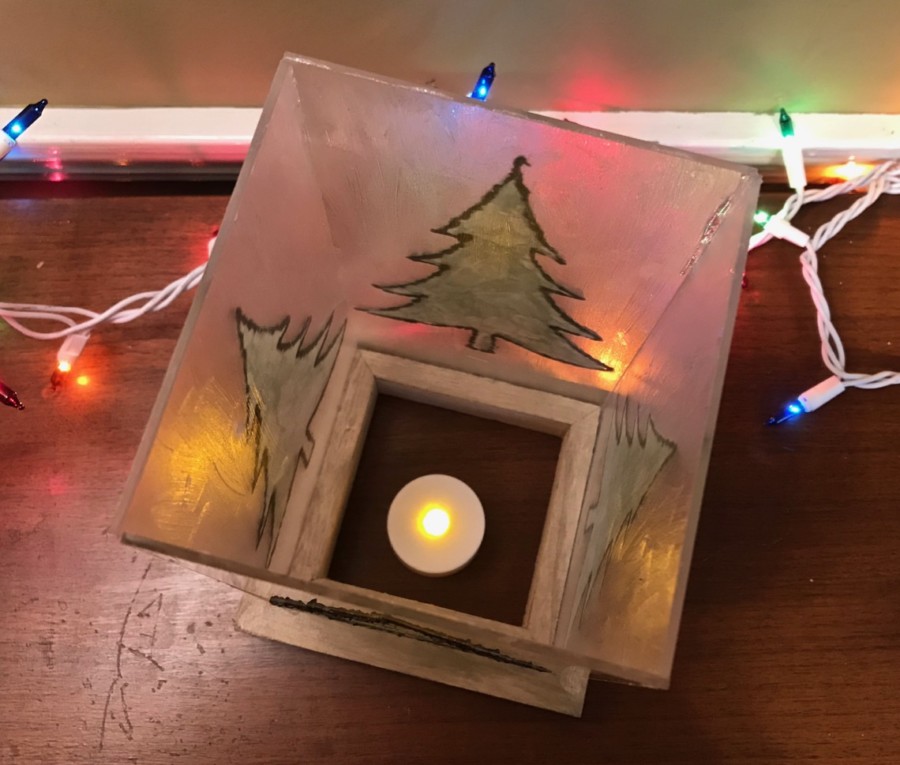
The final step was to switch on the provided tealight candle and place the completed candleholder on top.
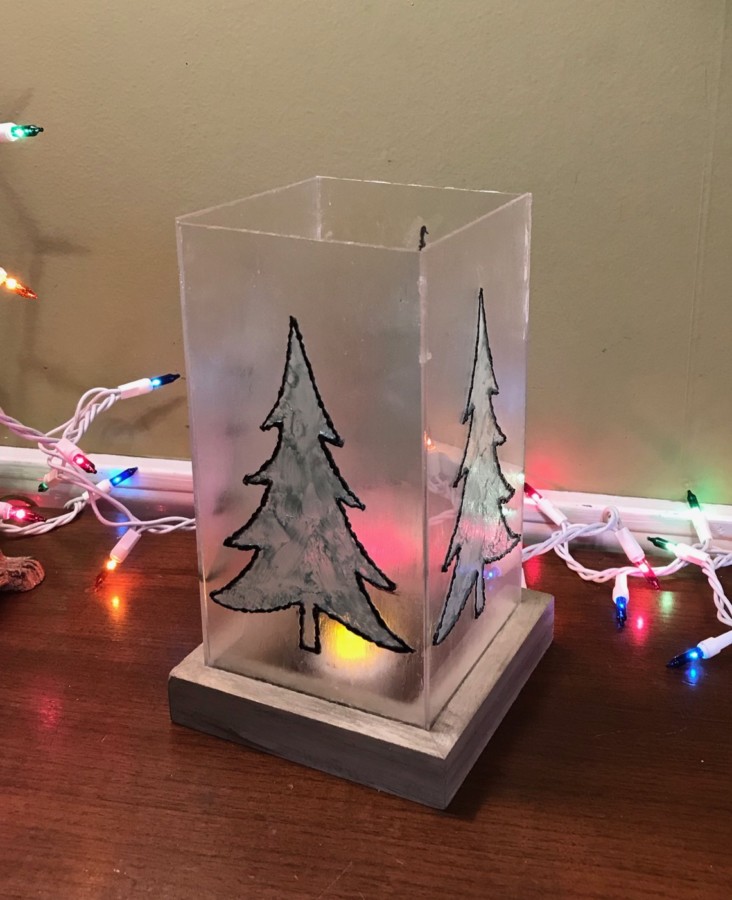
Ta-da! — A luminous holiday candleholder. 🙂
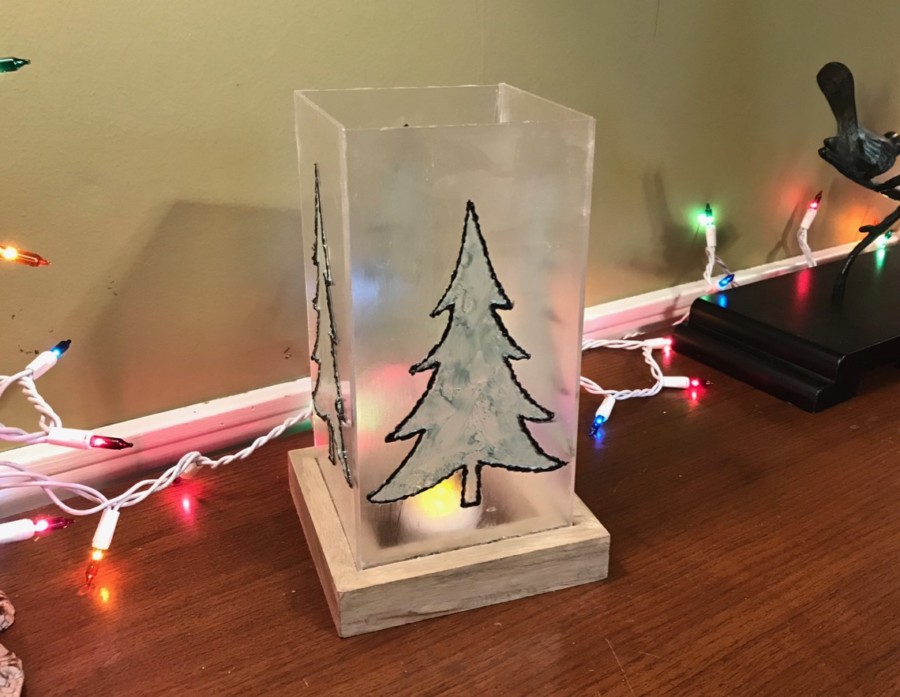
It’s not perfect and I did struggle with a few of the steps, but overall I’m happy with the result. Besides, if I place it on a high enough shelf, you’ll hardly be able to make out the flaws. 😉
Although there were a couple hiccups along the way, I still enjoyed the process of crafting my own “Luminous Candleholder” from Annie’s Creative Woman Kit-of-the-Month Club! I’m really happy that I decided to go with the tree design because I knew this wasn’t something I’d want to display year-round (trying to minimize!), but it’ll be fun to pull out once a year for the holiday season. 🙂 — Remember, for a limited time you can save 50% on your first month with coupon code “SHARE50“!

My kit gel stain was mislabeled also.
Uh oh! I hope you caught it before applying too!
Mine was mislabeled too. Not being familiar with acrylic frosting gel, I did apply it to the wood and eventually figured out that it was the wrong tube. Very disappointing, this was a Christmas gift from my husband and was so excited to try it.