Annie’s Young Woodworkers Kit Club is a monthly woodworking craft kit subscription designed for children from 7-12 years of age.
Each kit will include precut wood pieces with pre-drilled nail holes to ensure each project comes out error-free. Your child’s first three projects will include various high-quality tools sized just for kids so they can build their own tool set. Kits introduce a wide variety of woodworking skills including learning to use small screws and nails, become practiced in using sandpaper to round off edges, handling a hammer, learning the importance of making careful measurements, and so much more. Kids will make a variety of crafts and toys they can enjoy immediately, and have fun learning as they go.
Disclosure: Box was received for review. Post may contain affiliate links.
Subscriptions are $19.98/month + shipping. — For a limited time, you can get your first month for just $4.99 when you use this link to activate the offer!
Let’s see what’s in our Annie’s Young Woodworkers Club shipment!

Since I received multiple kits to review in one shipment, my Young Woodworkers kit was packed into a plain padded envelope.
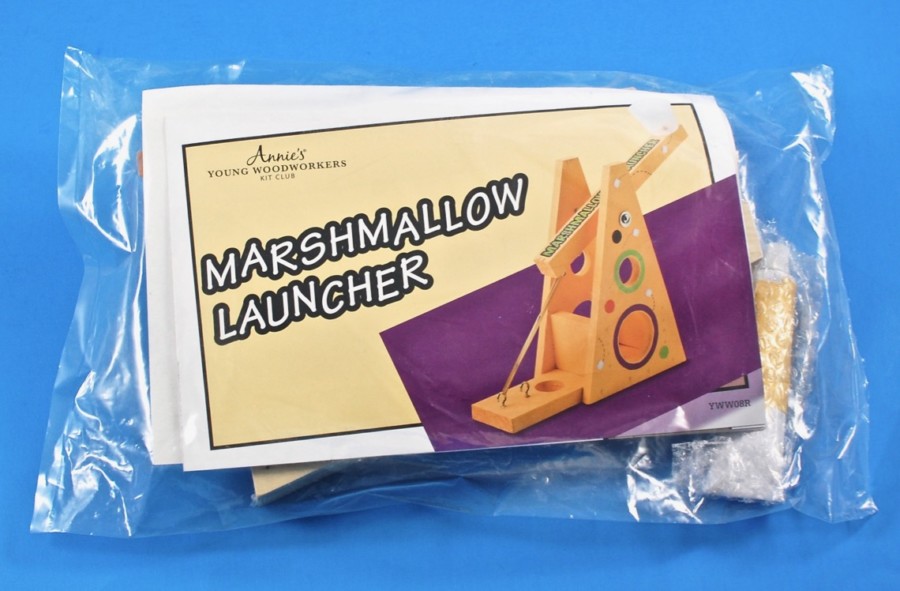
This month’s project was a “Marshmallow Launcher“!
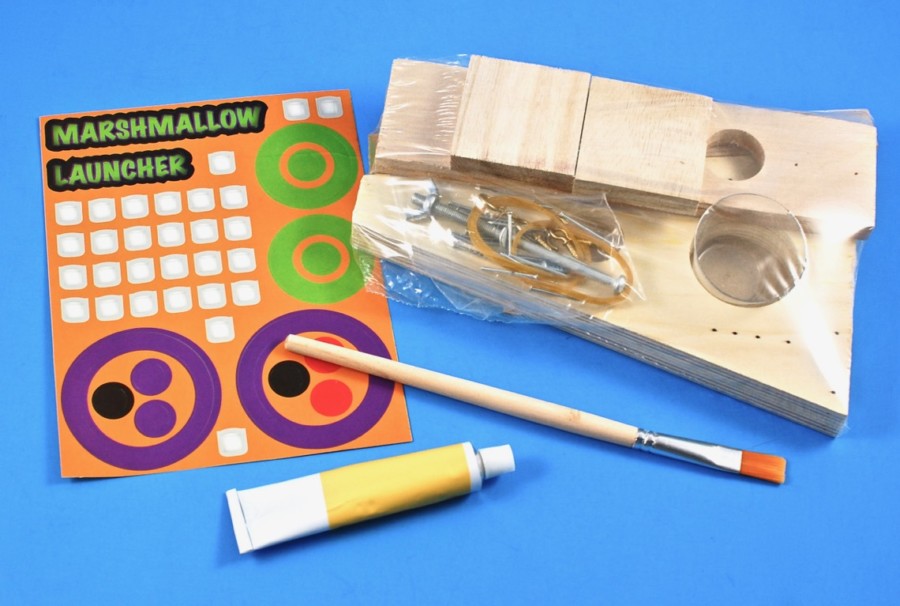
Supplies included a sheet of stickers, wooden pieces (a base, 2 supports, 2 sides & an arm), a paintbrush, yellow paint, sandpaper, a plastic cup, nails, a bolt, washers, a screw, hooks, a wing nut, and rubber bands.
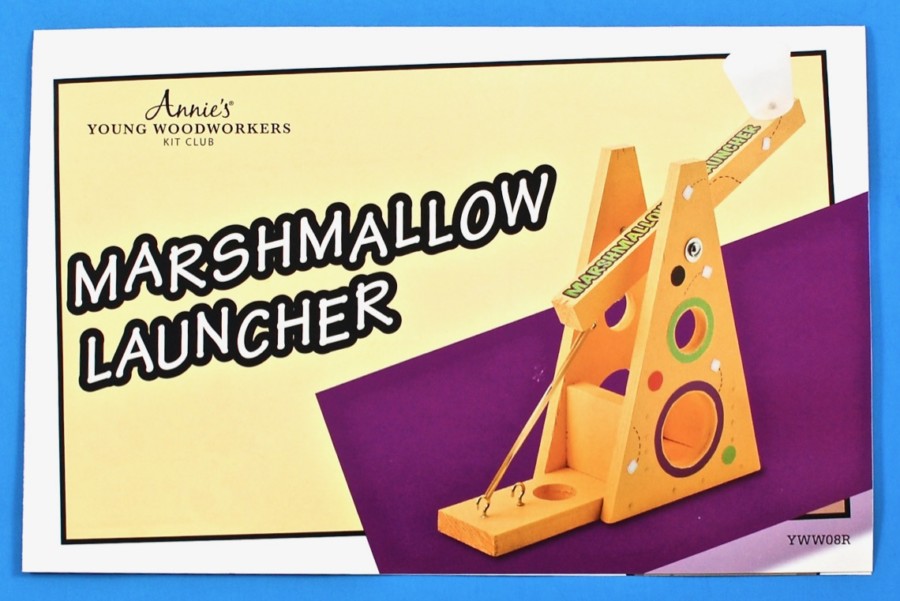
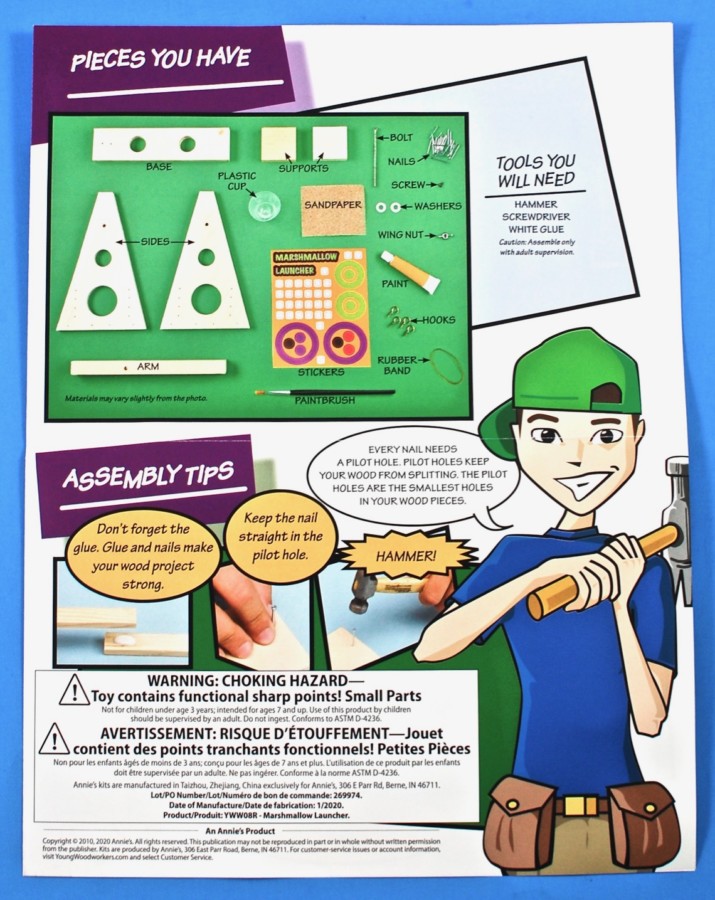
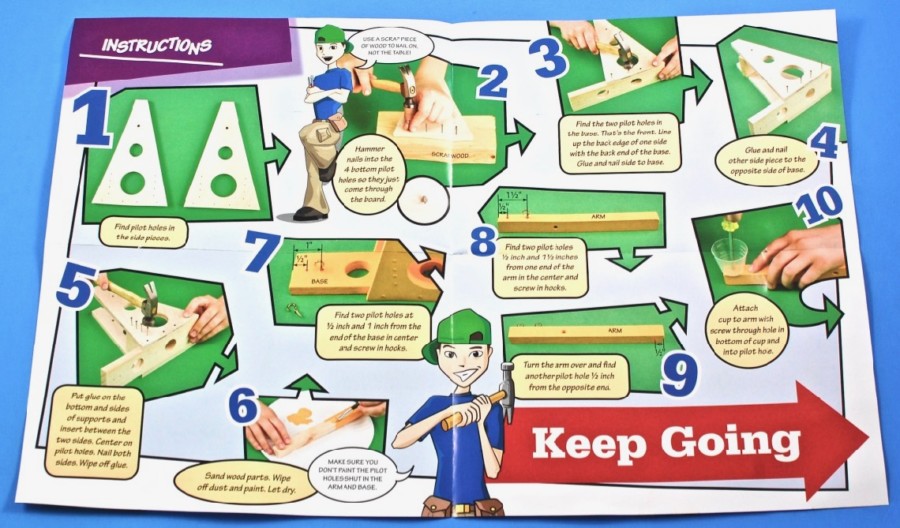
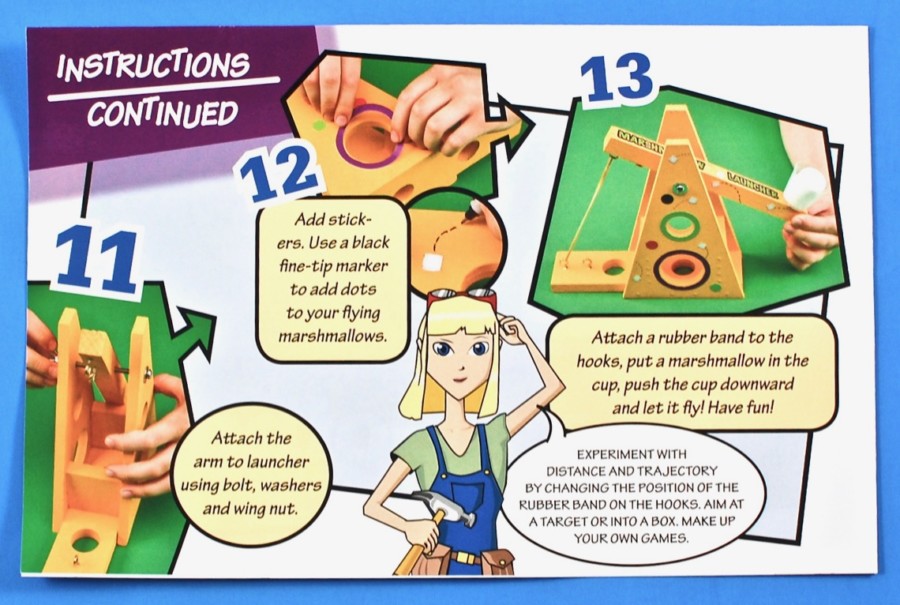
A full color insert provided step-by-step instructions with helpful hints and photos to go along with each step.
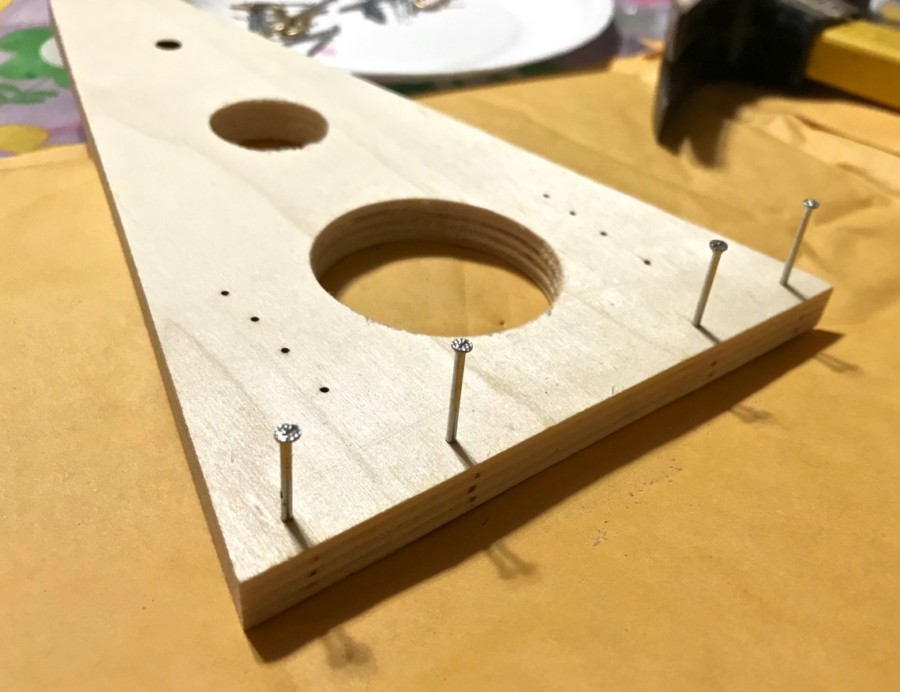
The first step was to find the four pilot holes in one of the side pieces and hammer nails in so they just come through the board.
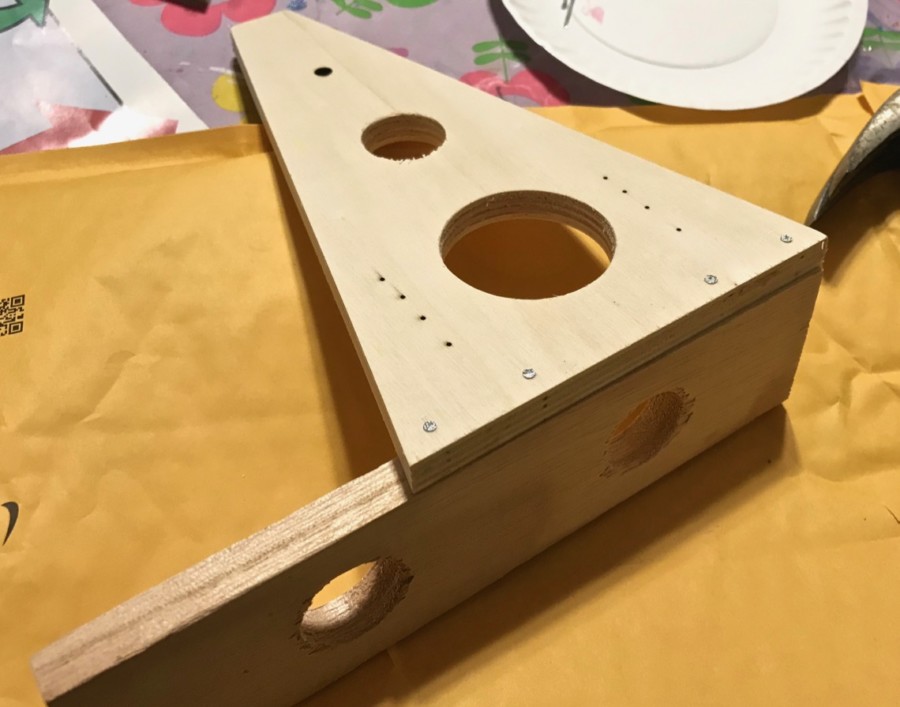
Next, we lined up the back end of the base piece with the back end of the side and glued/nailed them together.
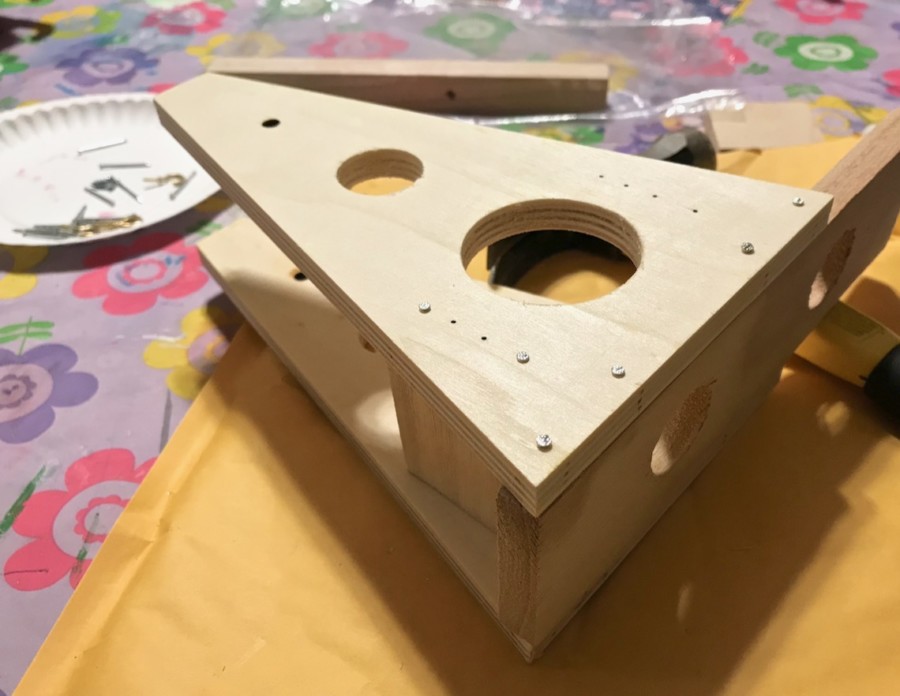
We then attached the second side and added the two support blocks in between.
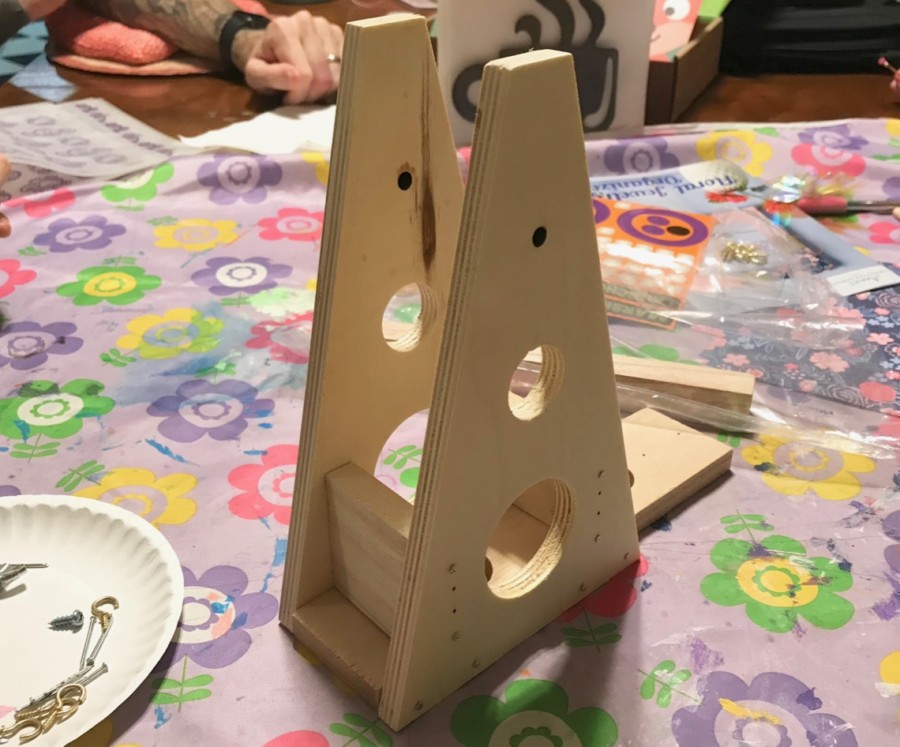
Some of the nails had flattened points, so we opted to use just two nails per side instead of four.
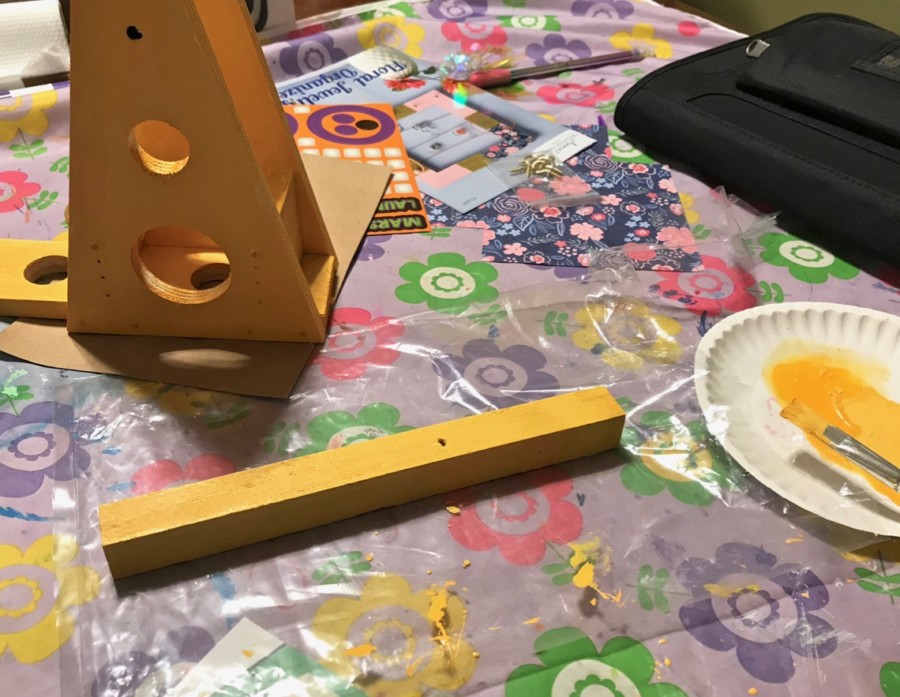
After lightly sanding down all of the wood pieces, it was time to paint them.
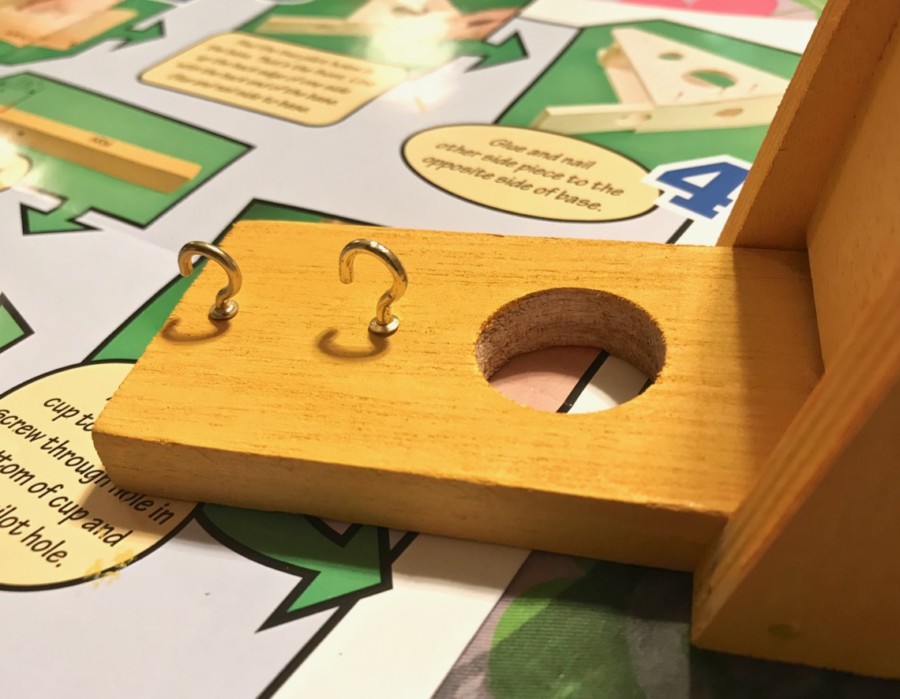
Once the paint was dry, two hooks were to be screwed (twisted) into the pilot holes on the base.
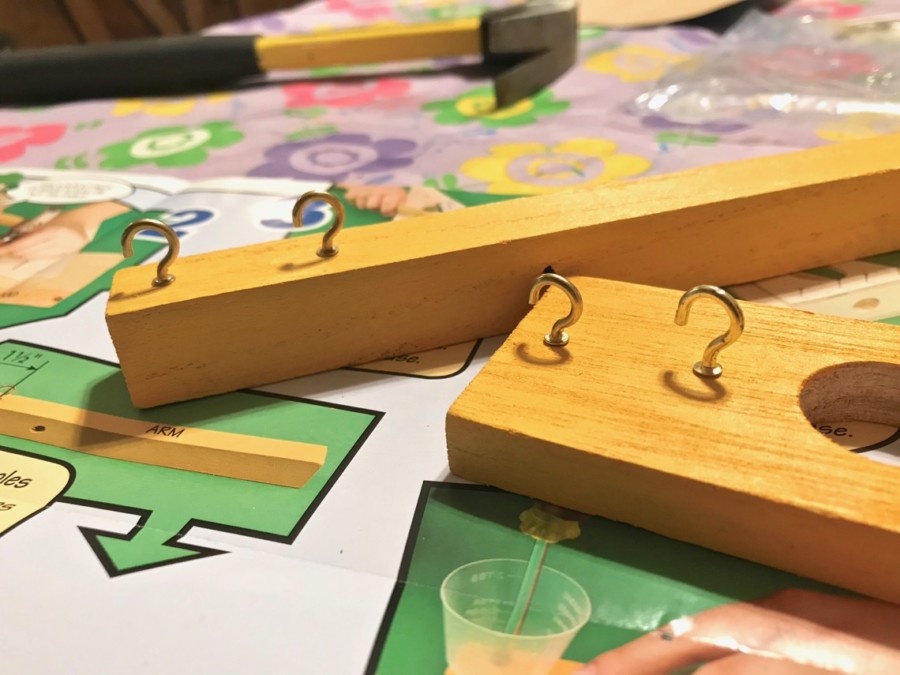
Two hooks were also added to the bottom of the “arm” piece.
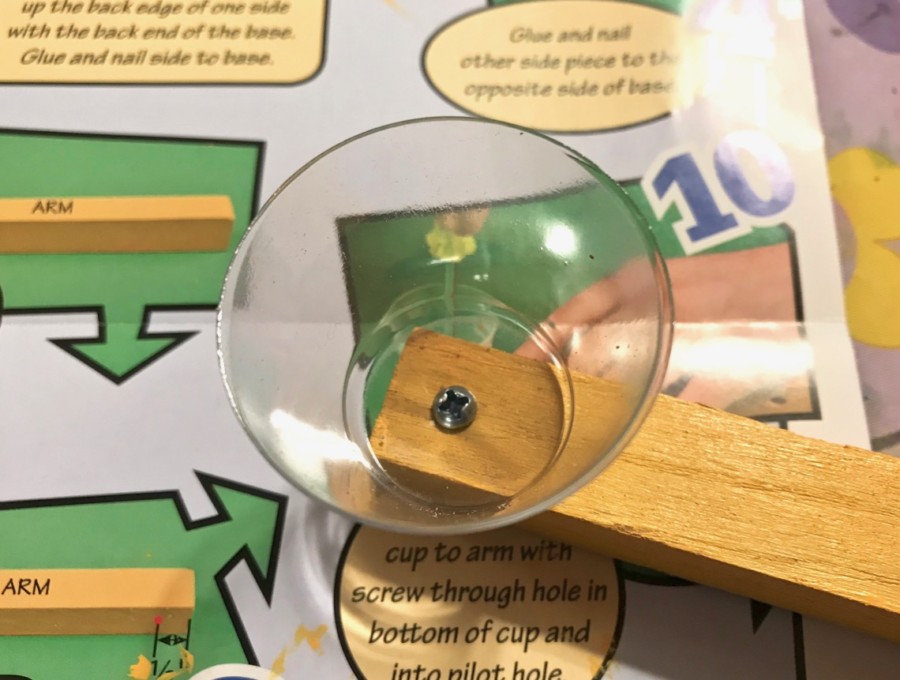
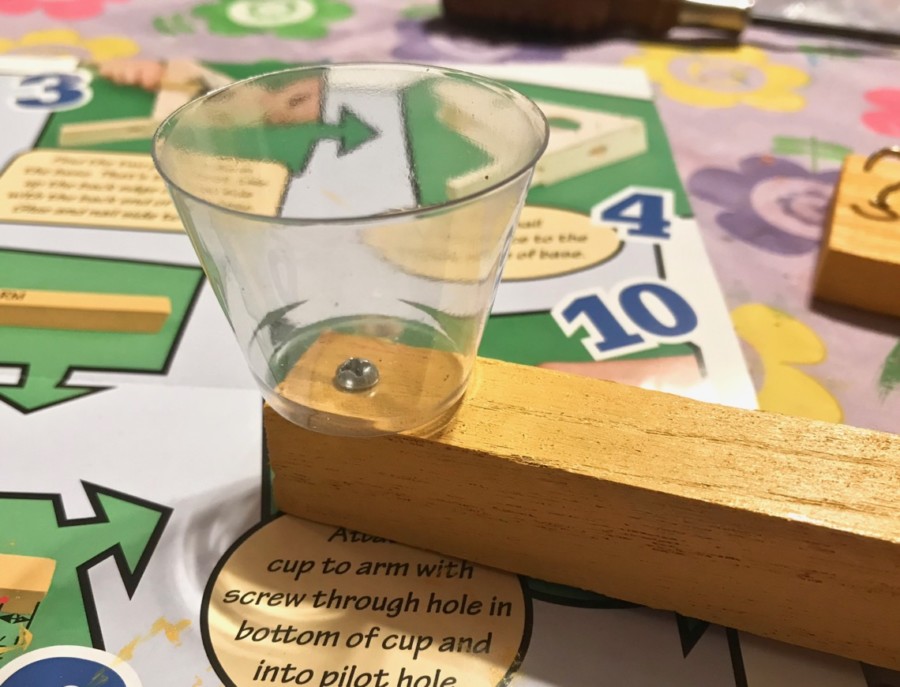
The little plastic cup (with a hole already created) was then attached to the top of the arm using a small screw.
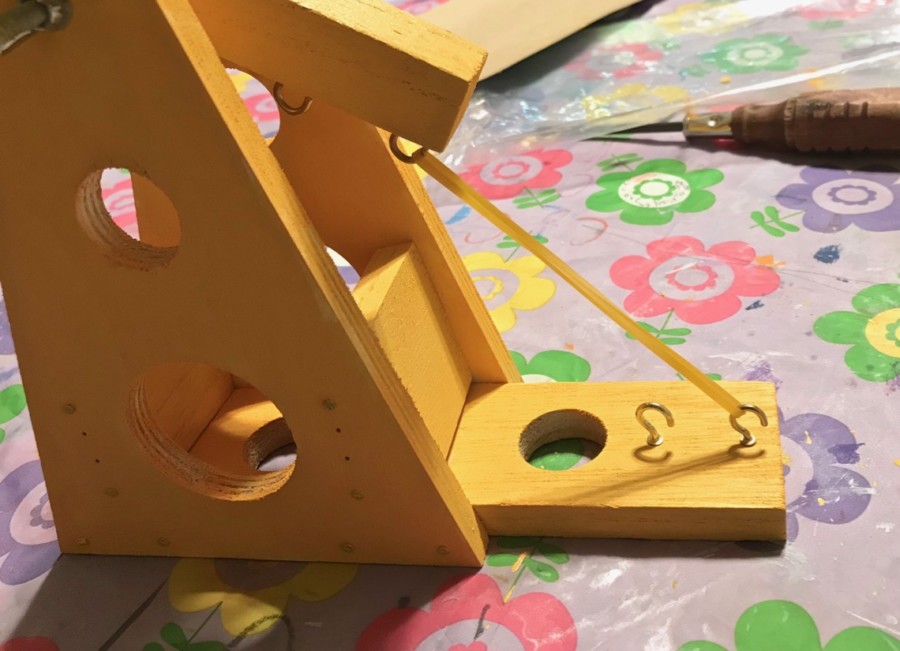
I forgot to snap photos as we attached the arm to the launcher using the bolt, washers, and wing nut. I’ll just say that it involved a LOT of twisting. Once in place, we then strung a rubber band from a hook on the arm to one on the base.
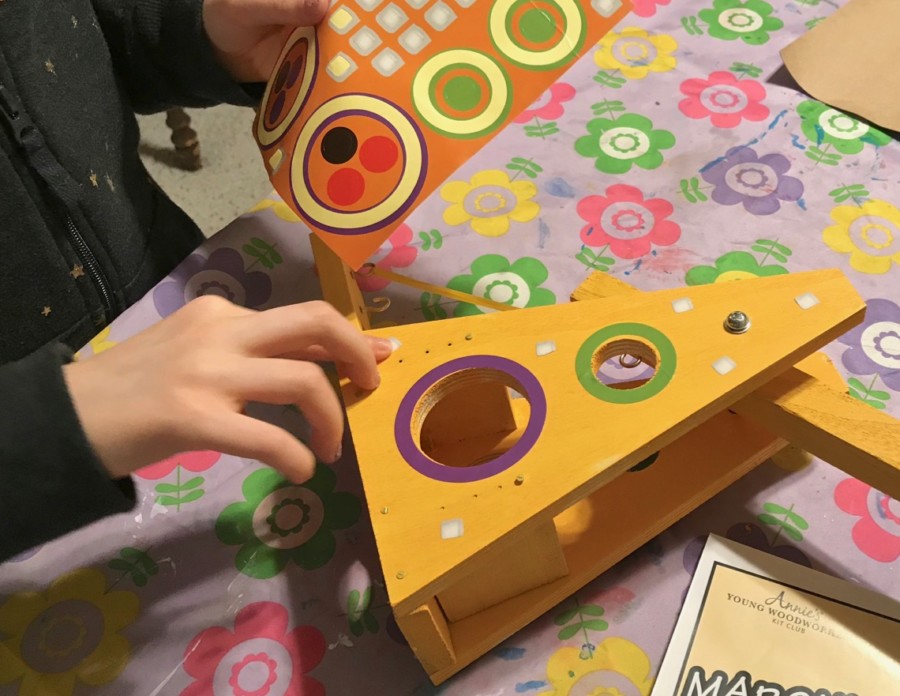
The final — and easiest — step was to add the stickers!
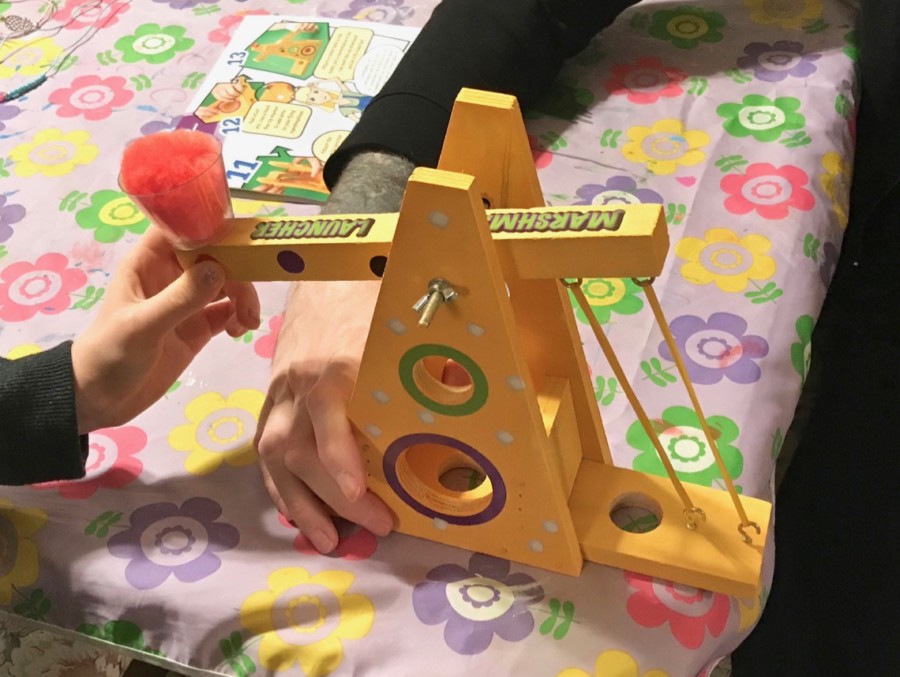
At last, it was time to launch! We didn’t have any actual marshmallows, so we improvised and used large pom-poms instead. They didn’t get as much speed/distance as a marshmallow would have, but they were fun to launch nonetheless!
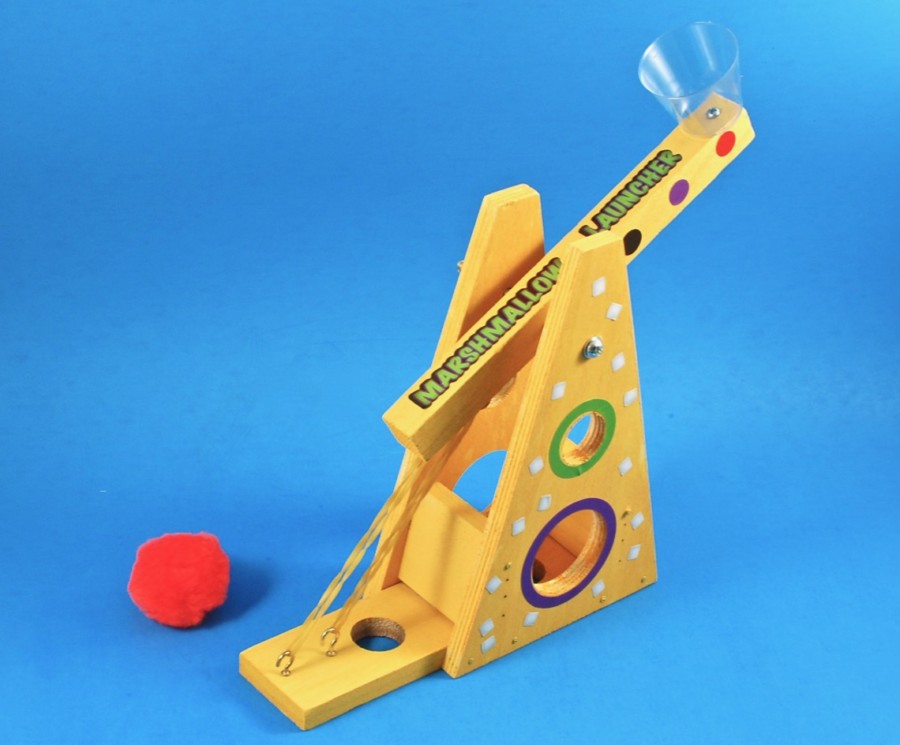
Such a fun build!
Annie’s Young Woodworkers Kit Club is a fun subscription for kids who enjoy crafting/creating and want to take it a little further with challenging projects that require actual tools. That said, I did end up doing most of this project myself with my kiddos (both age 8) handling the painting and easier tasks. Every child is different though, so I’m sure there are younger kids that could be trusted wielding a hammer. However, my girls just aren’t quite there yet. 😉 Either way, we were all happy with how our Marshmallow Launcher turned out! — Remember, for a limited time you can get your first month for just $4.99 when you use this link to activate the offer!

Leave a Reply