Girls Can! Crate is a monthly subscription box that inspires girls ages 5-10 to believe they can be and do anything by introducing them to fearless women who made the world better.
Each box will include a 20-page activity book telling the featured woman’s unique story (as well as games, experiments, & more), 2-3 hands-on STEAM (science, technology, engineering, art, and math) activities related to her field, a creative play prop, a featured character trait that helped her succeed and 2-3 practical tips for parents to easily foster that trait, and more. The boxes are designed to encourage a love for STEAM, to foster creativity, curiosity, and support literacy development. With every box purchased, Girls Can! Crate donates 10% of the proceeds to nonprofit organizations working to empower women and girls.
Disclosure: I received this box for review purposes. I was not compensated in any way. All opinions are my own. Post may contain affiliate and/or referral links.
Subscriptions are $29.95/month or less with multi-month commitments. Shipping is free within the US. — For a limited time, you can save 20% on your first month with coupon code “WELCOME20“!
Let’s see what’s in my December 2020 Girls Can! Crate!
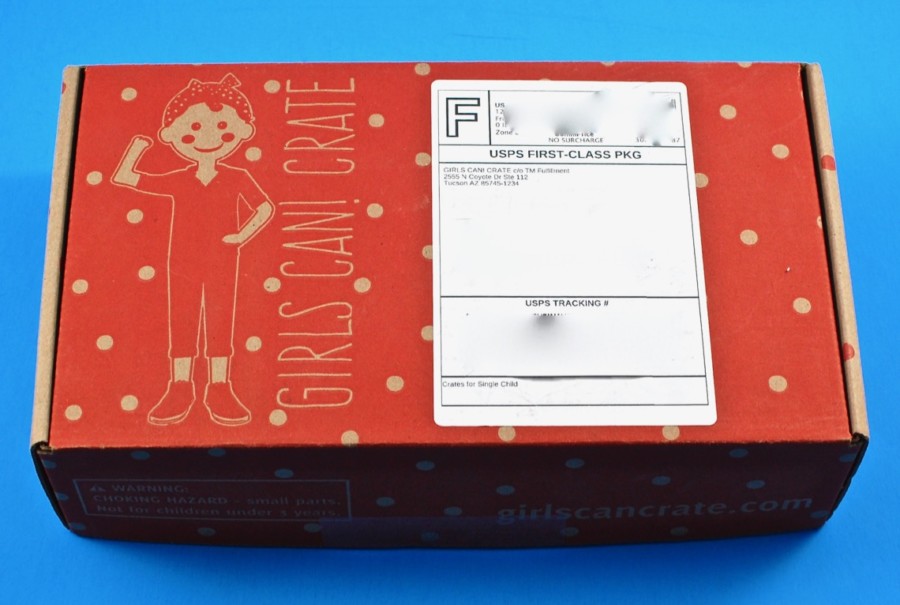
Everything was shipped in a bright red box with the Girls Can! Crate logo on top.
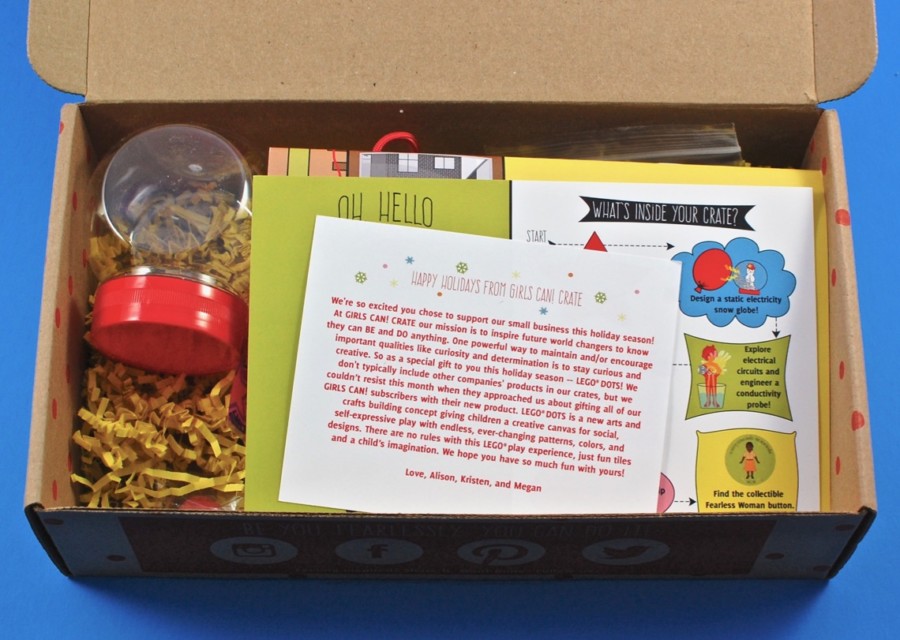
A peek inside!

A note revealed that a special gift was included in this month’s box — LEGO® DOTS!
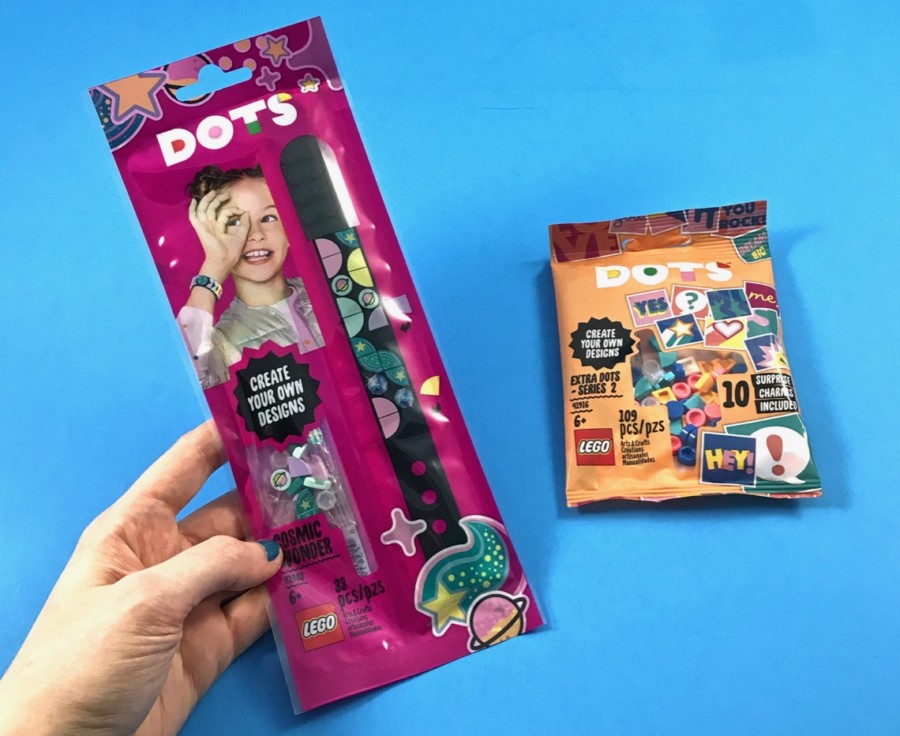
Both of my daughters just received a LEGO® DOTS Rainbow Jewelry Stand for Christmas, so they were extra excited to add this Cosmic Wonder Bracelet and pack of Extra DOTS to their collection. — Such a fun surprise! 😀
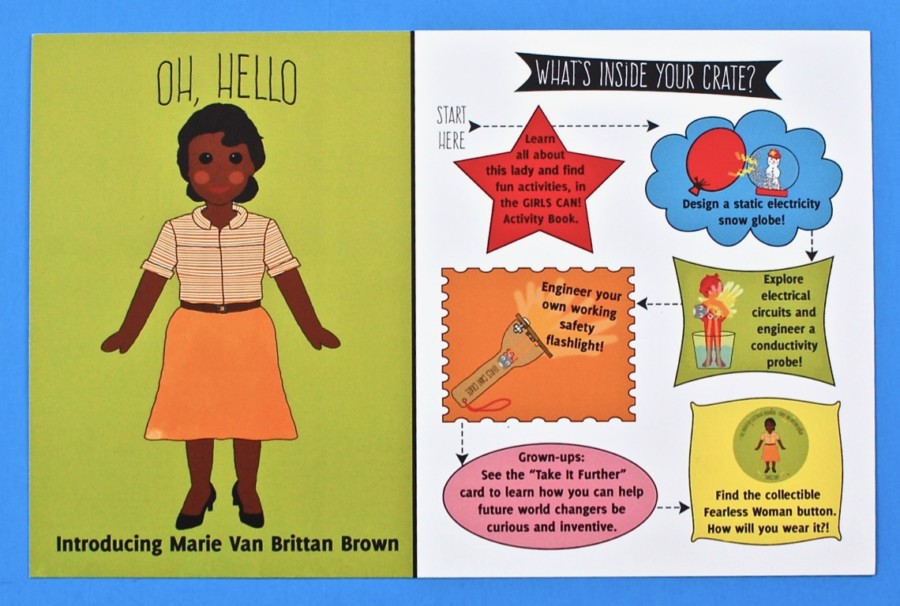

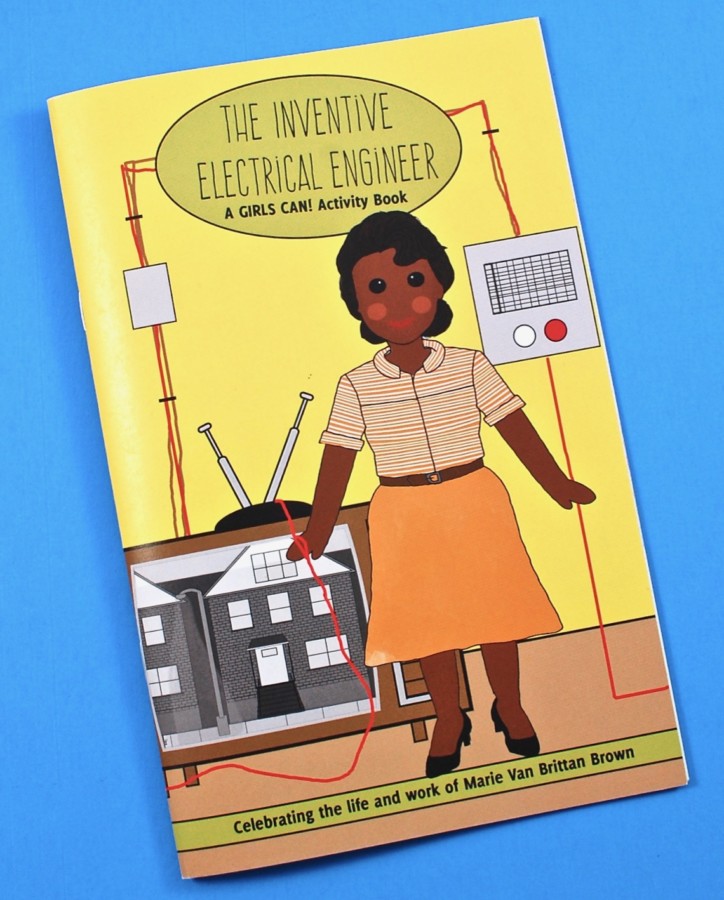
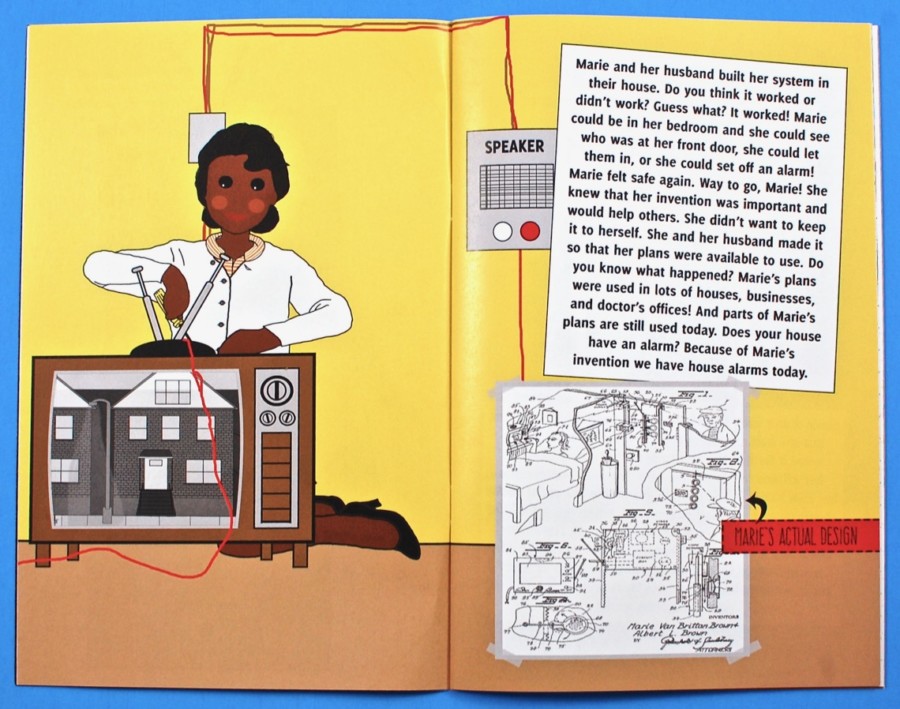
December’s featured “fearless woman” was Marie Van Brittan Brown — the inventor of the first home security system and first closed circuit television. An information card listed all of the activities in the crate and the order in which they should be completed. The reverse side included tips for parents to encourage their girls to be curious just like Marie.
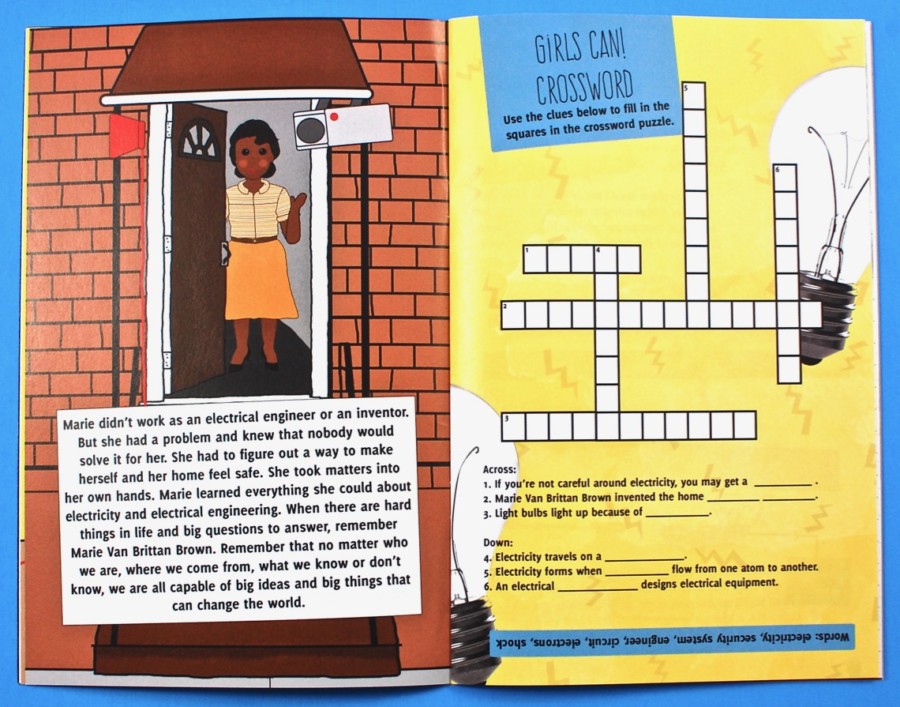
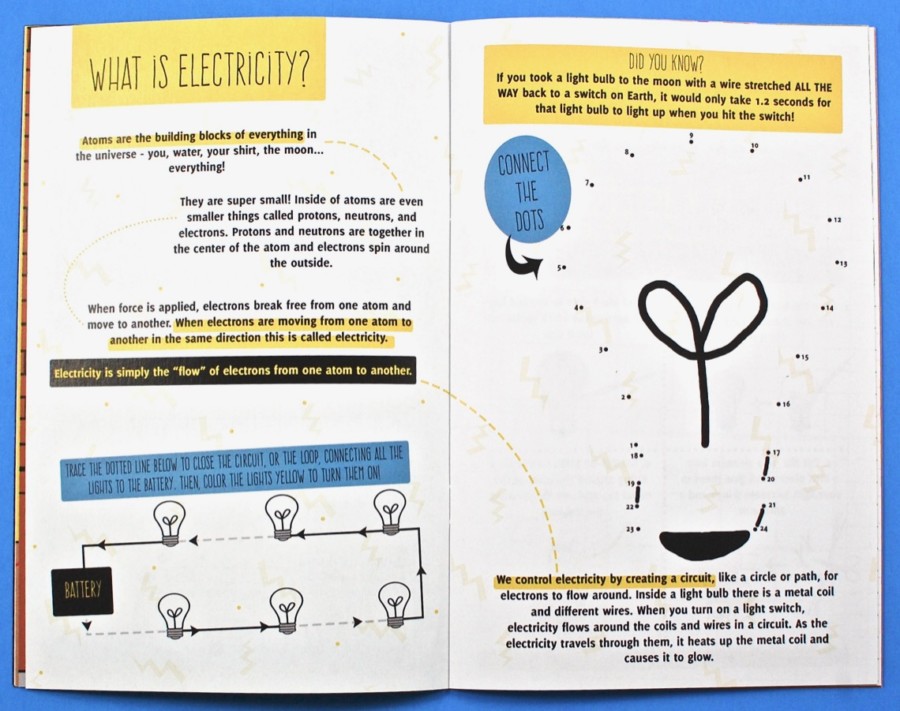
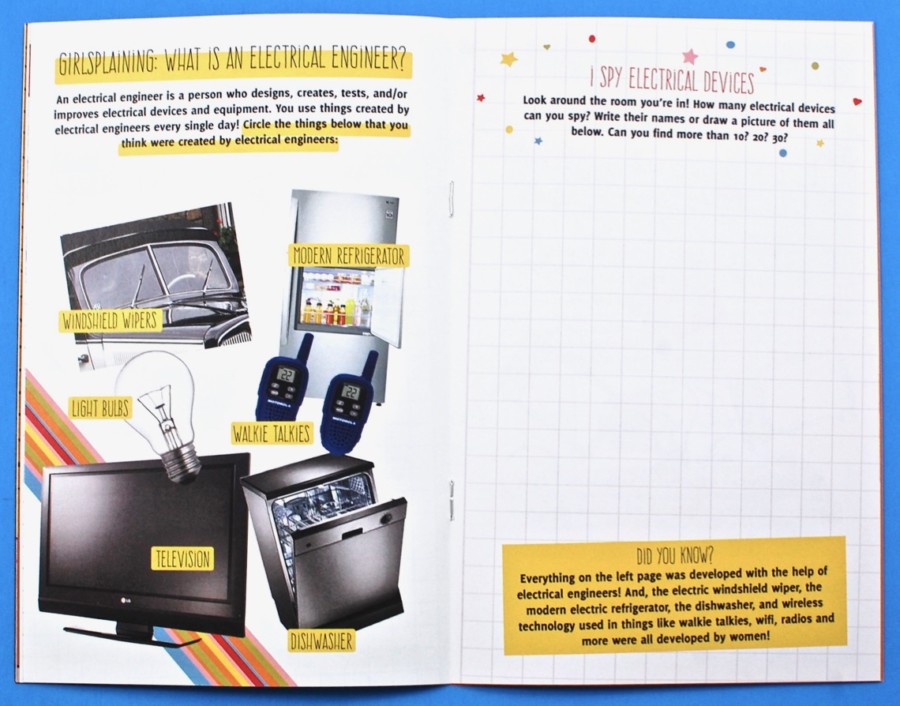
Activity Book
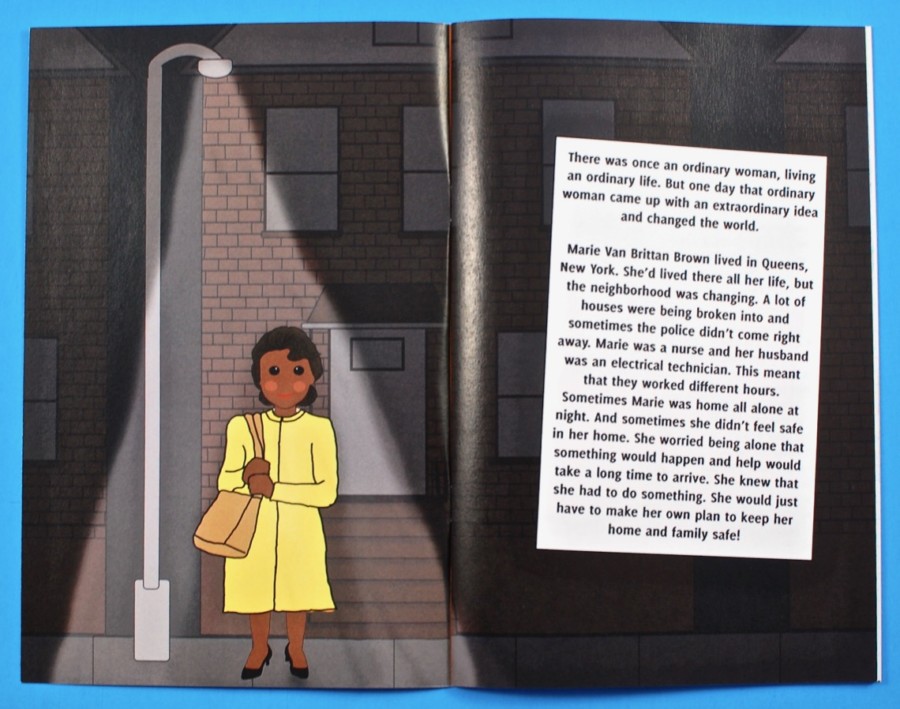
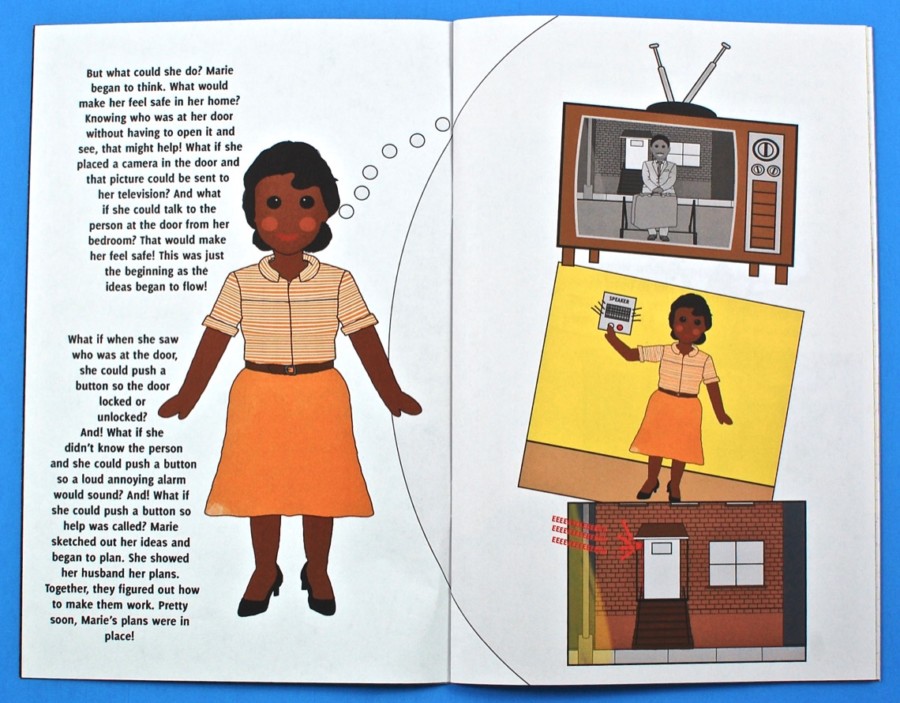
A 20-page, full color activity book included the story of Marie Van Brittan Brown and how she took matters into her own hands to make herself feel safe by creating the world’s first home security system. It also included puzzles, games, experiments, and more. All of the activity instructions were printed in the booklet as well.
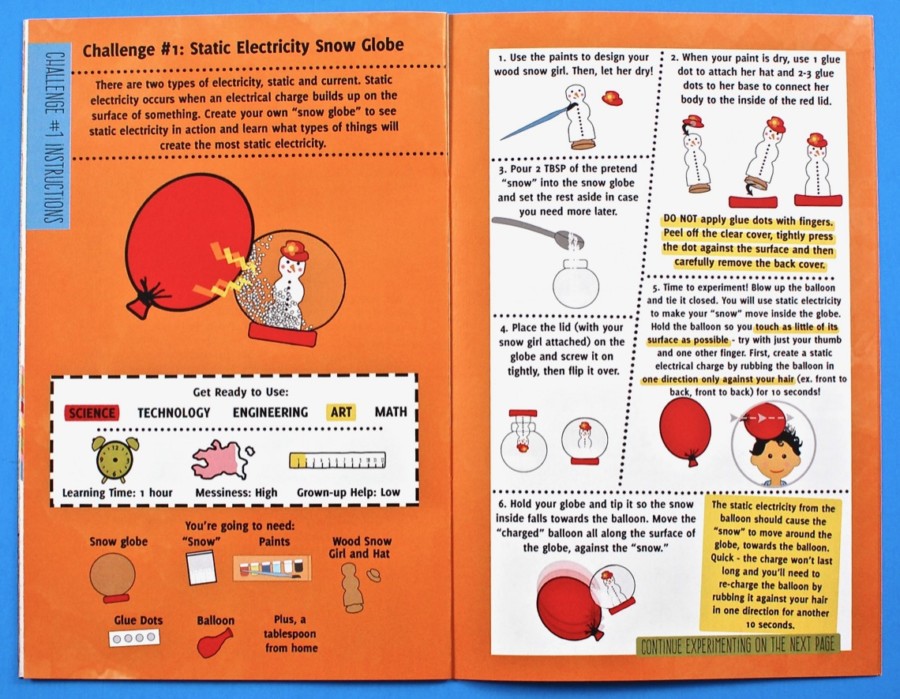
Challenge #1: Static Electricity Snow Globe
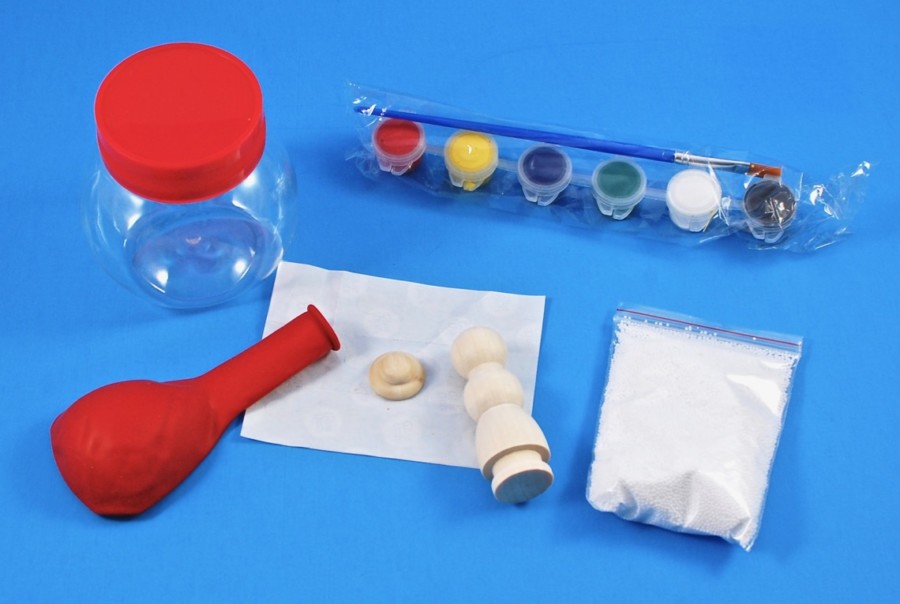
The first activity had us creating a static electricity powered snow globe. Materials included a small plastic jar (“snow globe”), paints/paintbrush, a balloon, glue dots, a wood snow girl & hat, and a packet of artificial “snow”.
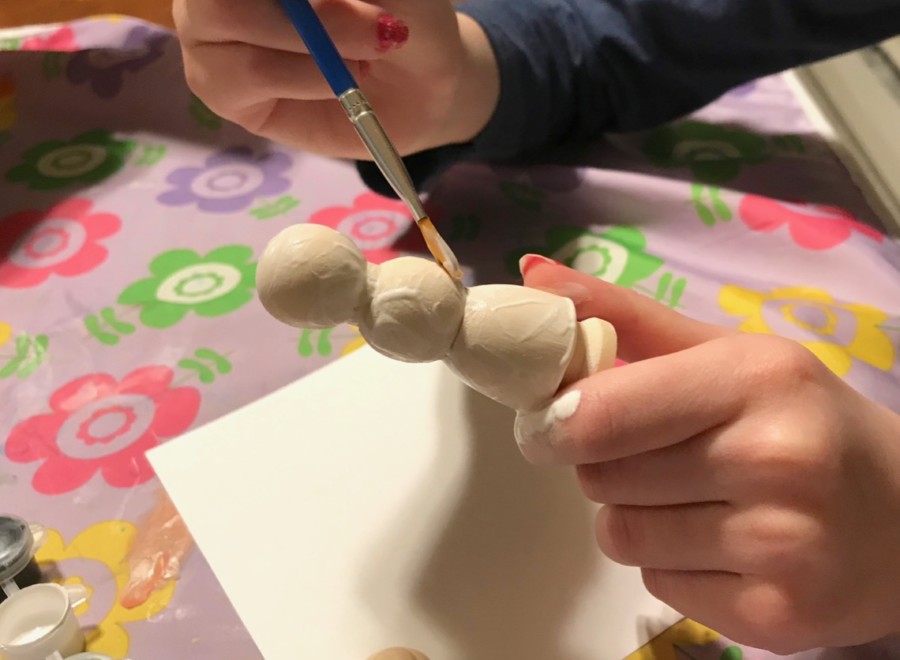
First, we needed to paint our little snow girl and let her dry.
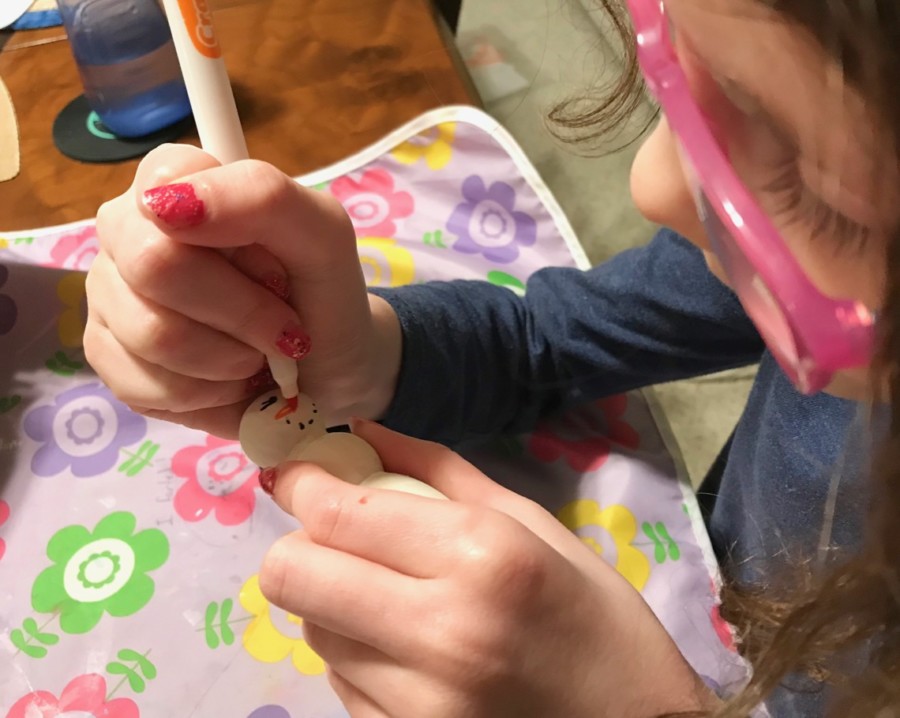
Once dry, we added her facial features…
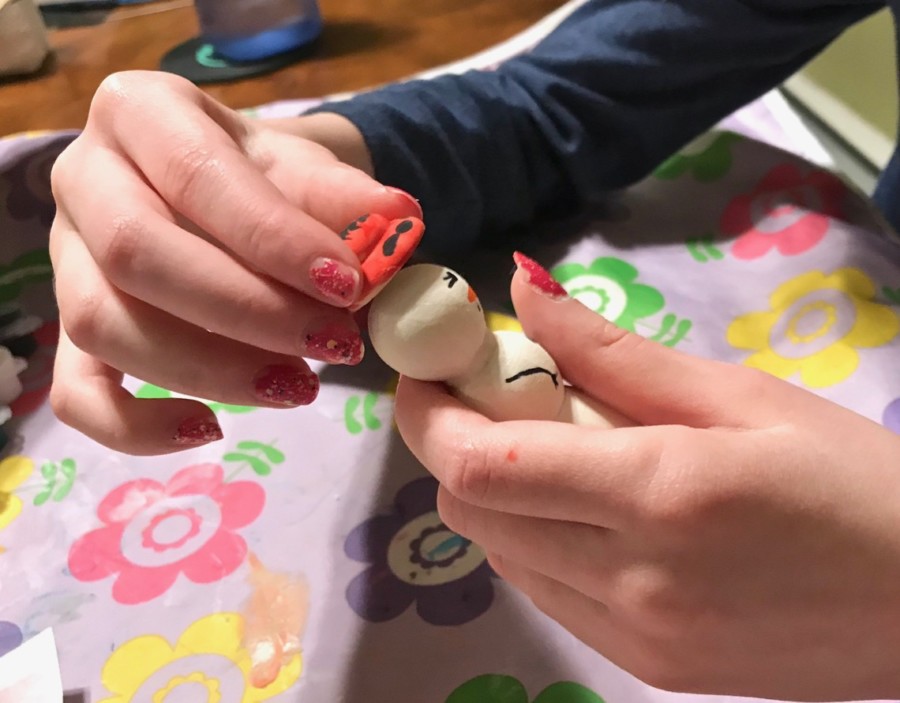
…and attached her hat with a glue dot.
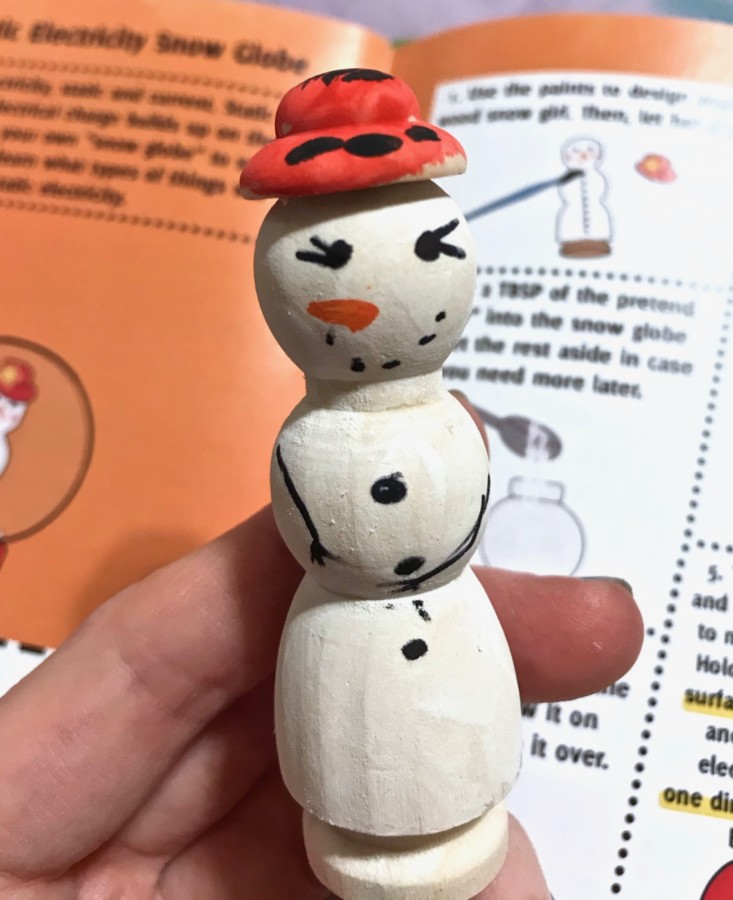
She’s ready!
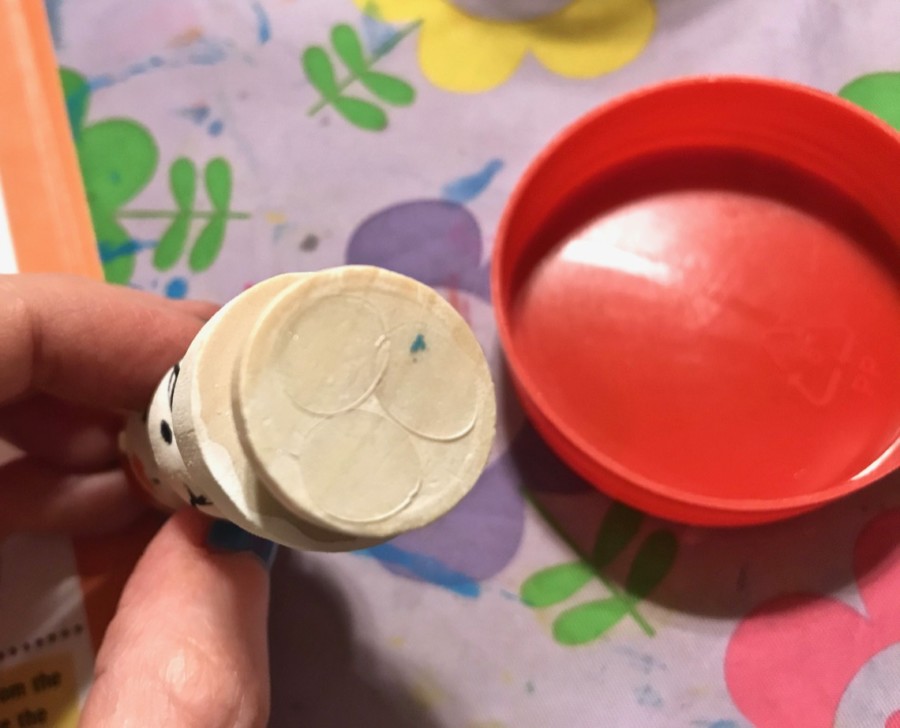
Three glue dots were placed on her base so we could attach her to the inside lid of the snow globe.
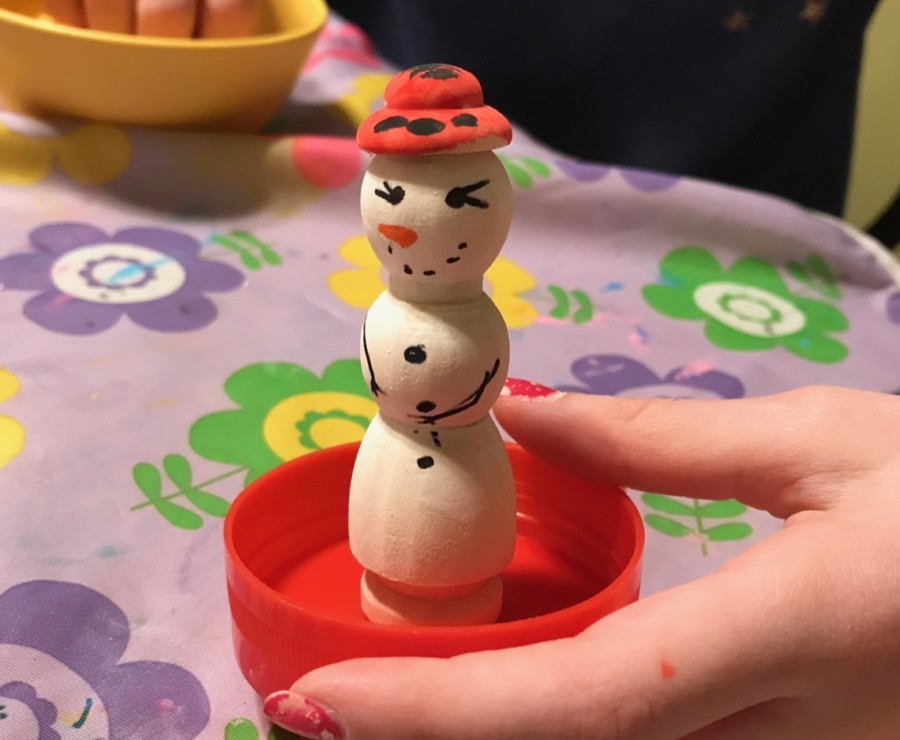
Cuuute!
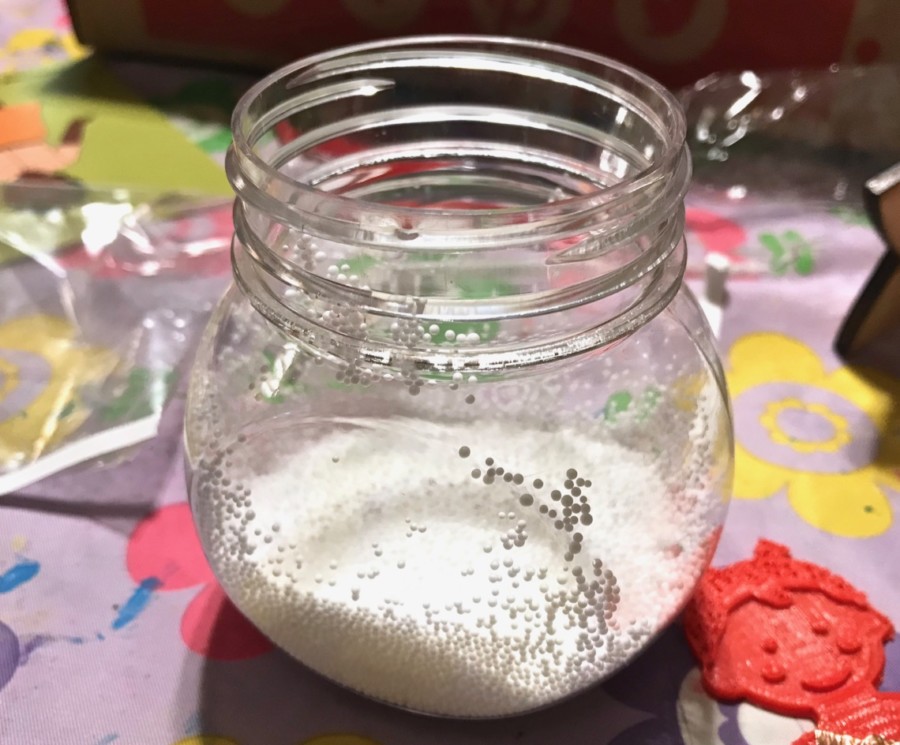
Next, we filled the jar with the packet of “snow”.
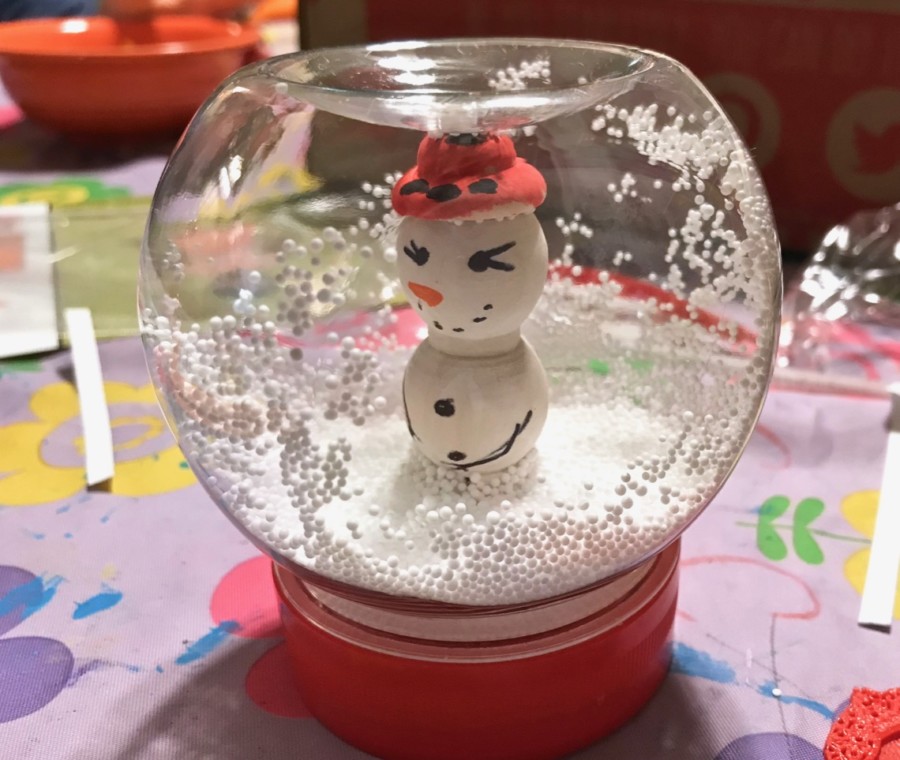
We then placed the lid (with attached snow girl) onto the globe and turned it over.
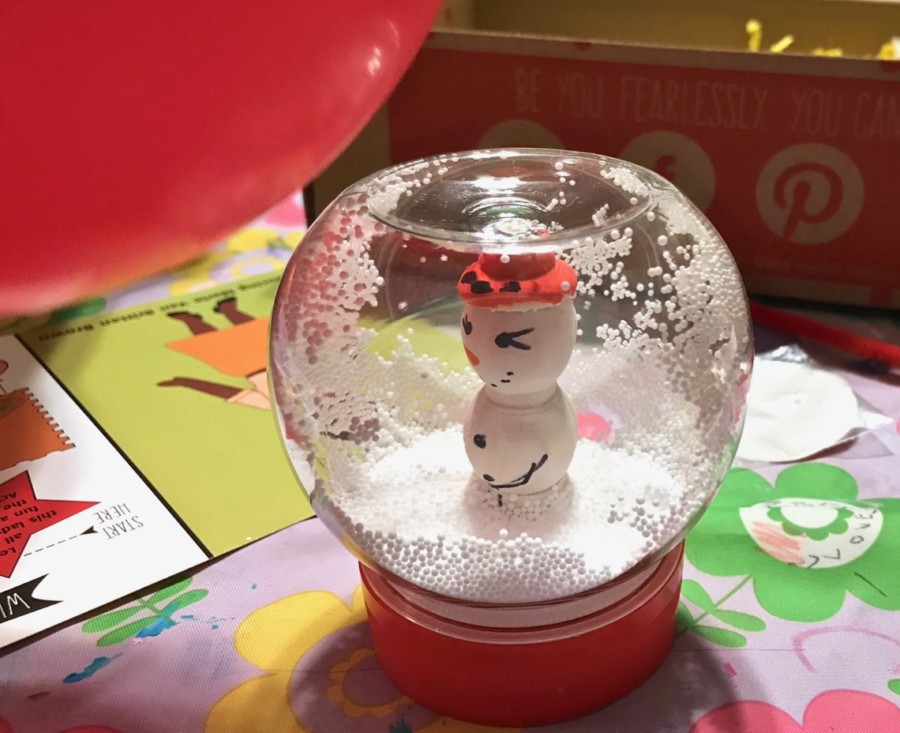
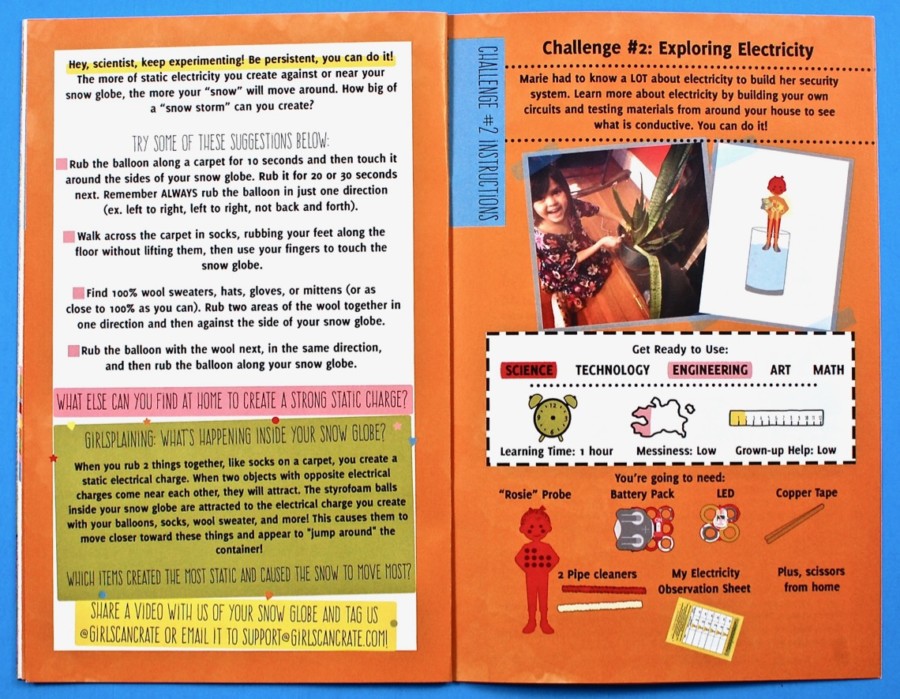
The final step was to blow up the included balloon, rub it in one direction over our hair, and place it next to the globe. It’s hard to tell from the photo above, but the static electricity produced from the balloon caused the snow to “fall”/move in its direction. We experimented with other surfaces and found that my (90% polyester, 10% spandex) leggings made for the best “charge”. 🙂
Challenge #2: Exploring Electricity
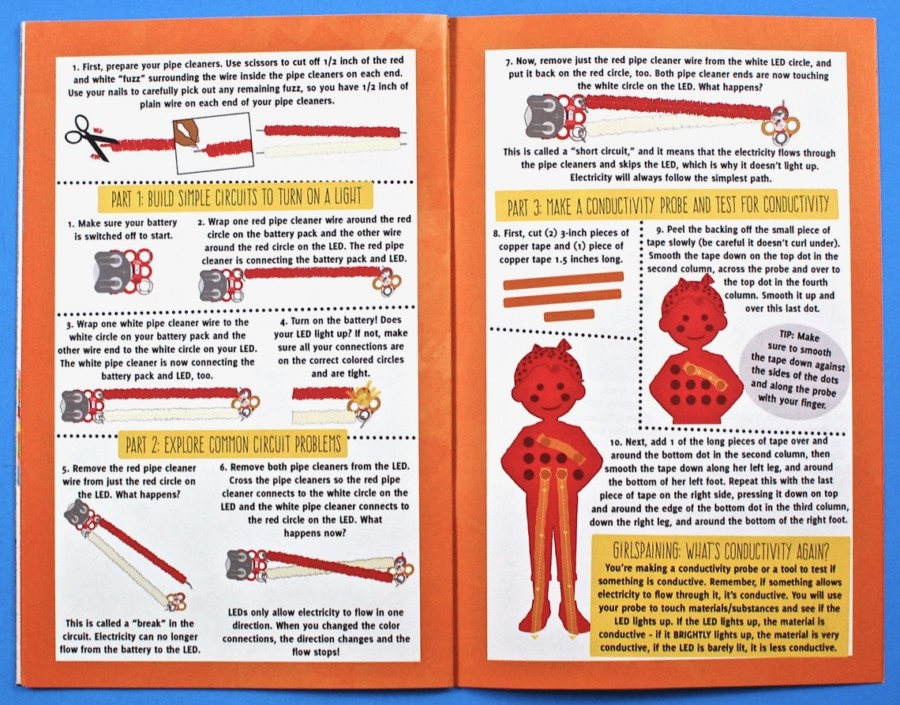
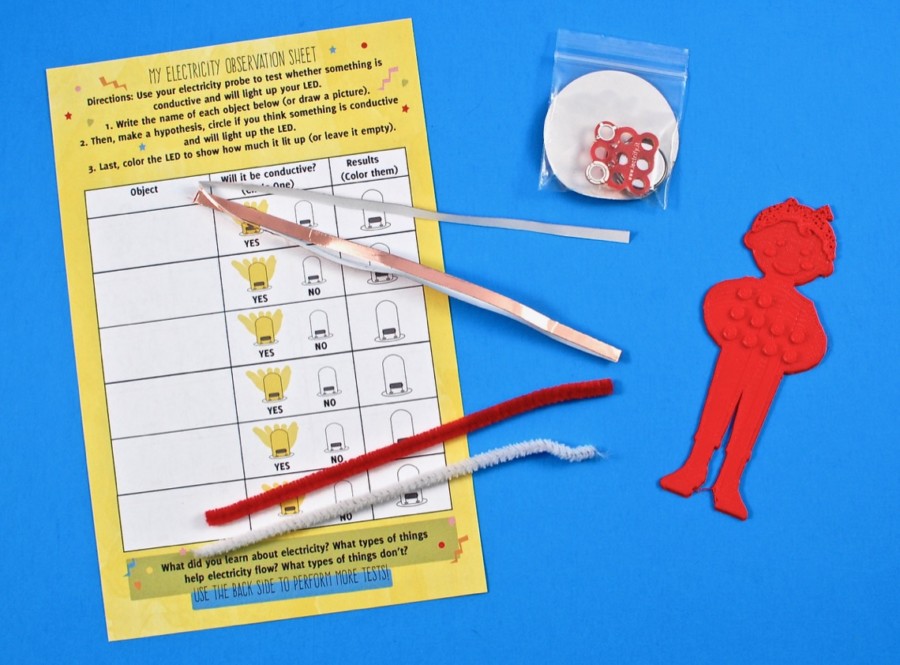
The second activity had us building our own circuits. Materials included a plastic Rosie probe, battery pack, LED, copper tape, 2 pipe cleaners, and an Electricity Observation Sheet.
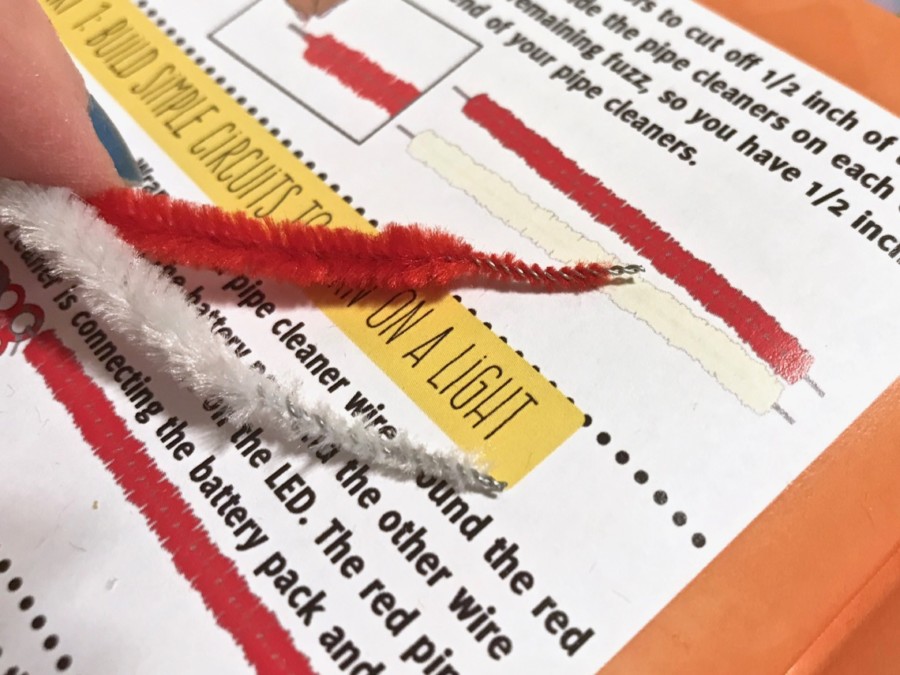
The first step was to use scissors to cut away 1/2 inch of the “fuzz” from each end of the pipe cleaners. We couldn’t quite get it down to just the wire, so we made do with the stubble above.
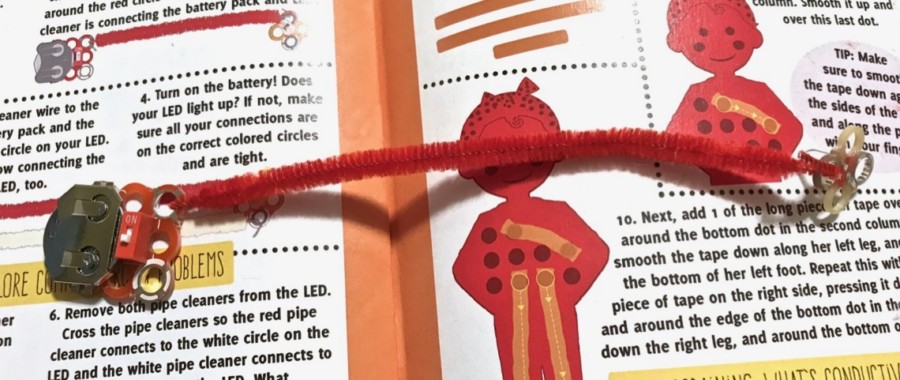
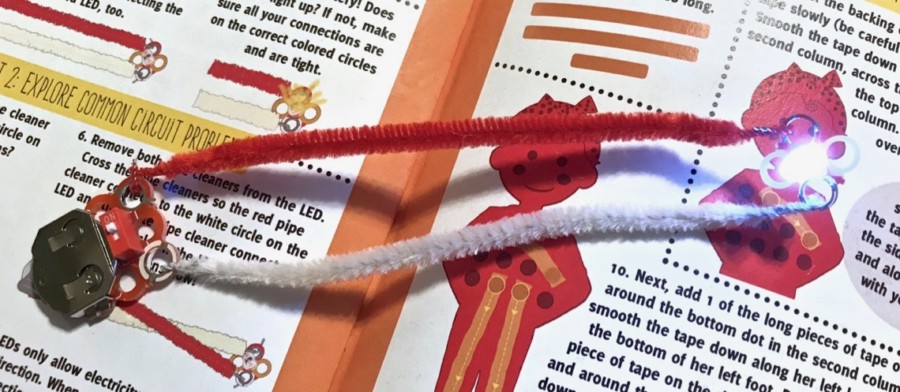
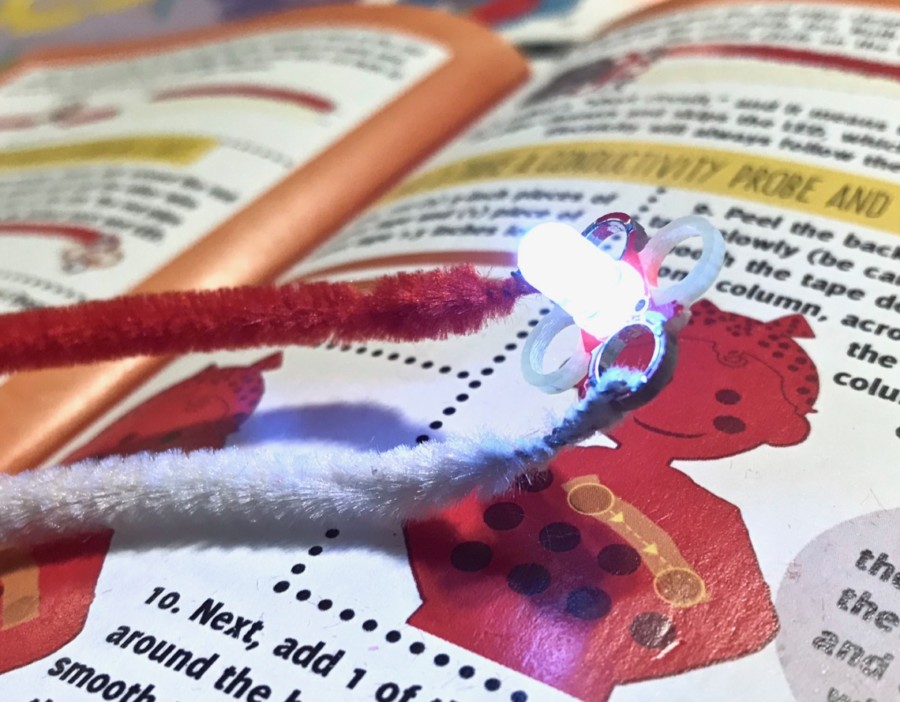
Next, we attached the ends of the pipe cleaners to the specified circles on both the battery and the LED. We flipped the battery switch to “on” and the LED lit up!
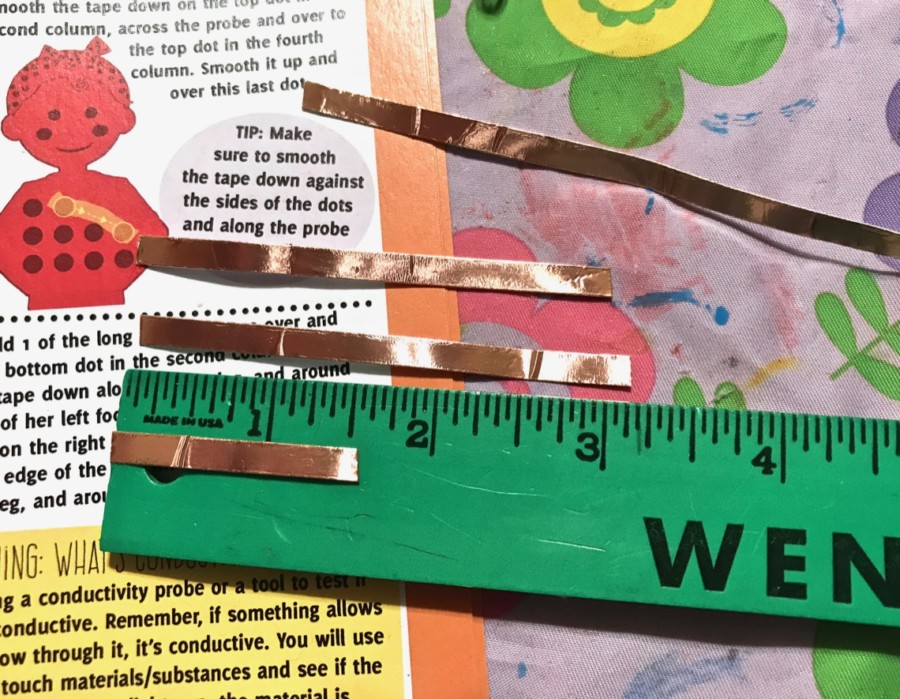
For the next part of the challenge, we had to cut 2 3-inch pieces of copper tape and 1 1.5-inch one.
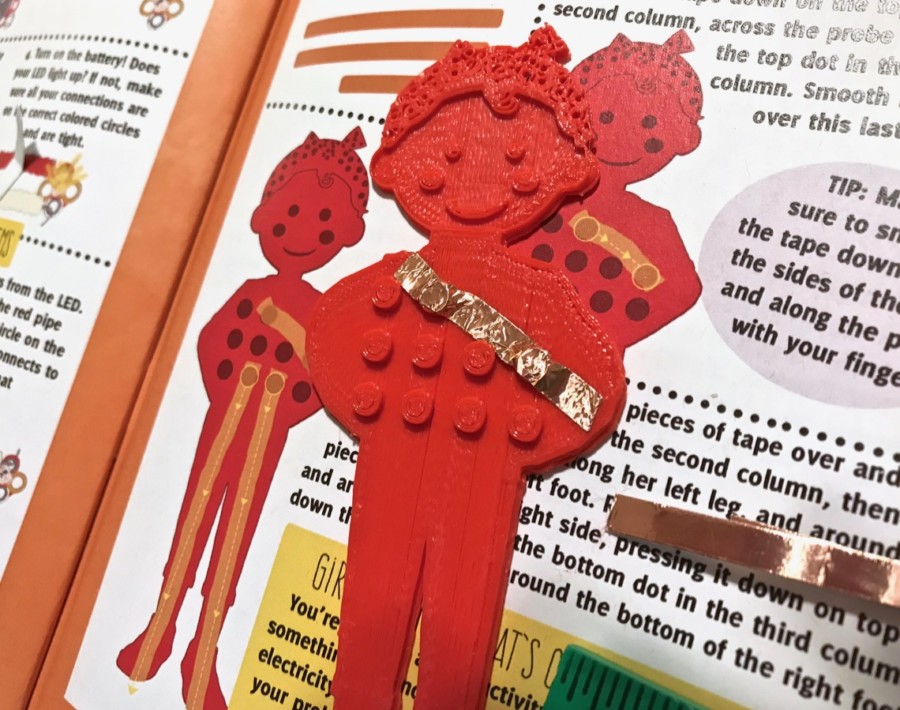
The shorter piece was positioned over the dots above.
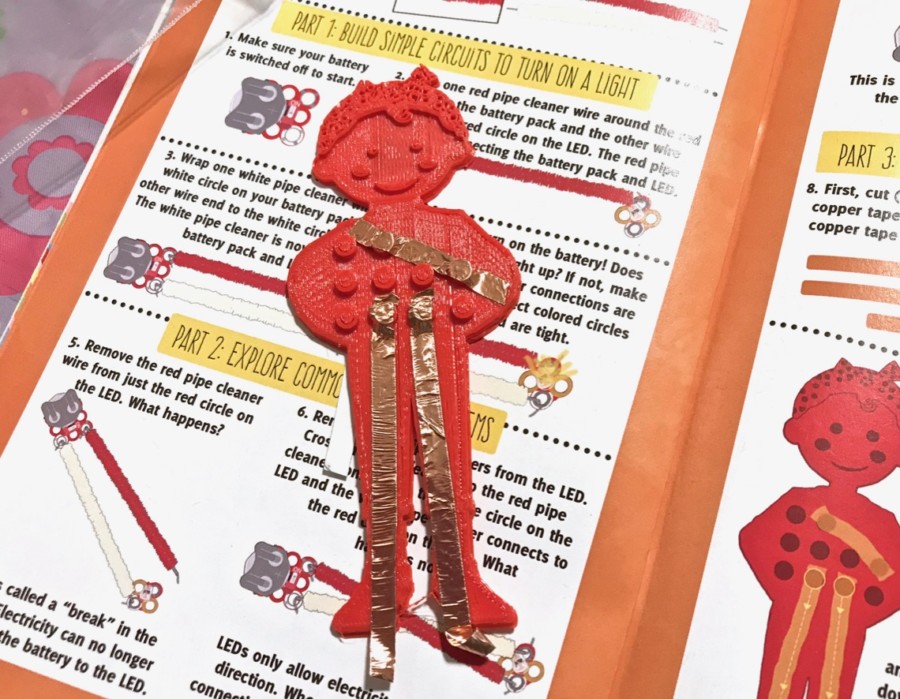
The two longer pieces were placed over the two bottom middle dots and down the legs.
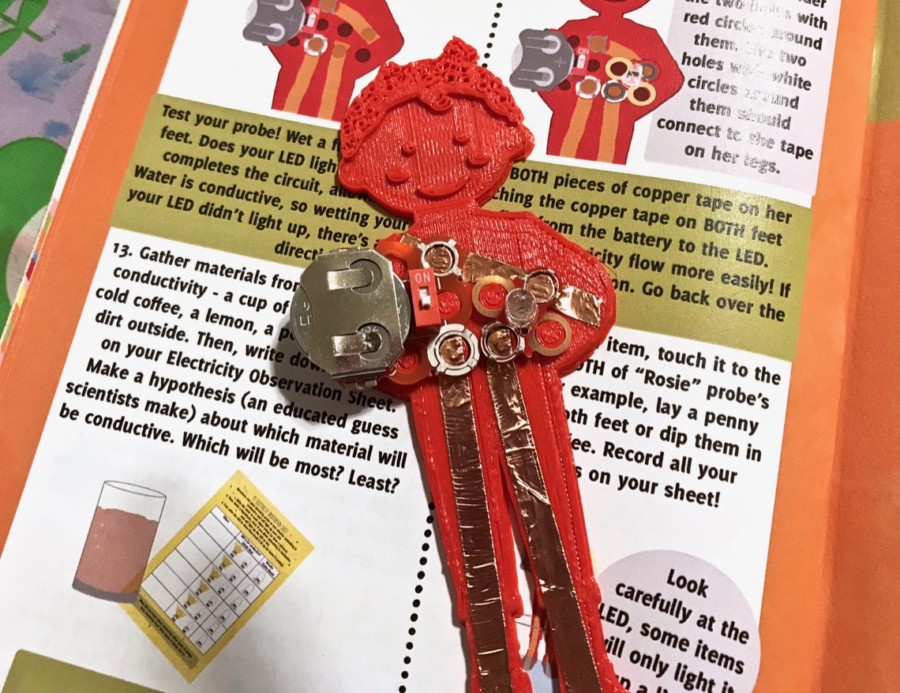
Next, we snapped on the battery pack and LED in the spots indicated in the instructions.
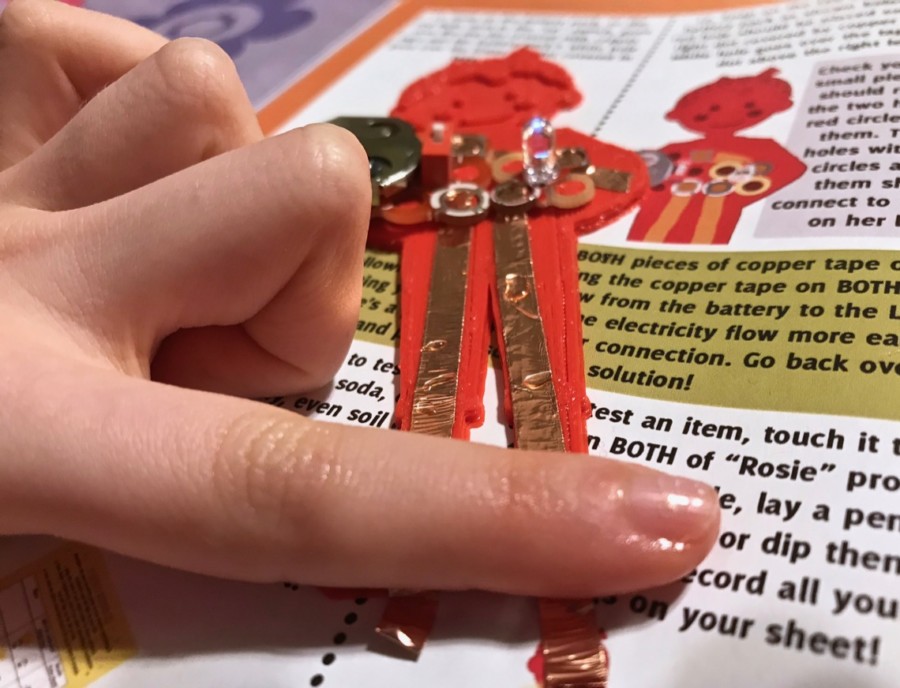
To test our probe, we needed to wet a finger and lay it across both feet. Since water is conductive, it should light up the LED. It’s a bit hard to see in the photo above, but it did light it up slightly.
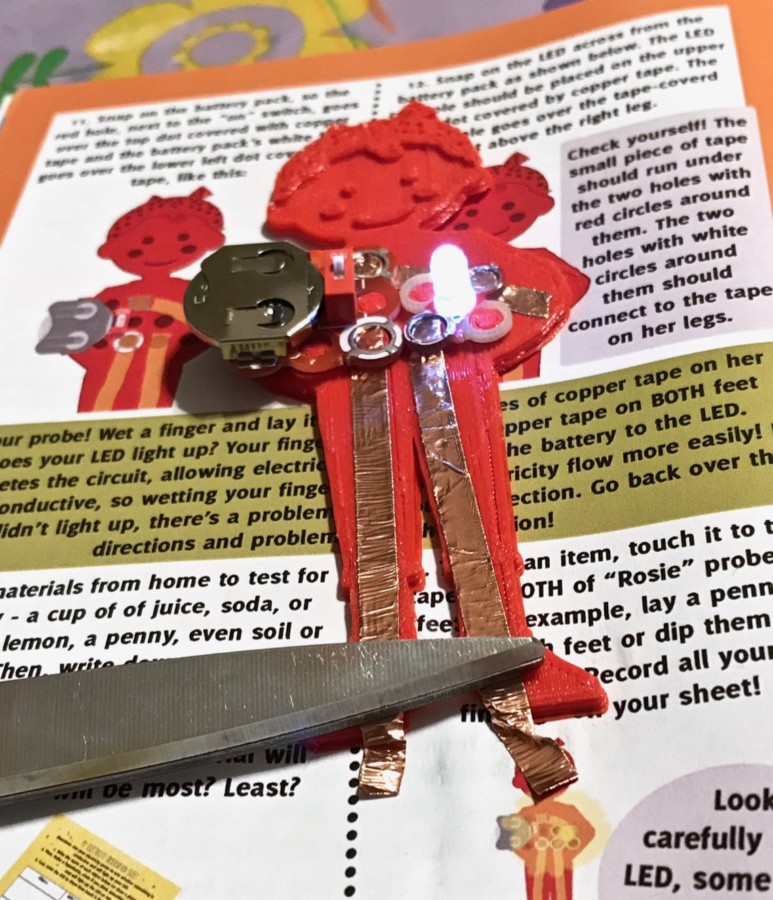
We tested the probe using a few other materials around the house and found that a pair of scissors gave us the brightest light!
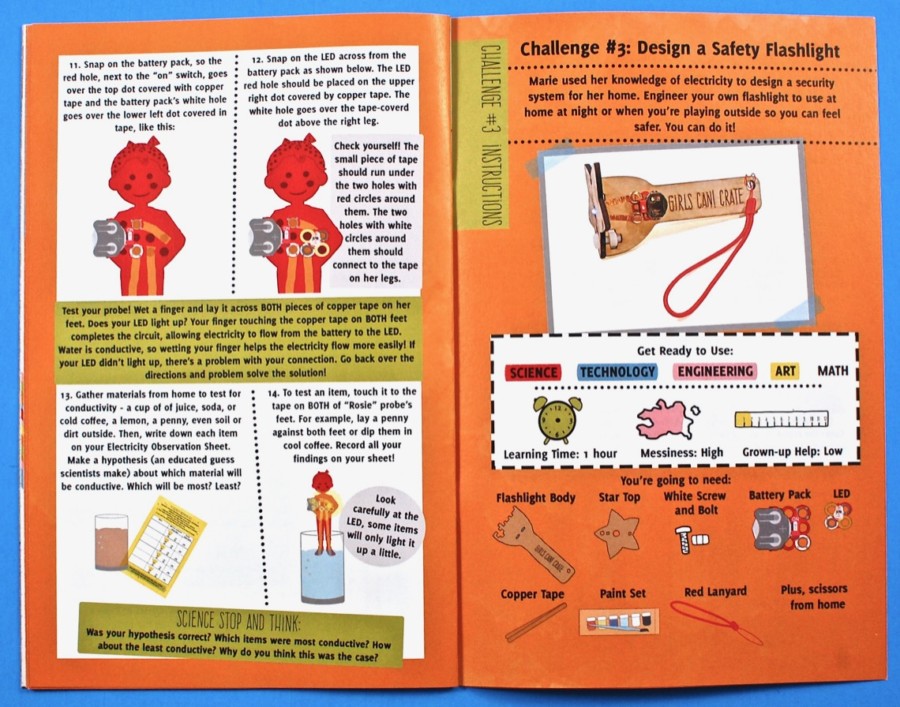
Challenge #3: Design a Safety Flashlight
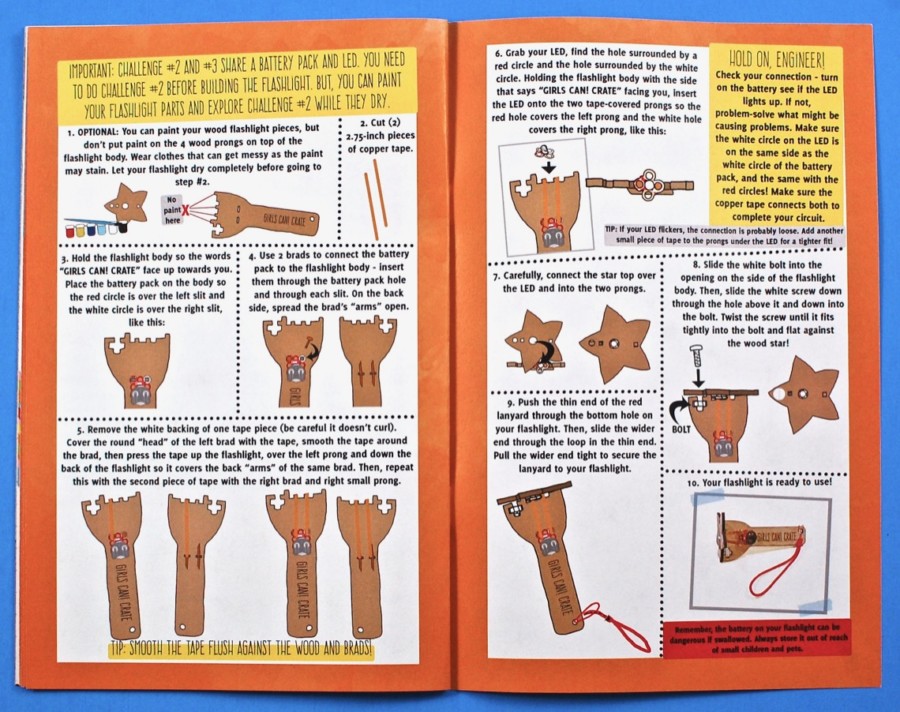
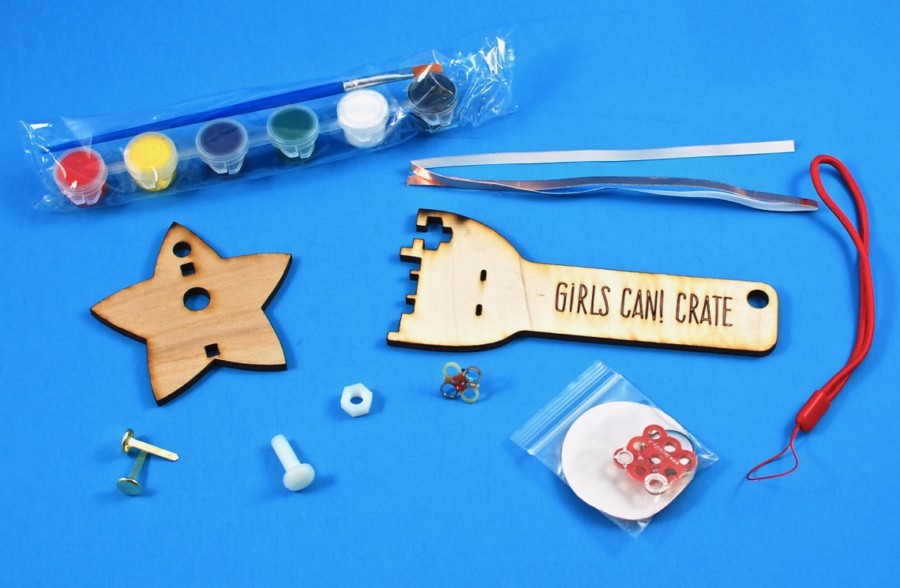
The third activity had us building our own safety flashlight. Materials included a wooden flashlight body, star top, white screw & bolt, battery pack, LED, copper tape, paint set, and red lanyard.
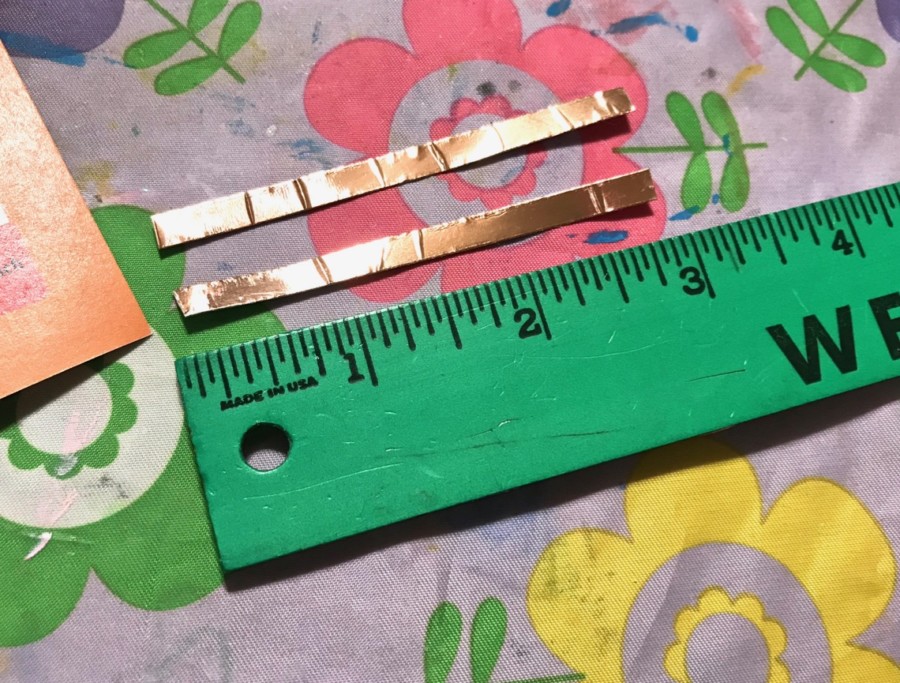
First, we cut 2 2.75-inch pieces of copper tape.
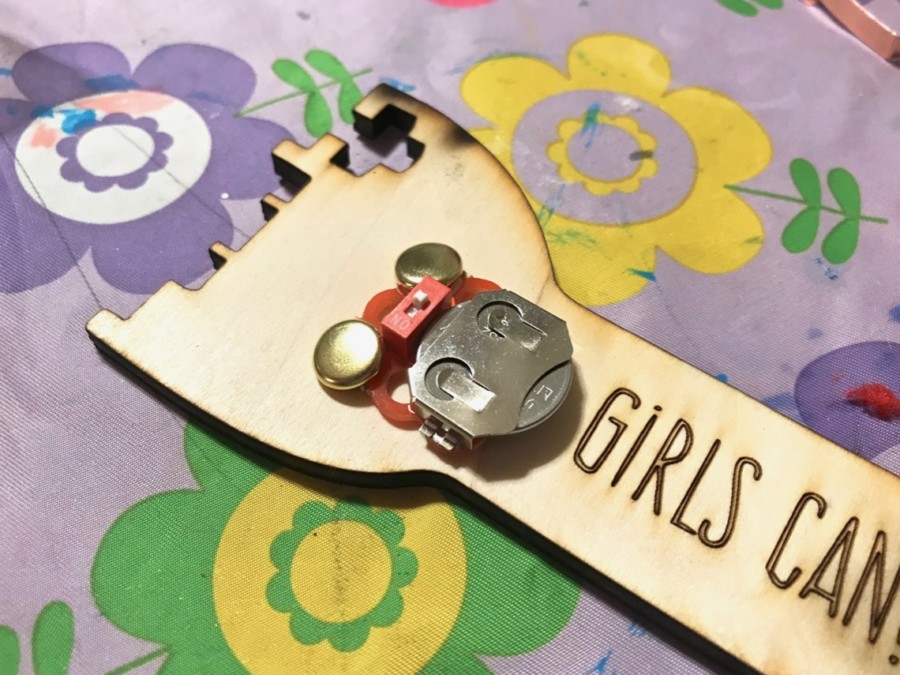
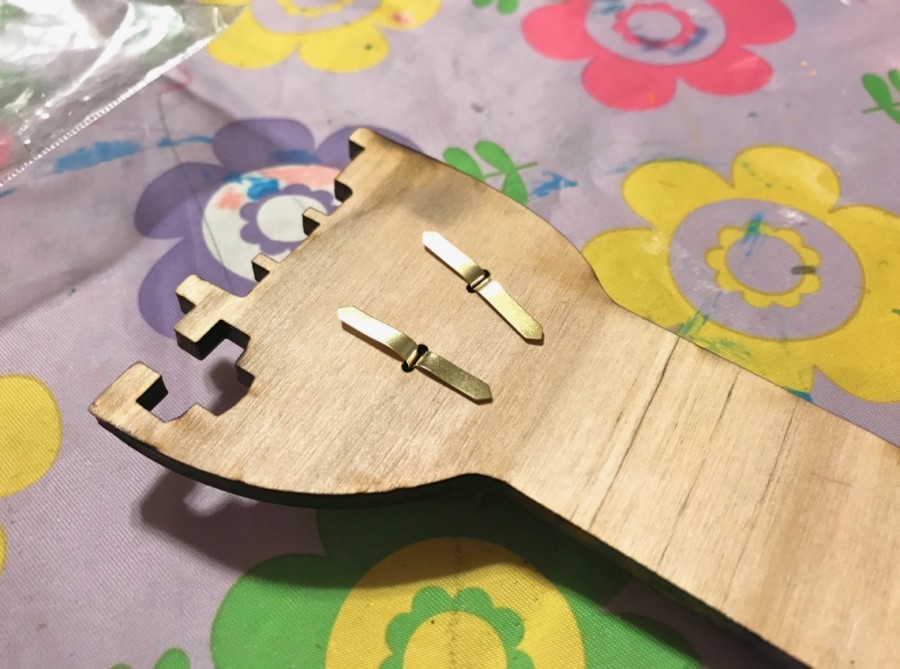
Next, we attached the battery pack using the included metal brads.
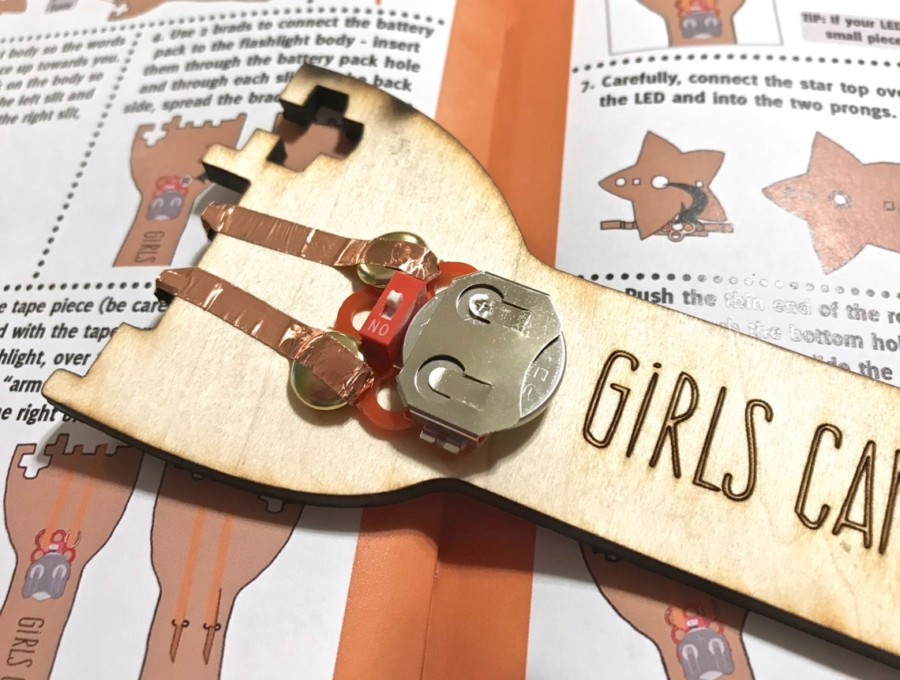
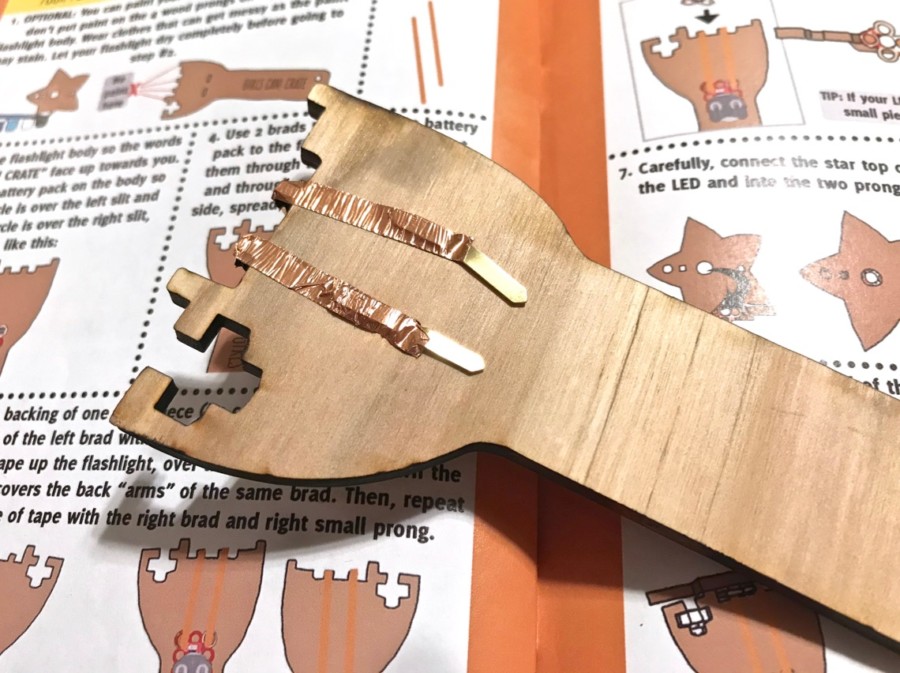
The pieces of copper tape were then smoothed over the “heads” of the brads and over to the back to cover their “arms”.
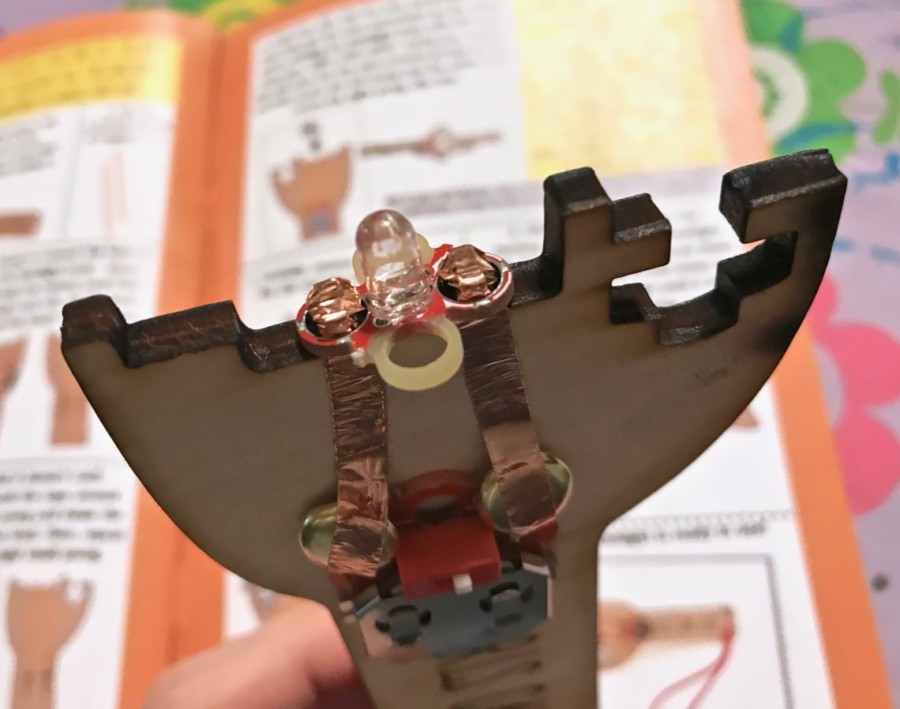
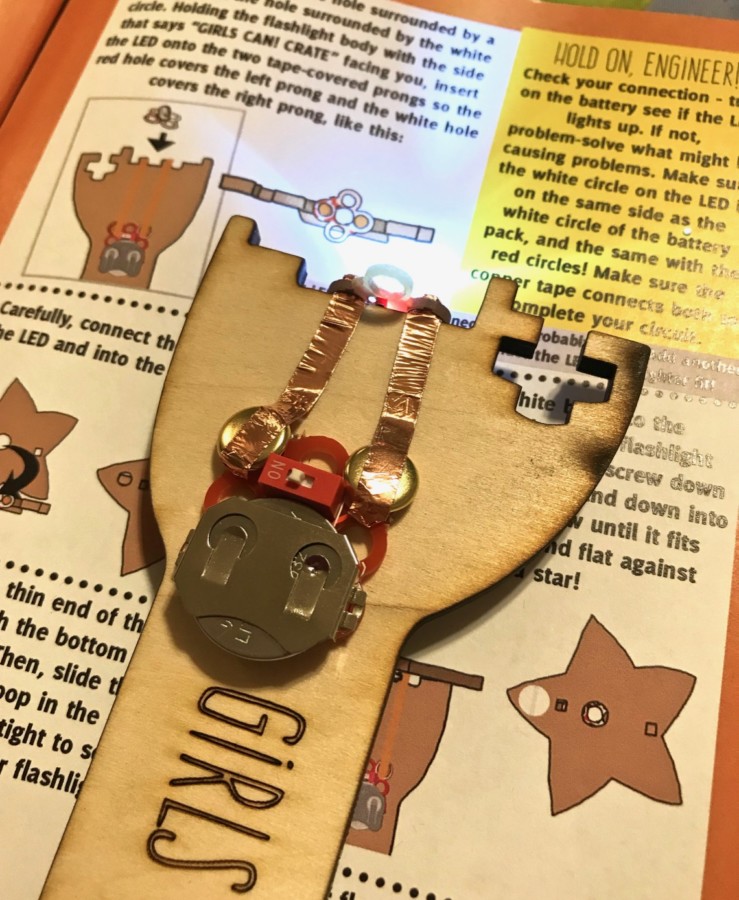
The LED was then snapped in place at the top of the flashlight body and the battery was switched on to ensure that everything was connected properly.
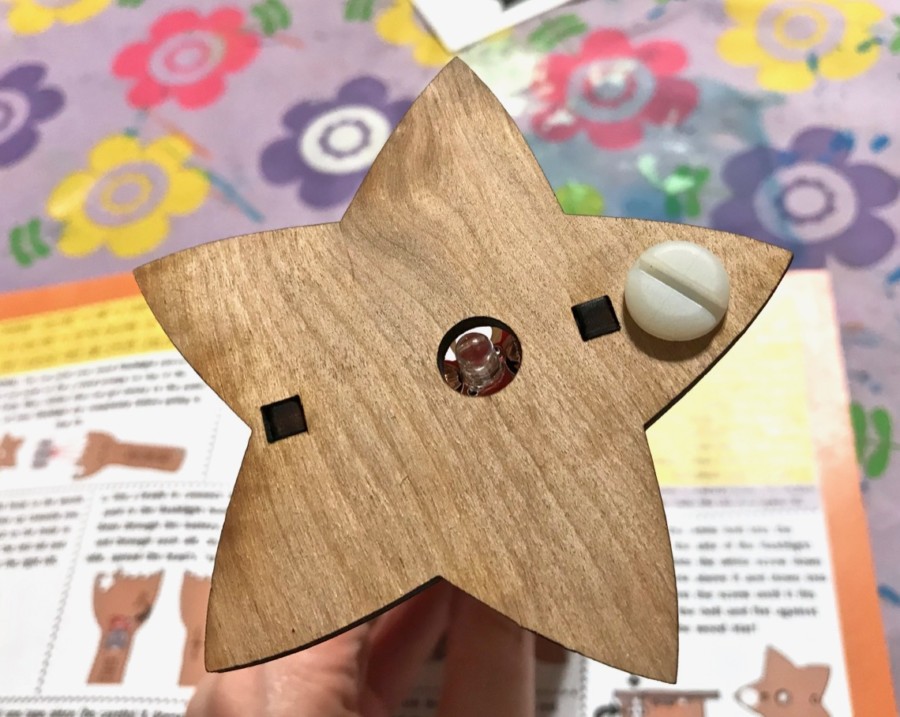
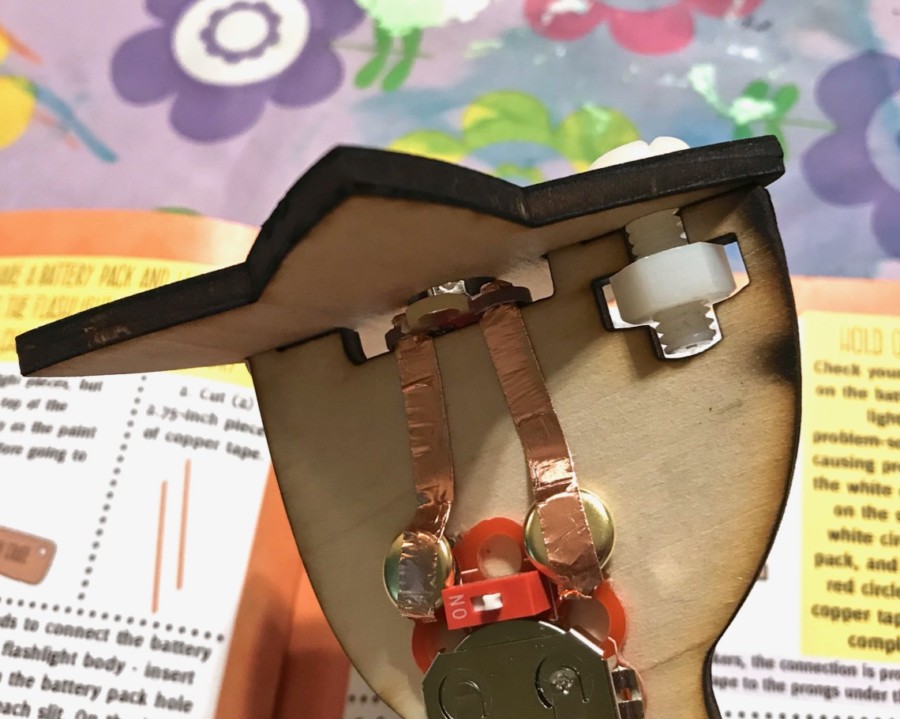
Next, the star top was attached to the body and secured with the included bolt & screw.
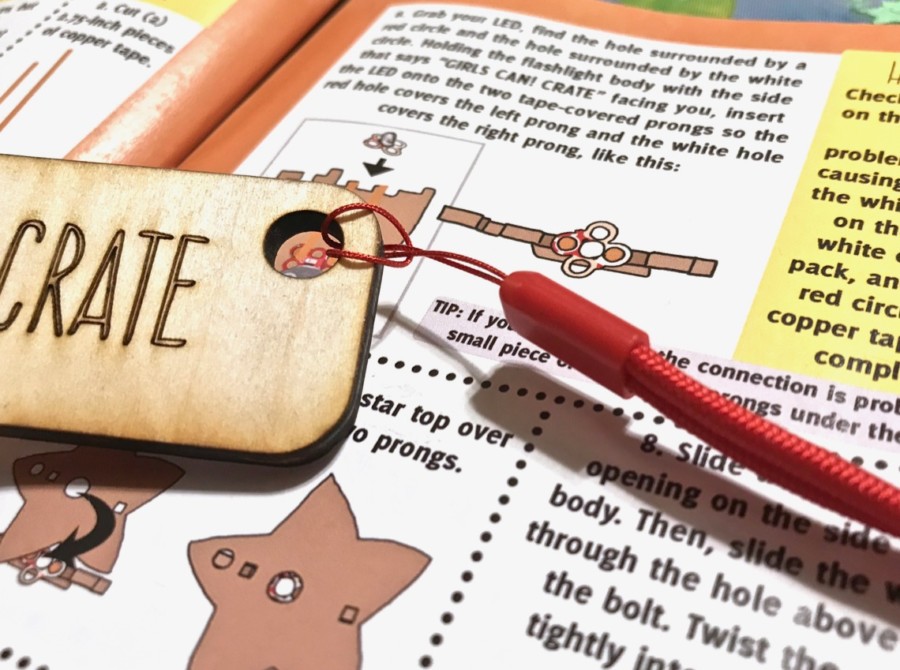
The final step was to attach the red lanyard and the flashlight was ready to use!
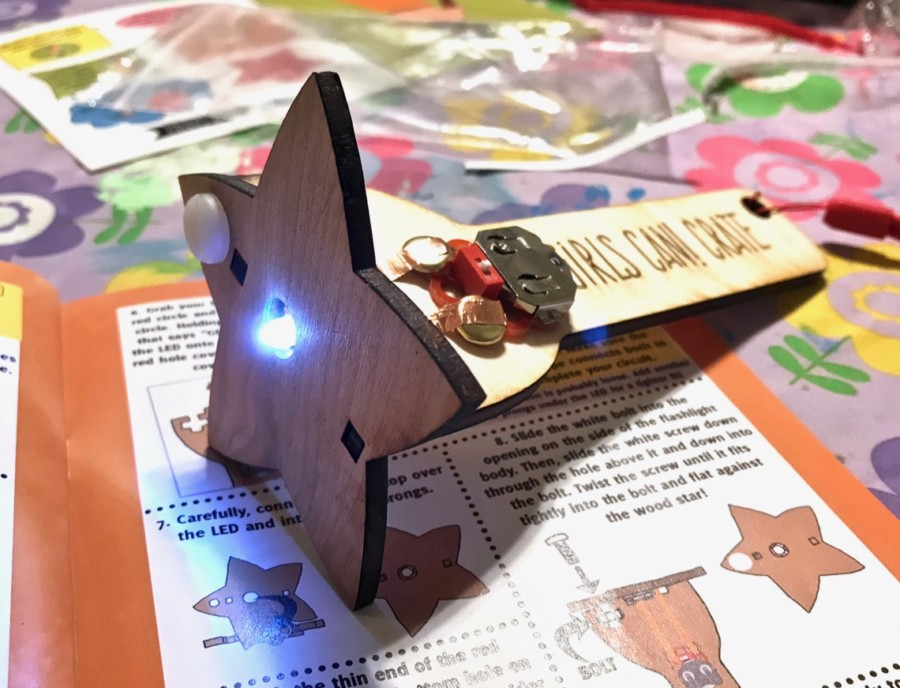
Ta-da! 🙂
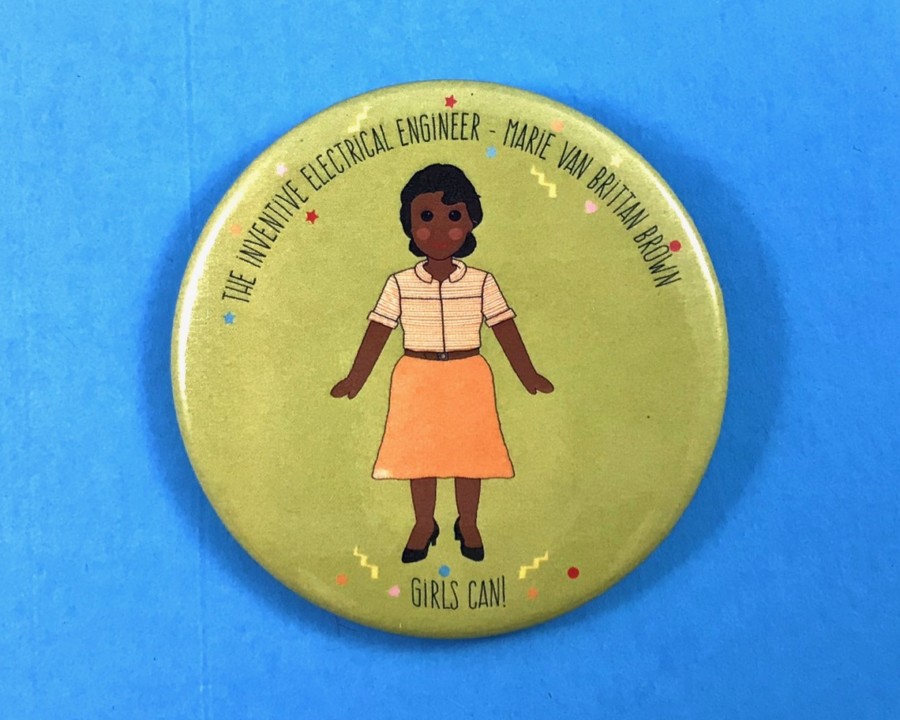
Once all of the activities were complete, we had officially earned our Marie Van Brittan Brown collectible button.
My daughters and I had fun experimenting with different forms of electricity in December’s electrical engineer-themed Girls Can! Crate box! Their favorite project was the static electricity snow globe and of course they loved their special LEGO® DOTS gifts! 😀 — Remember for a limited time, you can save 20% on your first month with coupon code “WELCOME20“!


Leave a Reply