Girls Can! Crate is a monthly subscription box that inspires girls ages 5-10 to believe they can be and do anything by introducing them to fearless women who made the world better.
Each box will include a 20-page activity book telling the featured woman’s unique story (as well as games, experiments, & more), 2-3 hands-on STEAM (science, technology, engineering, art, and math) activities related to her field, a creative play prop, a featured character trait that helped her succeed and 2-3 practical tips for parents to easily foster that trait, and more. The boxes are designed to encourage a love for STEAM, to foster creativity, curiosity, and support literacy development. With every box purchased, Girls Can! Crate donates 10% of the proceeds to nonprofit organizations working to empower women and girls.
Disclosure: I received this box for review purposes. I was not compensated in any way. All opinions are my own. Post may contain affiliate and/or referral links.
Subscriptions are $29.95/month or less with multi-month commitments. Shipping is free within the US. — For a limited time, you can save 20% on your first month with coupon code “WELCOME20“!
Let’s see what’s in our June 2021 Girls Can! Crate!
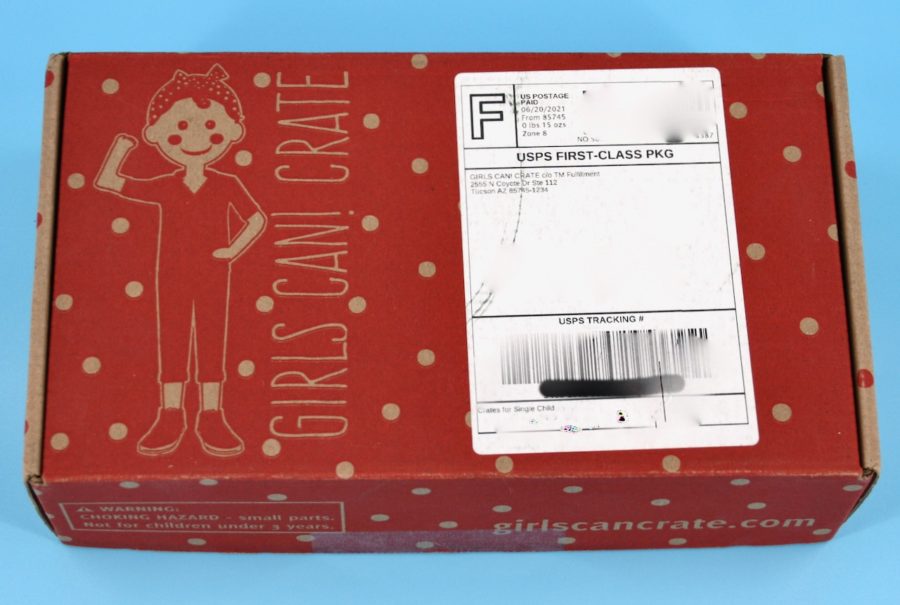
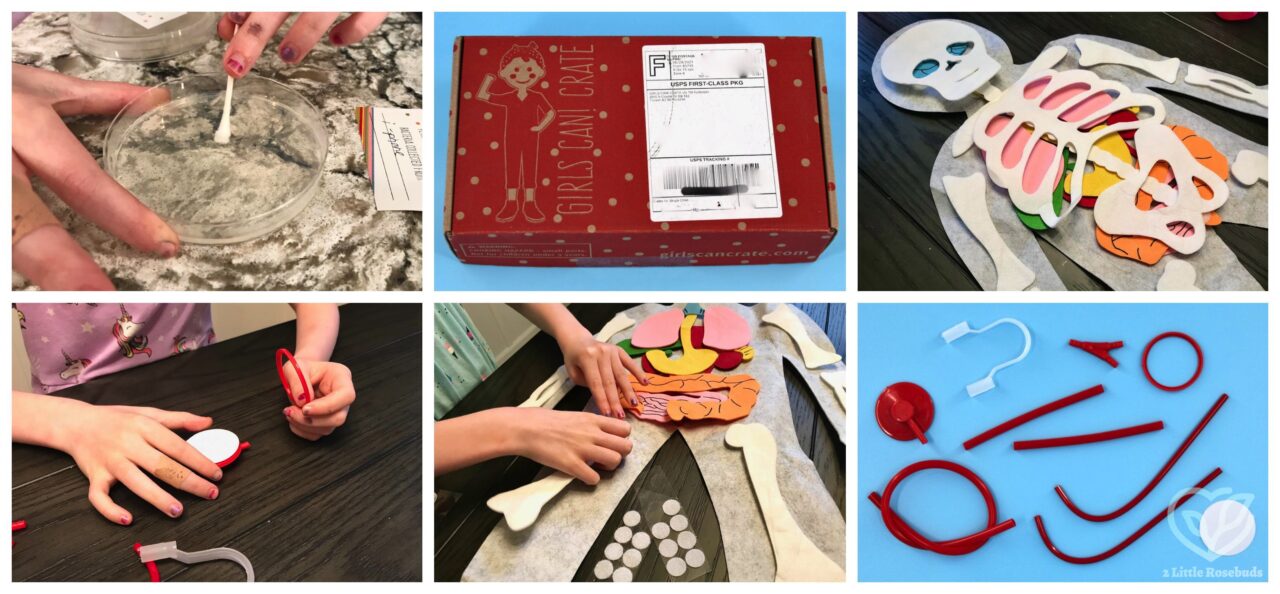
Everything was shipped in a bright red box with the Girls Can! Crate logo on top.
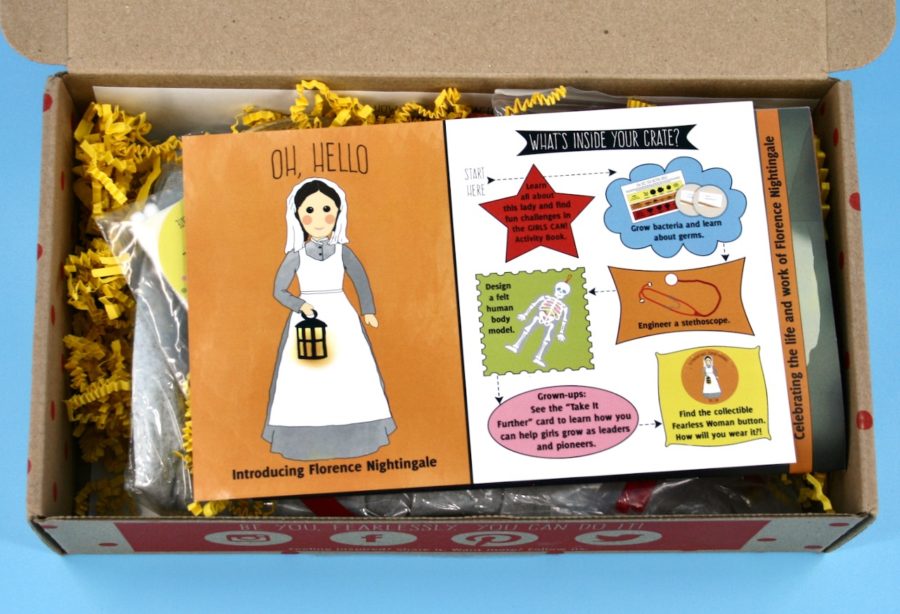
A peek inside!
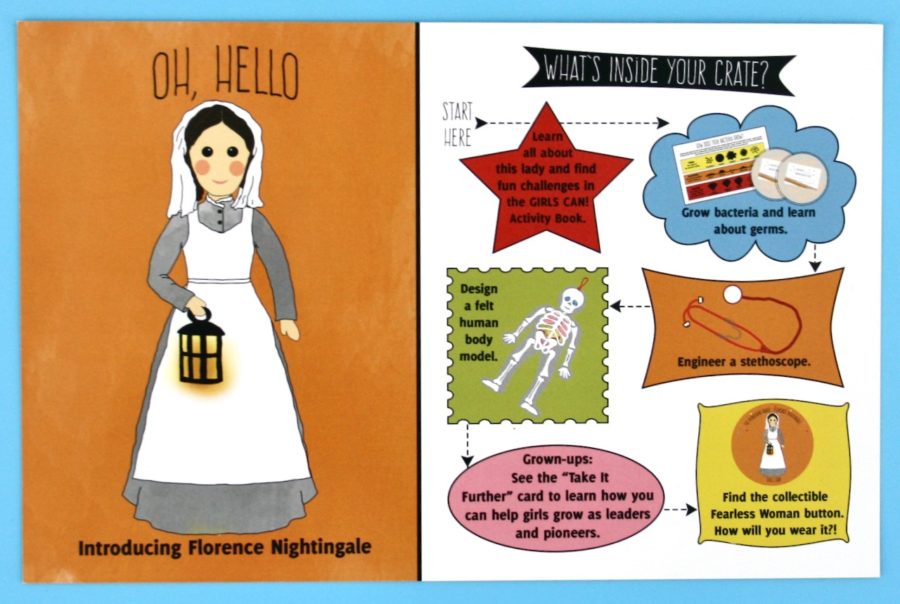
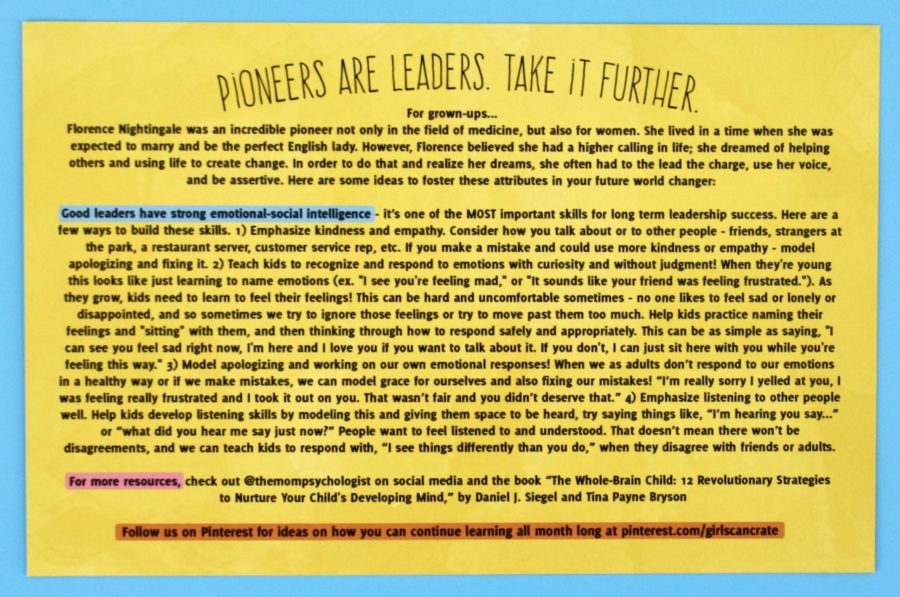
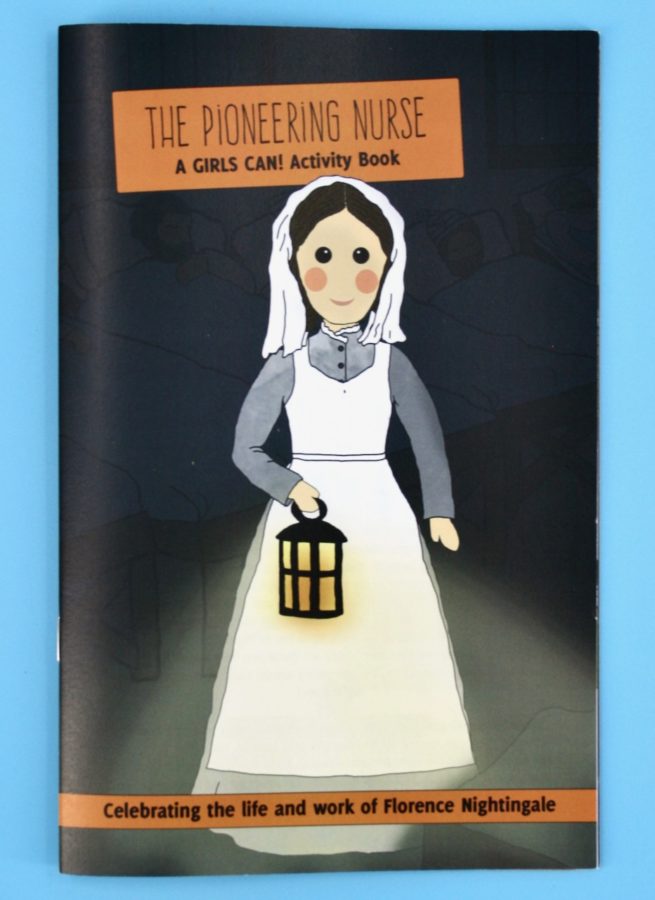
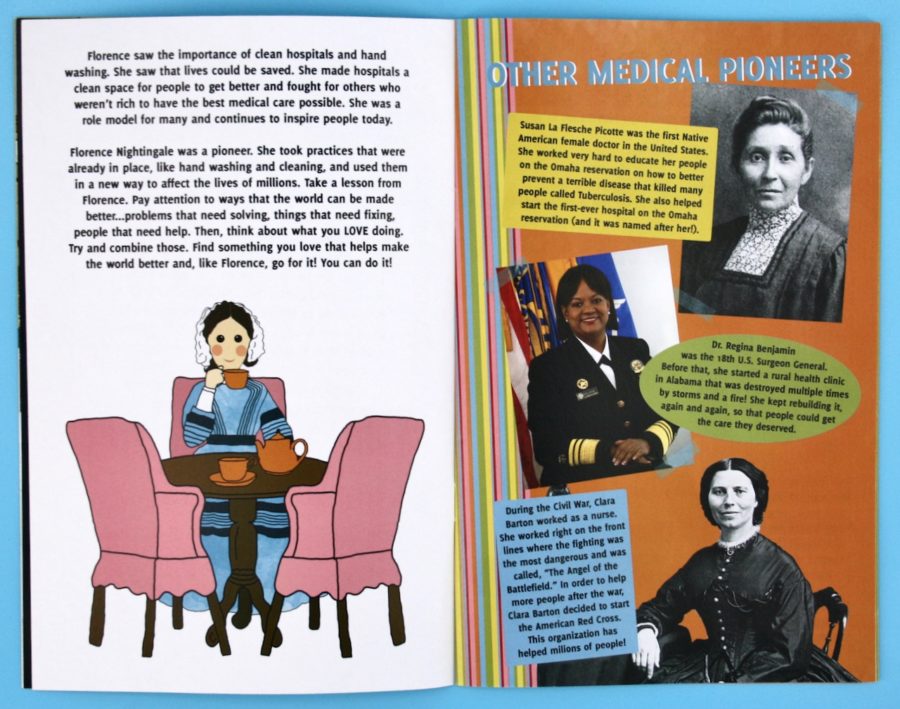
June’s featured “fearless woman” was the founder of modern nursing — Florence Nightingale. An information card listed all of the activities in the crate and the order in which they should be completed. The reverse side included tips for parents to help children learn to become a determined leader like Florence.
Activity Book
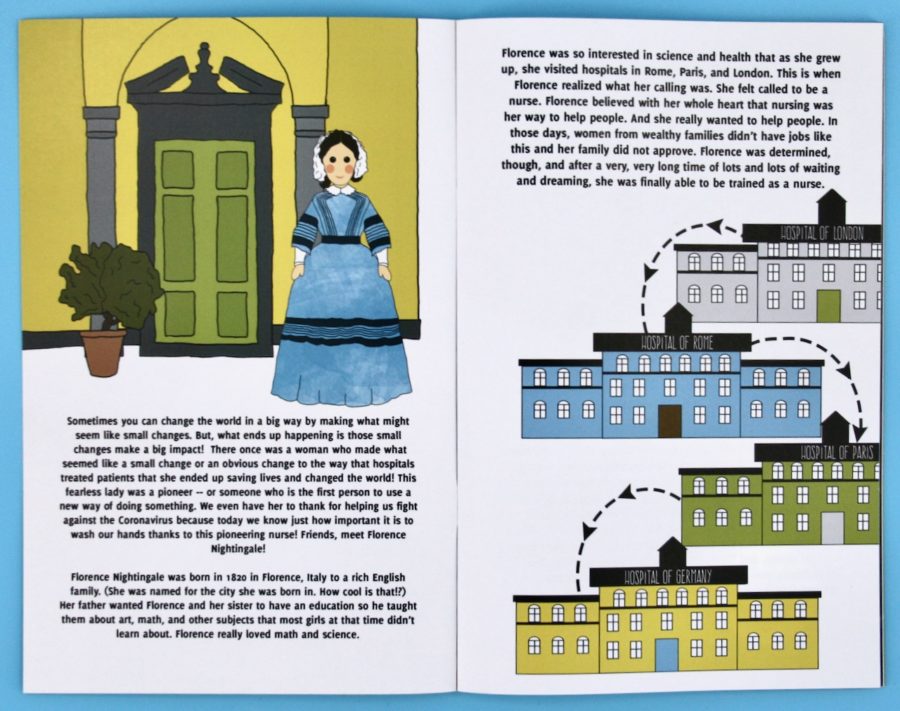
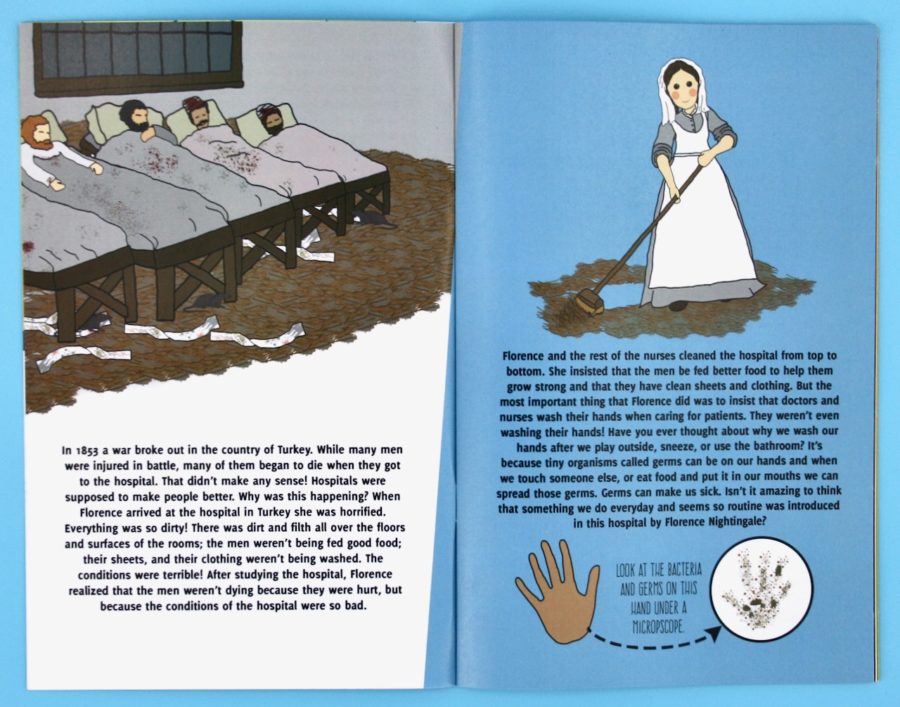
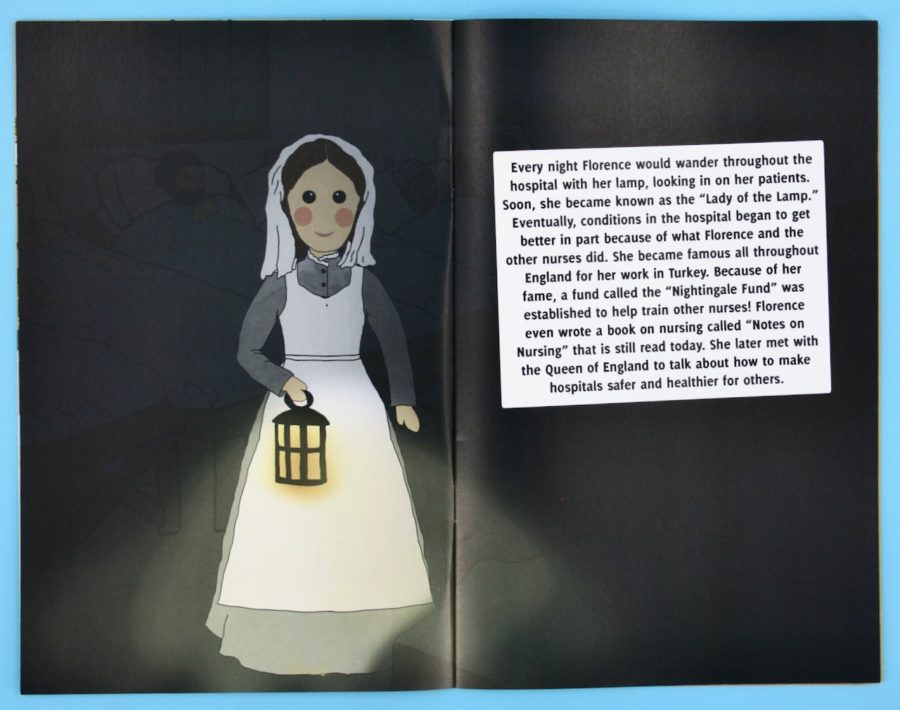
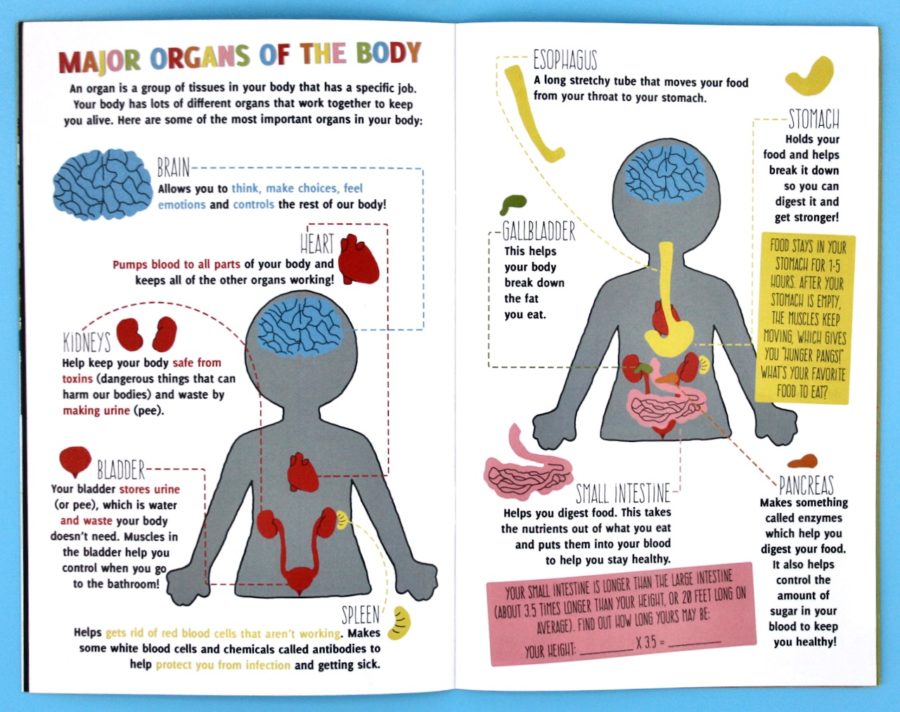
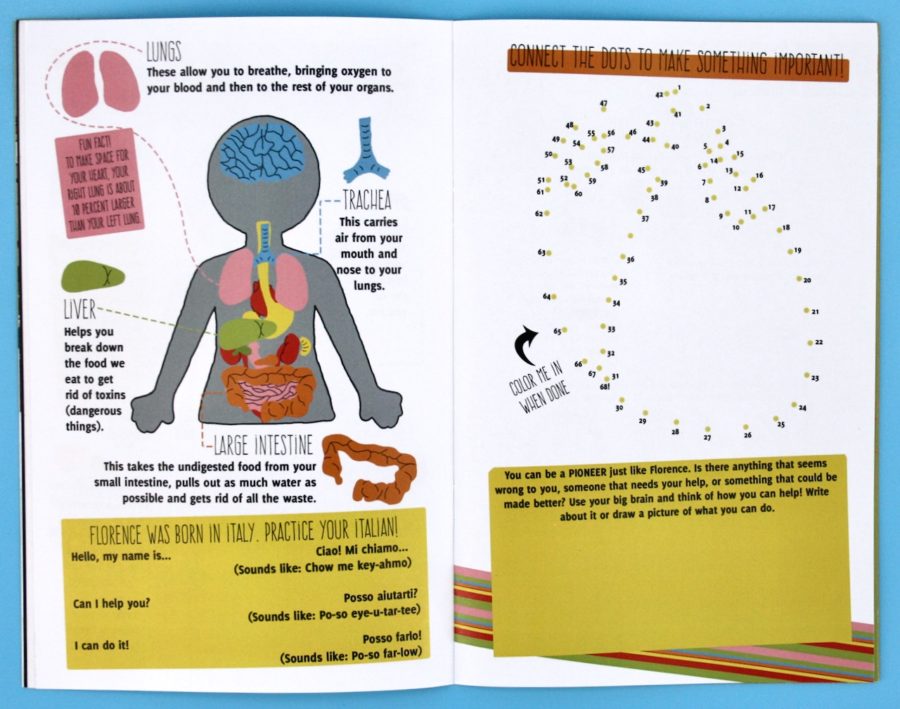
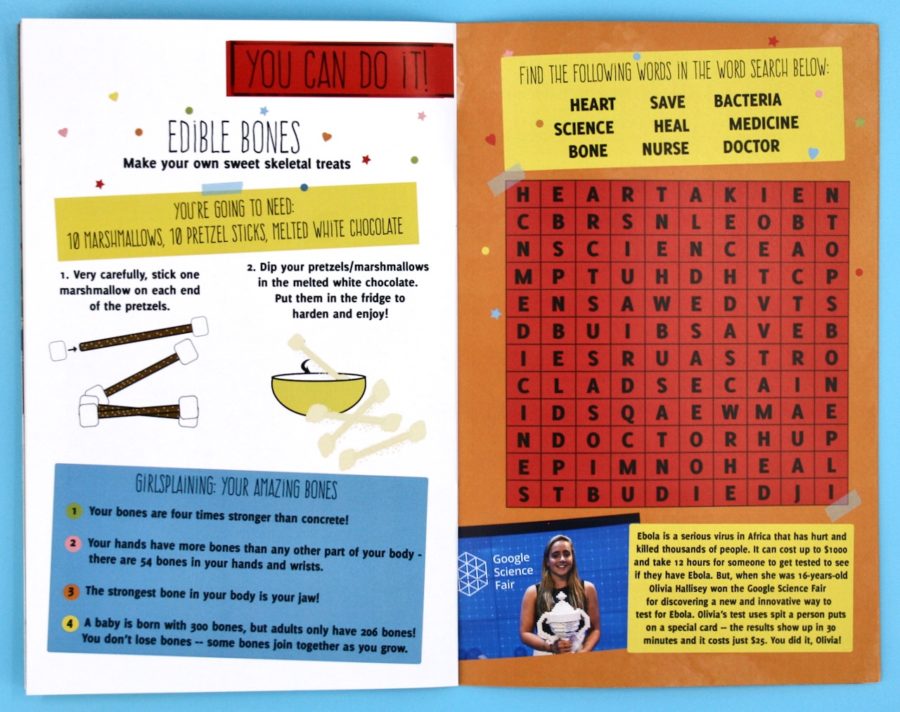
A 20-page, full color activity book included the story of Florence Nightingale and how she followed her calling to become a nurse and ultimately helped the profession of nursing gain the respect it deserved. It also included puzzles, games, experiments, and more. All of the activity instructions were printed in the booklet as well.
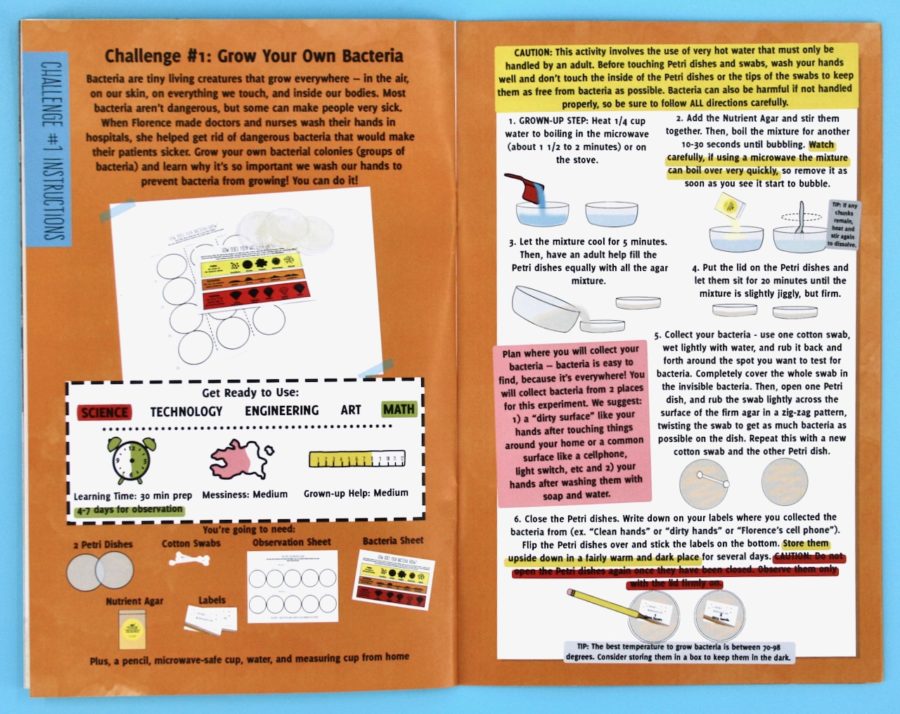
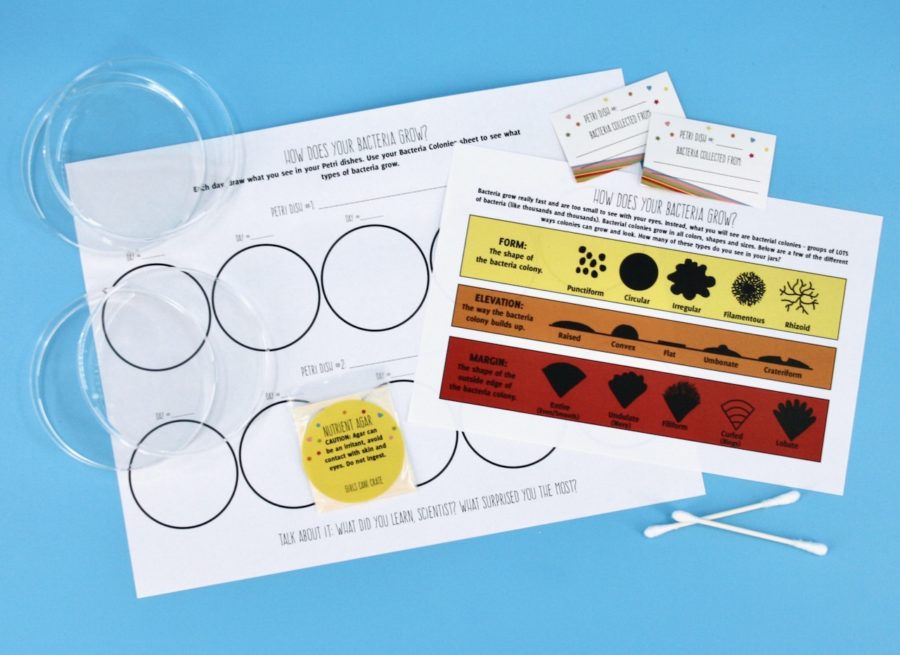
Challenge #1: Grow Your Own Bacteria
The first activity had us growing our own bacterial colonies. Materials included 2 plastic petri dishes, cotton swabs, nutrient agar, labels, an observation sheet, and a bacteria sheet.
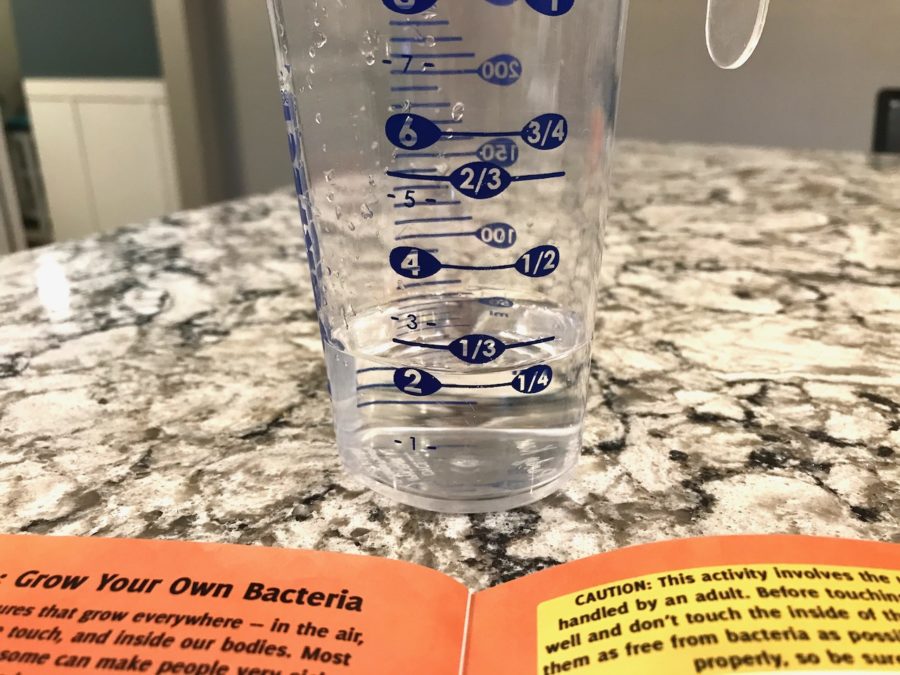

To begin, we had to measure out 1/4 cup of water and heat it in the microwave until boiling.
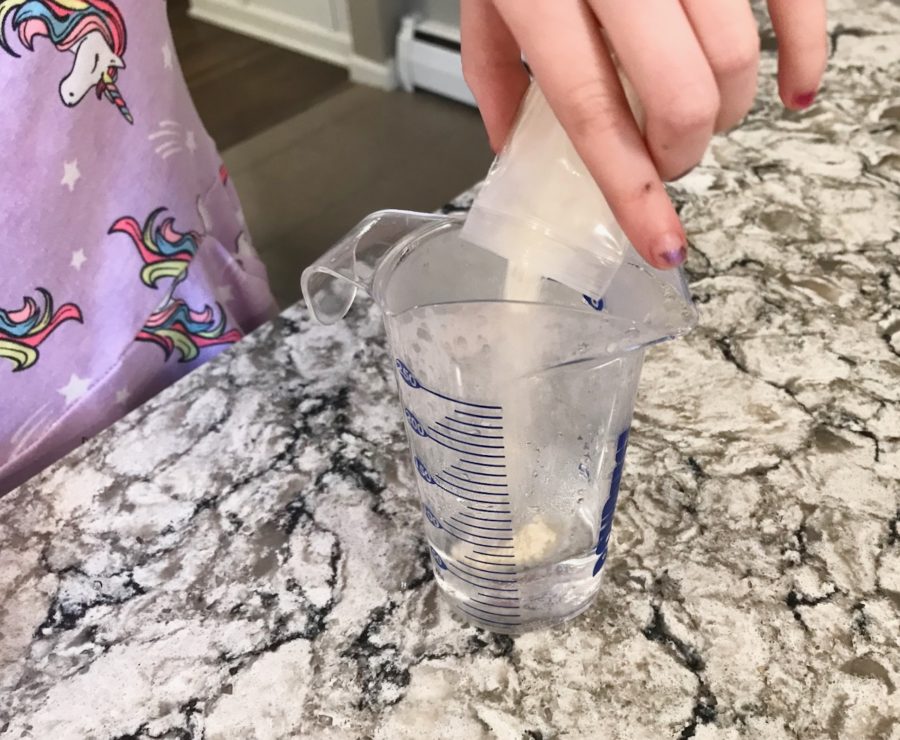
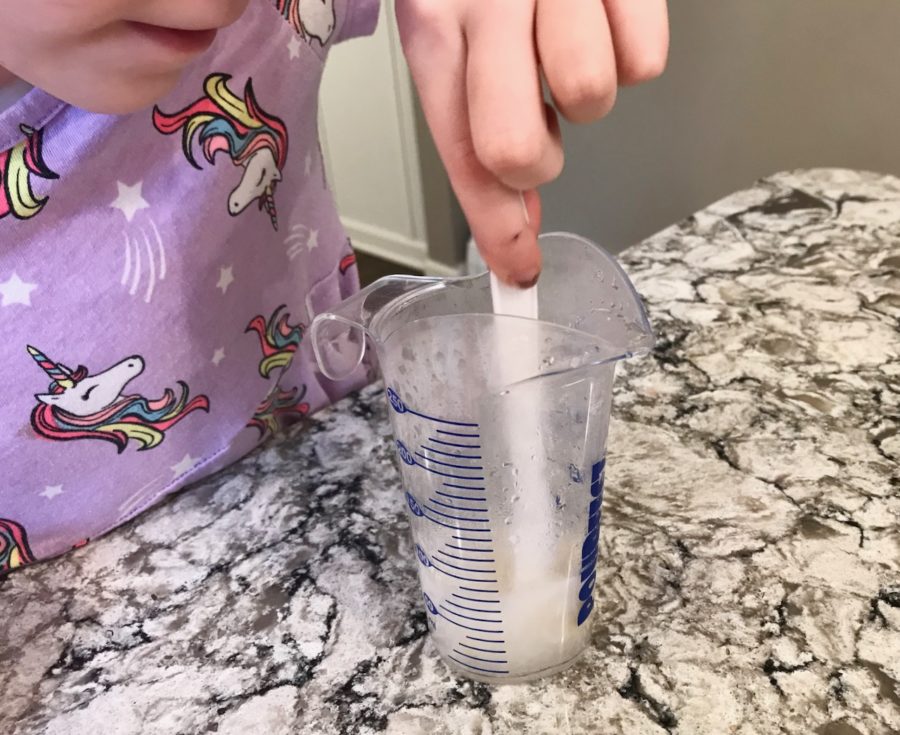
Next, we poured the packet of agar into the boiled water and mixed until dissolved. It then needed to go back in the microwave for another 30 seconds or so to boil once more.
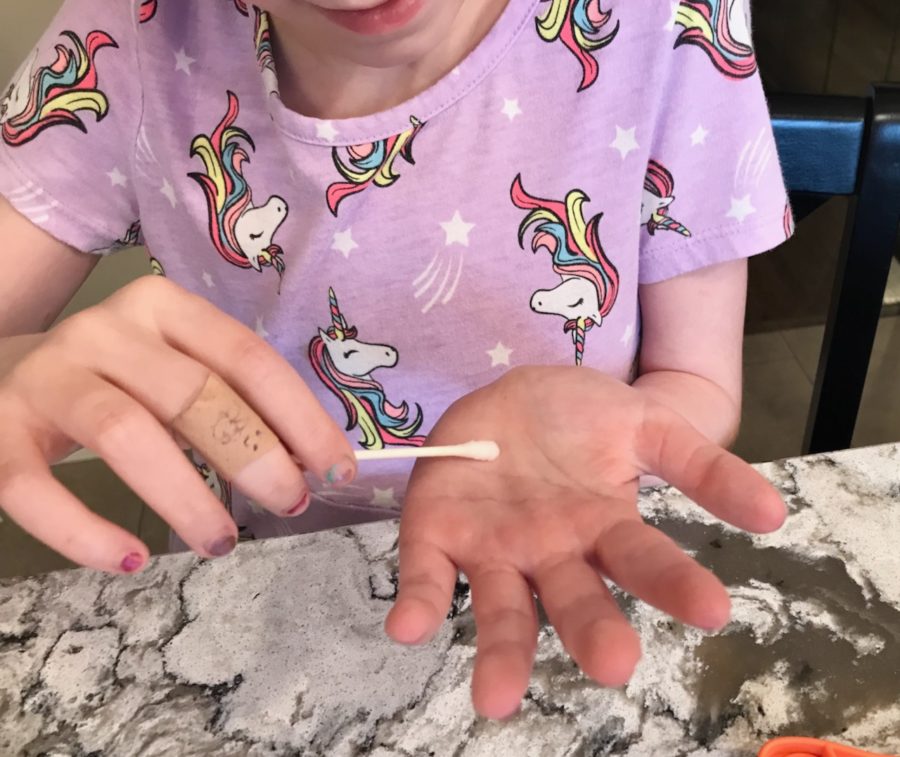
After pouring the mixture into our two petri dishes and letting them set for 20 minutes, it was time to collect our bacteria. The first spot we swabbed was a freshly washed hand.
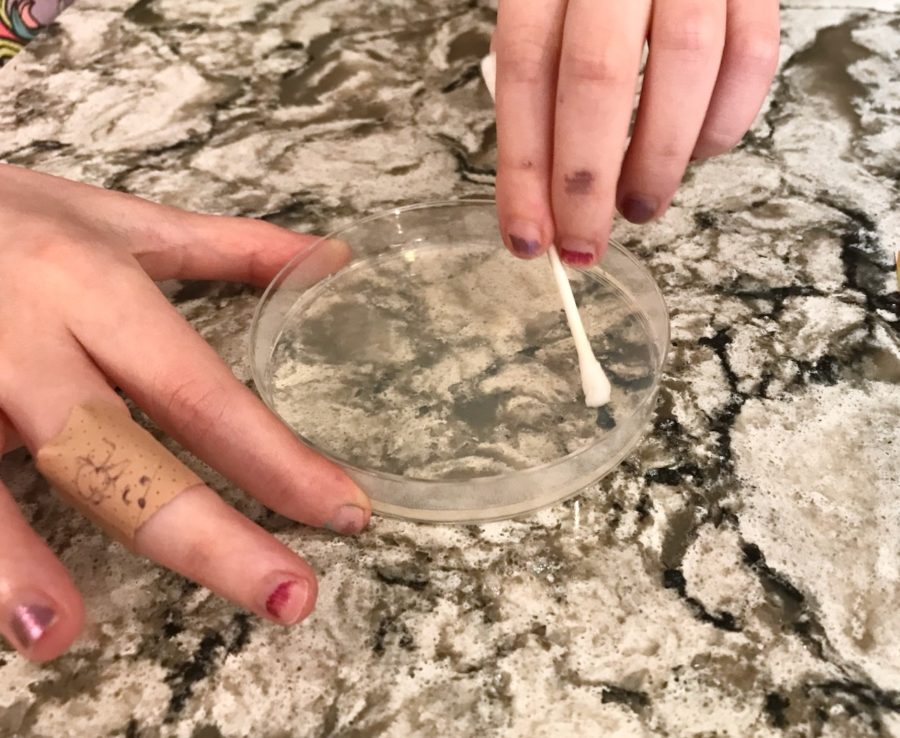
After rubbing the cotton swab over the skin, we then rubbed it in a zig-zag motion over the surface inside the first petri dish to collect the bacteria.
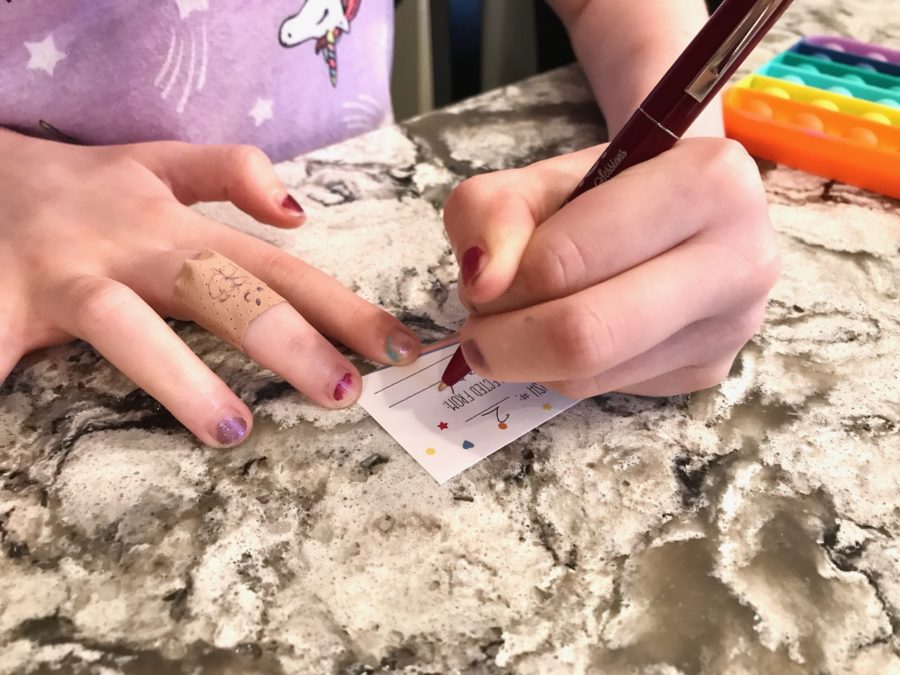
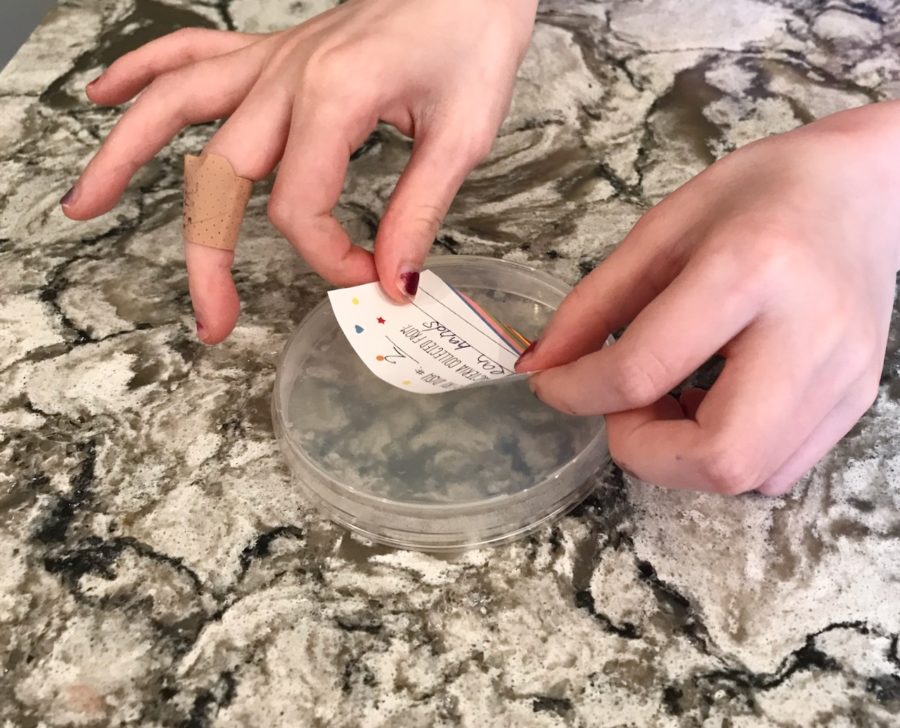
Next, we used the provided labels to write down the source where we collected our bacteria and placed it on the bottom of the petri dish.
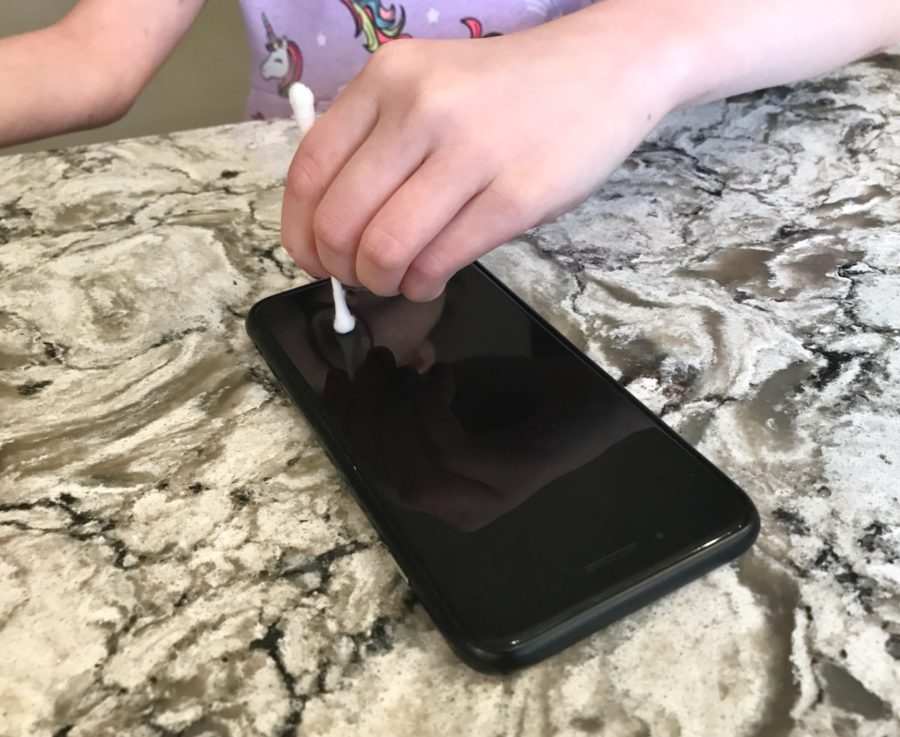
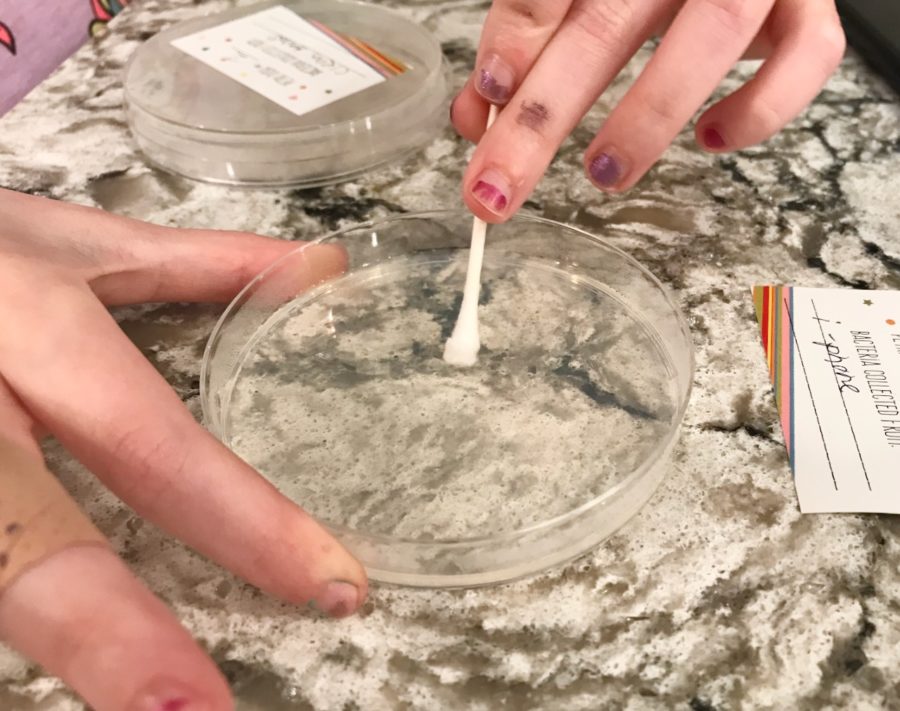
We repeated the process for the second dish using bacteria from my husband’s iPhone.
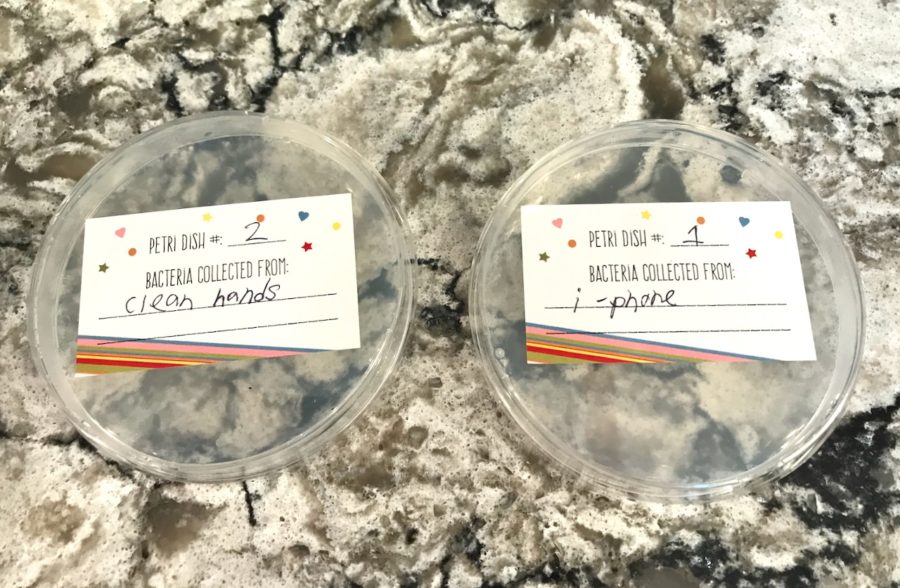
Once both dishes were labeled, we set them upside-down in a drawer to let the bacteria grow. I’ll update this post once we start seeing it form.

Challenge #2: Make a Play Stethoscope
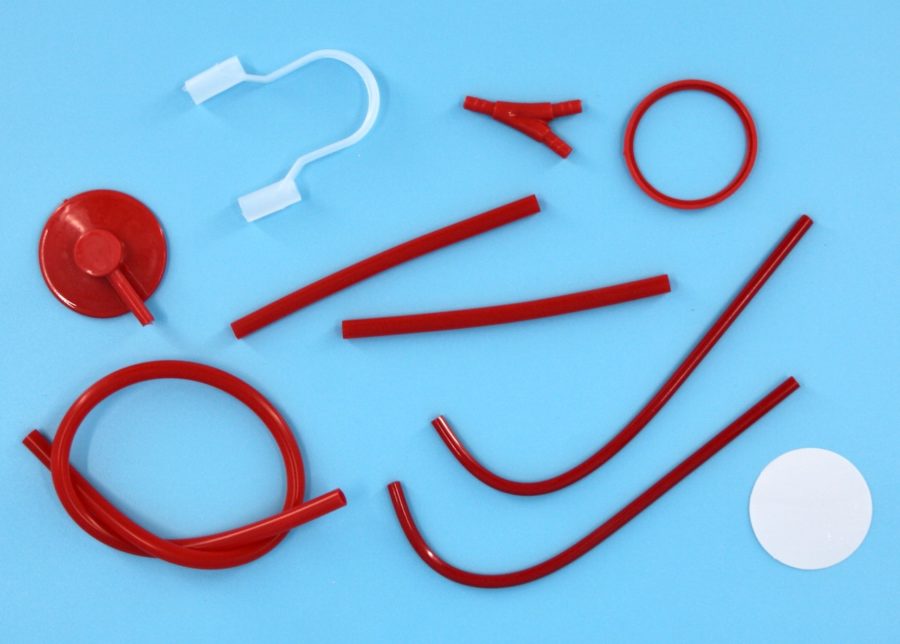
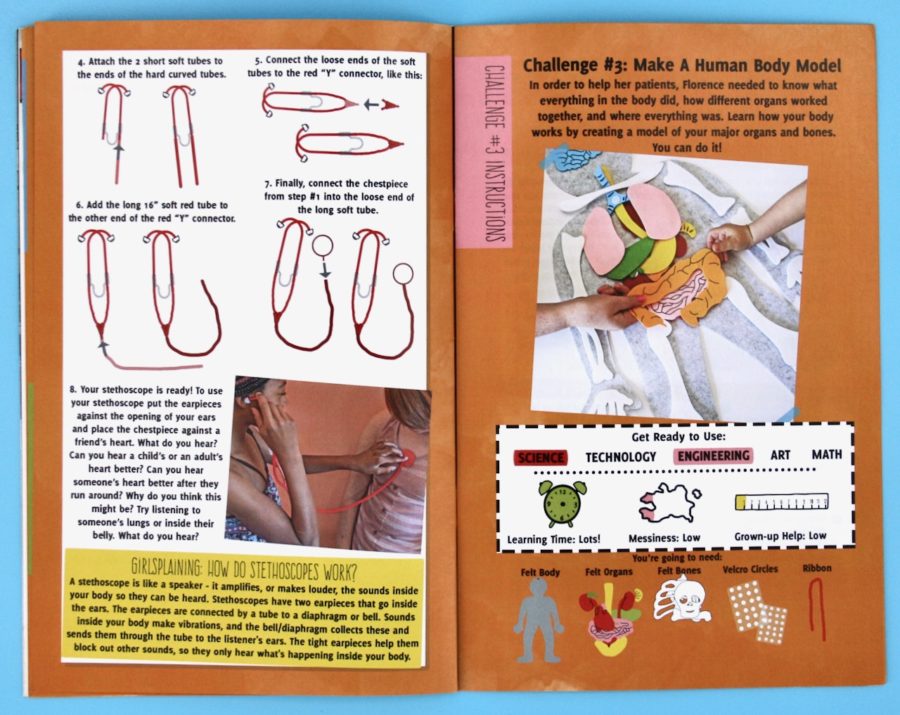
The second activity had us building a play stethoscope. Materials included 2 hard curved tubes, 2 short soft tubes, 1 long soft tube, 2 earpieces, 1 clear connector, 1 red “Y” connector, 1 red ring, 1 white plastic circle, and 1 red “bowl” disc.
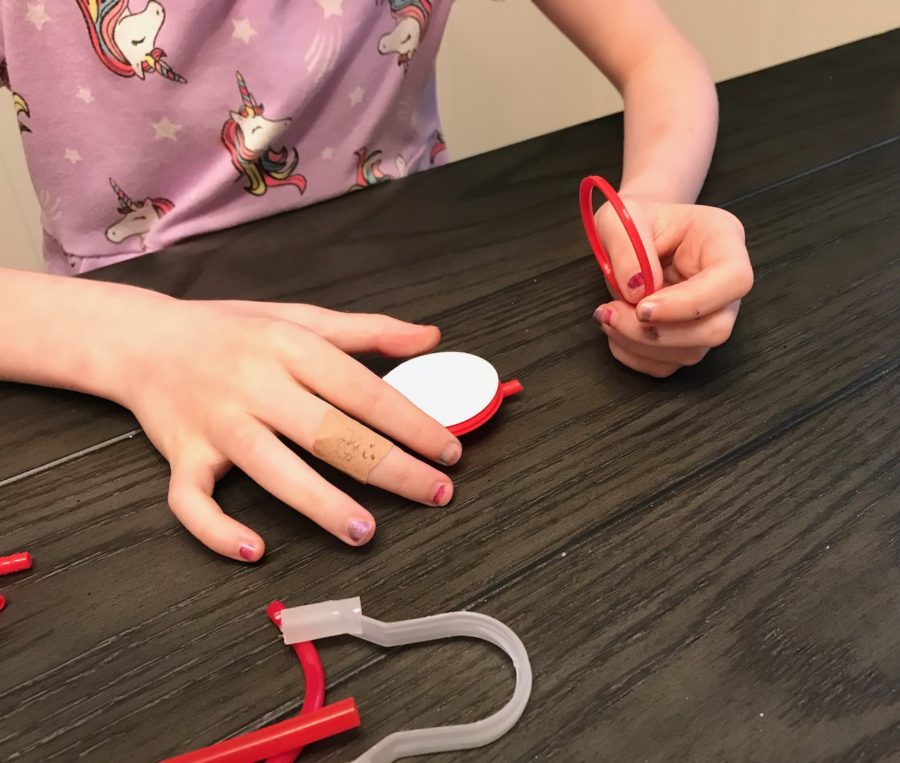
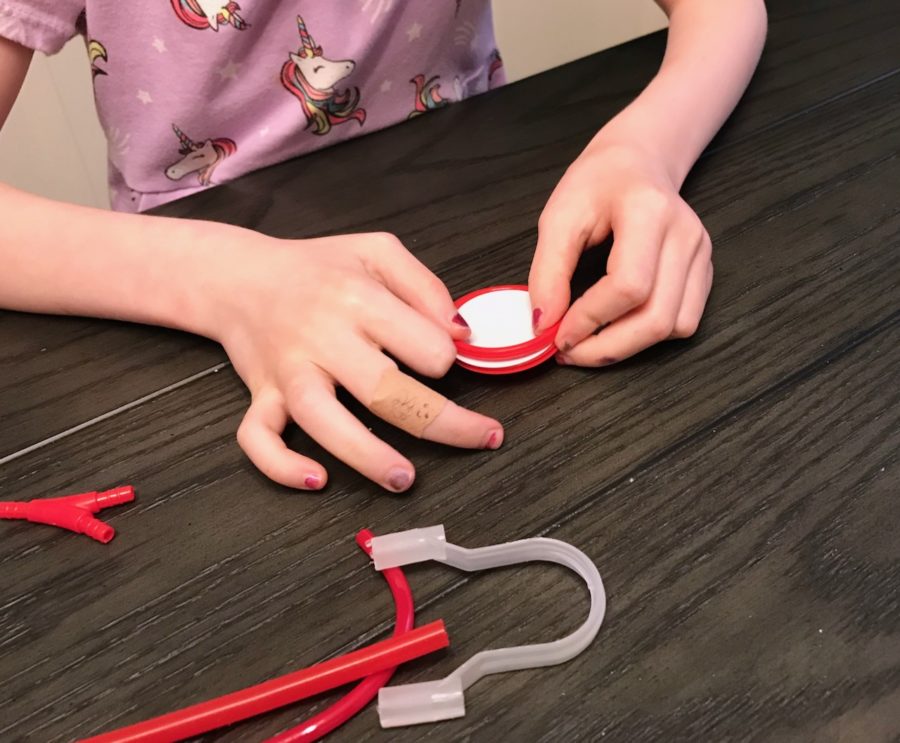
We began by first assembling the chestpiece using the plastic rings and disks above.
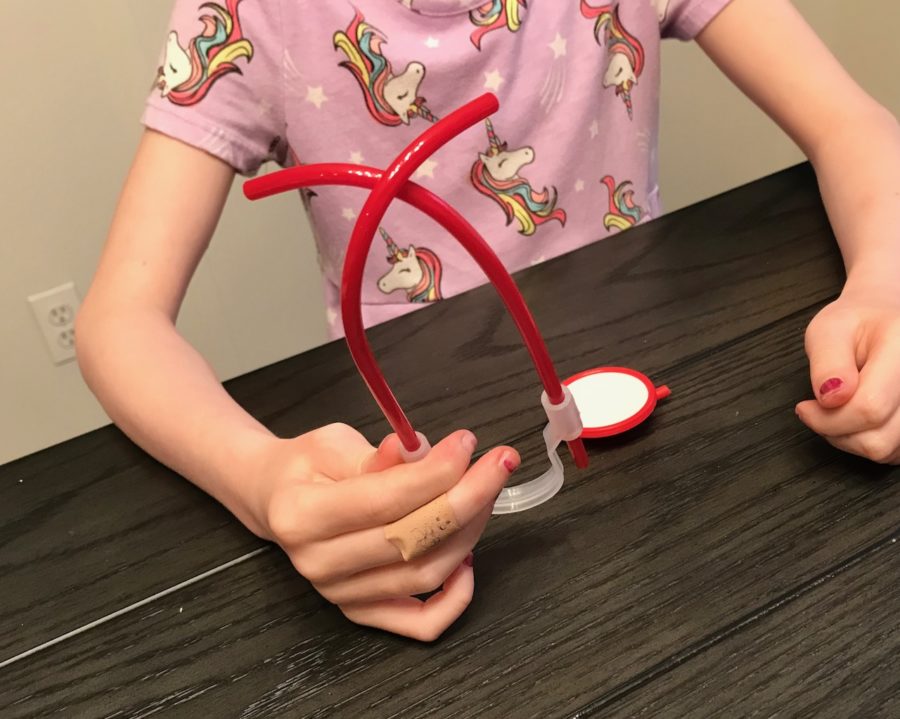
Next, we attached the set of hard red tubes to the connector piece. Unfortunately, the two earpieces needed were missing from our box so we had to skip that step.
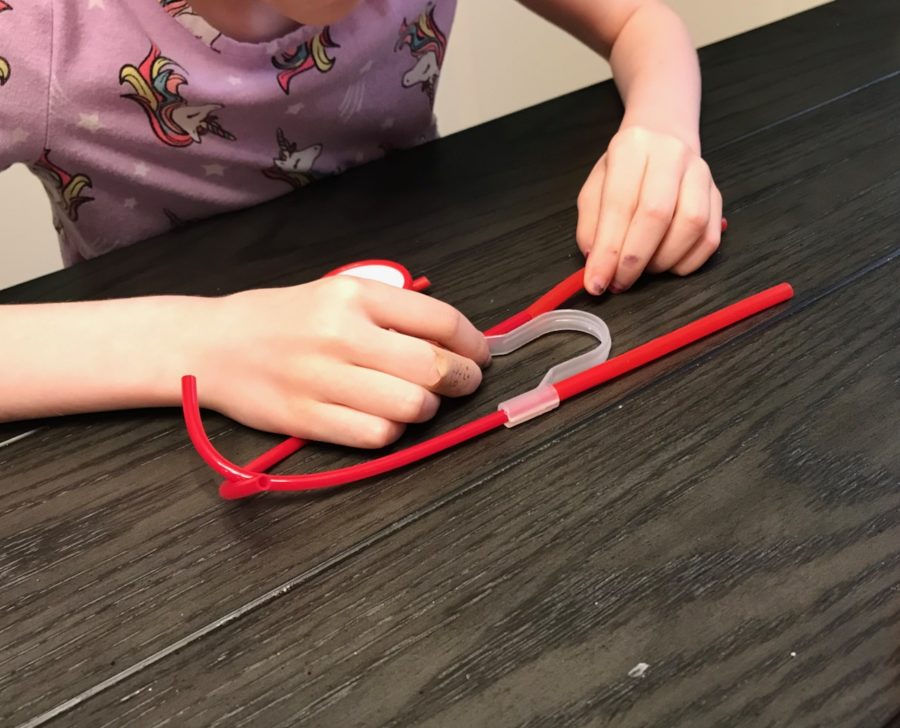
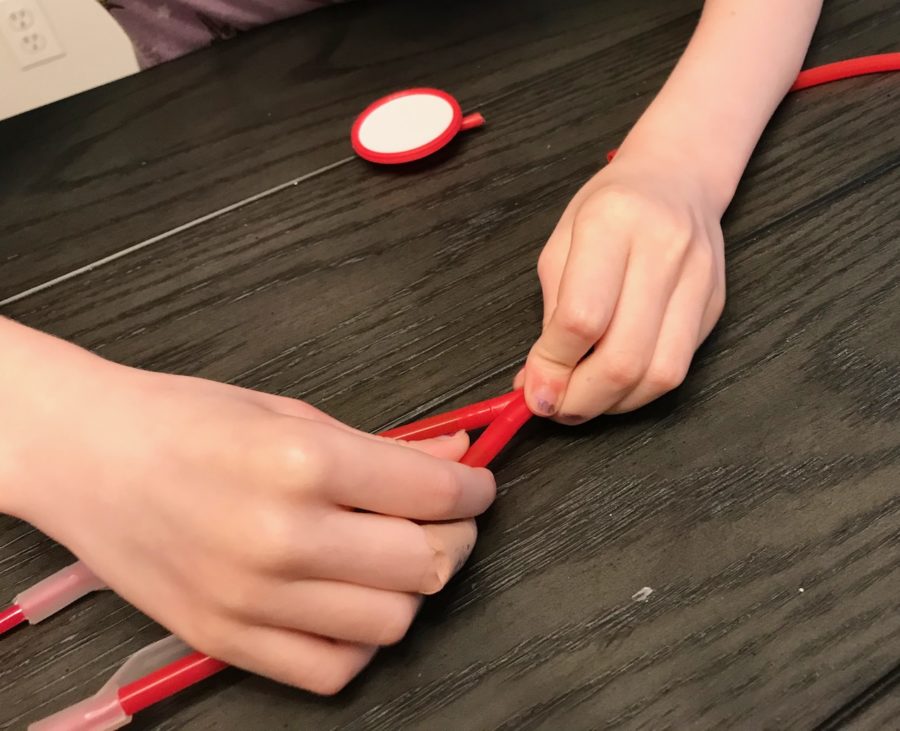
After attaching the connector, we added the two soft tubes to the end of the hard tubes and connected them with the “Y” connector piece and added the long soft tube at the end.
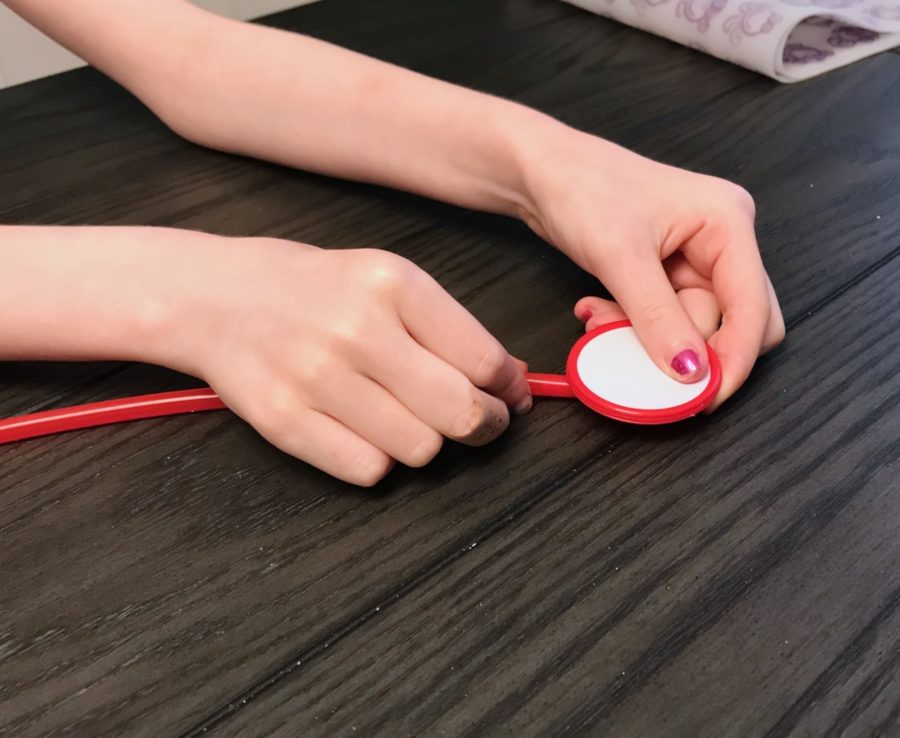
We finished up by sliding the chestpiece onto the end of the long tube.
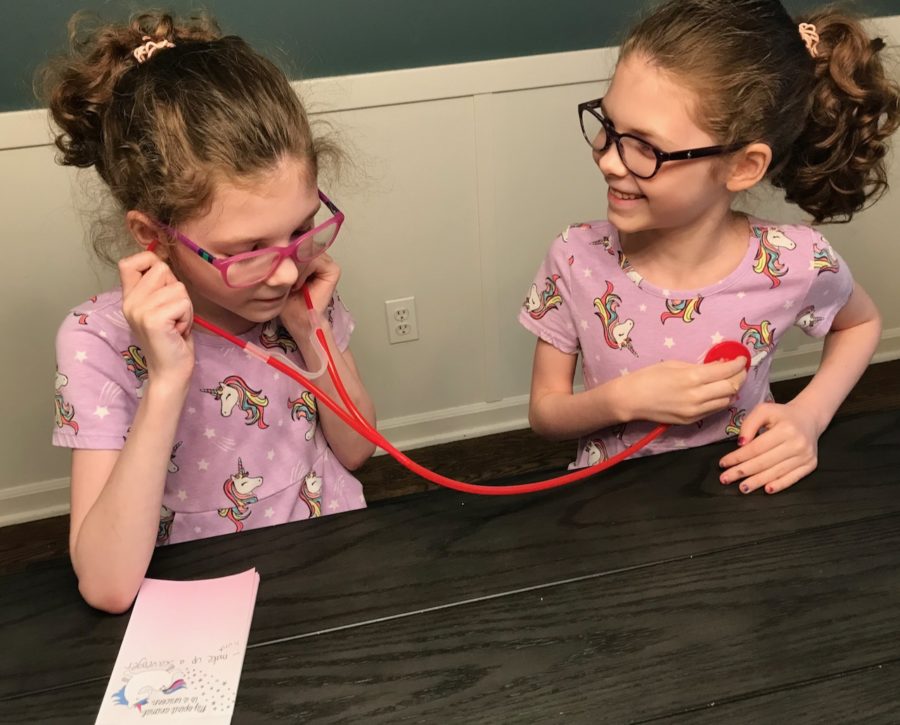
Since we didn’t receive the earpieces they had to be extra careful putting the tubes in their ears to listen, but we made it work. 😉
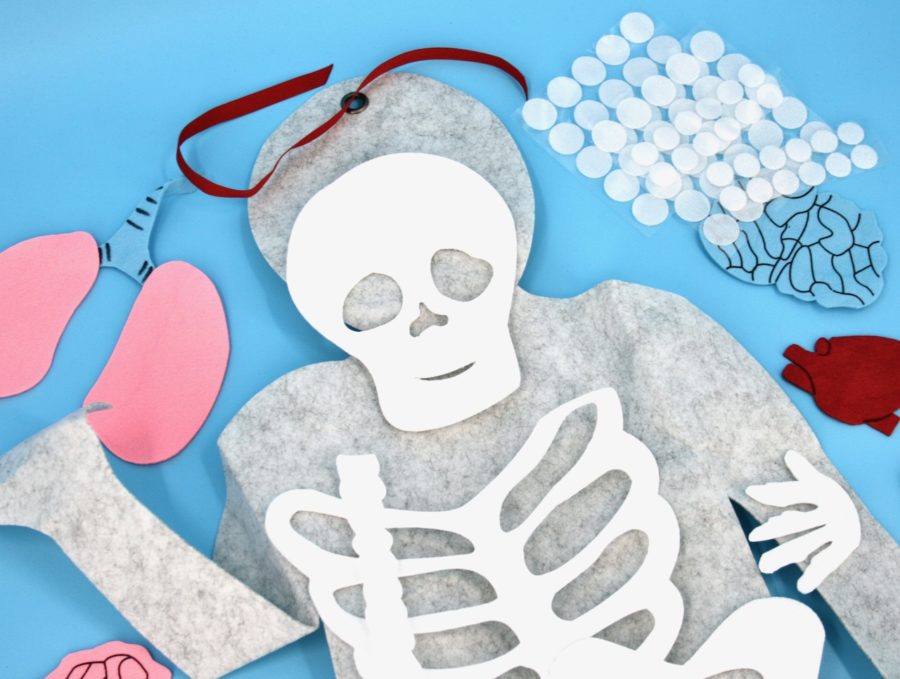
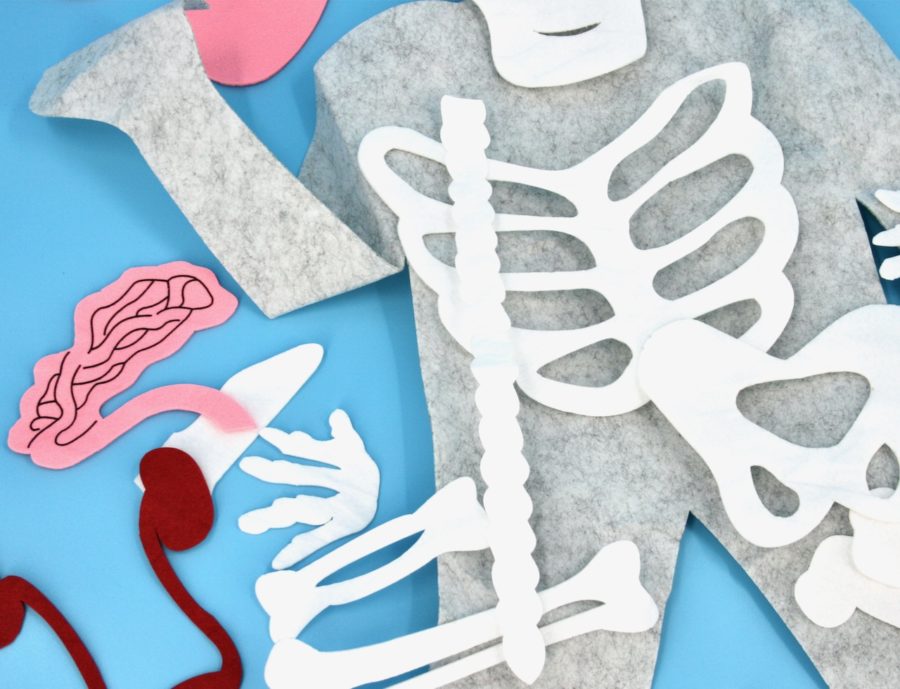
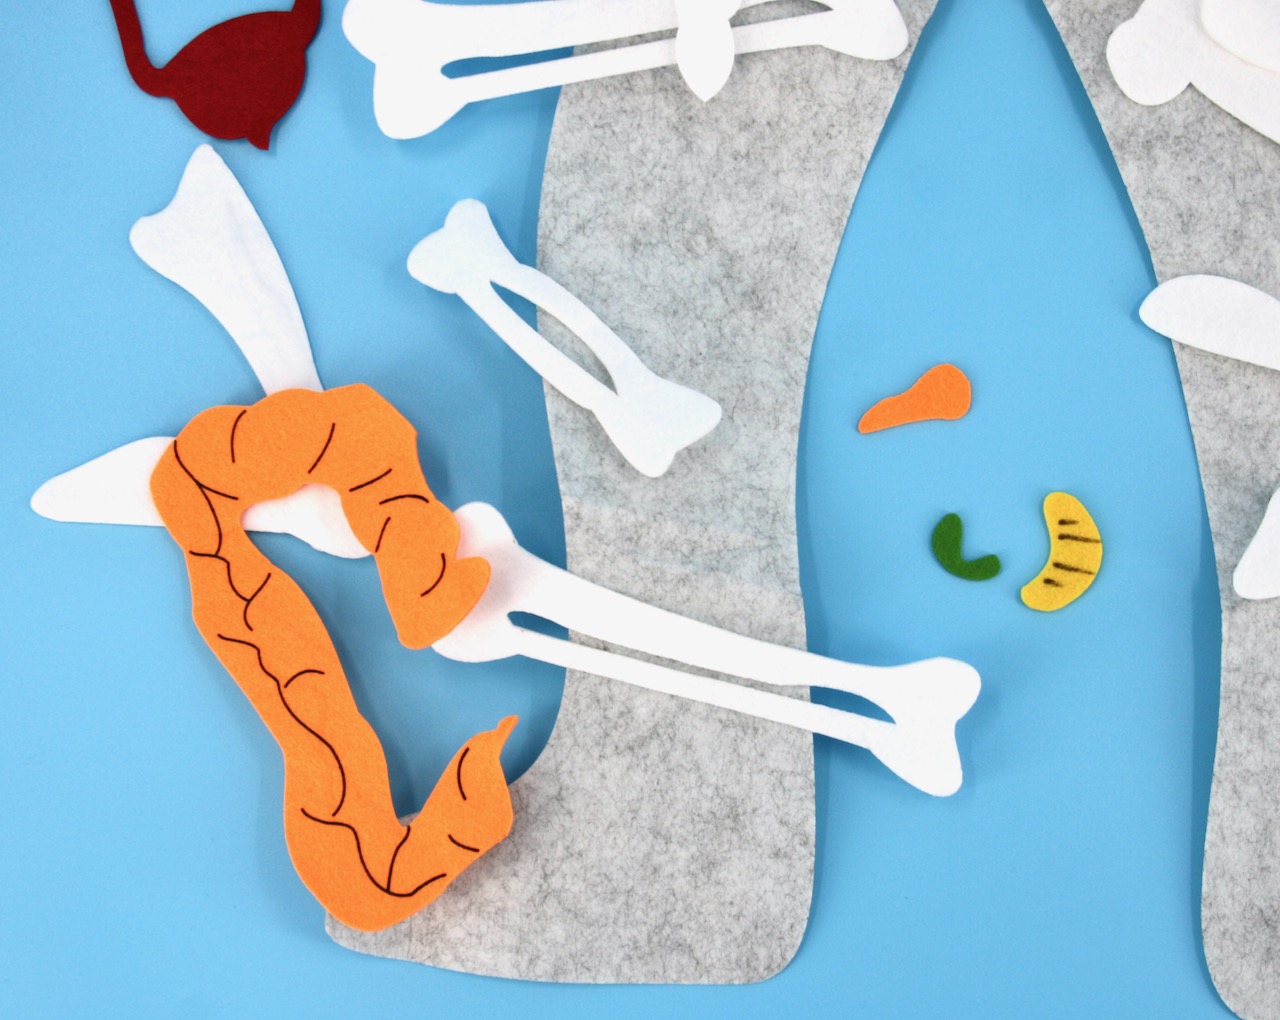
Challenge #3: Make a Human Body Model
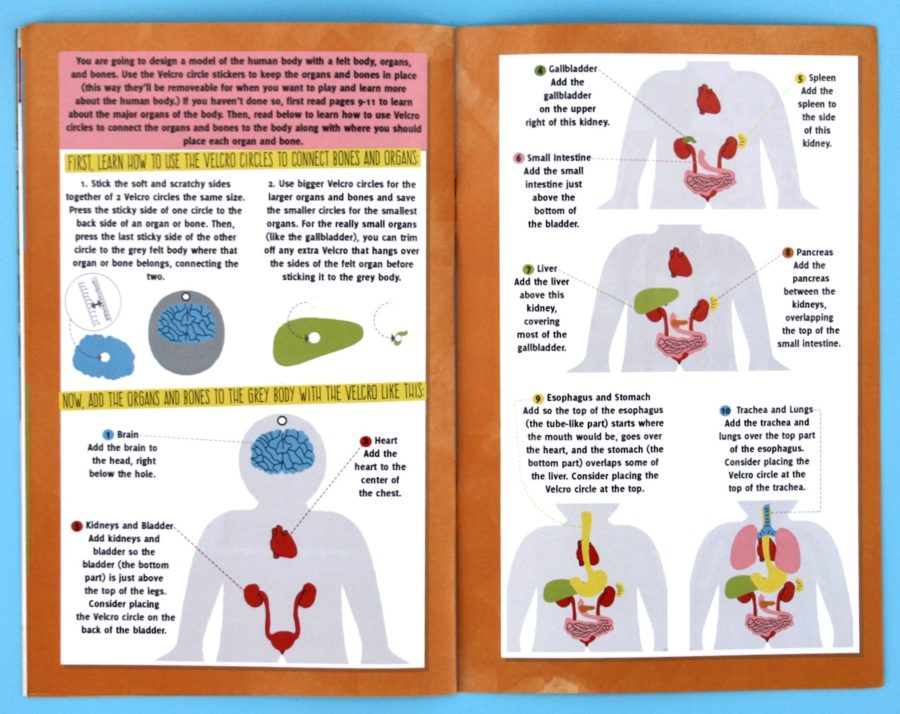
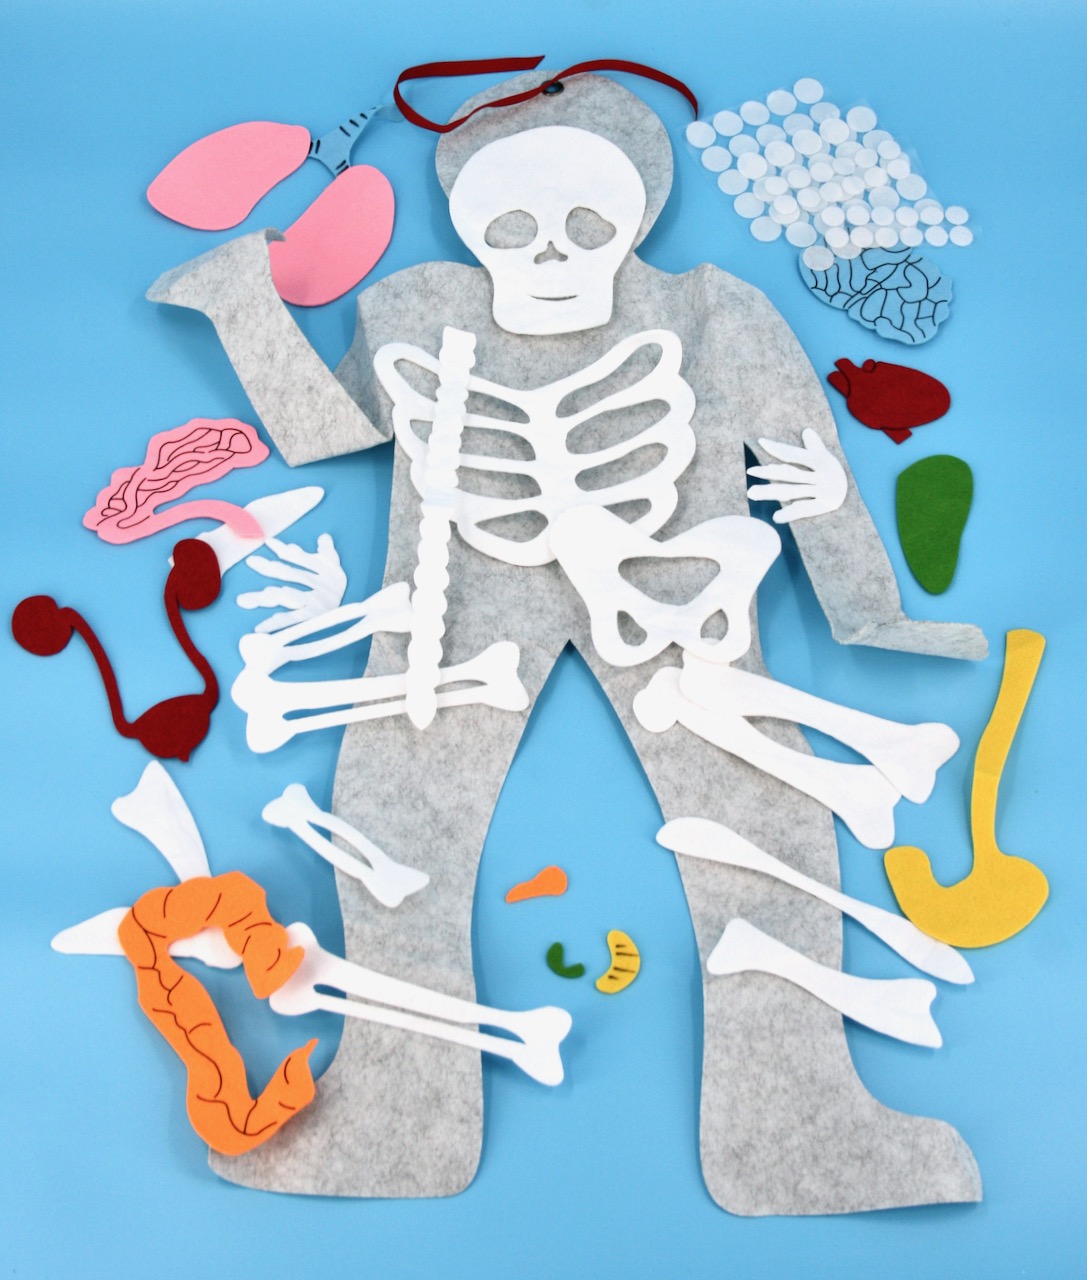
The final activity had us making a model of the human body’s bones and major organs using pre-cut felt. Materials included 1 felt body, felt organs, felt bones, velcro circles, and a ribbon.
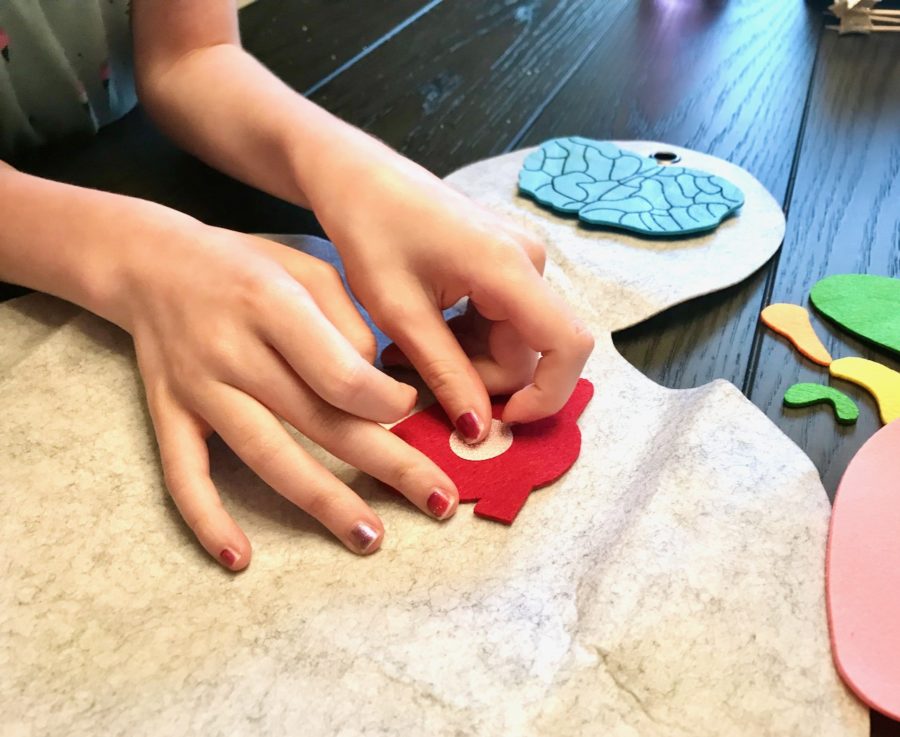
The first step was to add all of the organs in the order listed in the activity booklet. First was the brain, followed by the heart.
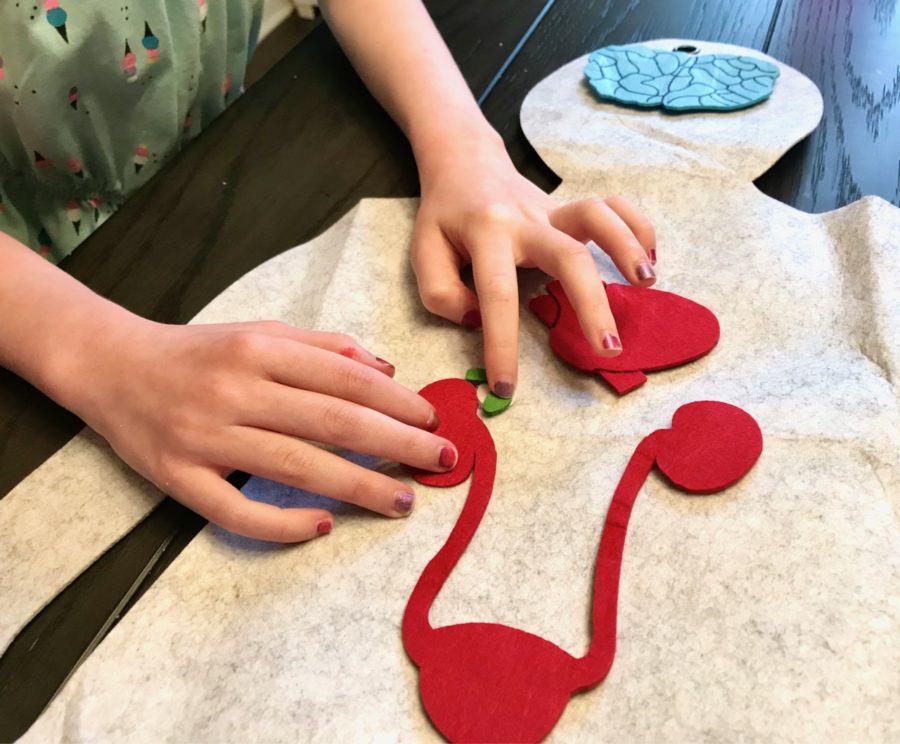
Next up: Kidneys, bladder, and gallbladder.
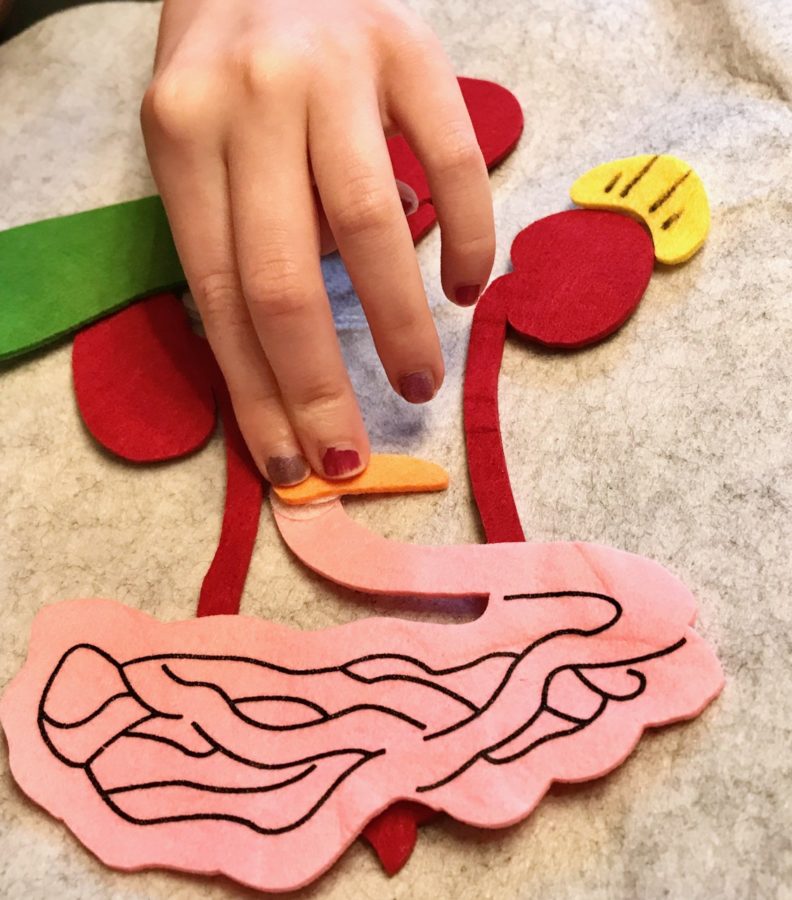
Almost done…
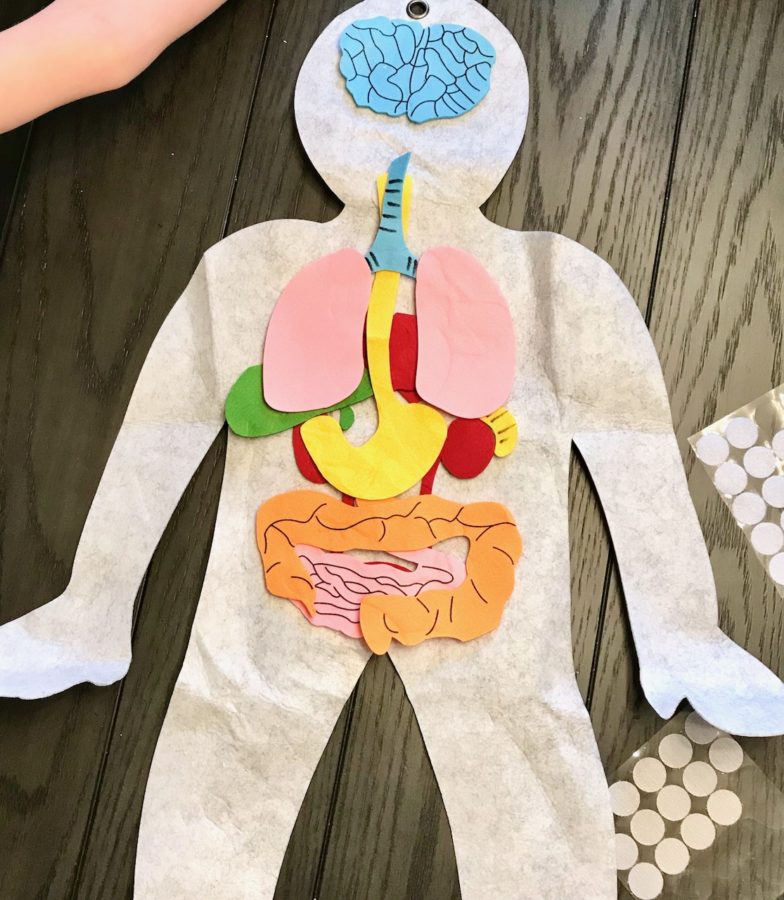
Organs complete!
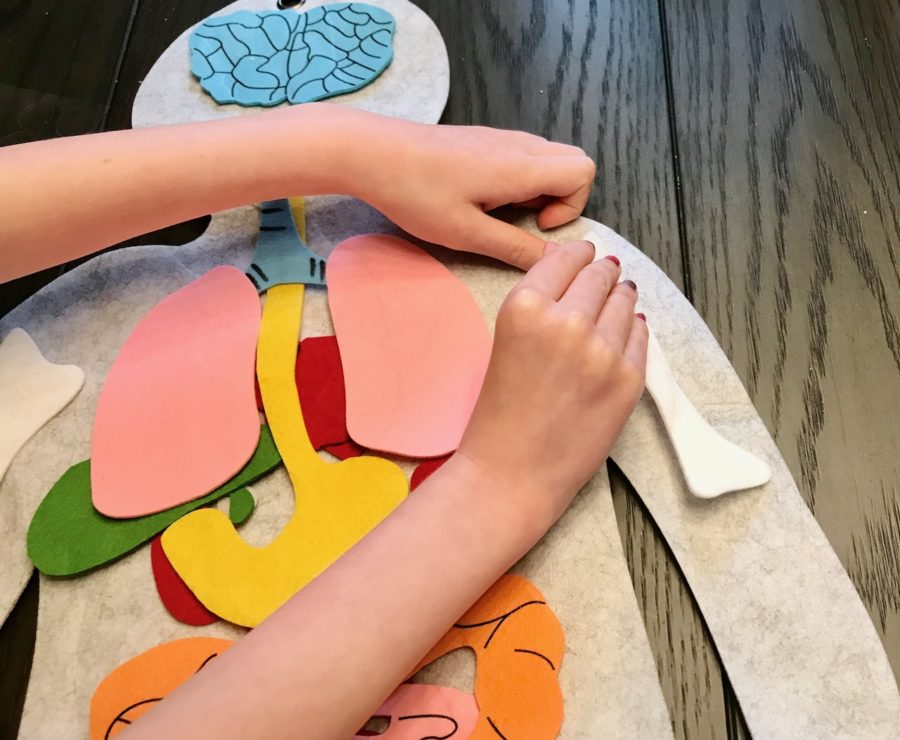
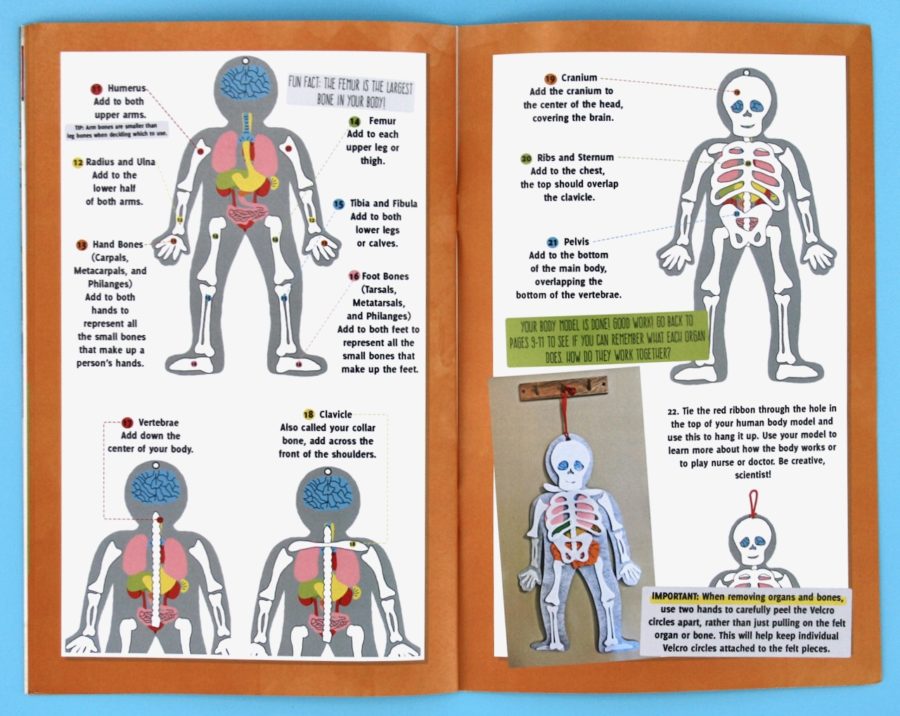
Now it was time to add the bones… Arms first!
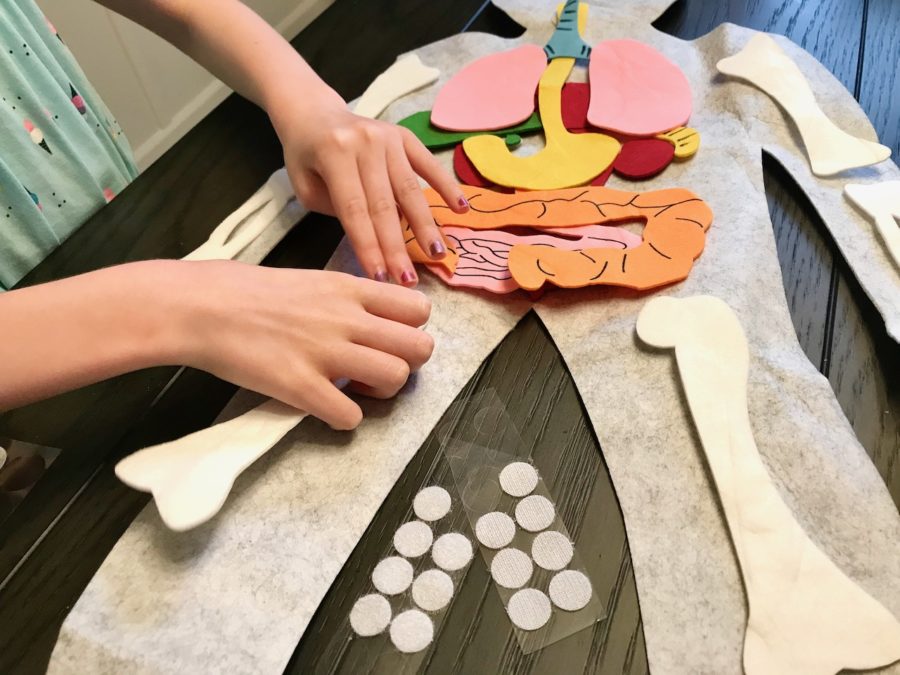
Working on the legs…
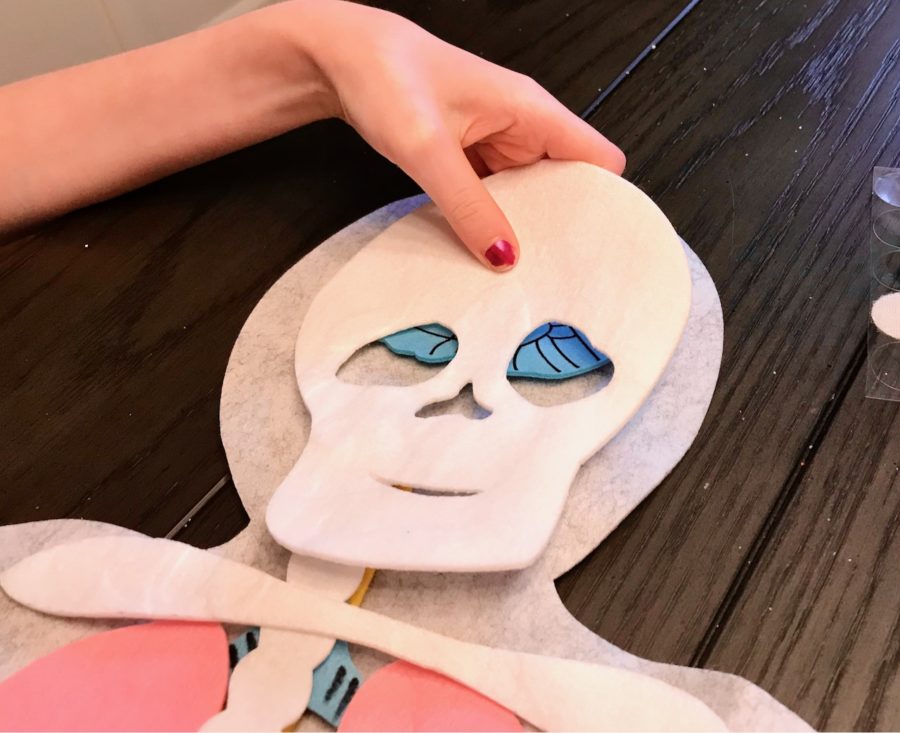
Final step was the all-important skull.
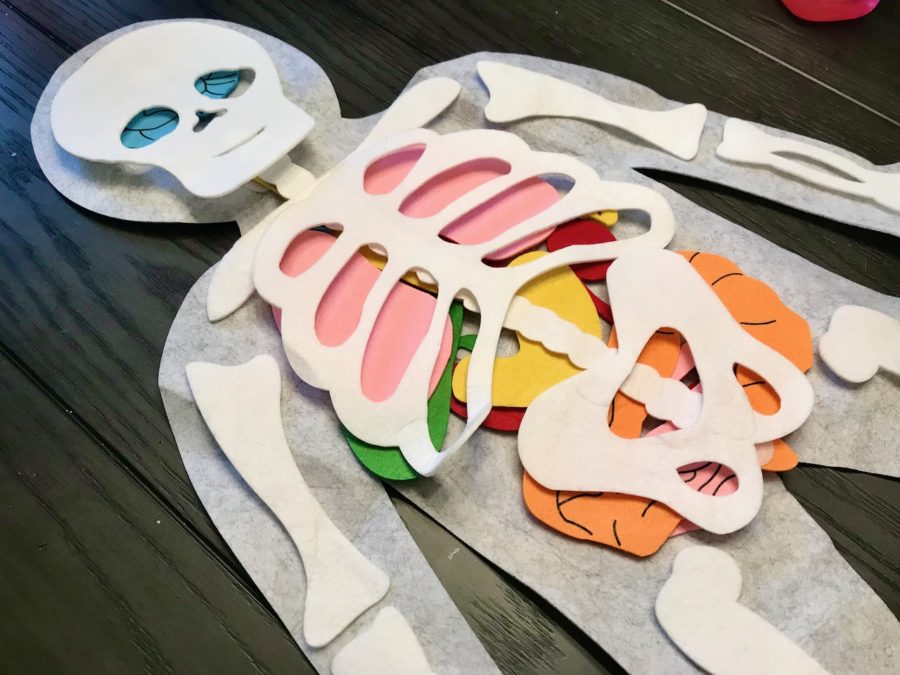
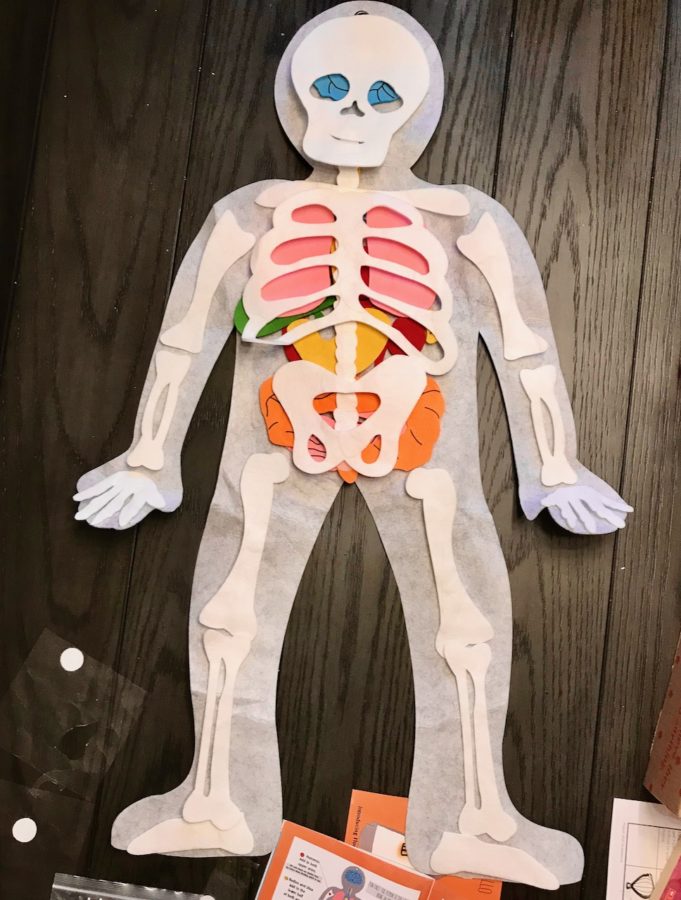
Once completed, we used the provided ribbon to hang him on the back of the girl’s bedroom door… Which promptly freaked them out. 😉
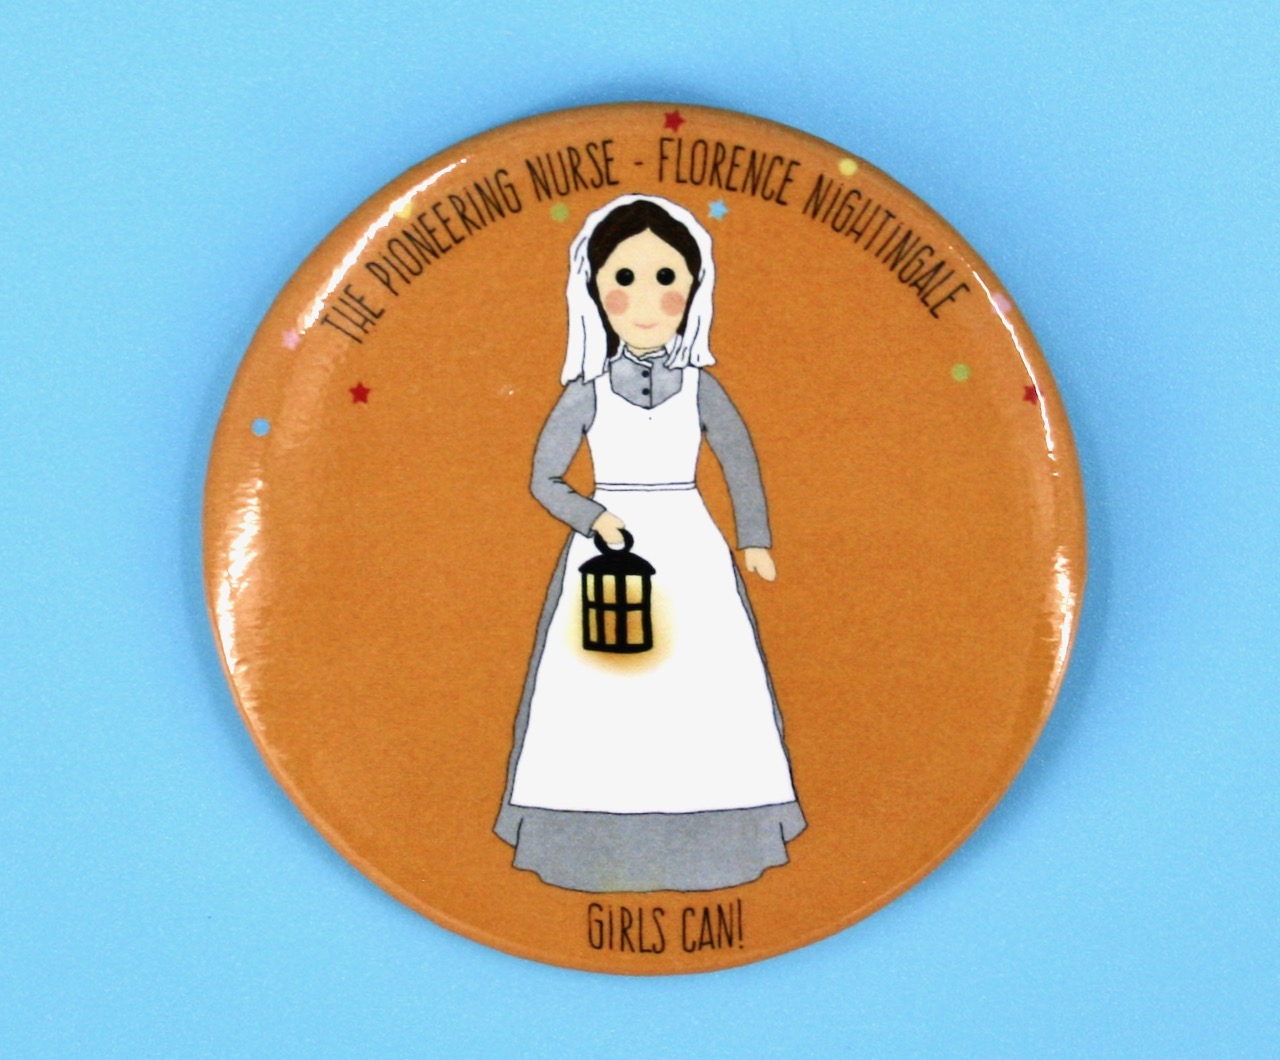
With all of the activities complete, we had officially earned our Florence Nightingale collectible button.
The June 2021 Girls Can! Crate box was a nice introduction to learning the body’s major organs & bones, as well as a reminder of how important it is to have good hygiene. The girls enjoyed all of the activities and are looking forward to seeing how “gross” their petri dishes get. 😉 — Remember for a limited time, you can save 20% on your first month with coupon code “WELCOME20“!


Leave a Reply