Girls Can! Crate is a monthly subscription box that inspires girls ages 5-10 to believe they can be and do anything by introducing them to fearless women who made the world better.
Each box will include a 20-page activity book telling the featured woman’s unique story (as well as games, experiments, & more), 2-3 hands-on STEAM (science, technology, engineering, art, and math) activities related to her field, a creative play prop, a featured character trait that helped her succeed and 2-3 practical tips for parents to easily foster that trait, and more. The boxes are designed to encourage a love for STEAM, to foster creativity, curiosity, and support literacy development. With every box purchased, Girls Can! Crate donates 10% of the proceeds to nonprofit organizations working to empower women and girls.
Disclosure: I received this box for review purposes. I was not compensated in any way. All opinions are my own. Post may contain affiliate and/or referral links.
Subscriptions are $29.95/month or less with multi-month commitments. Shipping is free within the US.
Let’s see what’s in my March 2019 Girls Can! Crate!
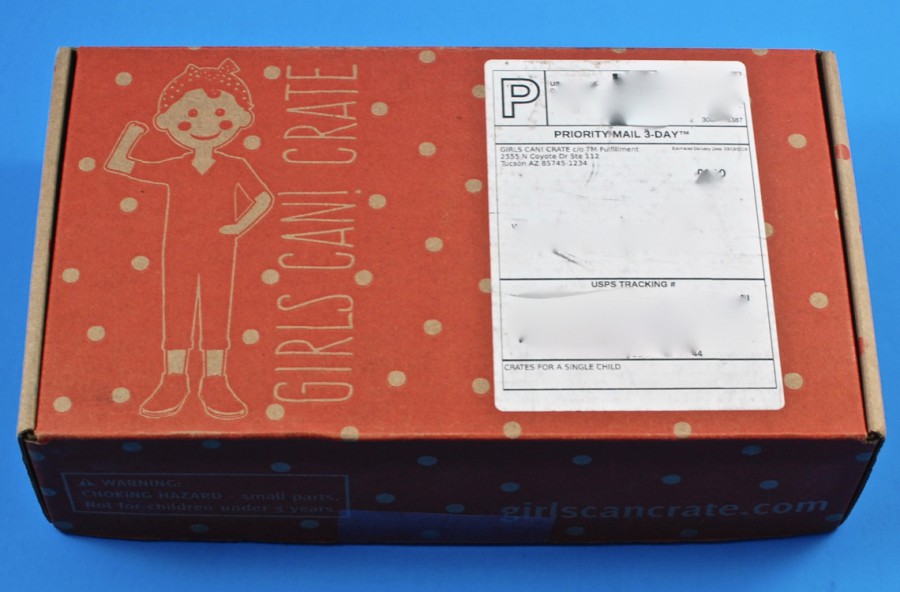
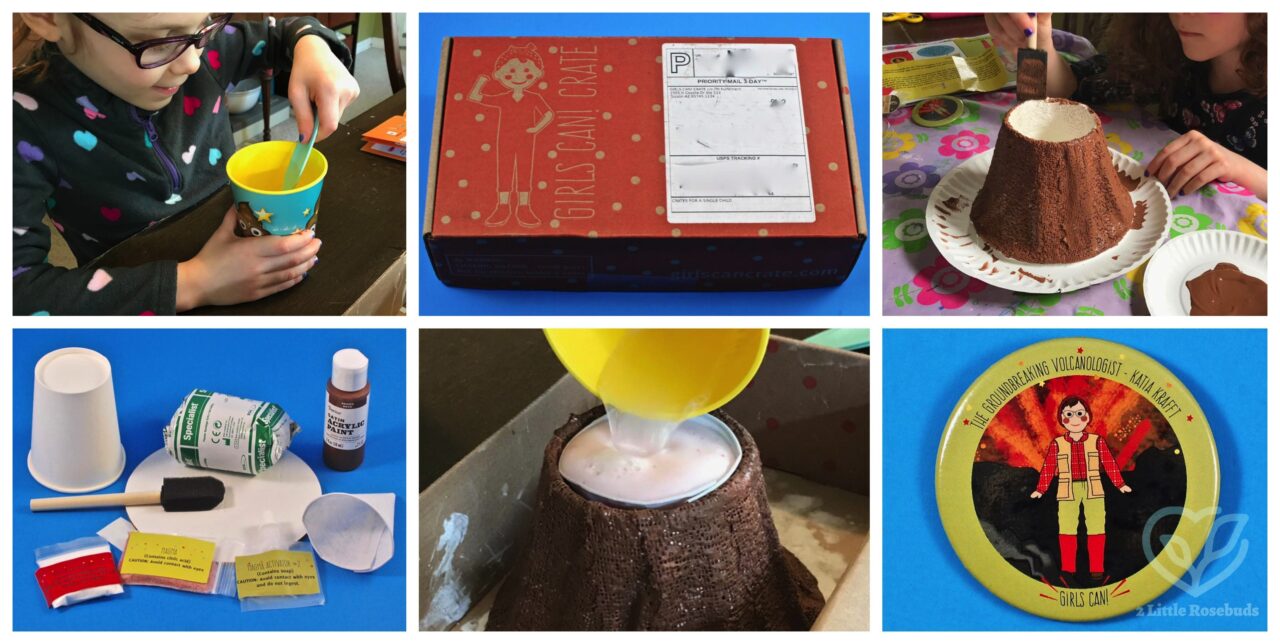
Everything was shipped in a bright red box with the Girls Can! Crate logo on top.
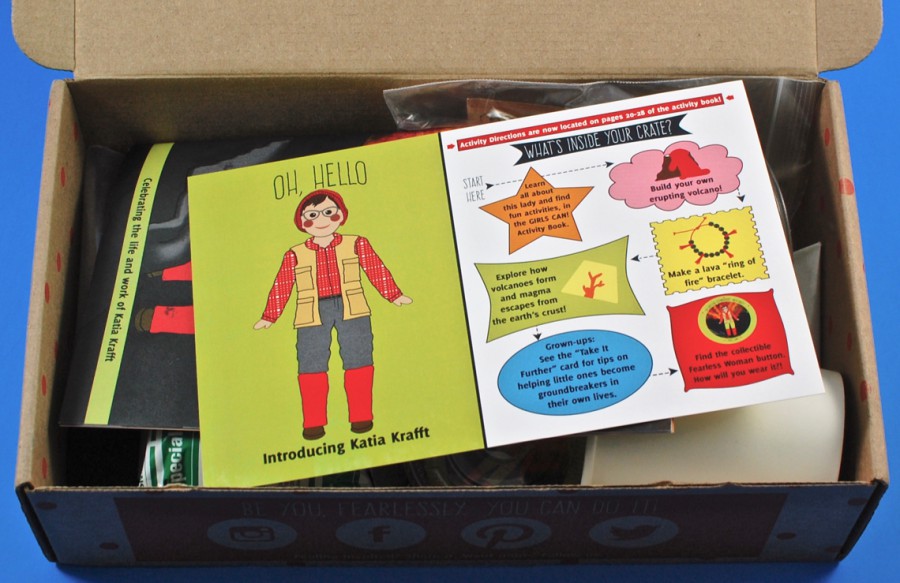
A peek inside!
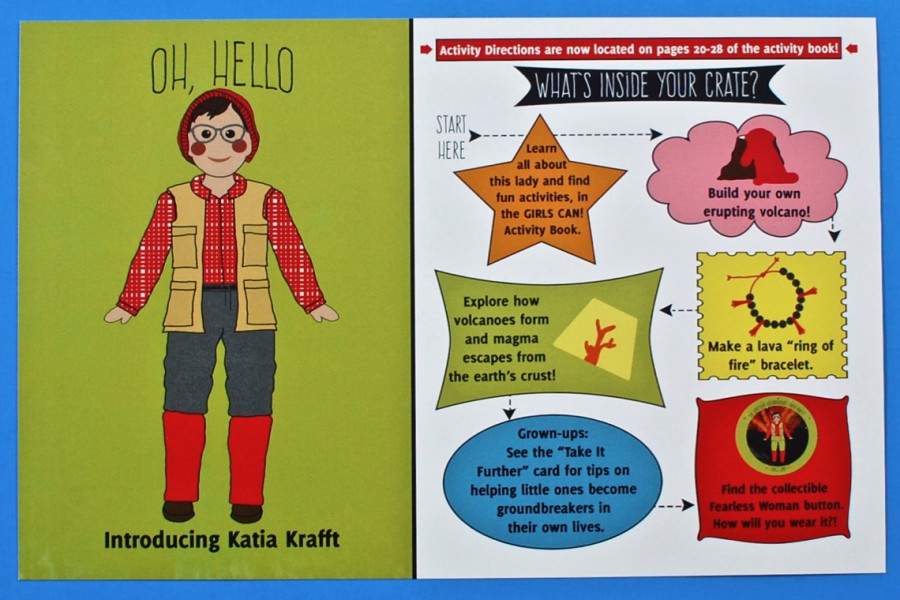
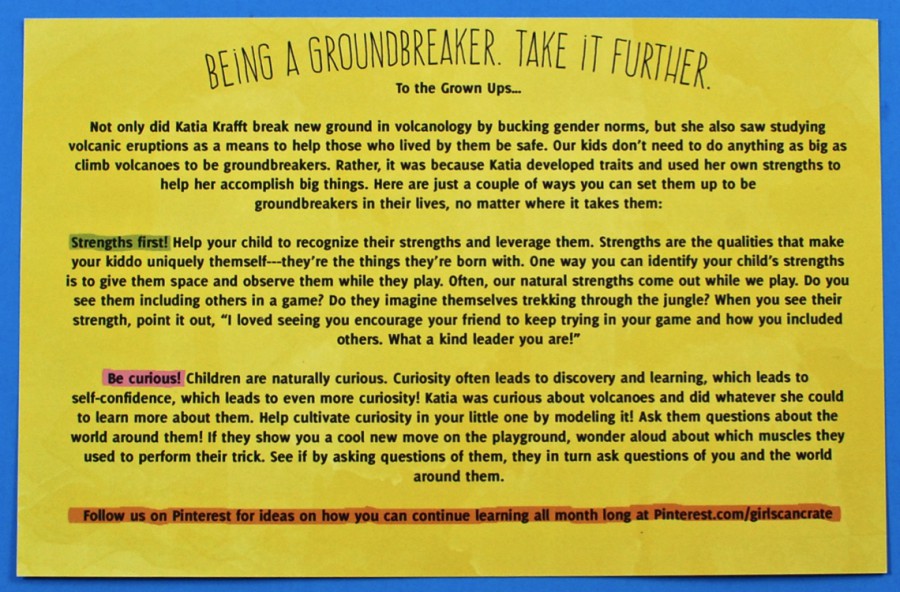
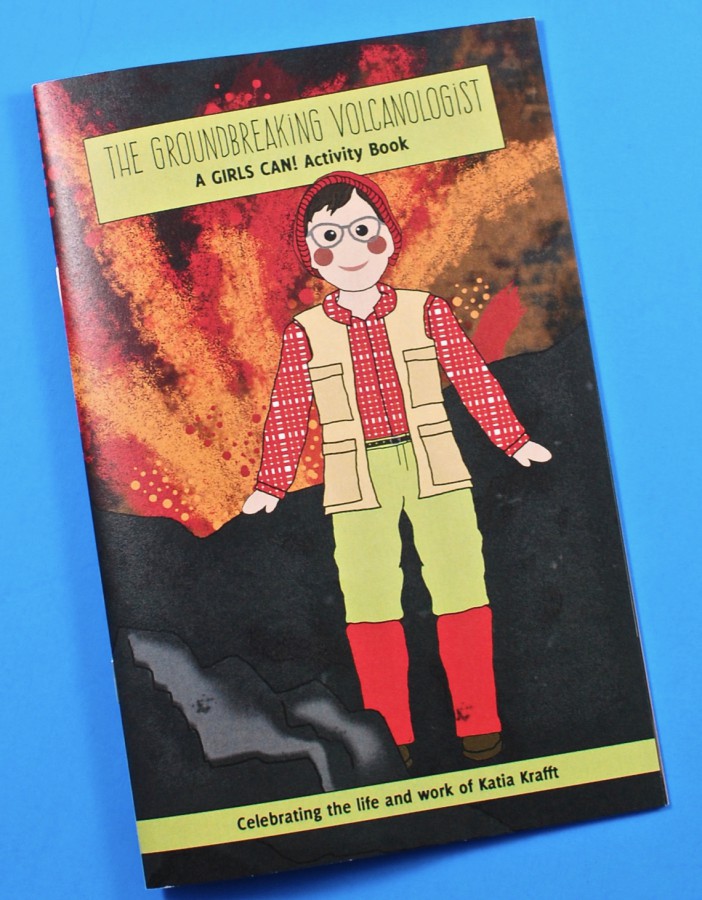
March’s featured “fearless woman” was the groundbreaking French volcanologist, Katia Krafft. An information card listed all of the activities in the crate and the order in which they should be completed. The reverse side included tips for parents on how to encourage Katia’s bravery in their own children.
Activity Book
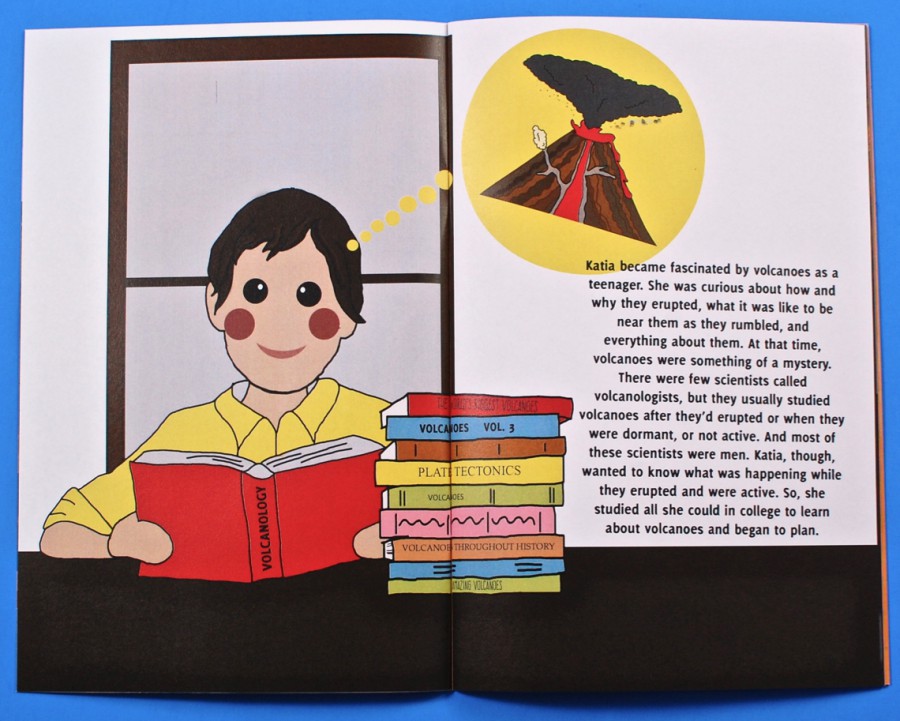
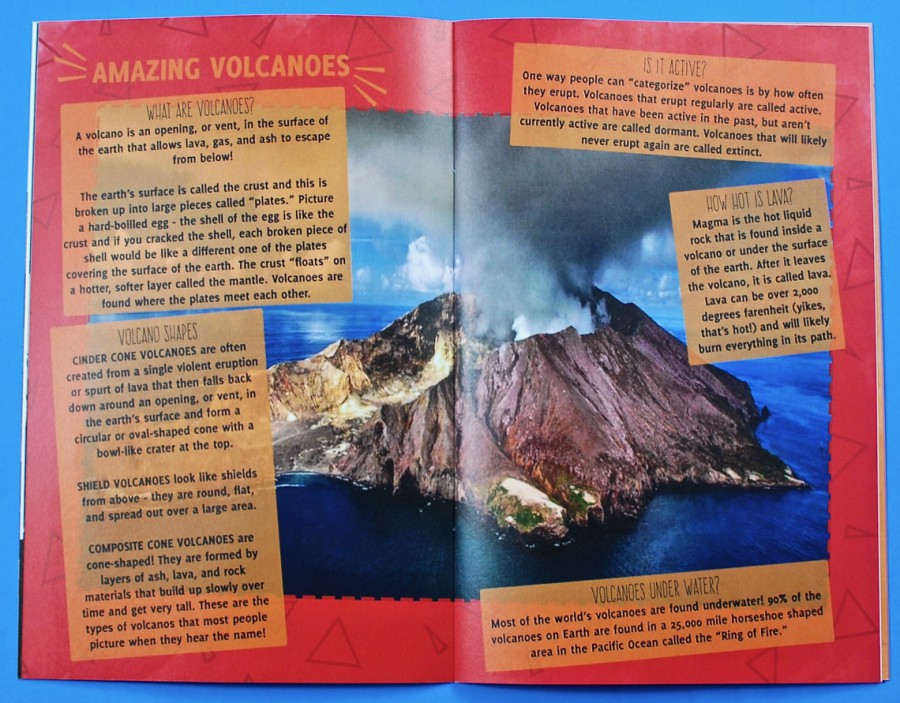
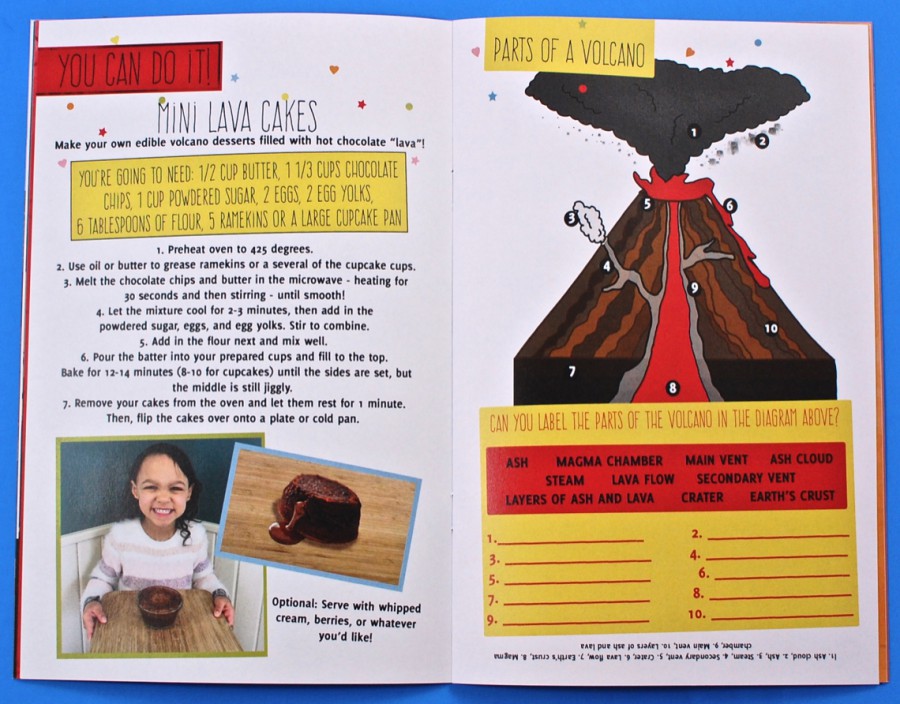
A 20-page, full color activity book included the story of Katia Krafft and how her incredible bravery led her to become one of the world’s experts on volcanoes. It also included volcano facts, puzzles, games, recipes, and more. All of the activity instructions were printed in the booklet as well.
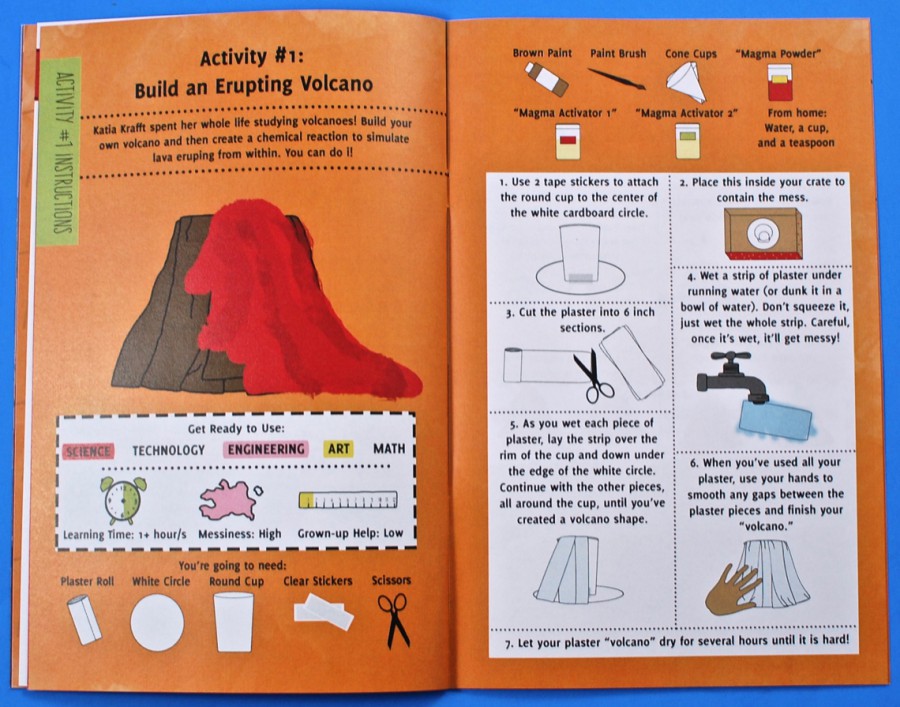
Activity #1: Build an Erupting Volcano
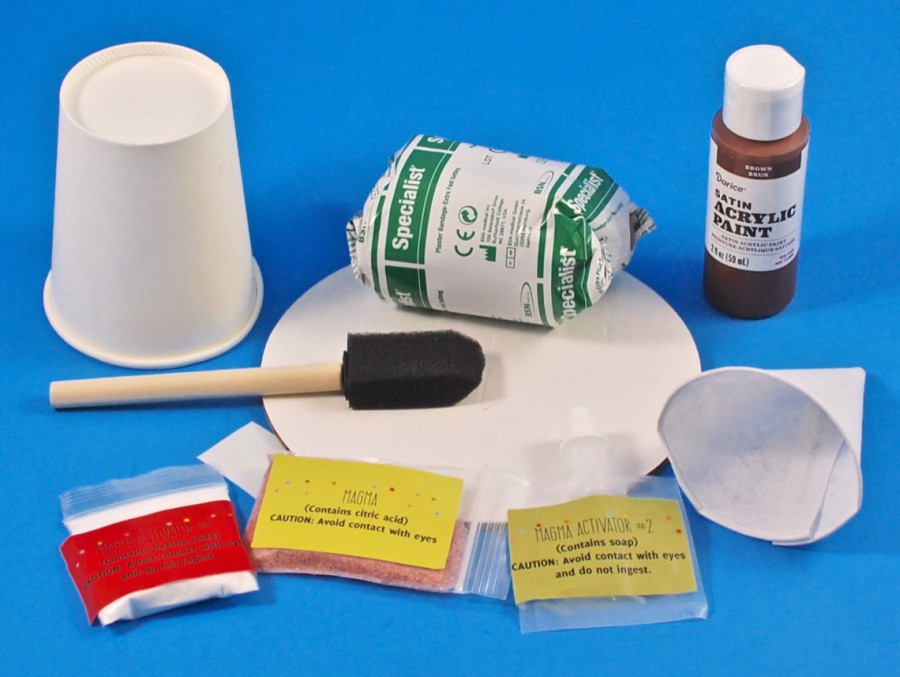
The first activity had us building our own volcano model and creating a chemical reaction inside to simulate a volcanic eruption. Materials provided were a plaster roll, cardboard circle, round cup, clear stickers, brown paint, paint brush, cone cup, magma powder, magma activator 1, and magma activator 2.
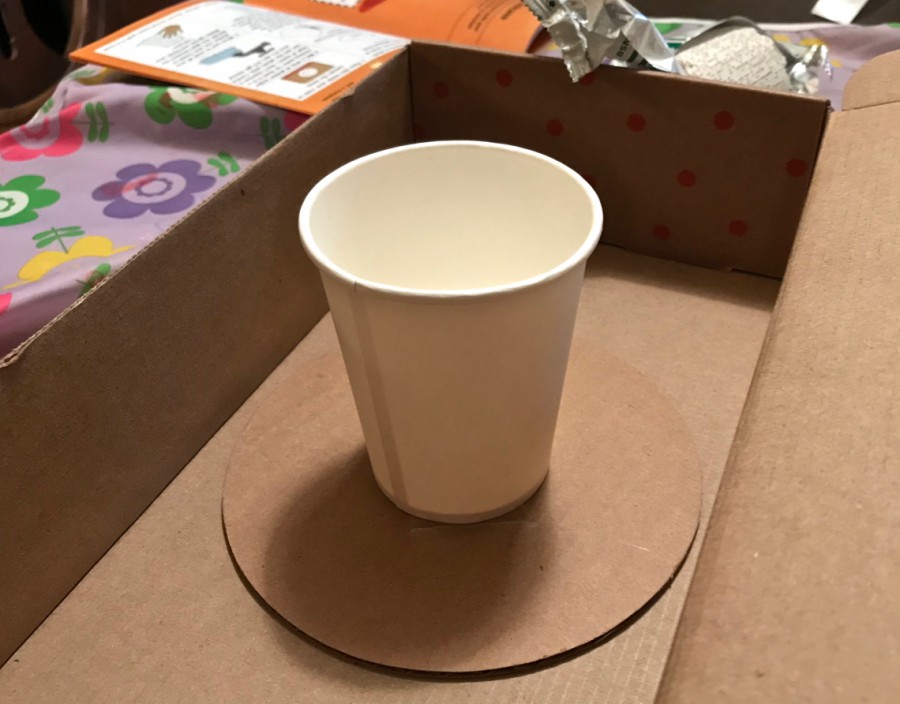
First, we needed to use the tape provided to secure the cup to the cardboard circle, which we were to place inside of our now empty Girls Can! Crate box to contain the mess.
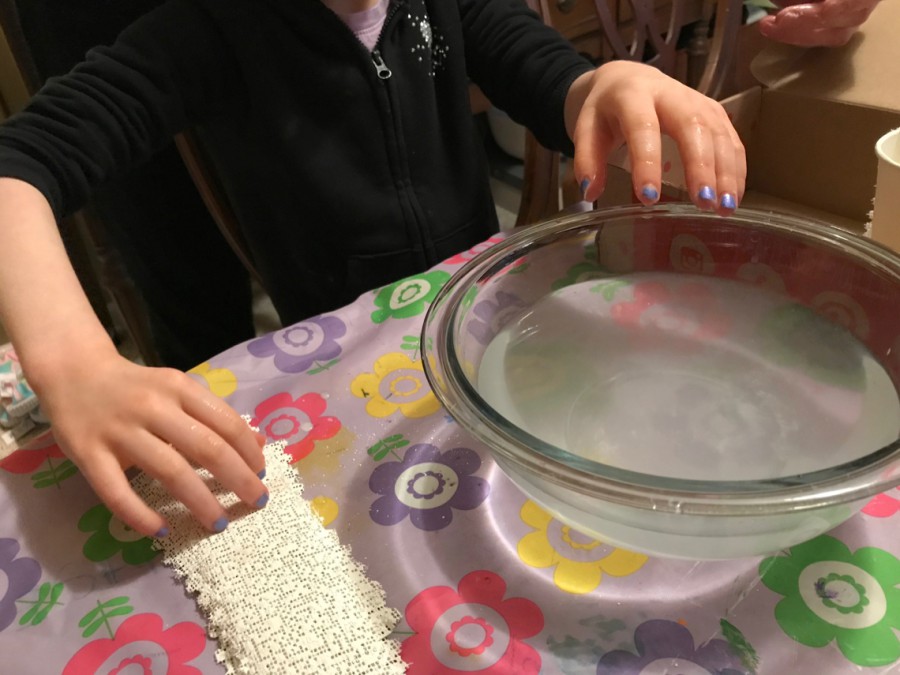
Next, we cut the plaster into 6 inch sections and filled a bowl of water.
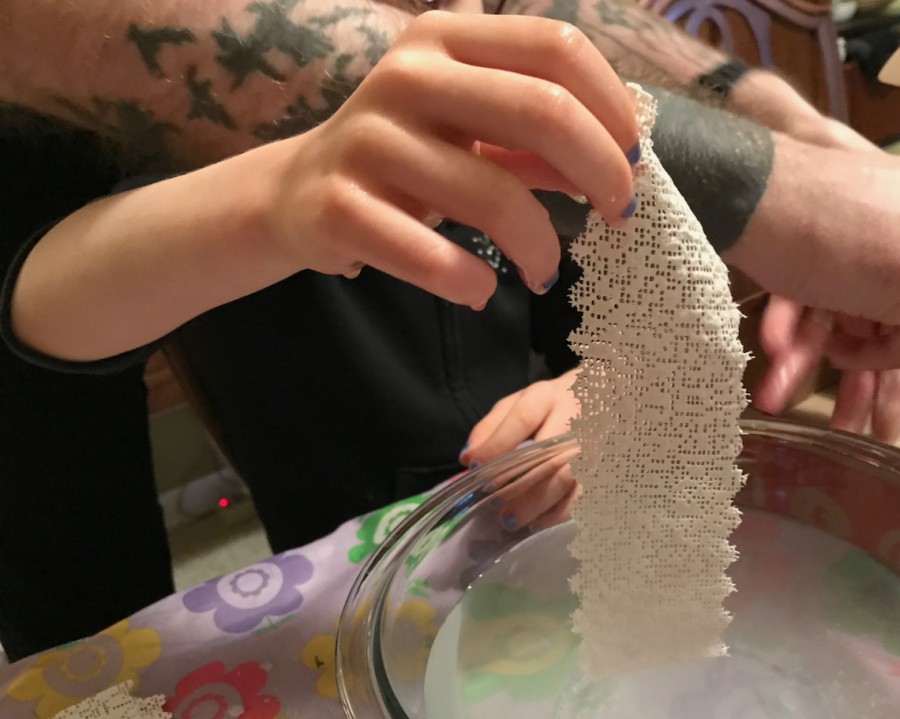
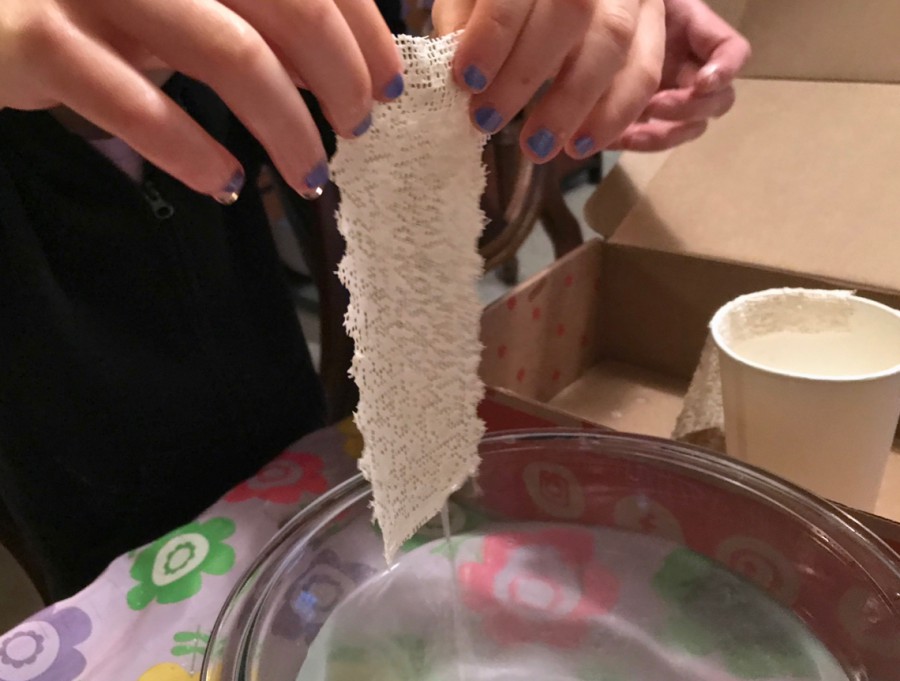
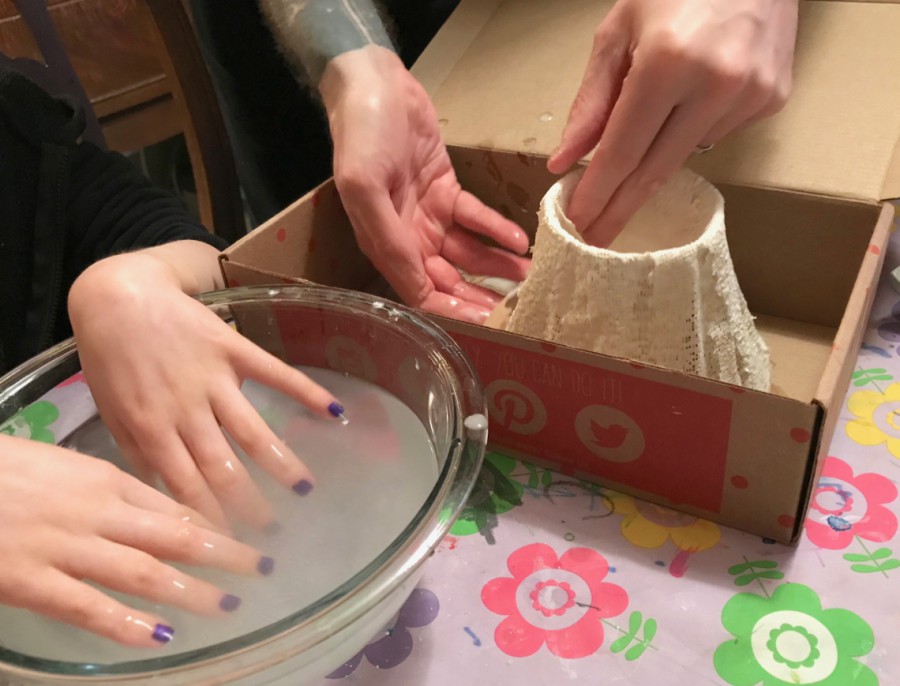
The strips were then dunked into the water and draped onto the paper cup & under the edge of the cardboard circle to form the shape of a volcano.
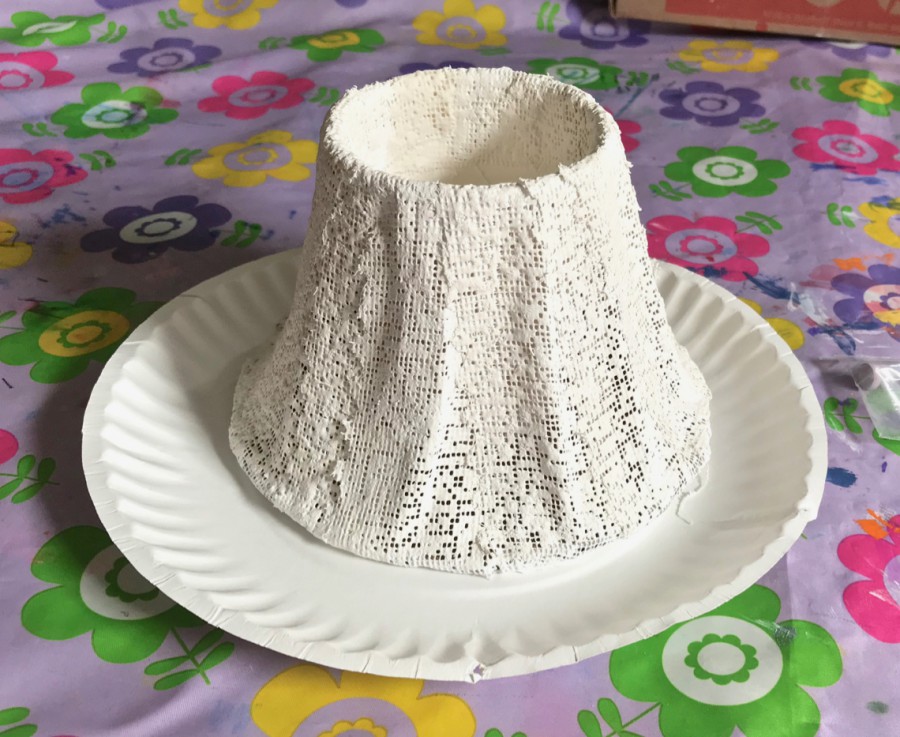
We let the plaster dry overnight and then moved onto the next step.
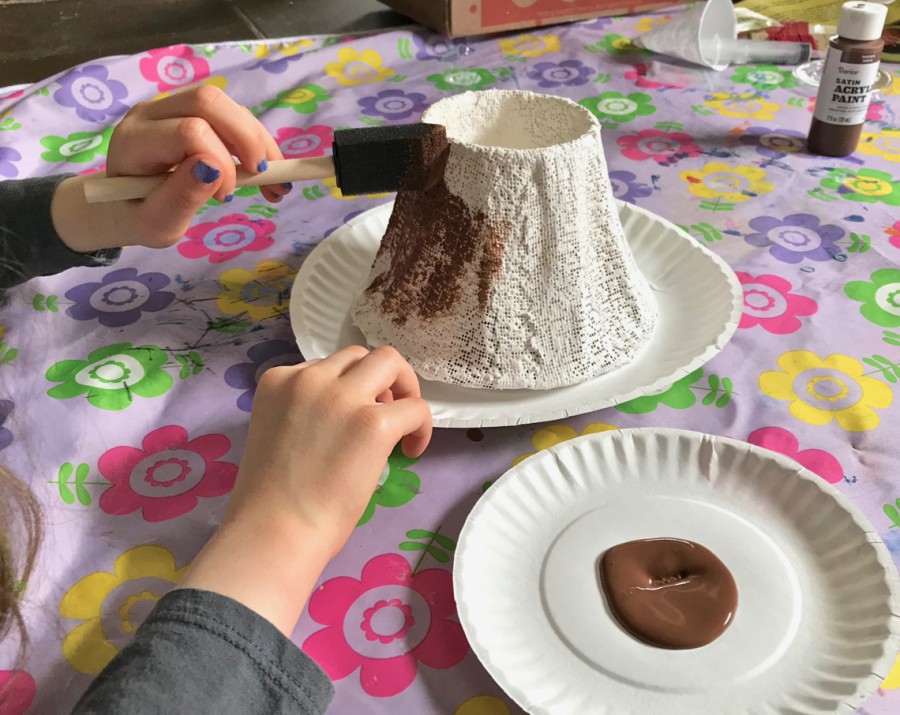
Time to paint!
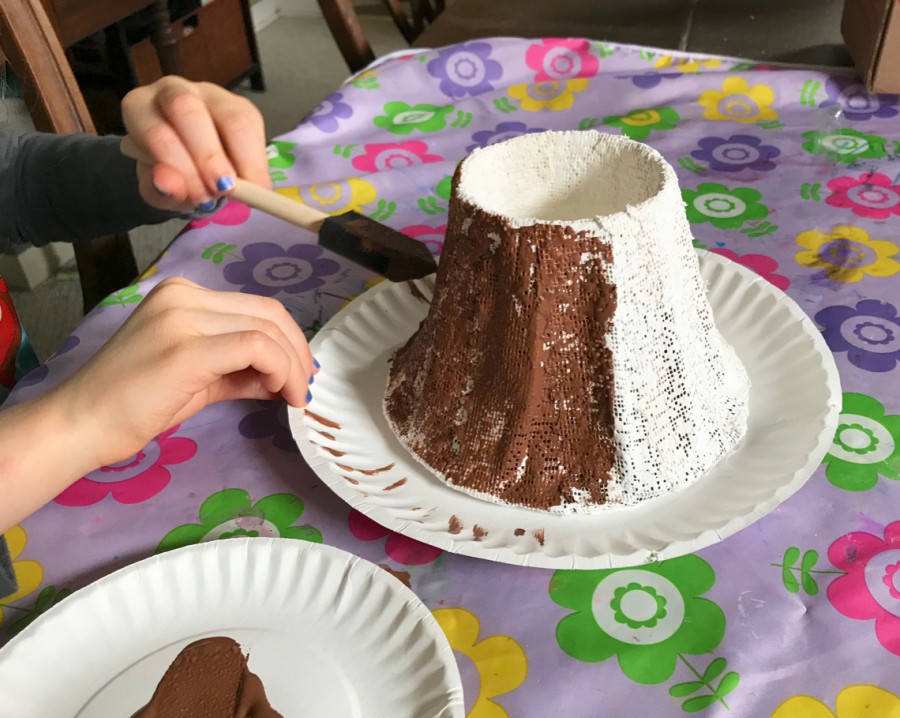
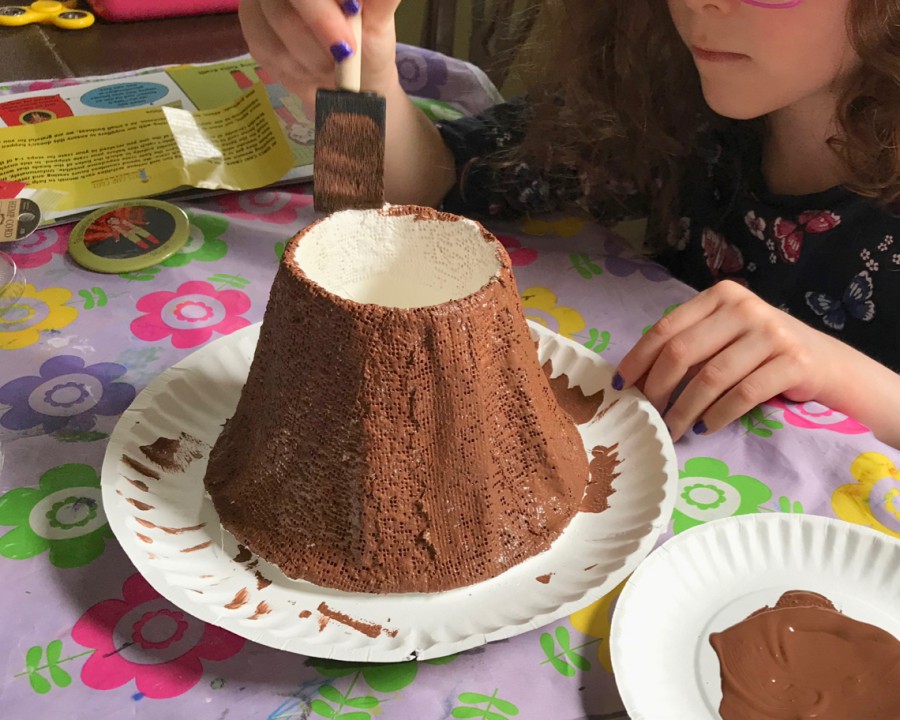
Once fully painted, we gave the volcano some time to dry.
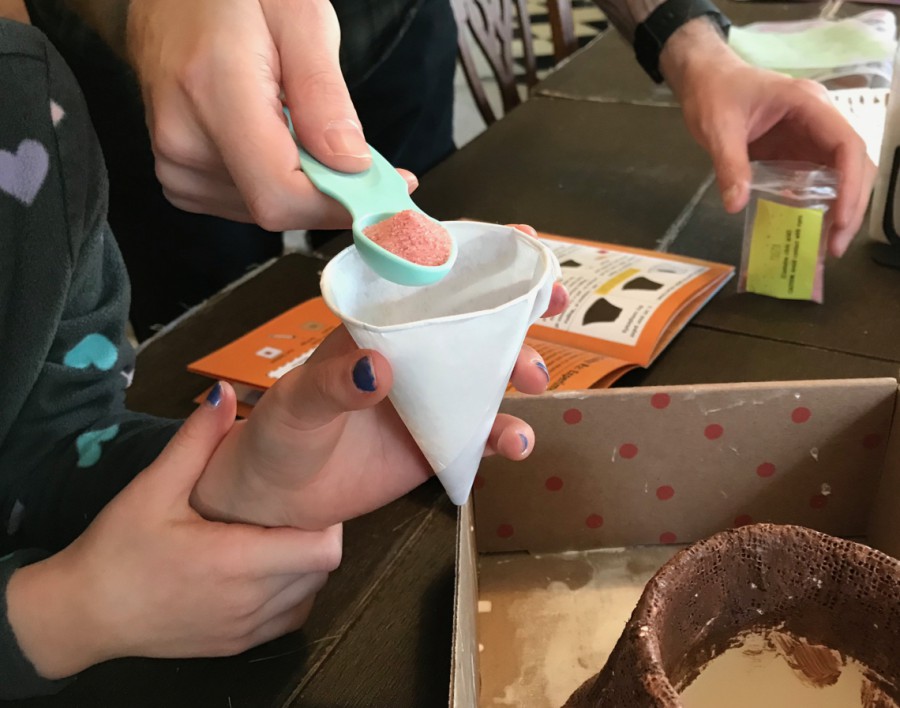
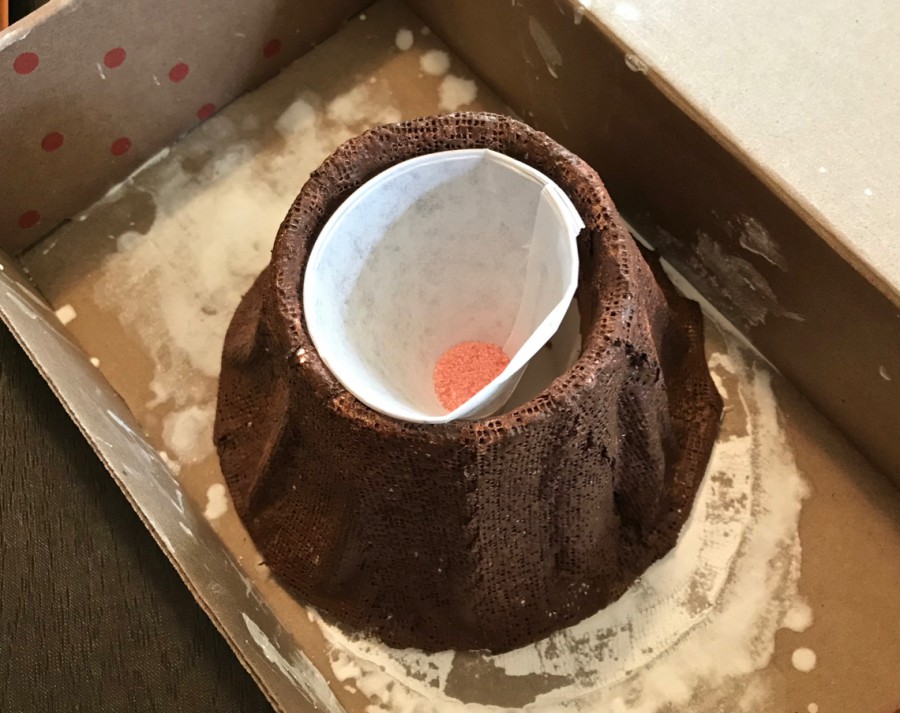
The next day, we were ready to start the experiment! First, we needed to put 1 teaspoon of “magma powder” inside the cone cup and set it in the opening of the volcano.
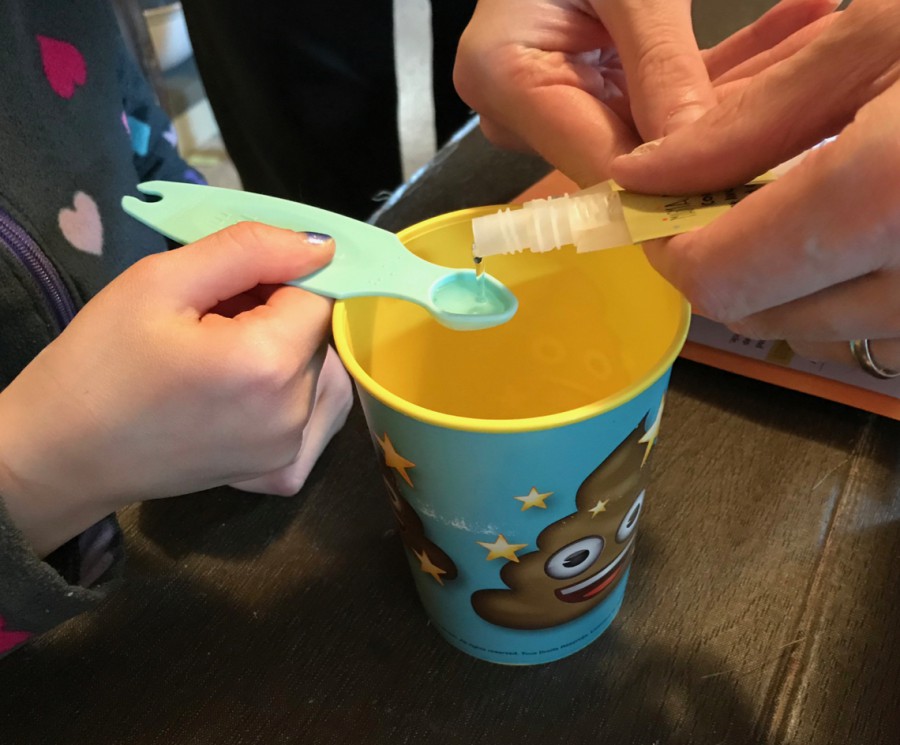
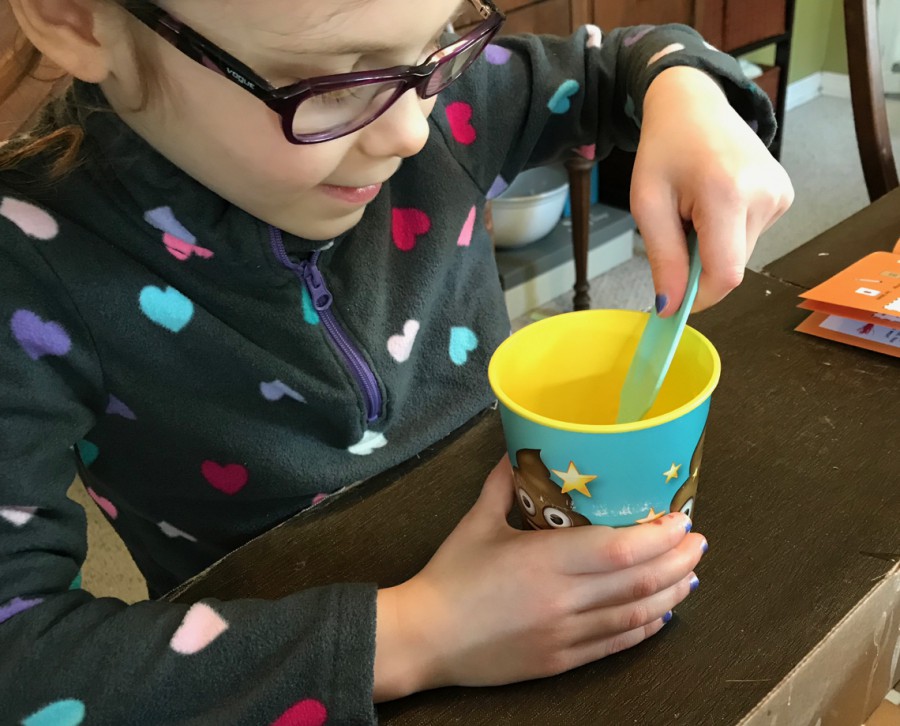
Next, (in our super classy poop cup) we mixed 1 teaspoon of “magma activator 1” with 1/4 teaspoon of “magma activator 2” and added 1/4 cup of hot water.
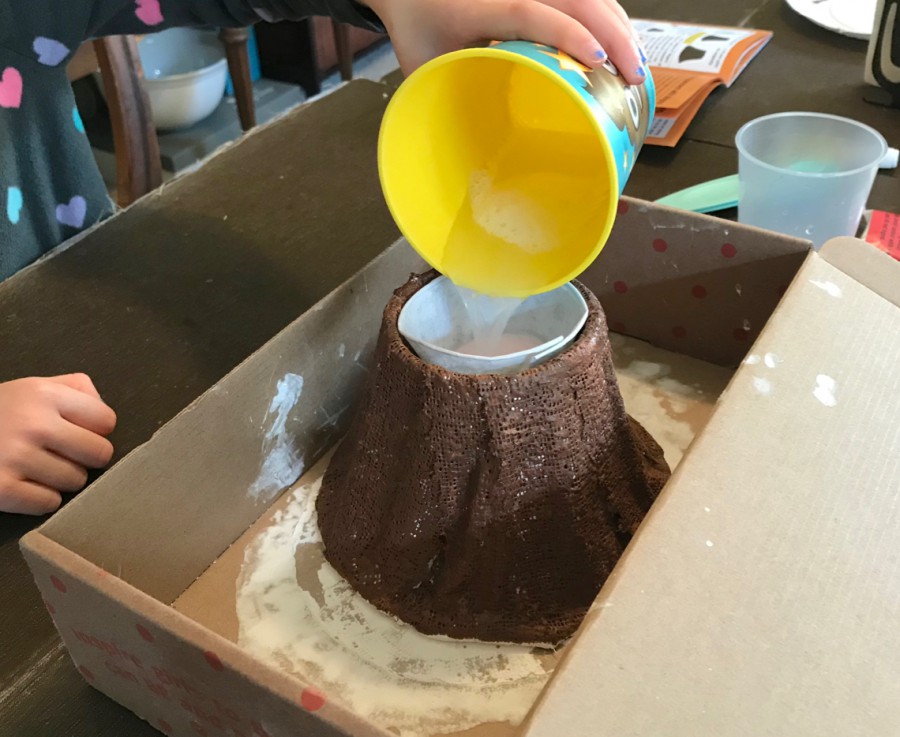
Finally, it was time to pour!
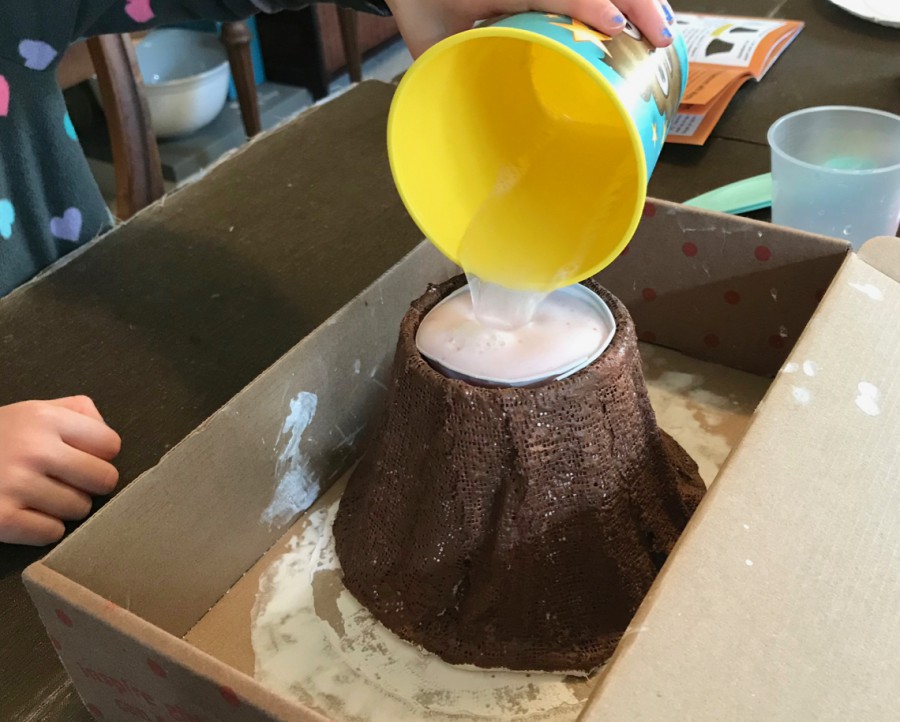
Here comes the lava…
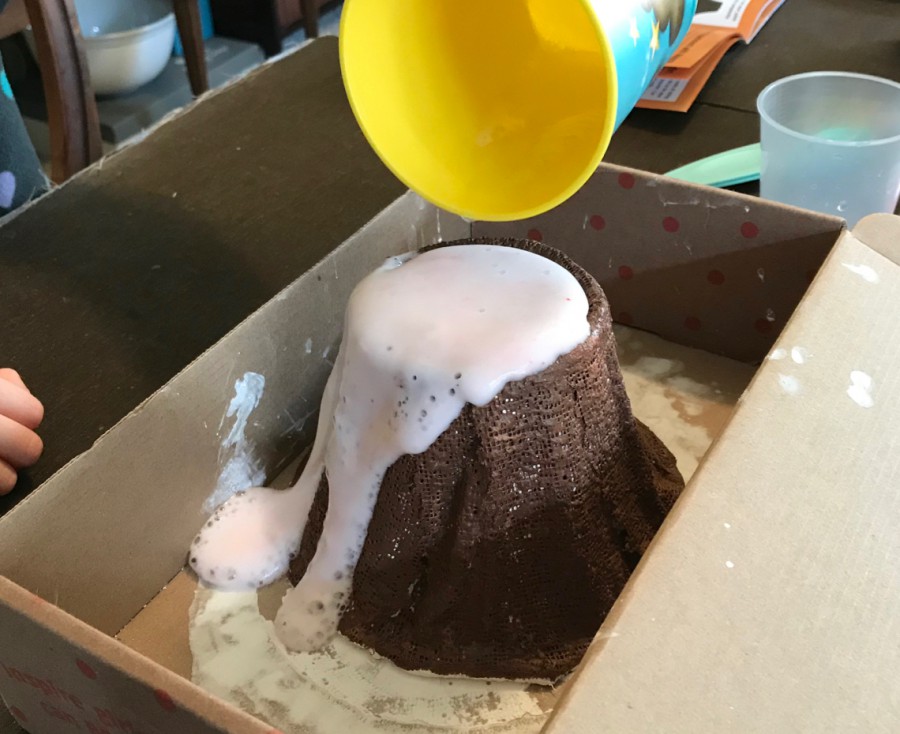
Success!
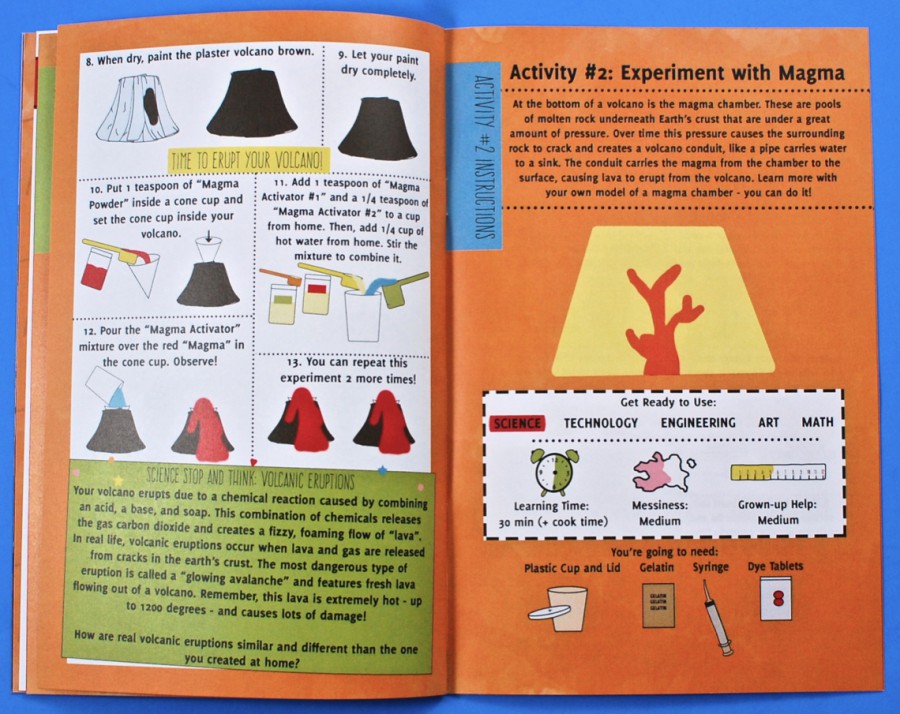
Activity #2: Experiment with Magma
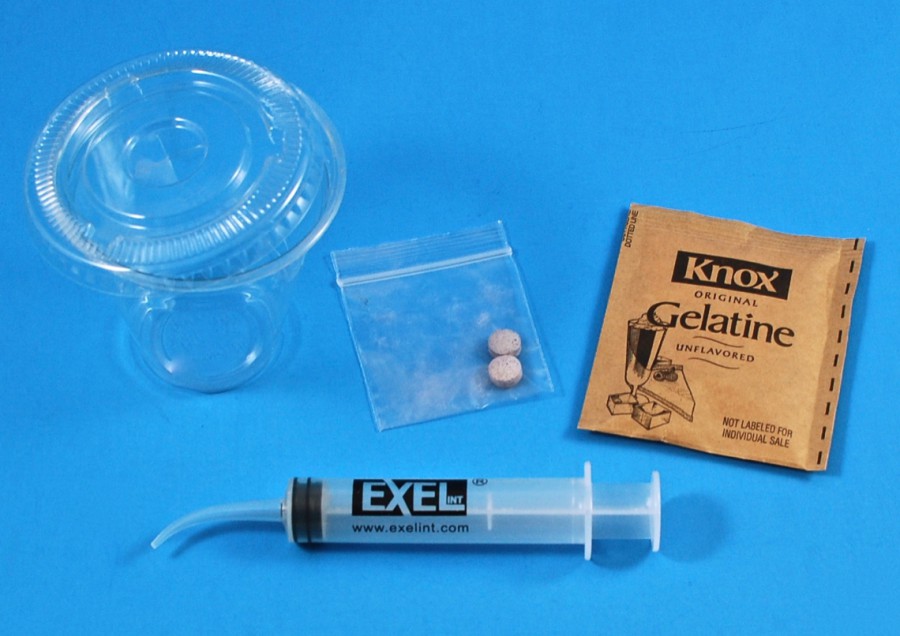
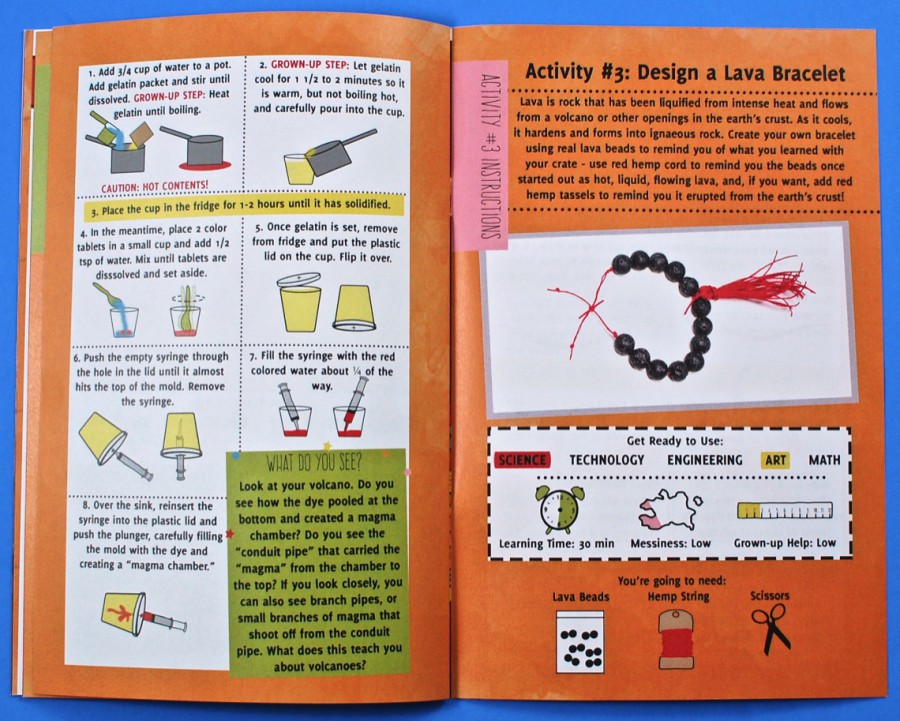
The second activity had us learning about the formation of magma by creating a model of a magma chamber. Materials provided were a plastic cup with lid, dye tablets, gelatin, and a syringe.
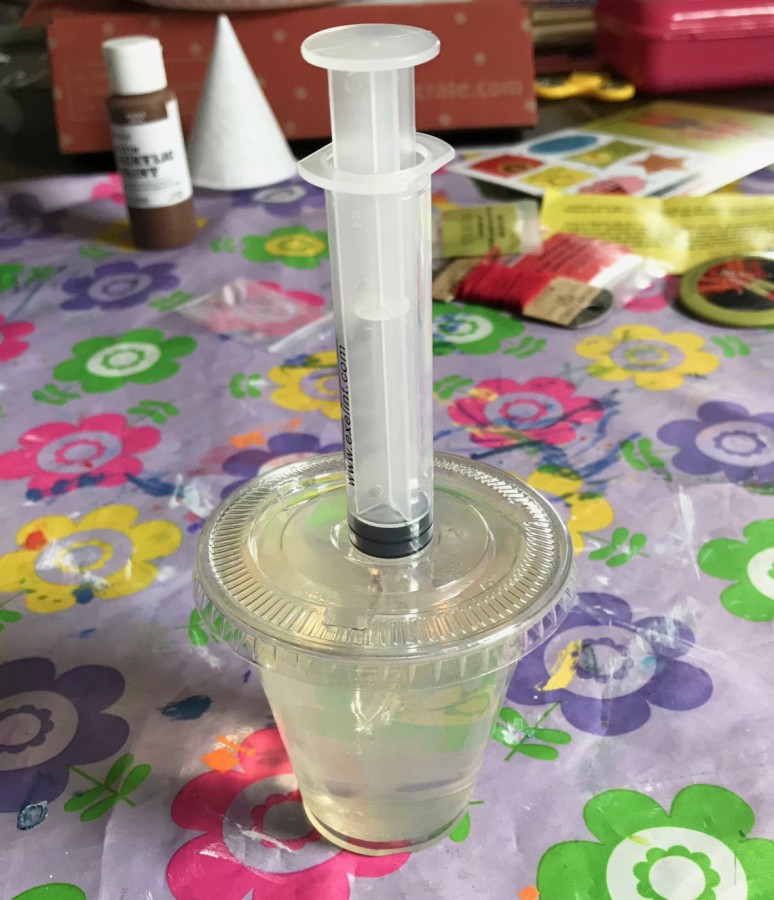
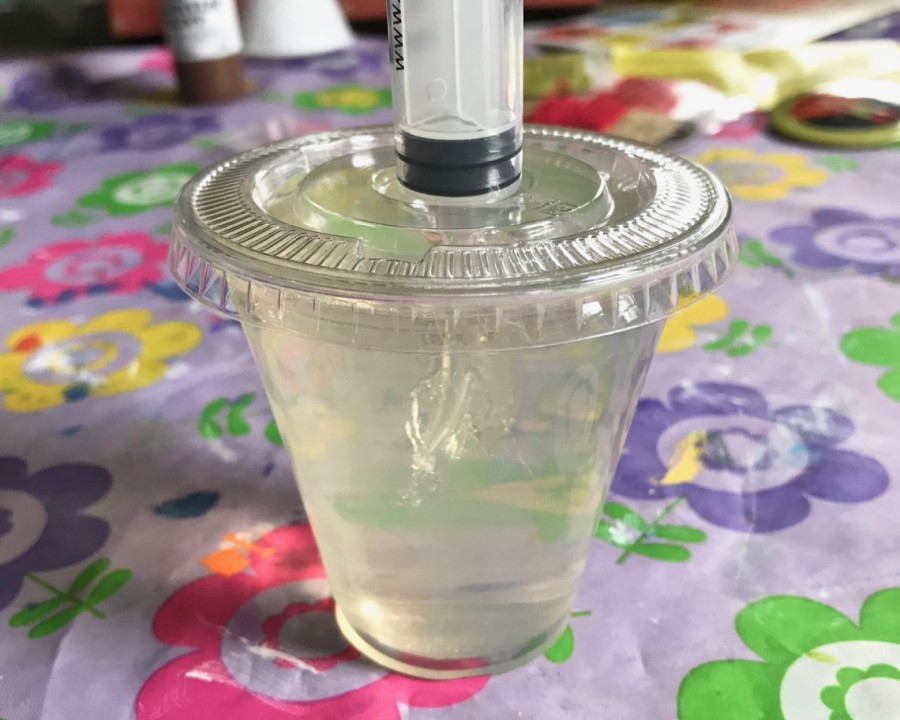
The first step was to boil the gelatin with water and pour the mixture into the cup provided. After letting it “set” in the fridge, we were to push the empty syringe into the cup to create the chamber for the magma.
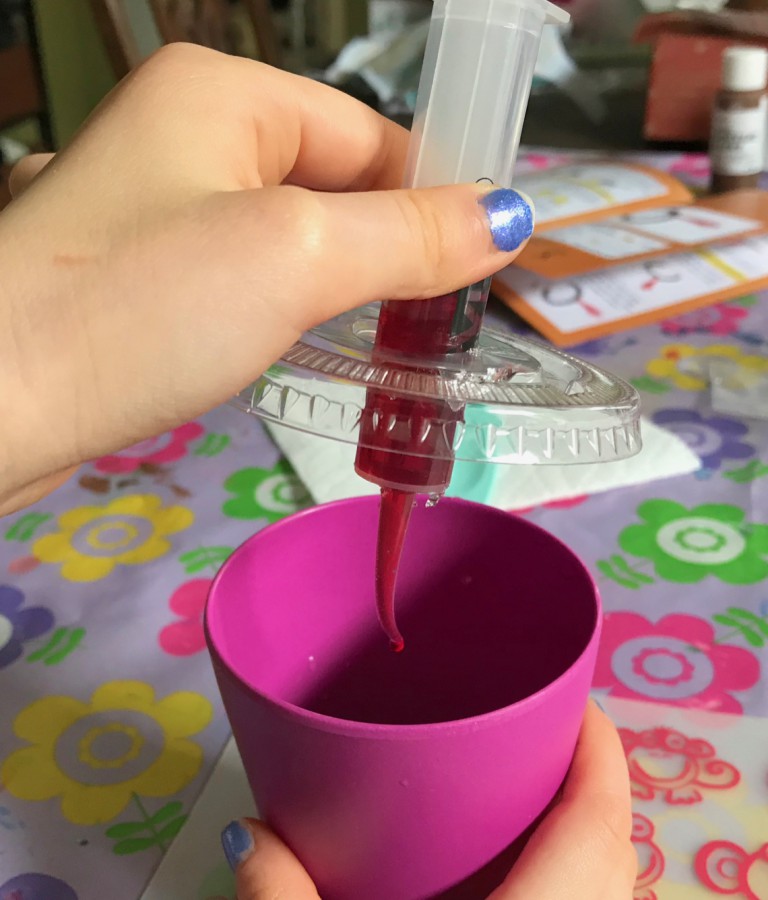
Next, we dissolved the dye tablets into a cup of water and filled the syringe about 1/4 of the way with the red liquid.
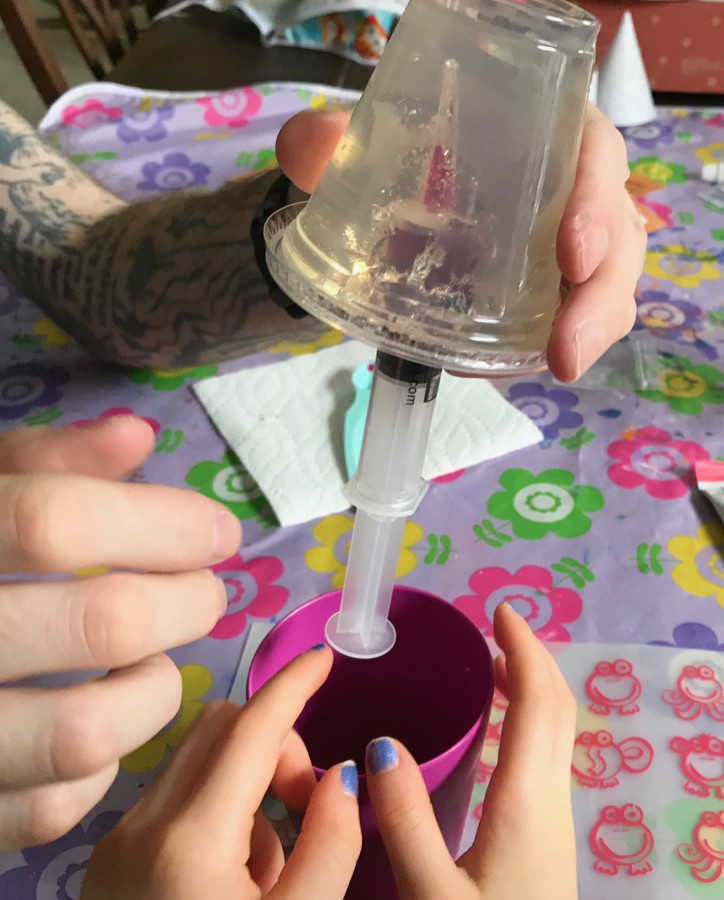
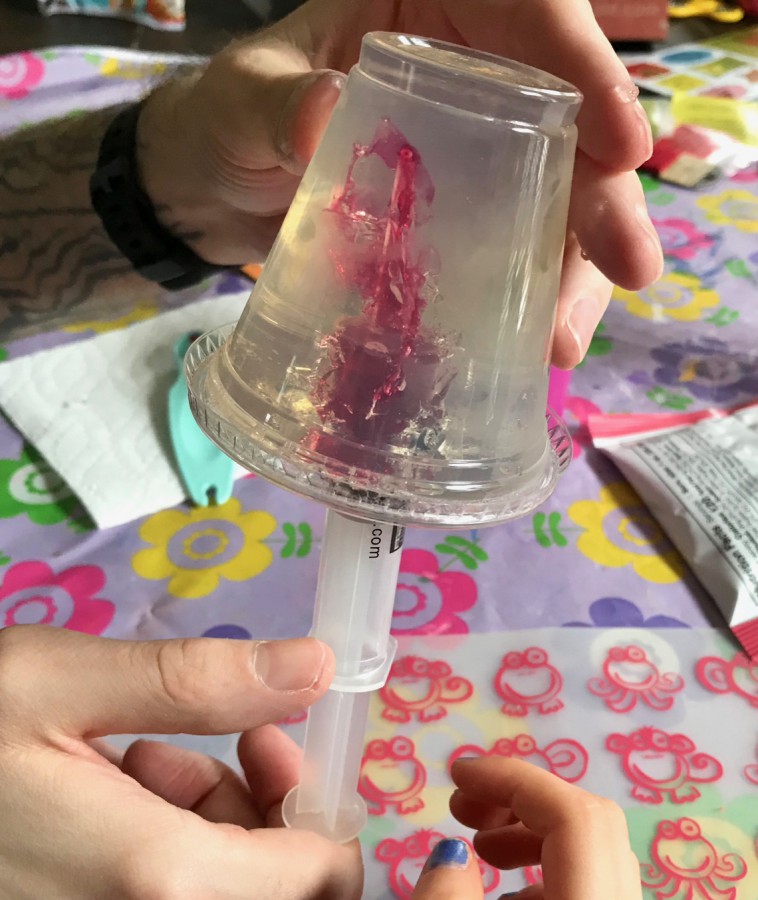
We then inserted the syringe into the gelatin once more and pushed the liquid into it, creating the “magma chamber”.
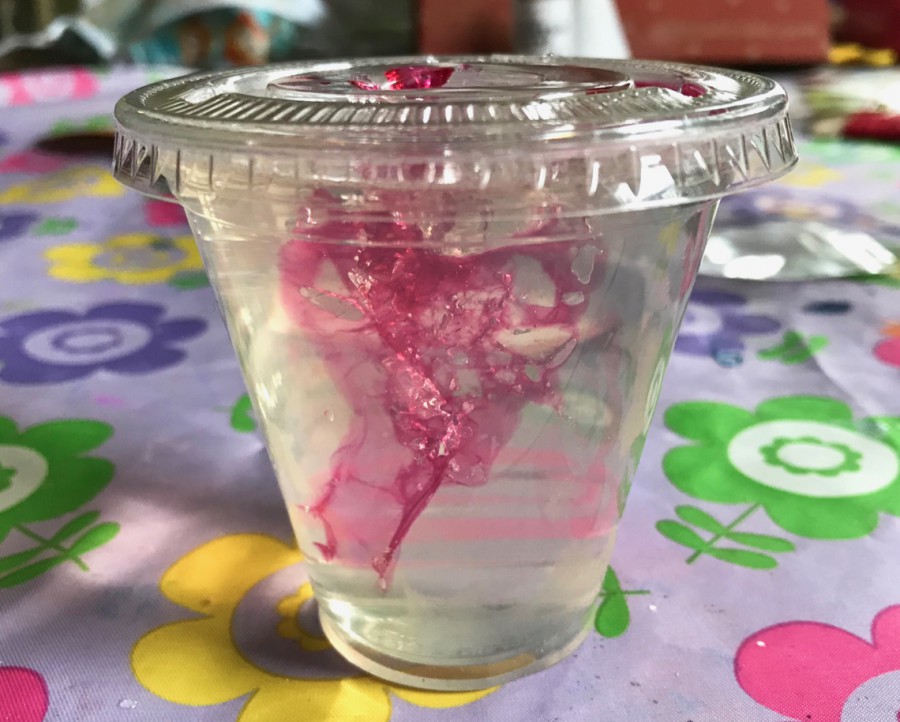
Magma chamber! — I probably should have stood the cup on its other end to better symbolize a volcano, but you get the idea.
Activity #3: Design a Lava Bracelet
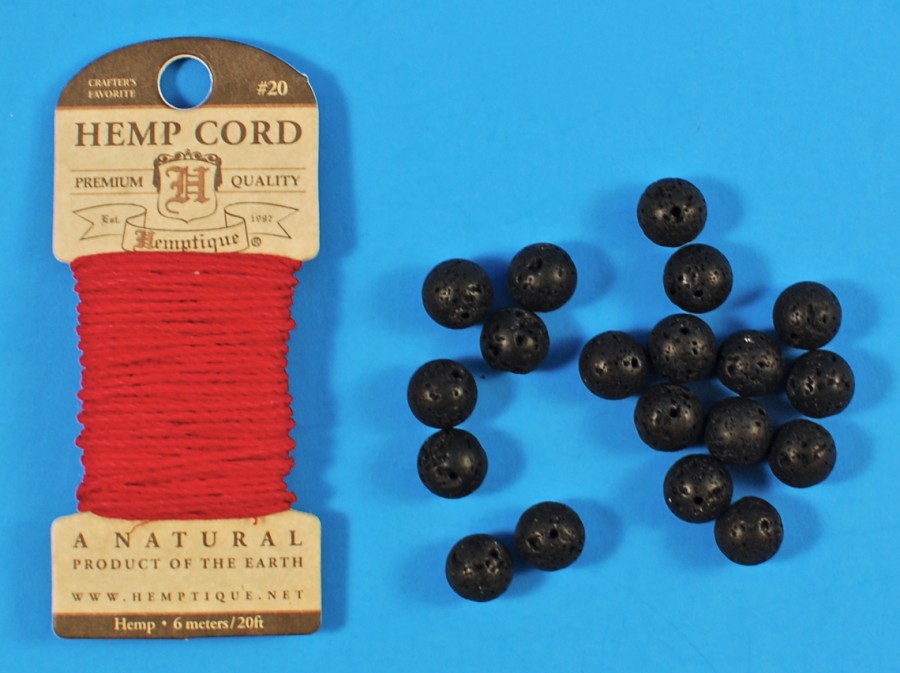
The third activity had us designing a bracelet using real lava beads. Materials provided were a spool of red hemp cord and 19 lava beads with pre-drilled holes.
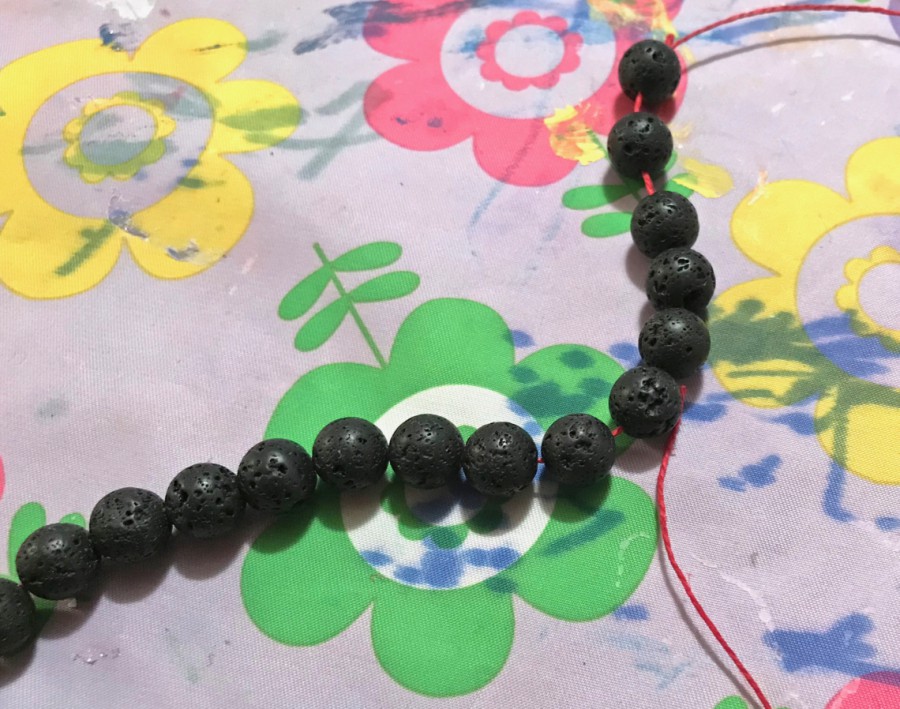
This activity was actually the most challenging, as the hemp cord was too thick to fit into the tiny pre-drilled holes in the beads. Girls Can! Crate must have gotten word about it and ended up sending out a thinner cord in a separate mailing. Unfortunately, the new cord was also quite challenging to thread through the beads. After some experimenting, I found that if I snipped the end off after the first signs of fraying (after every 2 or 3 beads), I was able to get them all threaded.
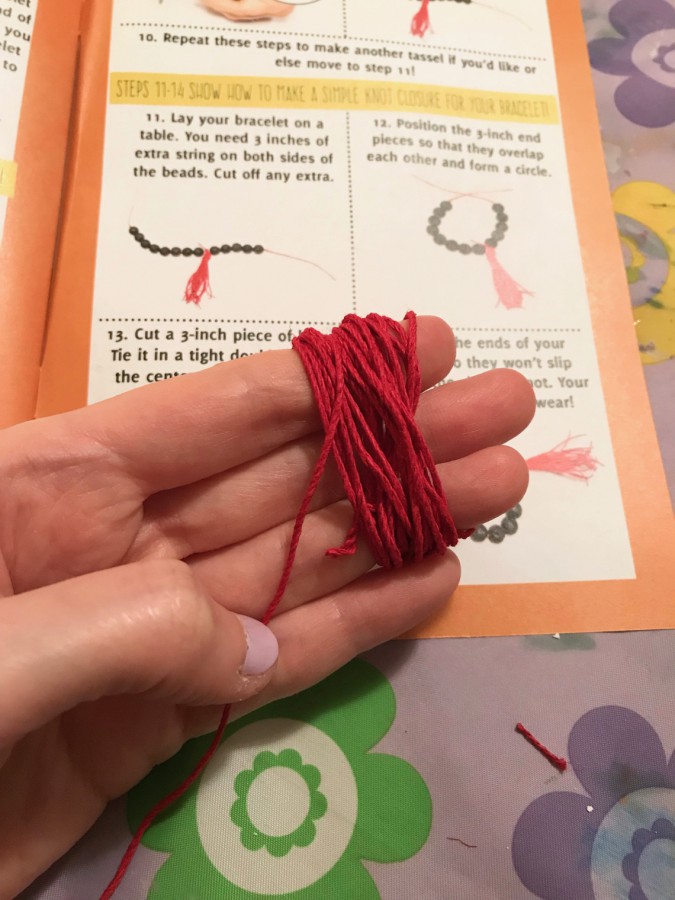
The instructions included the option of including tassels (to represent lava), so I gave it a shot.
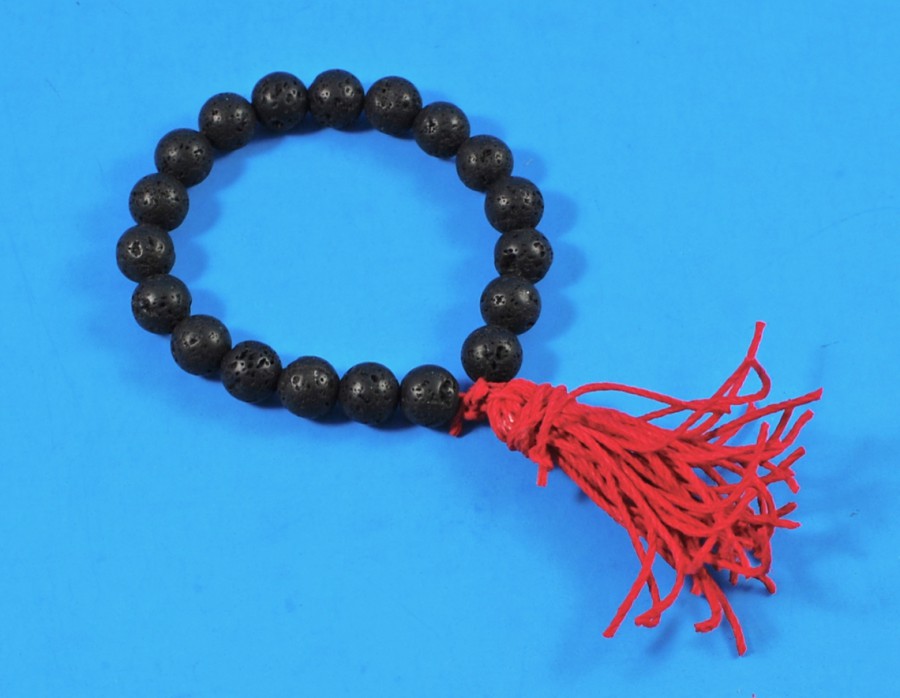
Clearly, I’m no expert at tassel-making. 😉
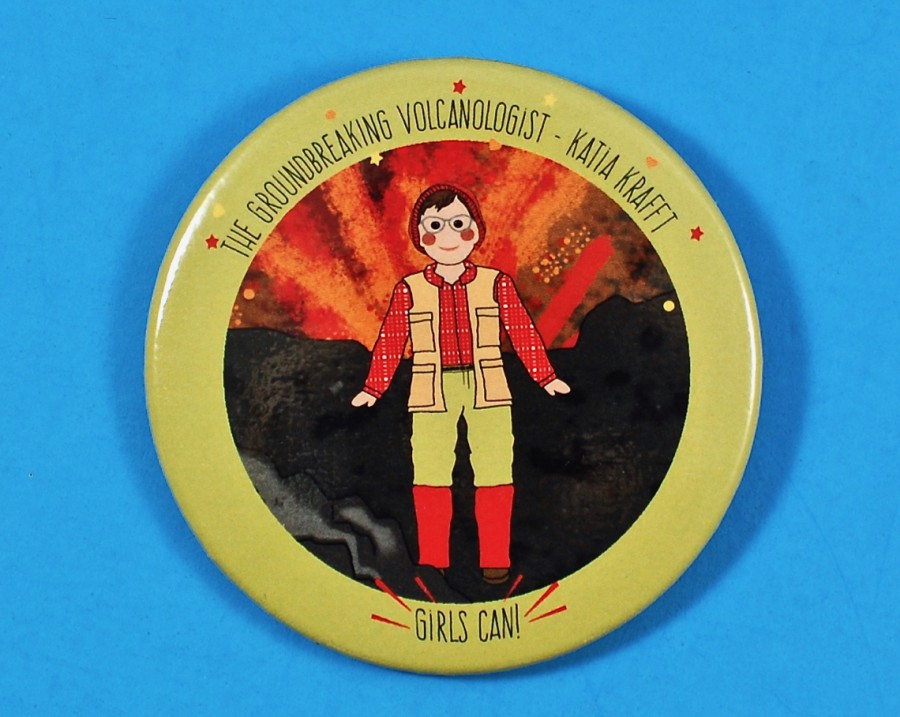
Once all of the activities were complete, we had officially earned our Katia Krafft collectible button. 🙂
The March Girls Can! Crate presented my girls with a fun (and educational!) look at volcanoes and the groundbreaking work of volcanologist Katia Krafft. Though the bracelet activity was a bit of a letdown (too difficult/frustrating for a 6-year-old to complete), we still enjoyed the other two activities. 🙂

Leave a Reply