Girls Can! Crate is a monthly subscription box that inspires girls ages 5-10 to believe they can be and do anything by introducing them to fearless women who made the world better.
Each box will include a 20-page activity book telling the featured woman’s unique story (as well as games, experiments, & more), 2-3 hands-on STEAM (science, technology, engineering, art, and math) activities related to her field, a creative play prop, a featured character trait that helped her succeed and 2-3 practical tips for parents to easily foster that trait, and more. The boxes are designed to encourage a love for STEAM, to foster creativity, curiosity, and support literacy development. With every box purchased, Girls Can! Crate donates 10% of the proceeds to nonprofit organizations working to empower women and girls.
Disclosure: I received this box for review purposes. I was not compensated in any way. All opinions are my own. Post may contain affiliate and/or referral links.
Subscriptions are $29.95/month or less with multi-month commitments. Shipping is free within the US.
Let’s see what’s in my November 2018 Girls Can! Crate!
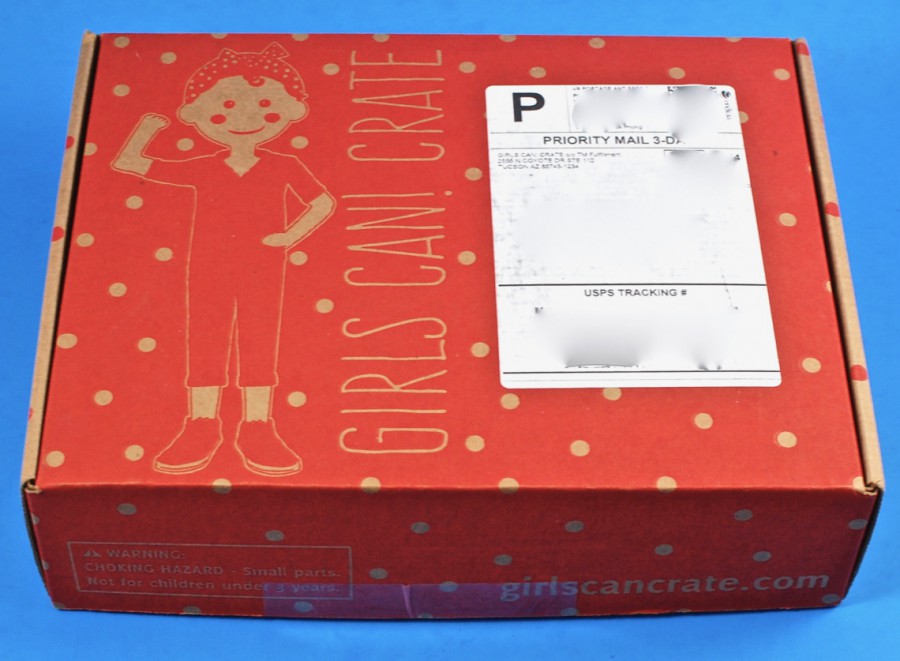
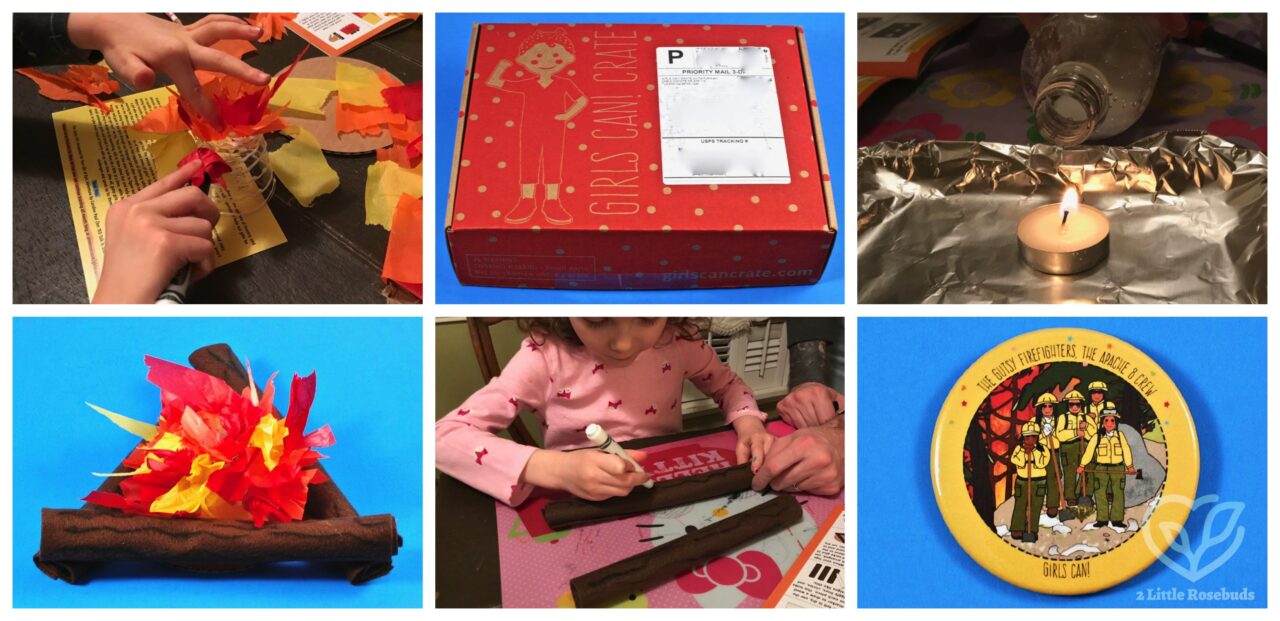
Everything was shipped in a bright red box with the Girls Can! Crate logo on top.
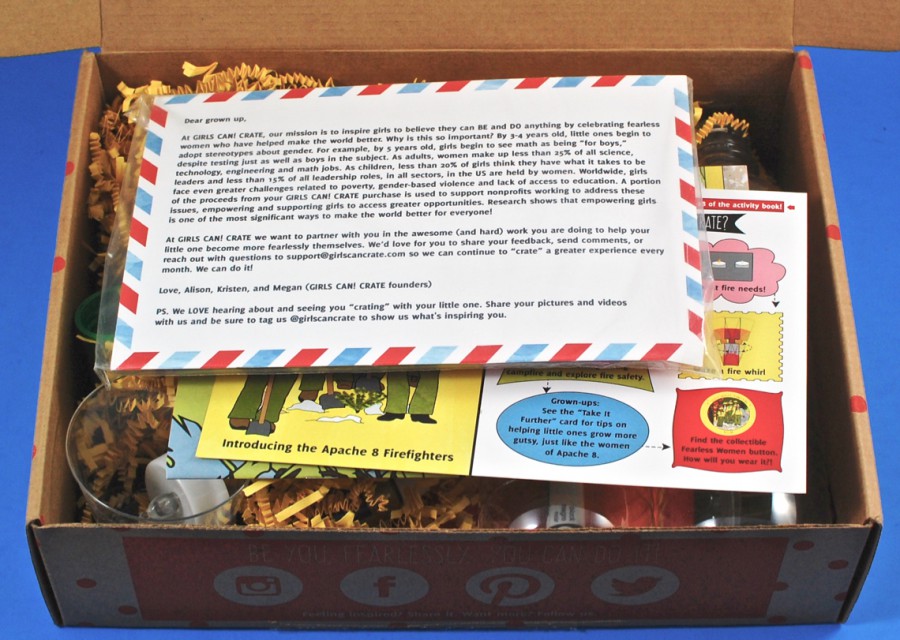
A peek inside!
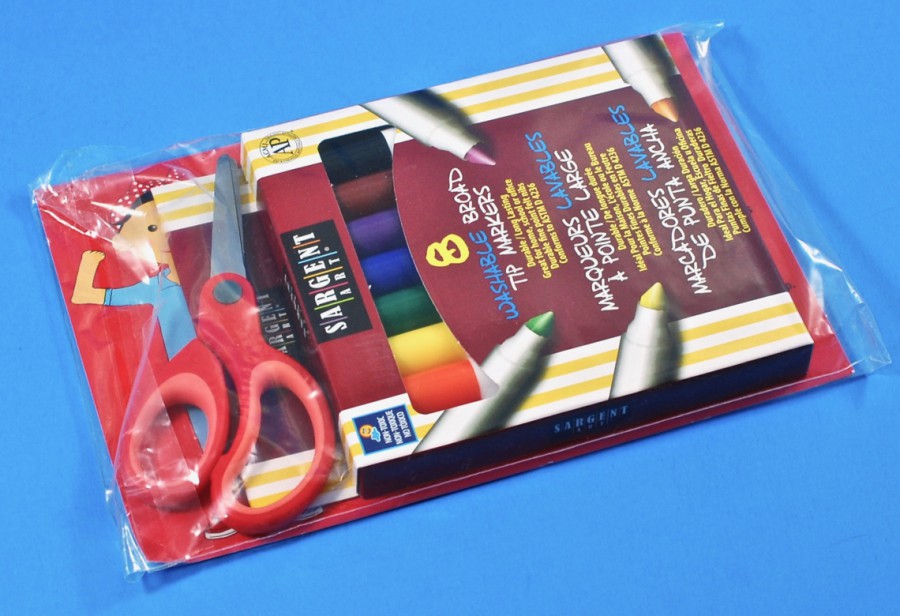
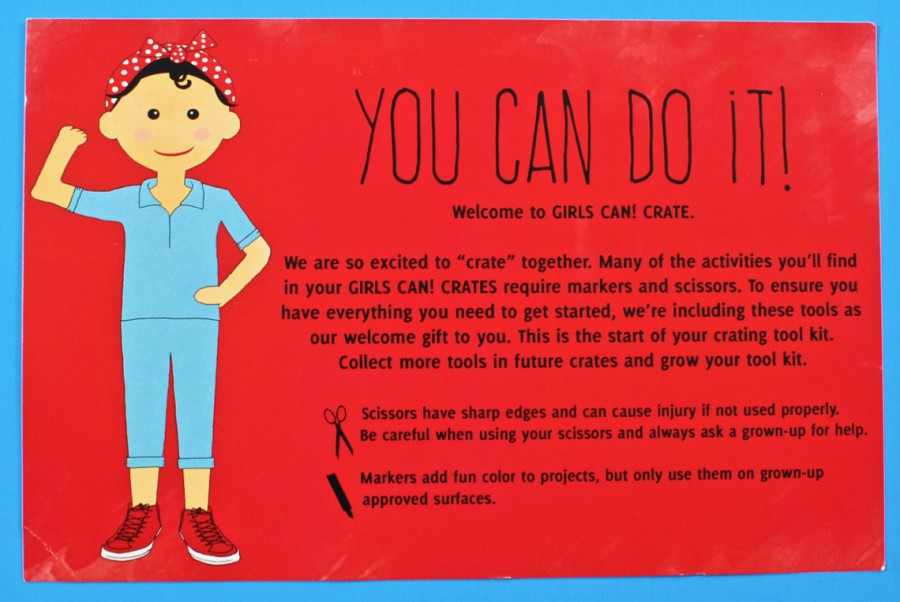
Tool Kit
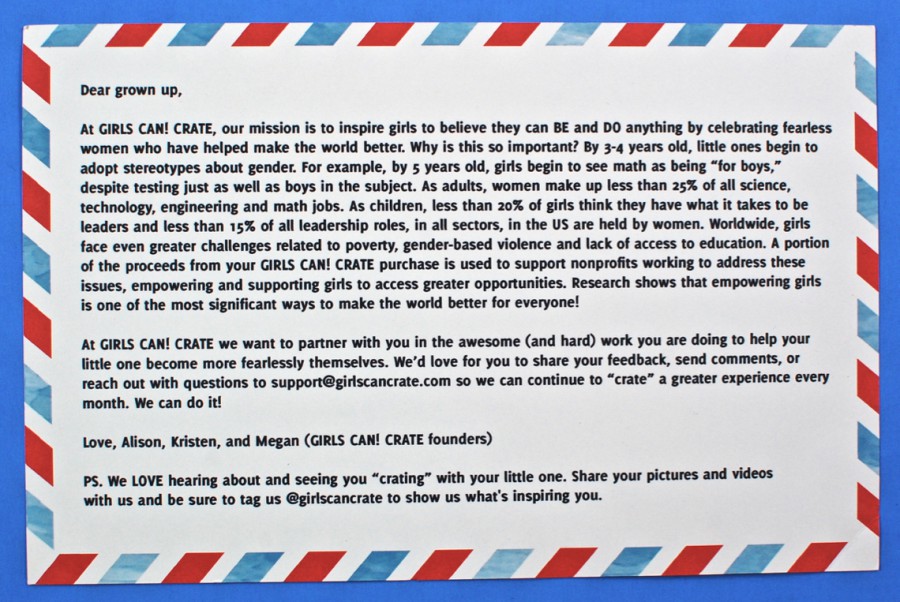
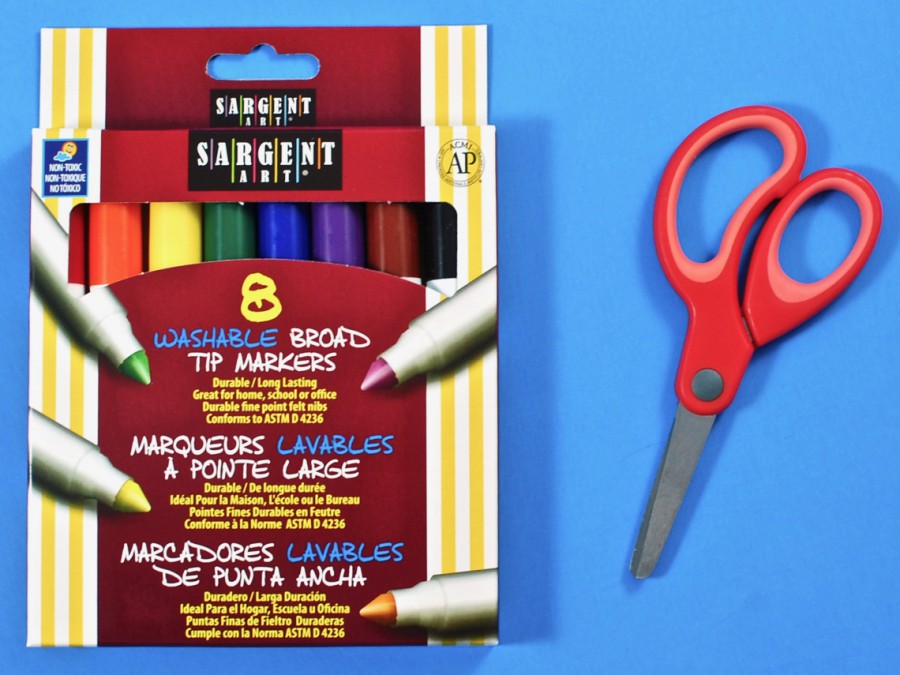
When you subscribe, your first box will include a “Tool Kit” that consists of a welcome note from the Girls Can! Crate founders, a pack of washable markers, and a pair of kid’s size scissors. These items can utilized for this crate and future shipments as well.
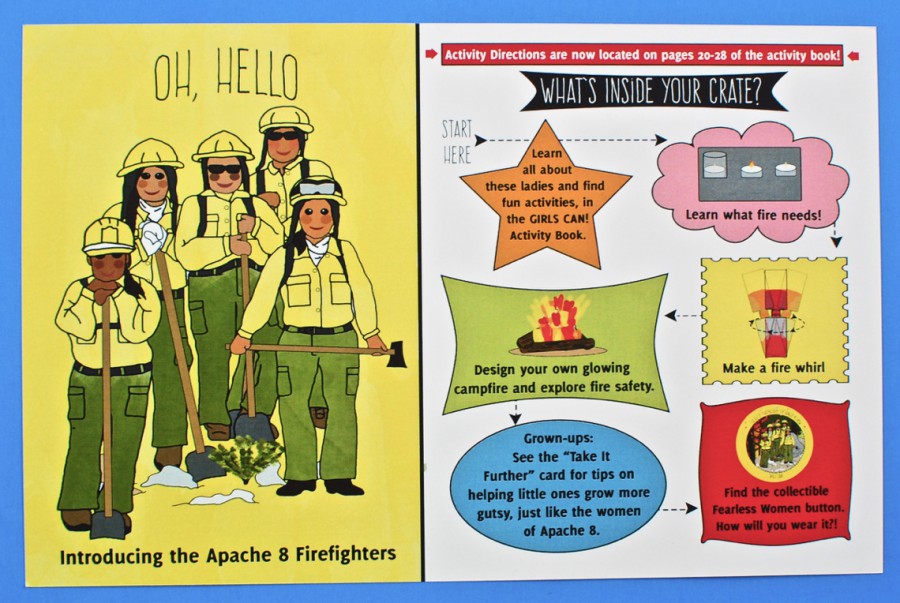
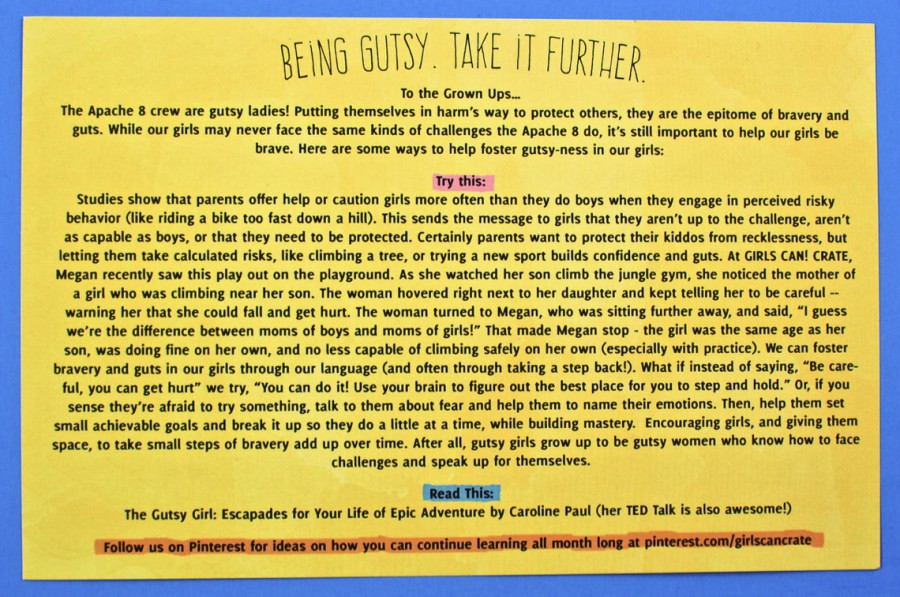
November’s featured “fearless women” were the Apache 8 Firefighters. An information card listed all of the activities in the crate and the order in which they should be completed. The reverse side included tips for parents on how to foster the Apache 8’s bravery & gutsy-ness in their own children.
Activity Book
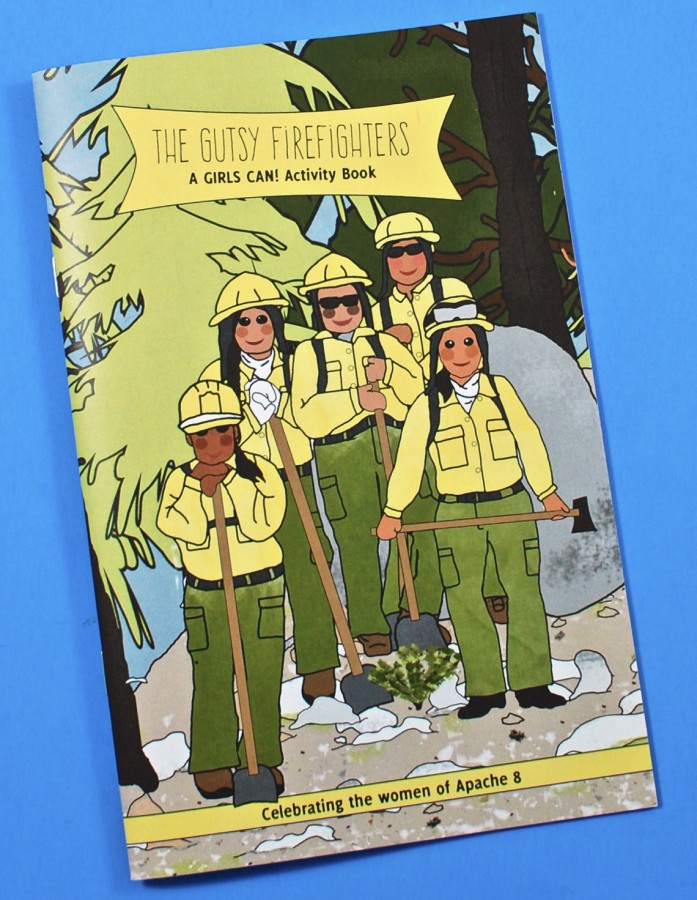
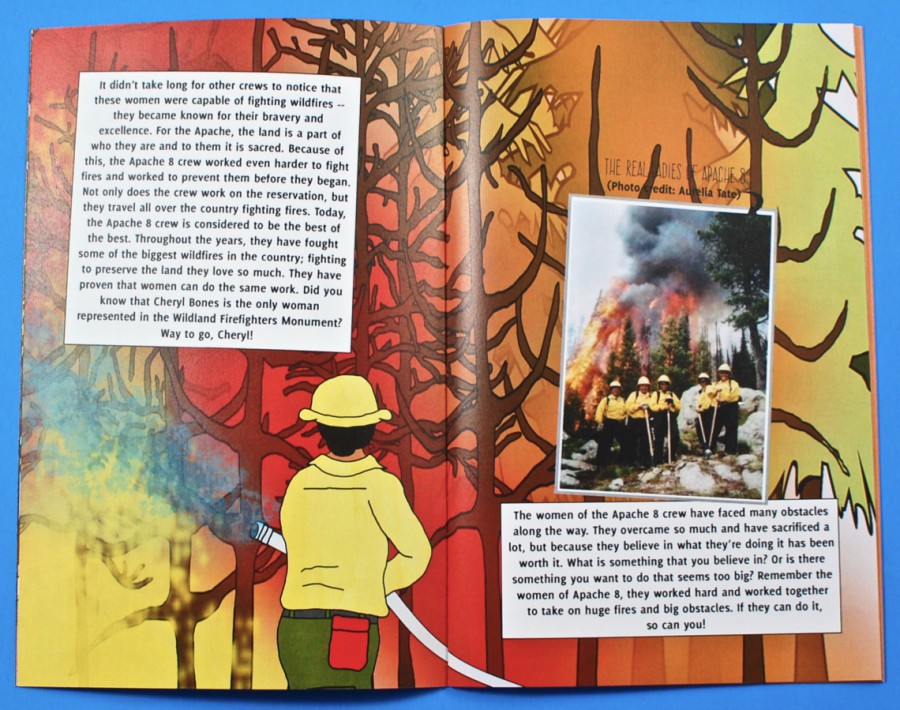
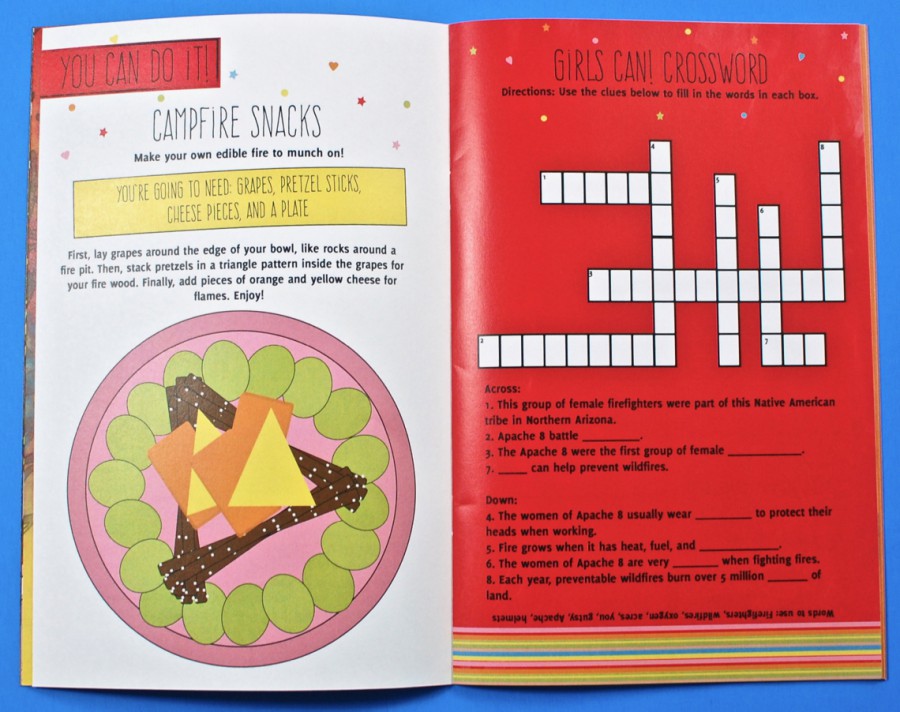
A 20-page, full color activity book included the story of the Apache 8 and how they overcame obstacles to become the first all-female firefighter crew on their reservation. It also included puzzles, games, snack ideas, and more. All of the activity instructions were printed in the booklet as well.
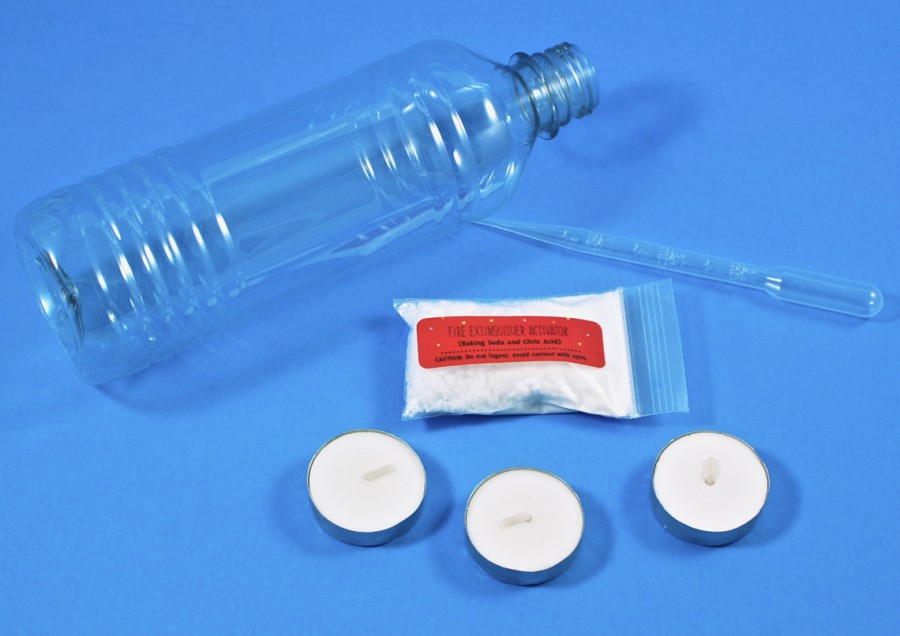
Activity #1: Exploring Fire
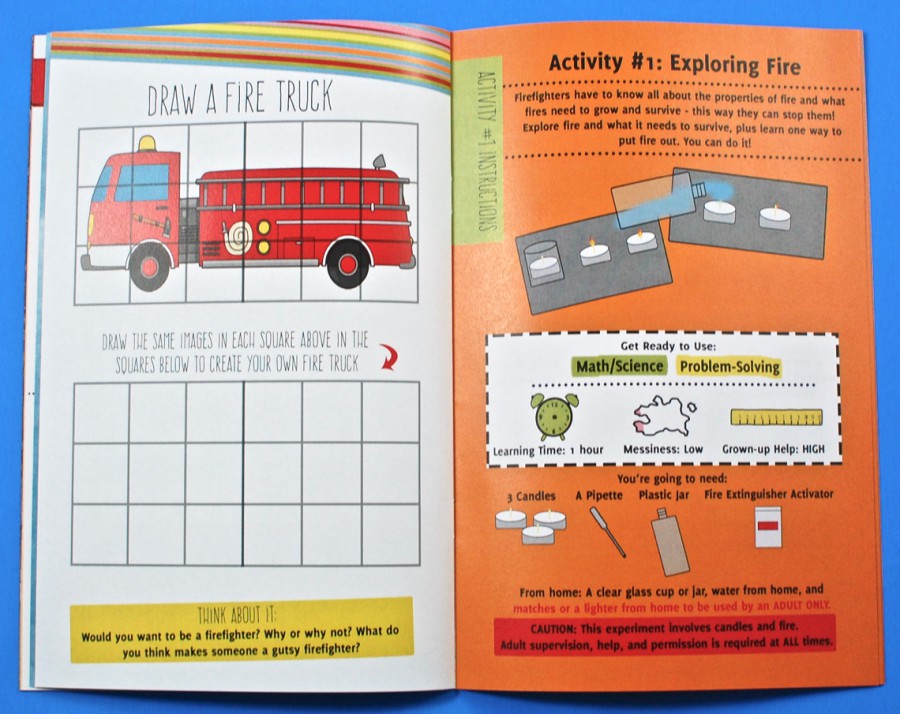
The first activity involved learning what a fire needs to survive and how to put one out. Materials provided were a plastic bottle, pipette, fire extinguisher activator, and 3 tealight candles.
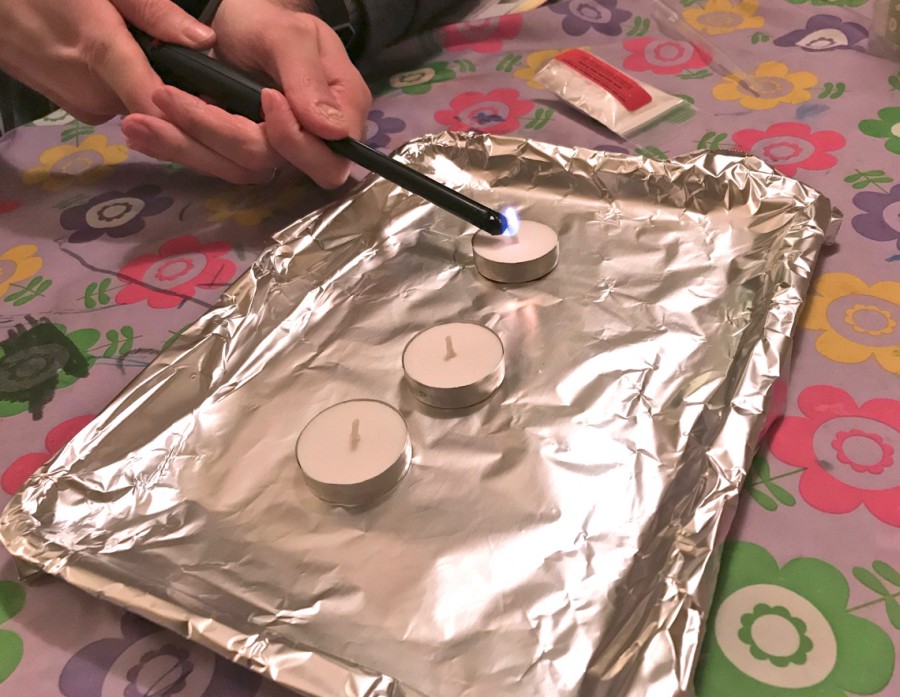
First, we needed to light all 3 candles.
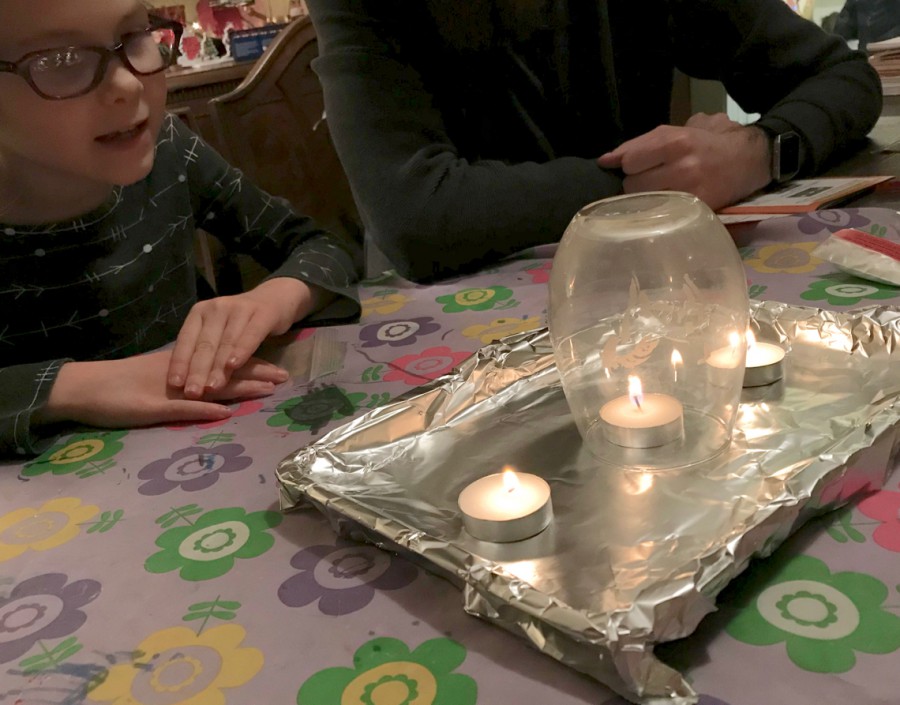
Next, we were to put a small glass over one of the candles to see what would happen.
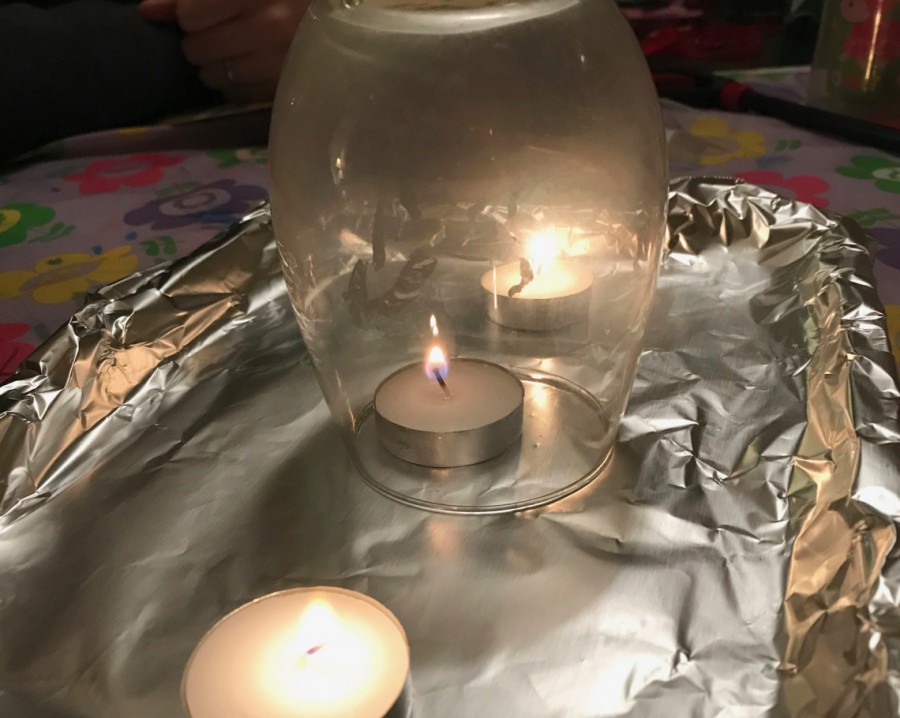
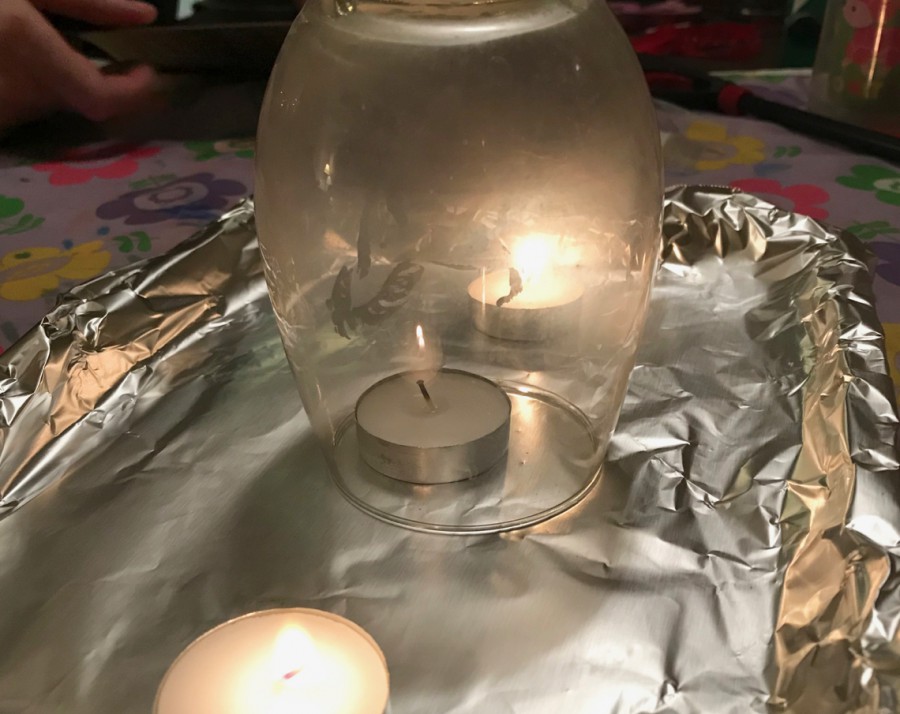
As expected, after a short time the fire went out. My daughters learned that this was due to the lack of oxygen, which fires need to survive.
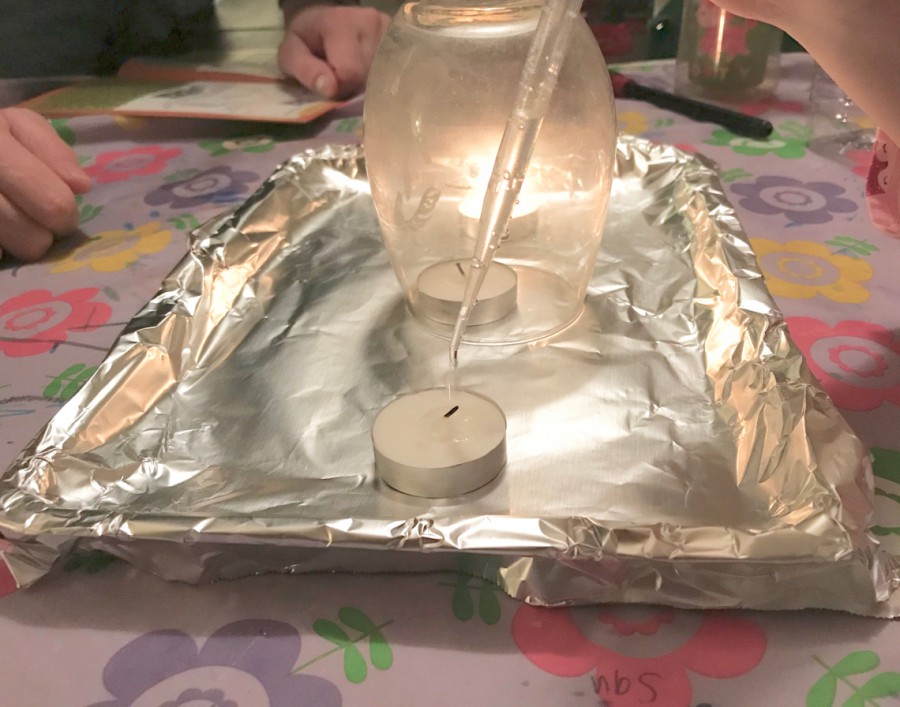
Next, we were to select another candle and use our pipette to drop water on top of it. Of course, this also caused the fire to go out due to the reduction in heat, which fires also need to thrive.
We were then instructed to leave the third candle alone, letting it burn until it ran out of fuel (the wick).
Now that we learned about 3 things fires need to burn, it was time to see how firefighters fight wildfires.
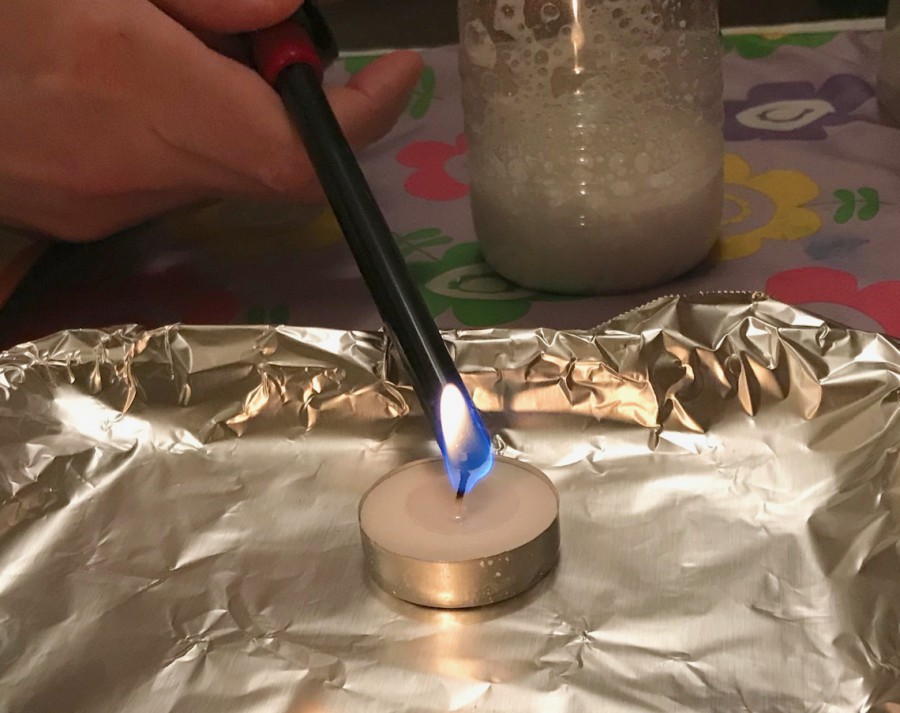
We were to re-light the 2 remaining candles and pour the fire extinguisher activator (citric acid & baking soda) into our plastic bottle with 2 tablespoons of water.
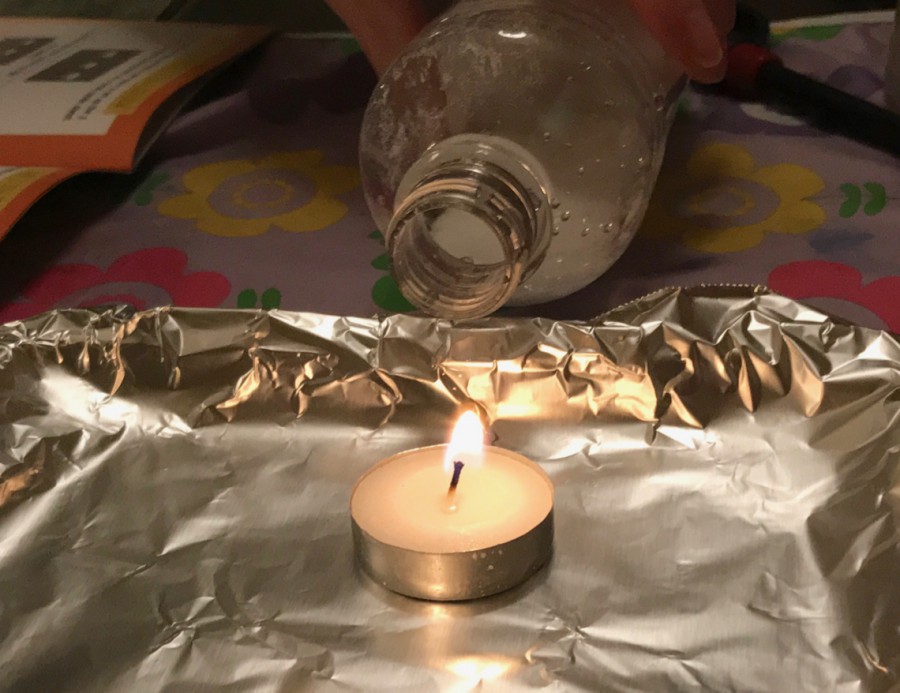
The instructions told us to hold the opening of the bottle so that it points at the candle, but doesn’t pour out onto it.
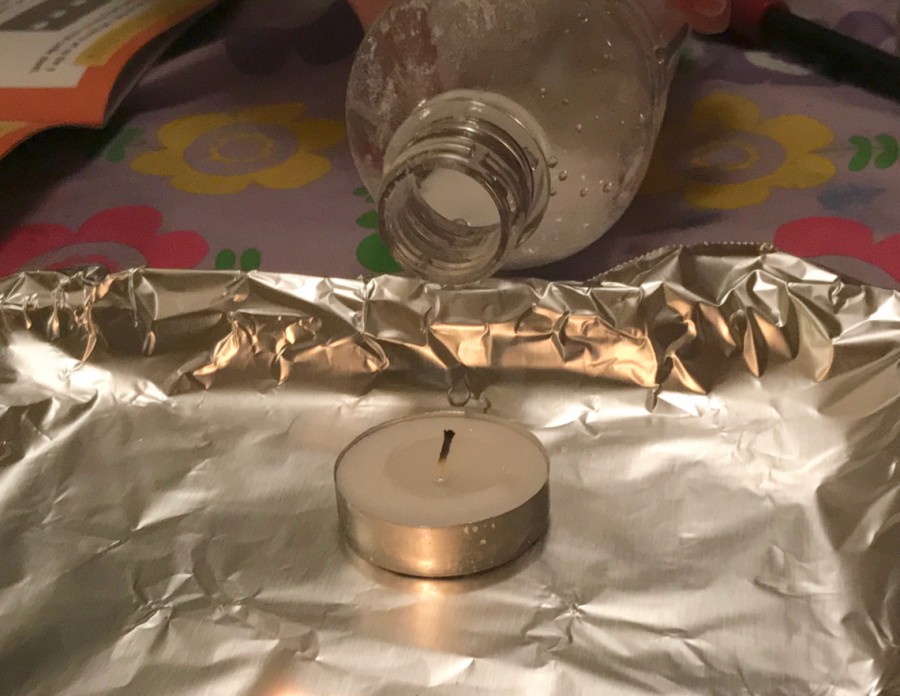
The gas alone was able to surround the flame and put it out! Neat.
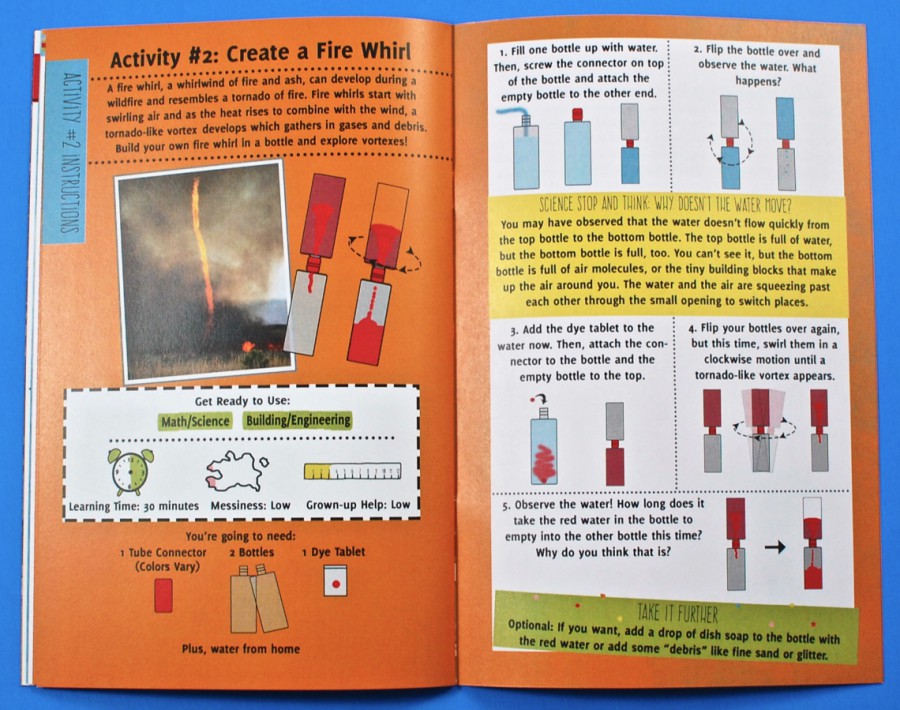
Activity #2: Creating a Fire Whirl
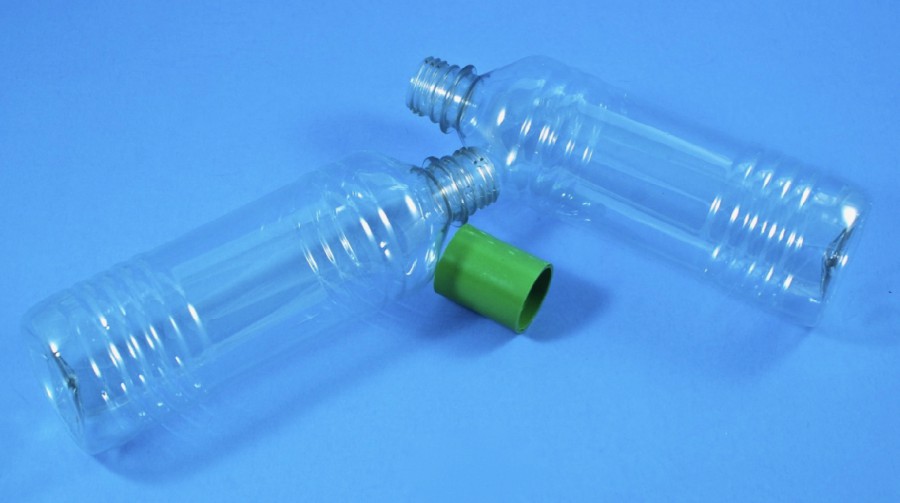
The second activity had us creating a “fire whirl” inside of a bottle. Two plastic bottles were provided, along with a tube connector. We were also supposed to receive a dye tablet, but it wasn’t in our box.
I forgot to snap a photo of it, but we started off by filling one bottle with water and attaching the second (empty) bottle using the connector. We were told to flip the bottle over and observe what happened. (It didn’t move very fast.)
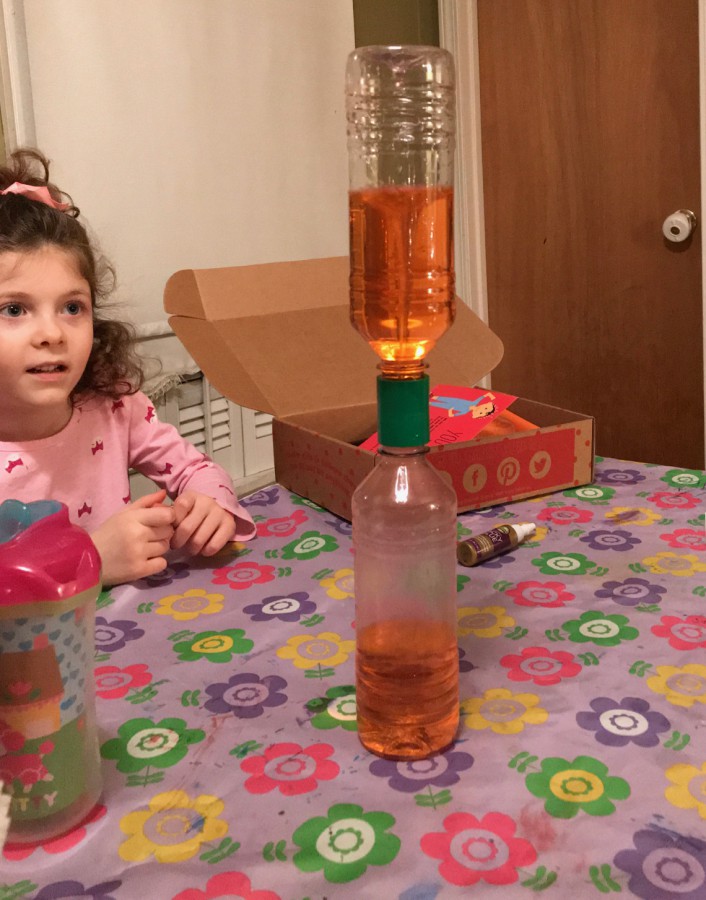
Next, we needed to add the dye tablet to the water (we used liquid food coloring) and again attach the empty bottle to the top using the connector. We had to flip the bottle over, but this time we needed to swirl the bottle(s) in a clockwise motion until a tornado-like vortex appeared inside.
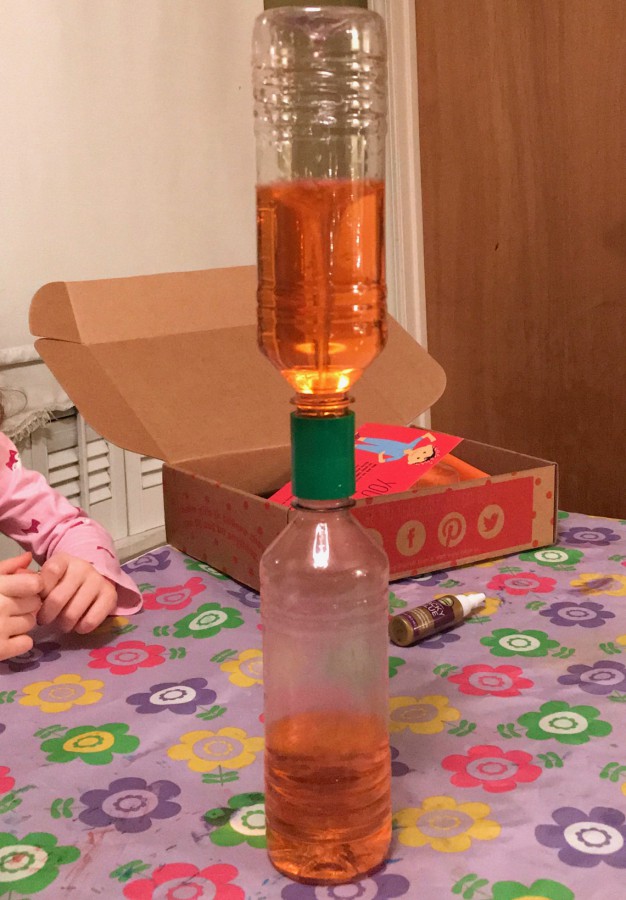
The water passed through the bottle much faster with the vortex in action. This can be compared to wildfires, when swirling air can sometimes combine with rising heat to create a vortex.
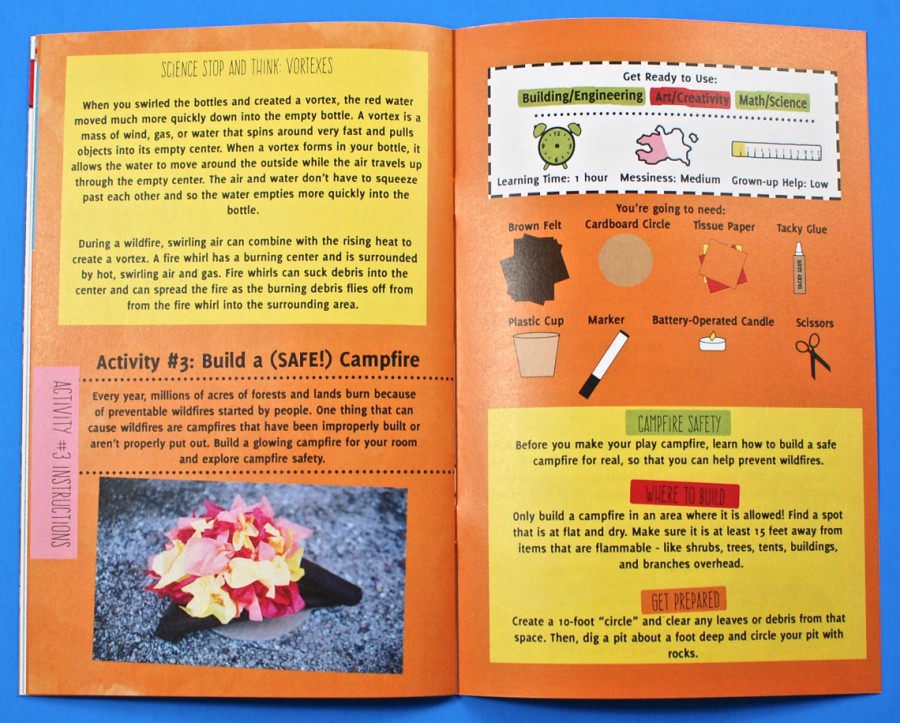
Activity #3: Build a (SAFE!) Campfire
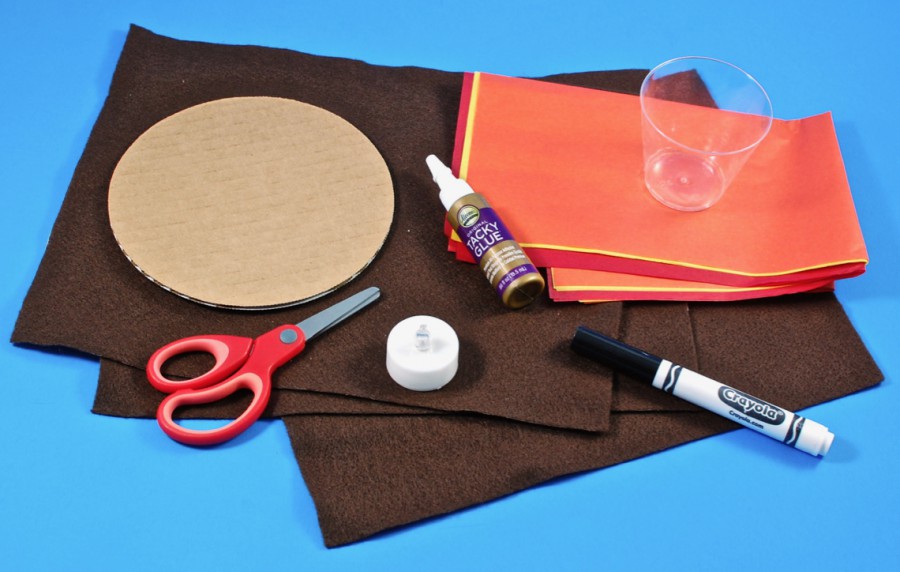
The final activity involved building a pretend campfire using brown felt, tissue paper, cardboard, a plastic cup, tacky glue, a black marker, scissors, and a battery-operated candle.
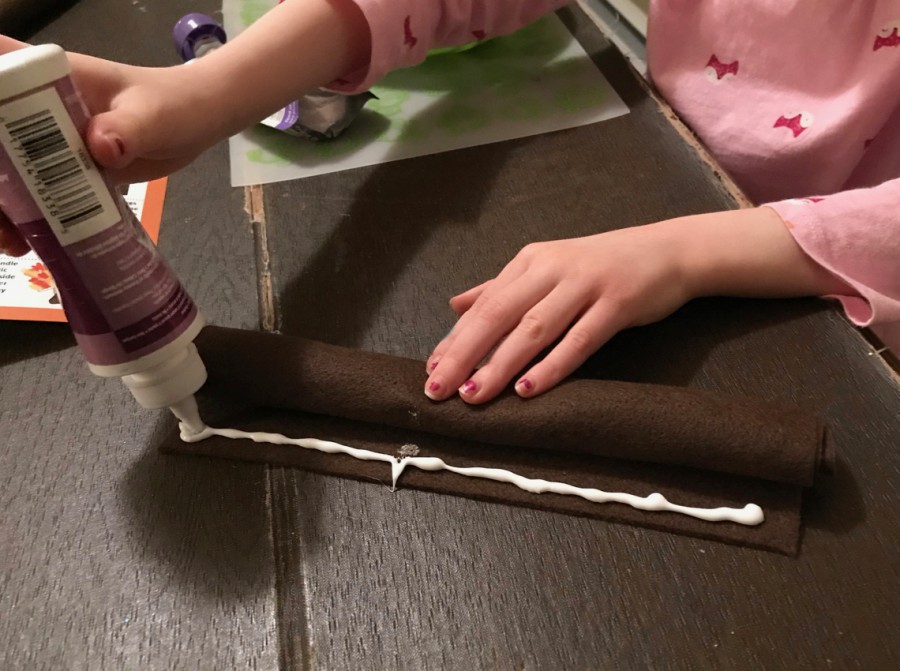
First, we were to roll the brown felt sheets into “logs” and secure them with tacky glue.
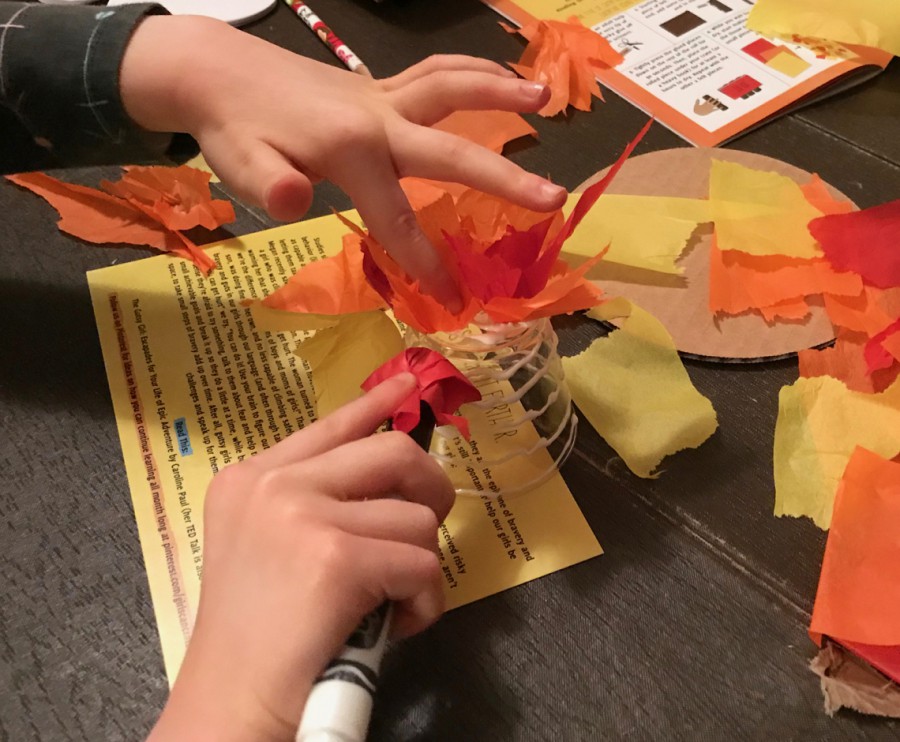
Next, we ripped the tissue paper into small pieces, added rows of tacky glue to our plastic cup, then attached the tissue paper by wrapping each piece around our marker cap and pressing it to the cup to create the “fire”.
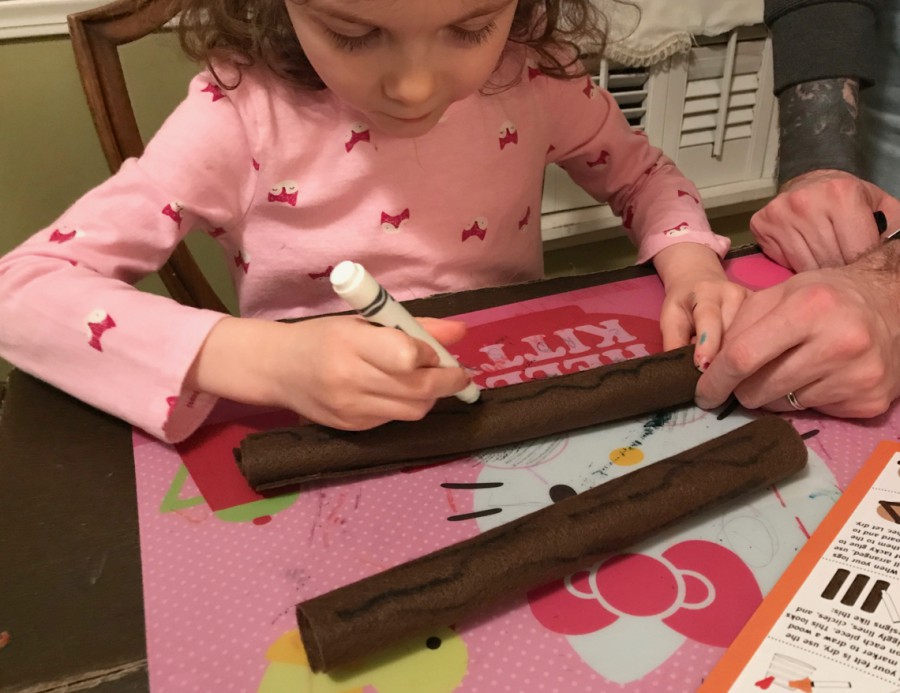
Once the logs were dry, we used the black marker to draw on some wood patterns (squiggly lines).
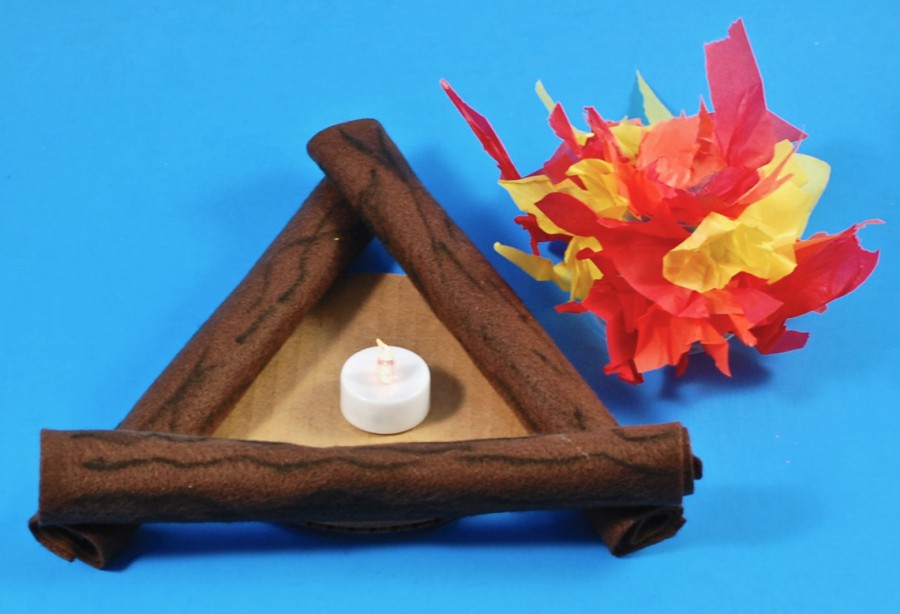
We then attached the logs to the cardboard circle, put the candle inside…
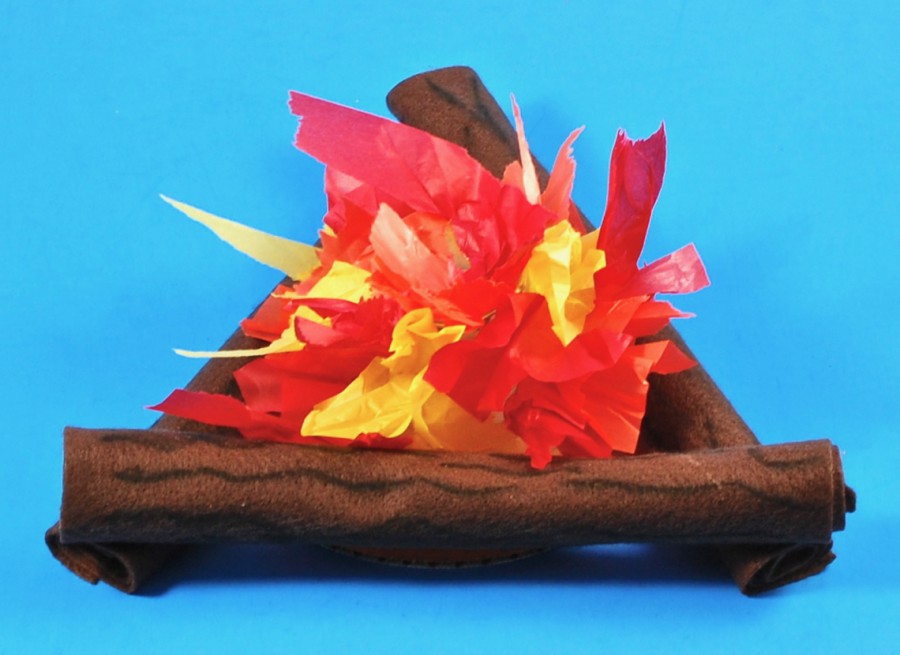
…and placed the “fire” cup on top. Cute!
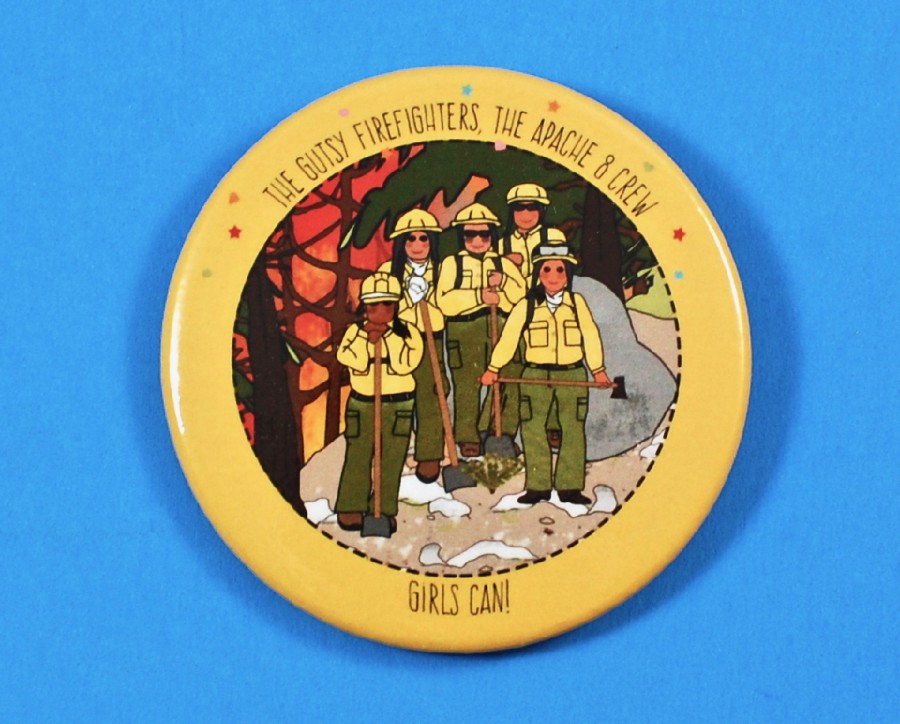
Once all of the activities were complete, we had officially earned our Apache 8 collectible button. 🙂
November’s Girls Can! Crate gave my girls a look at the brave women of Apache 8 and showed them that girls can aspire to do anything that boys do — even fight fires. The booklet provided lots of great info on fires/firefighters, along with fun games, puzzles, and of course the activities. Such an awesome subscription box for young girls! 😀

Leave a Reply