Girls Can! Crate is a monthly subscription box that inspires girls ages 5-10 to believe they can be and do anything by introducing them to fearless women who made the world better.
Each box will include a 20-page activity book telling the featured woman’s unique story (as well as games, experiments, & more), 2-3 hands-on STEAM (science, technology, engineering, art, and math) activities related to her field, a creative play prop, a featured character trait that helped her succeed and 2-3 practical tips for parents to easily foster that trait, and more. The boxes are designed to encourage a love for STEAM, to foster creativity, curiosity, and support literacy development. With every box purchased, Girls Can! Crate donates 10% of the proceeds to nonprofit organizations working to empower women and girls.
Disclosure: I received this box for review purposes. I was not compensated in any way. All opinions are my own. Post may contain affiliate and/or referral links.
Subscriptions are $29.95/month or less with multi-month commitments. Shipping is free within the US.
Let’s see what’s in my November 2019 Girls Can! Crate!
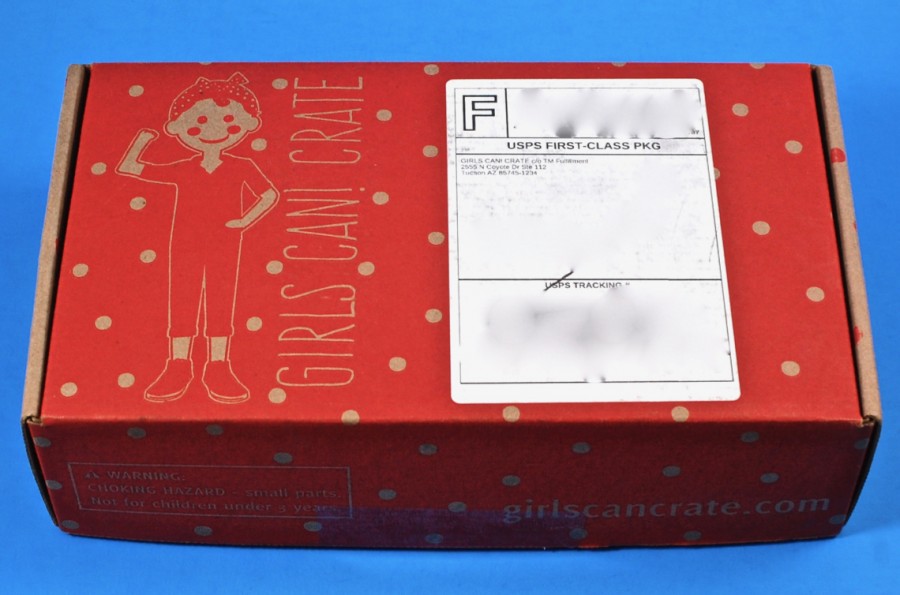
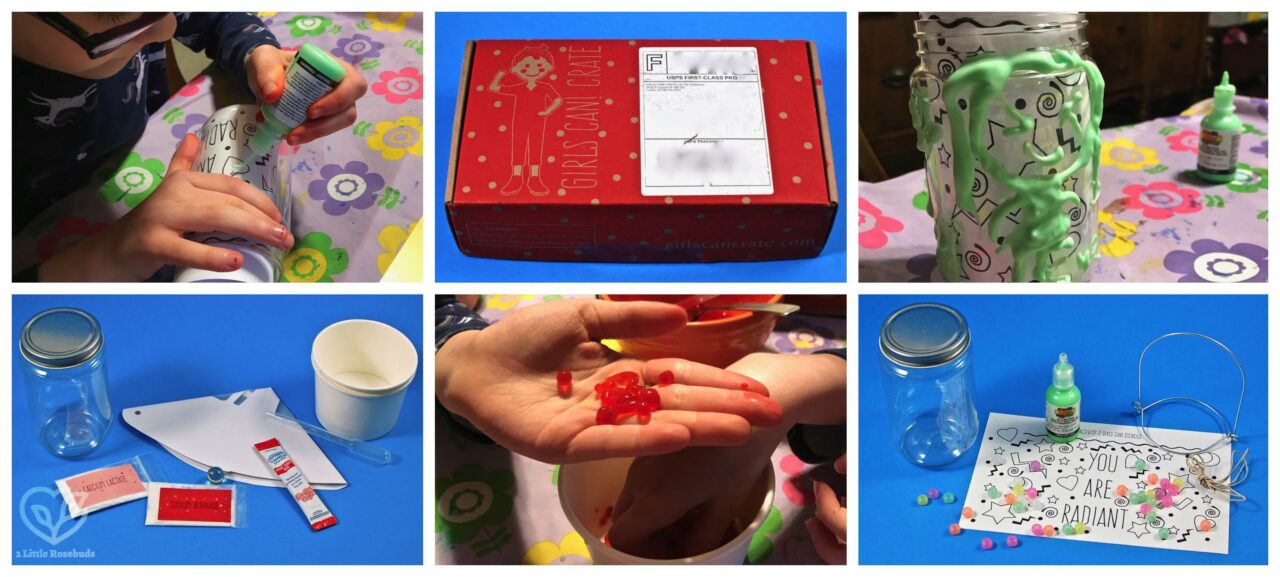
Everything was shipped in a bright red box with the Girls Can! Crate logo on top.
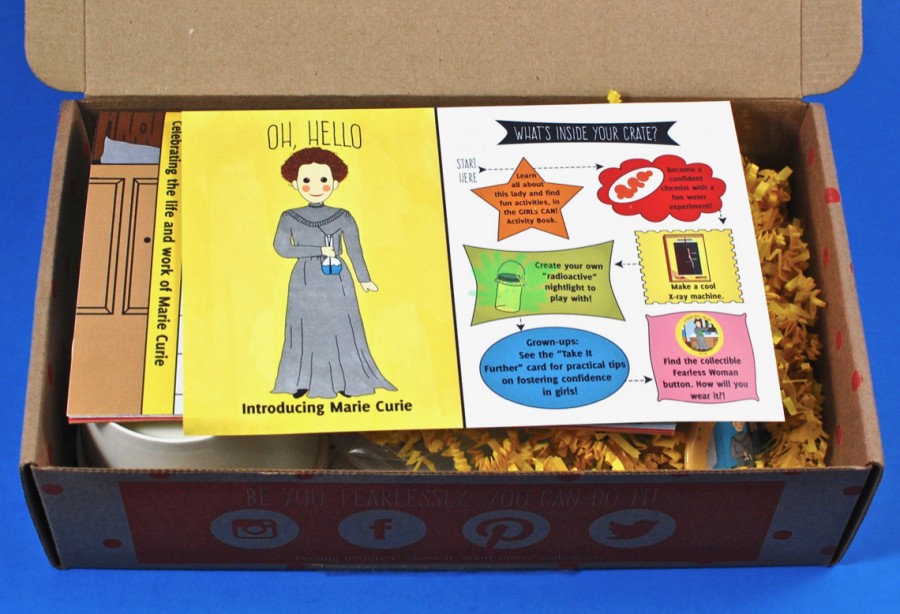
A peek inside!
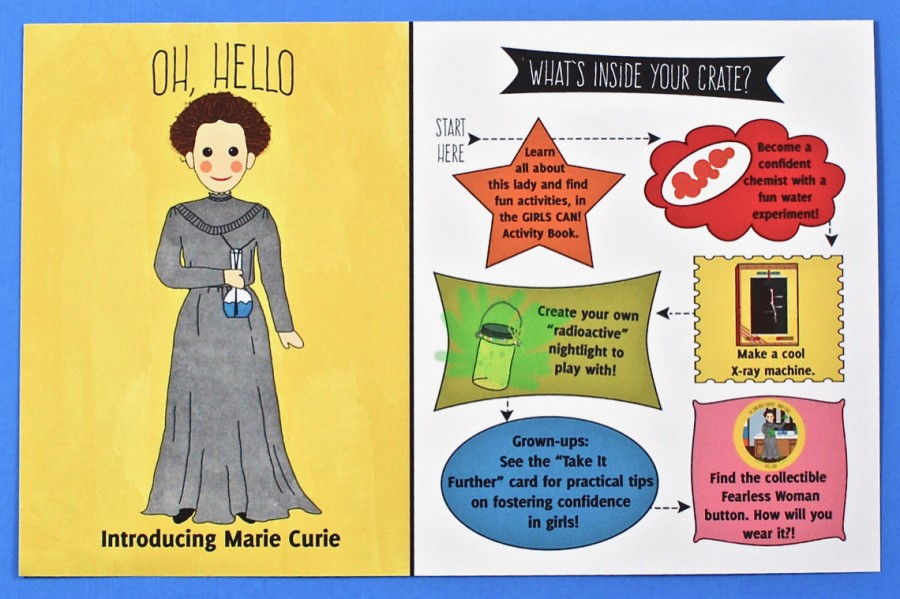
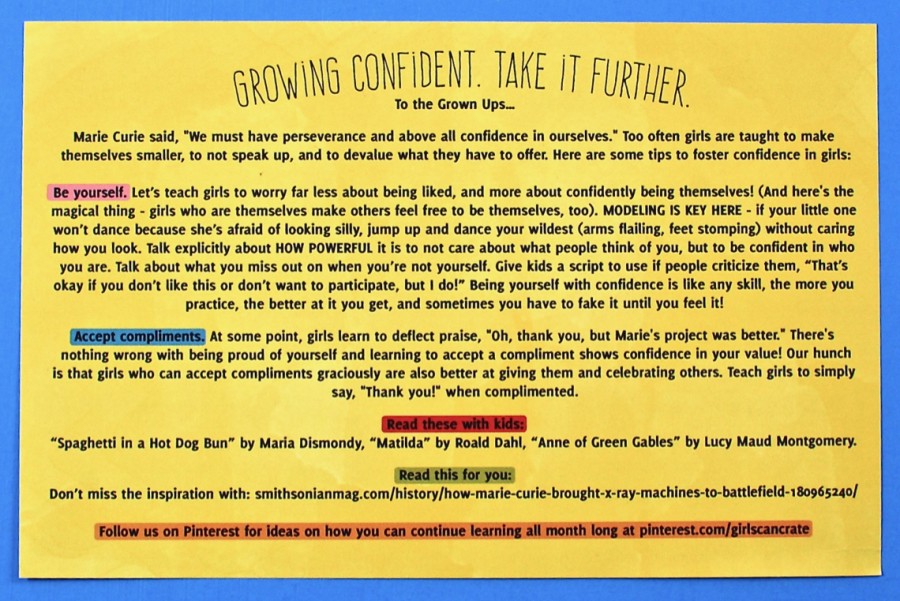
November’s featured “fearless woman” was Marie Curie, the confident chemist who conducted pioneering research on radioactivity and the first woman to receive a Nobel Prize. An information card listed all of the activities in the crate and the order in which they should be completed. The reverse side included tips for parents on how to help their own children to become as confident and sure of themselves as Marie.
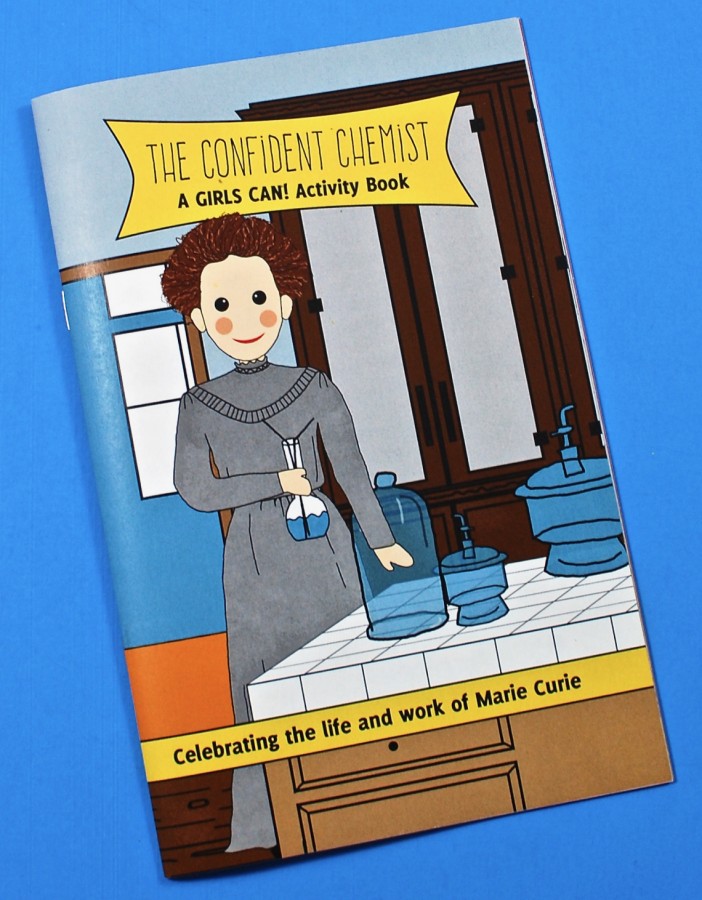
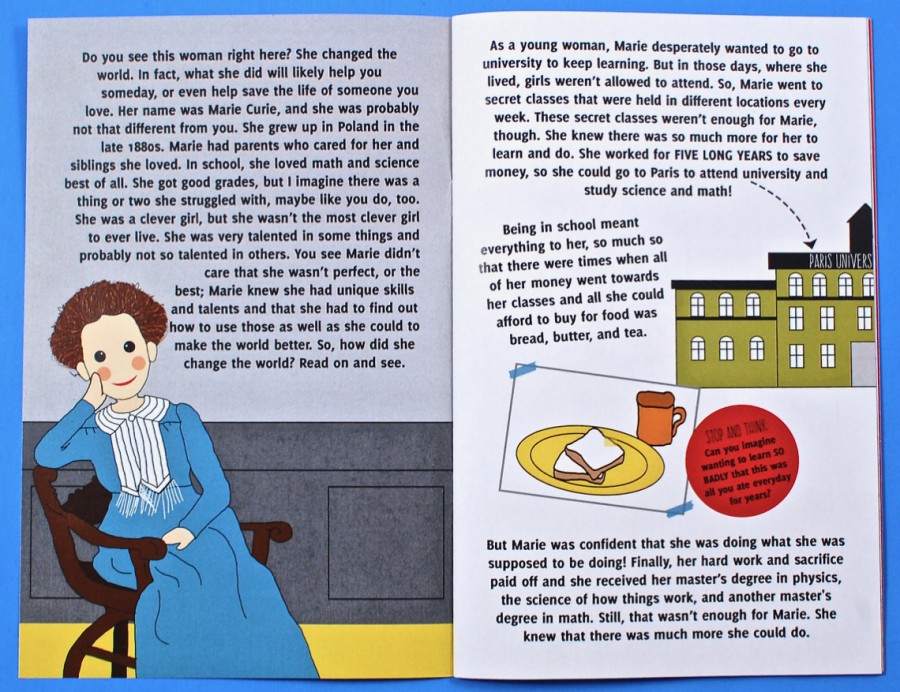
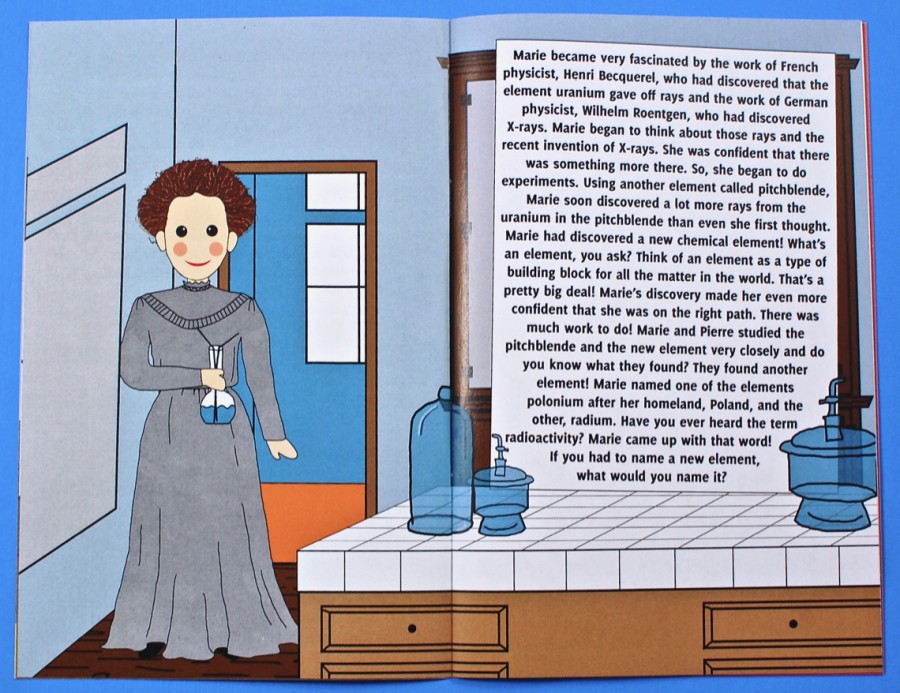
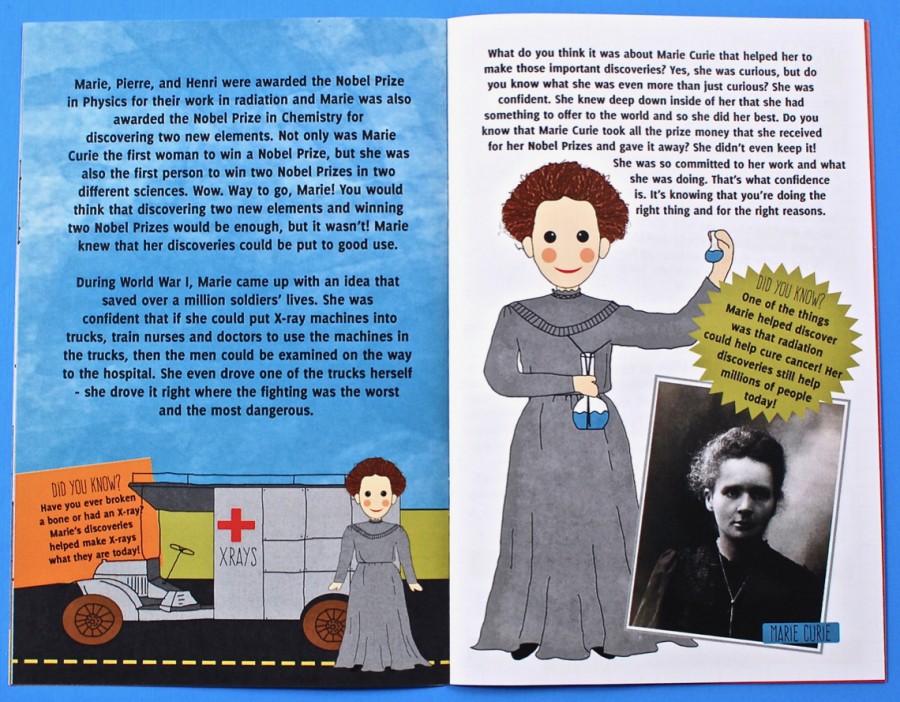
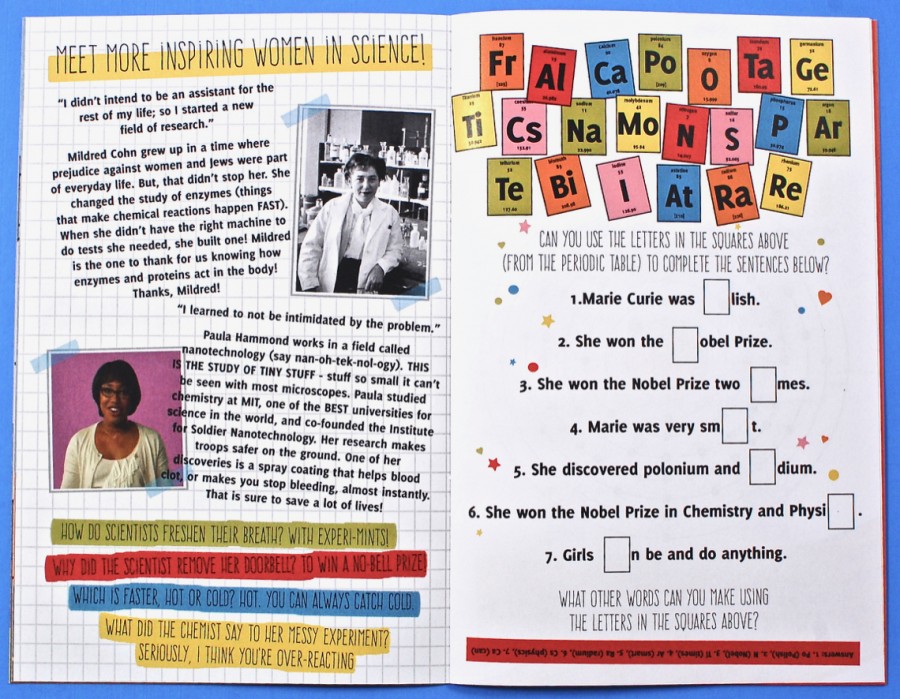
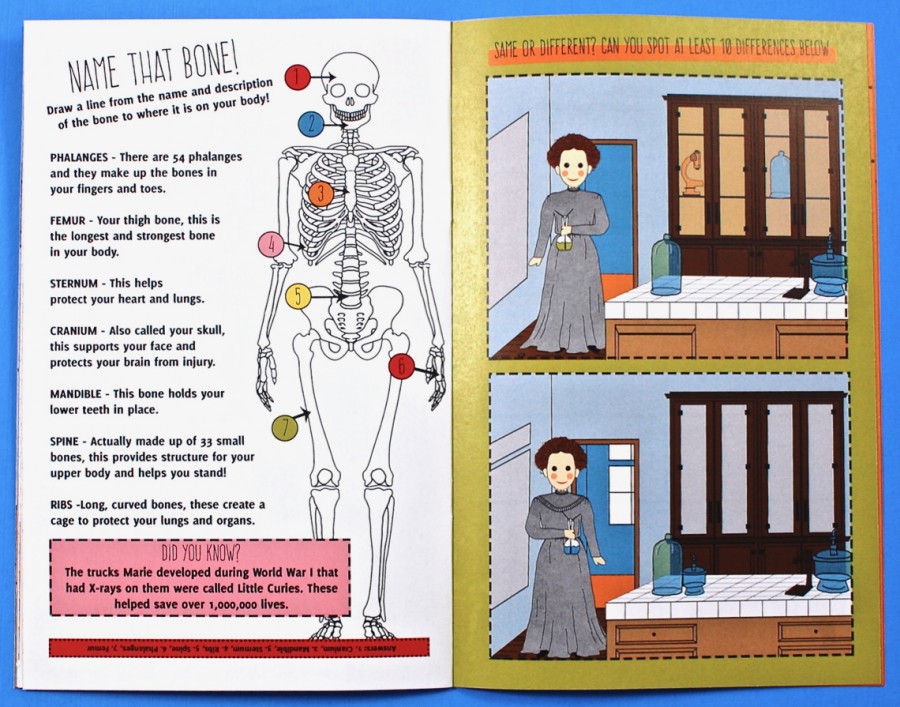
Activity Book
A 20-page, full color activity book included the story of Marie Curie and she championed the use of radiation in medicine and fundamentally changed our understanding of radioactivity. It also included puzzles, games, experiments, and more. All of the activity instructions were printed in the booklet as well.
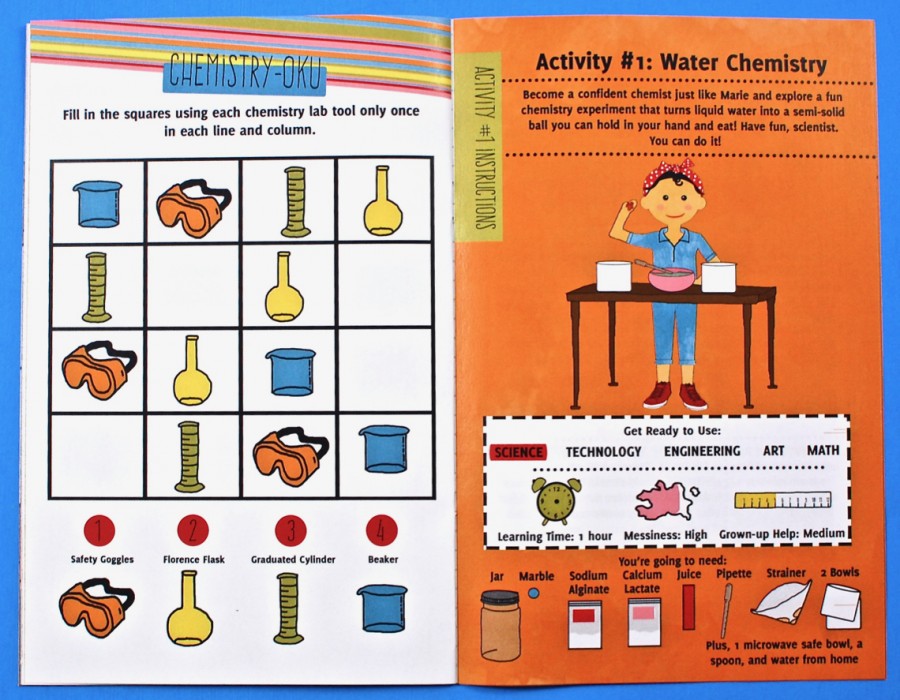
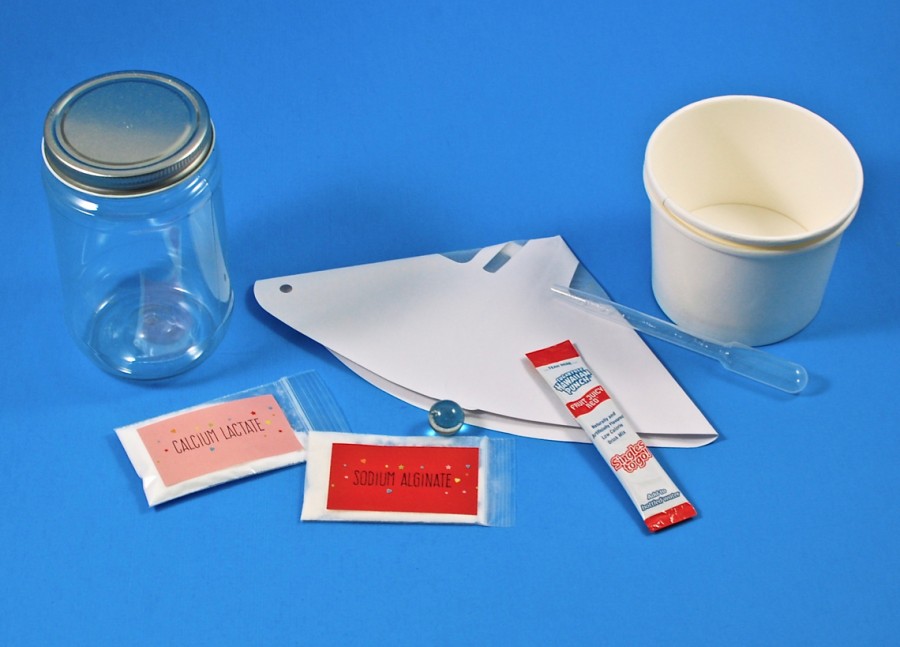
Activity #1: Water Chemistry
The first activity had us turning liquid into a semi-solid ball that you can eat. Materials provided were a plastic jar, strainer, calcium lactate, sodium alginate, a marble, powdered juice mix, a pipette, and 2 paper bowls. Materials needed from home were a microwave-safe bowl, a spoon, and water.
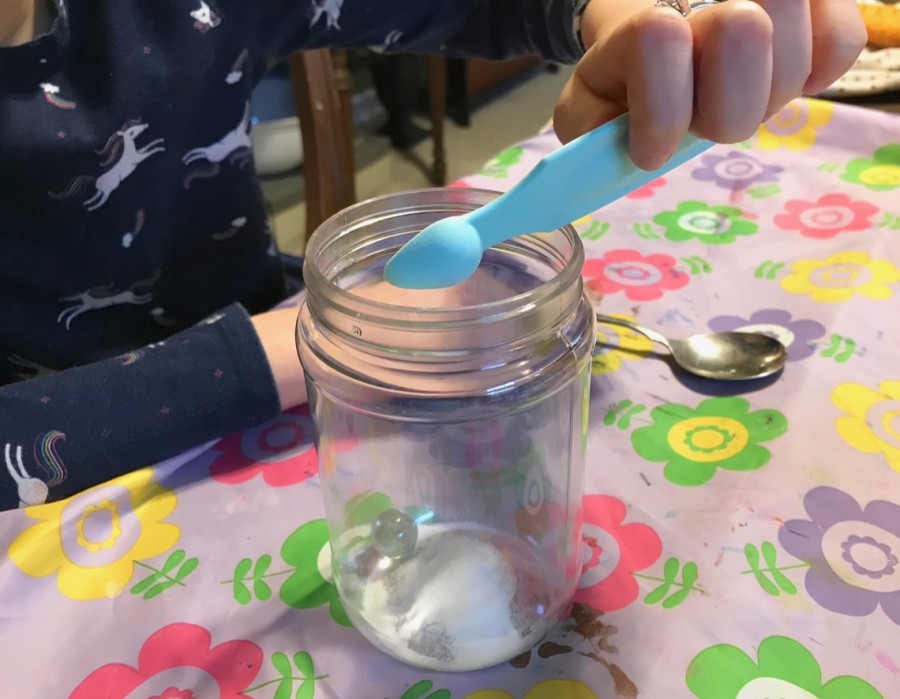
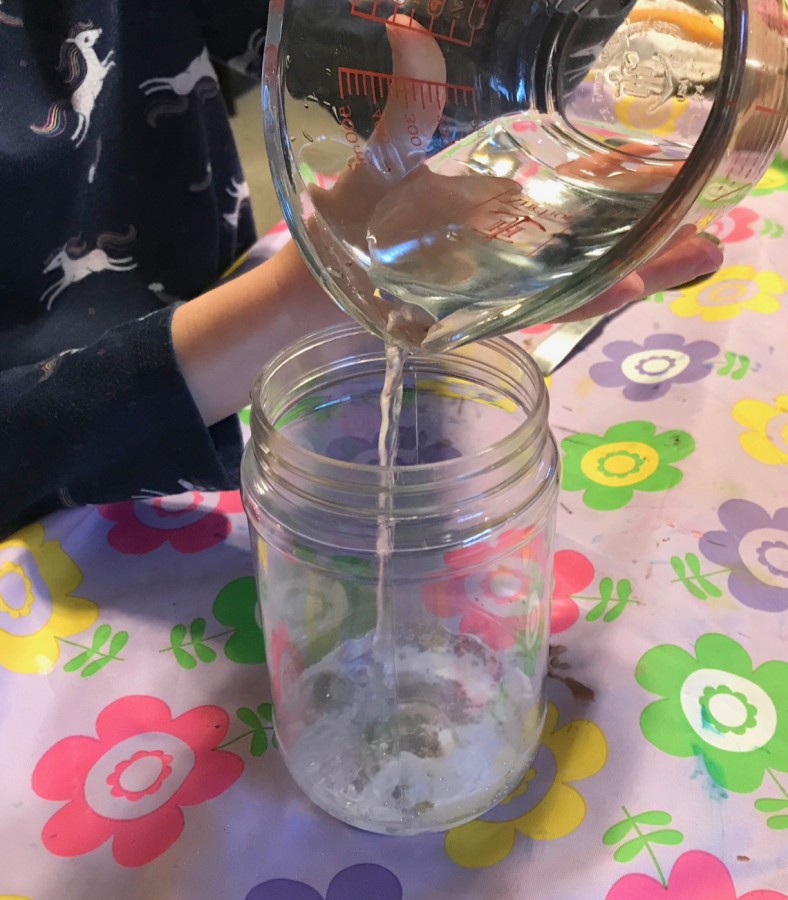
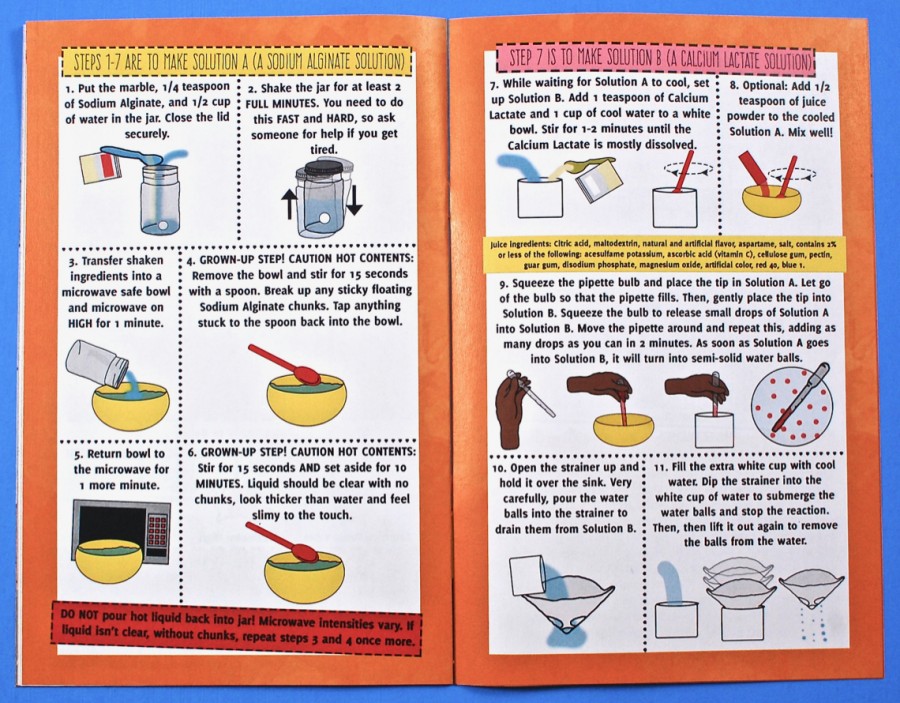
The first step was to add 1/4 teaspoon of sodium alginate, the marble, and 1/2 cup water into the jar and shake it vigorously for 2 minutes.
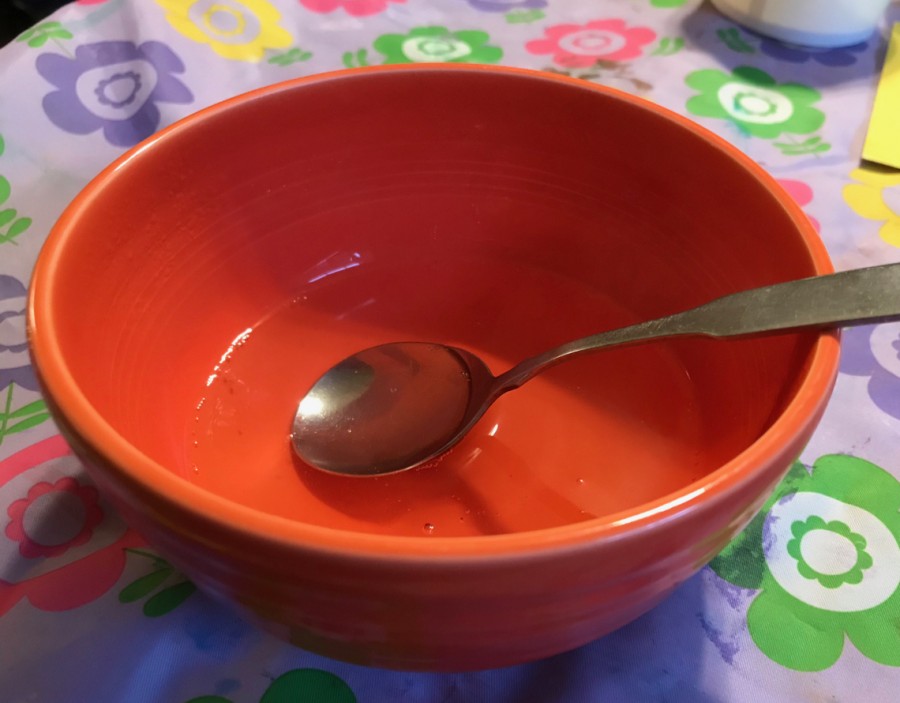
Once successfully shaken, the solution was to be poured into a bowl and microwaved on high for 1 minute, or until all of the “chunks” had been dissolved.
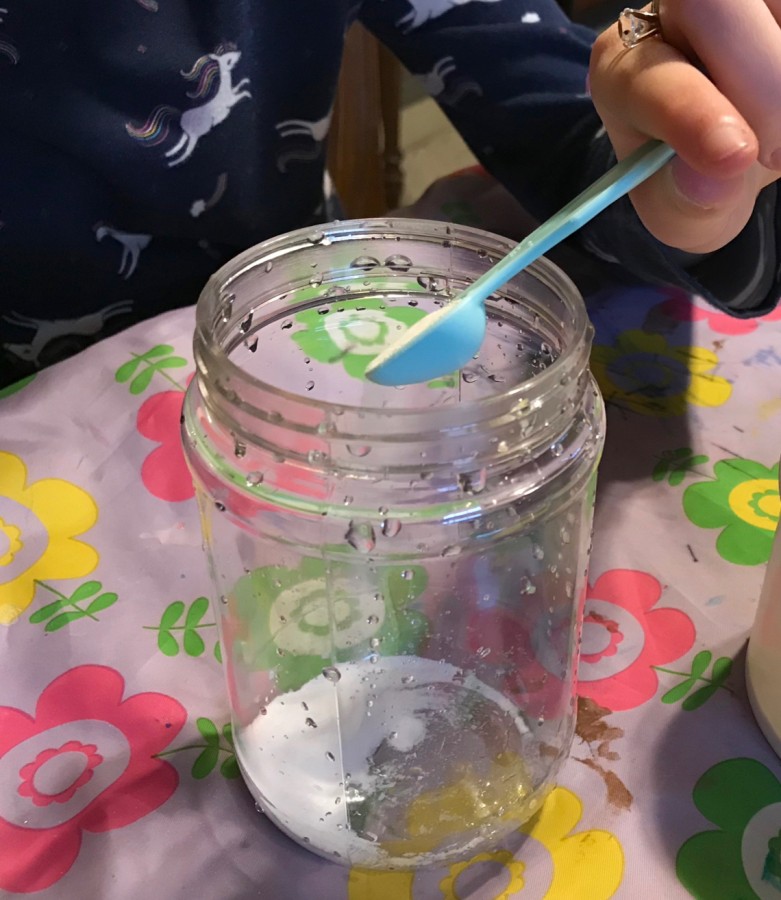
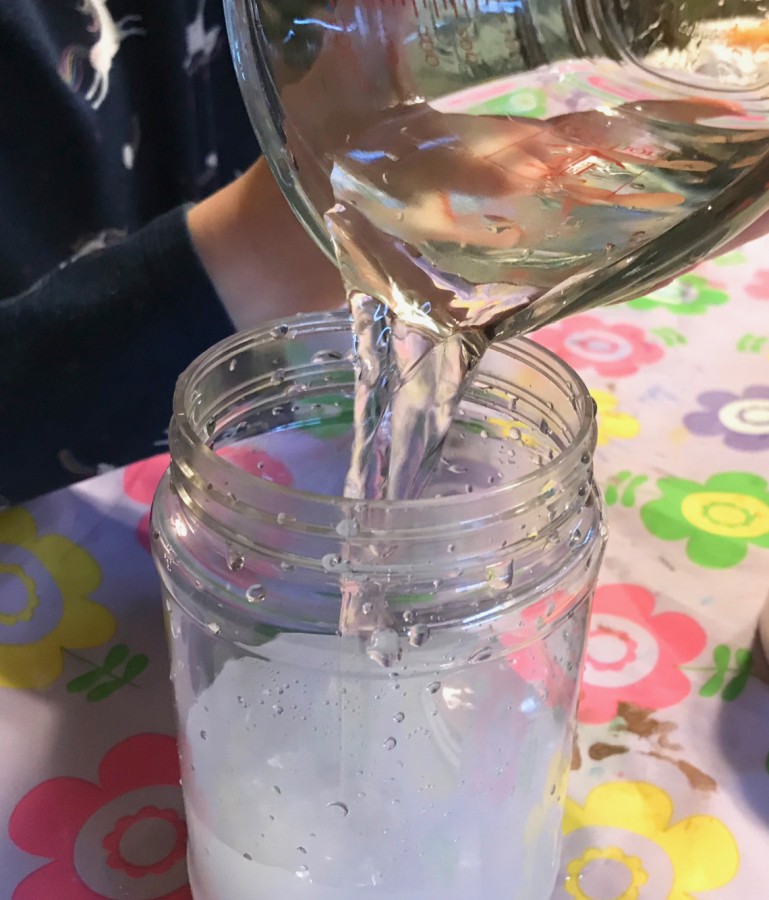
While the first solution was cooling, we started on our second solution by mixing 1 teaspoon of calcium lactate with 1 cup of cool water. (Note: This was supposed to be done in one of the paper bowls, so I later transferred it from the jar above.)
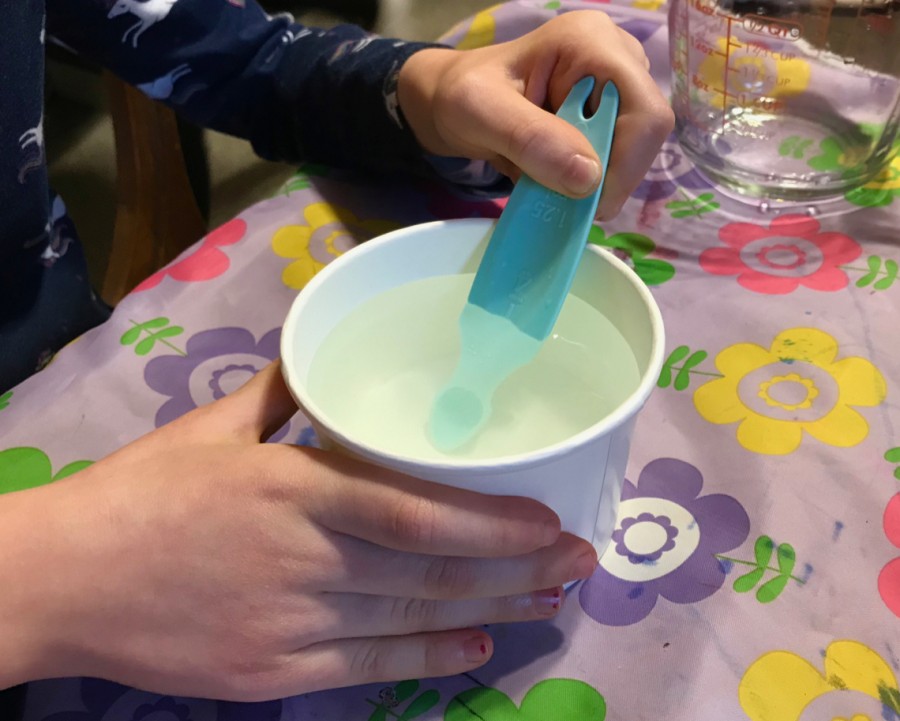
After transferring it to the paper bowl, we stirred the solution for a minute until all of the calcium lactate was dissolved.
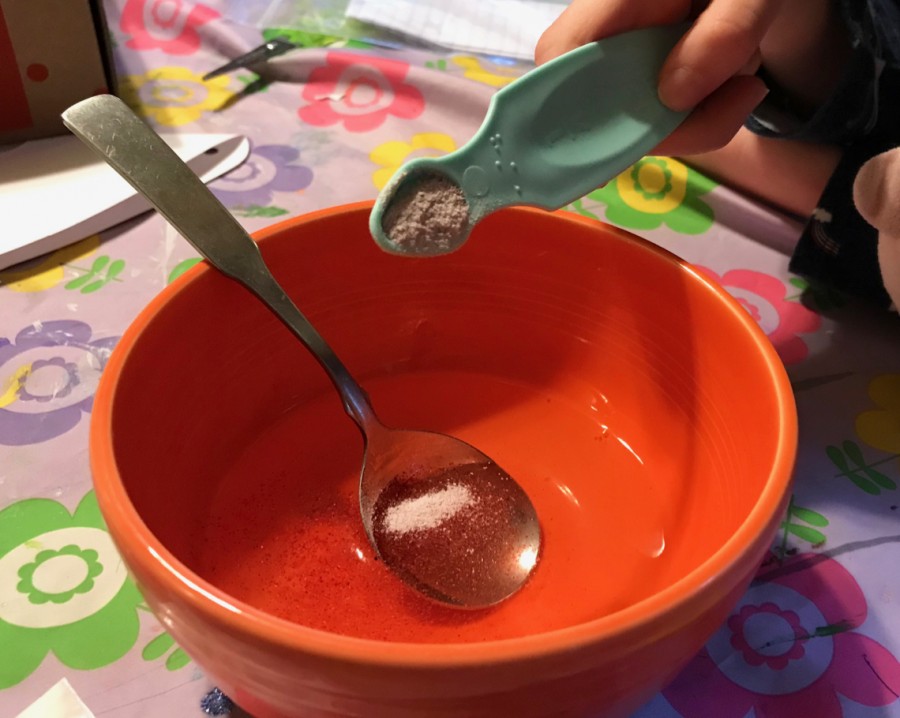
Next, we went back to the first solution and stirred in 1/2 teaspoon of the powdered juice mix.
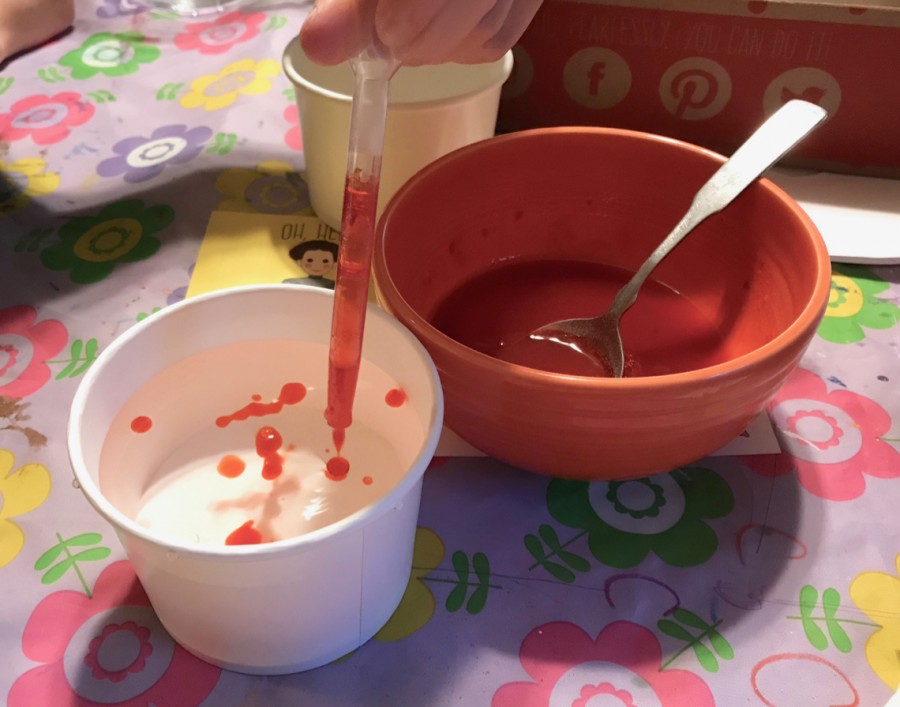
Finally, it was time to start adding the first solution into the second one using the included pipette.
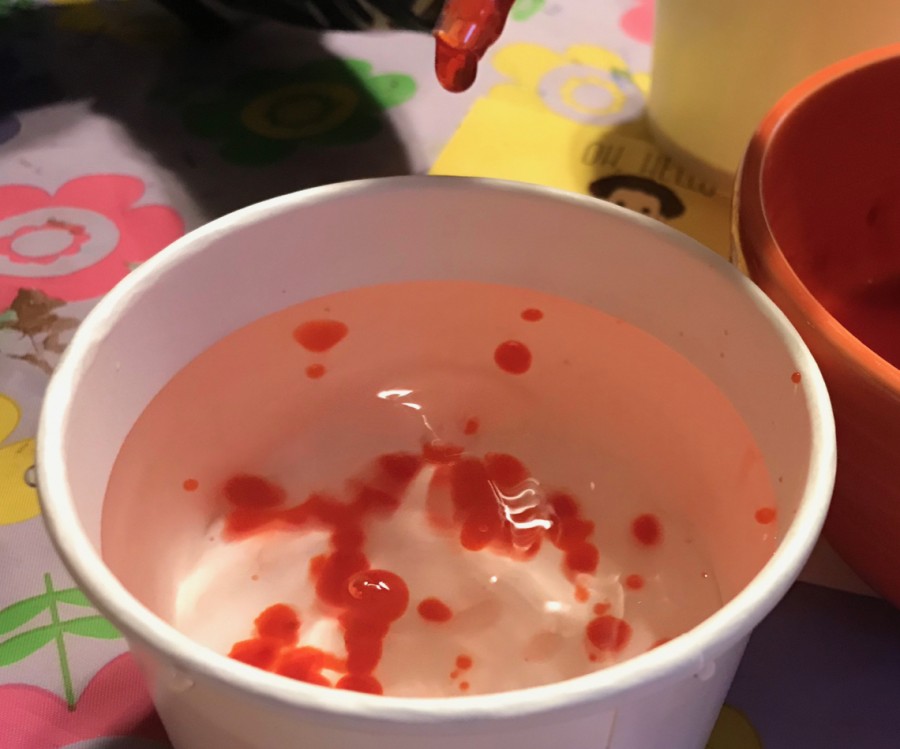
As promised, the red liquid immediately turned into squishy semi-solid balls as soon as it was dropped into the second solution.
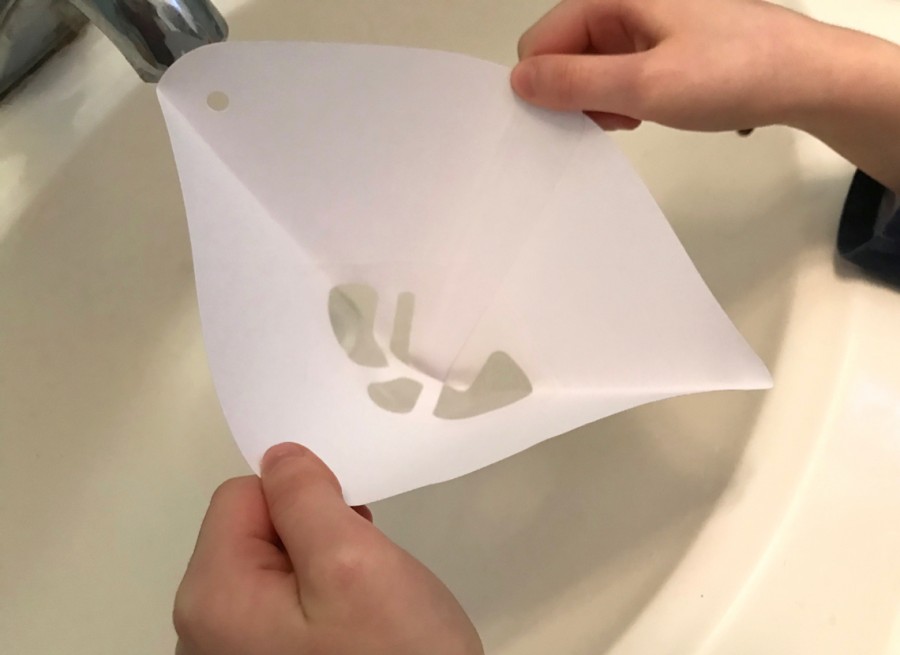

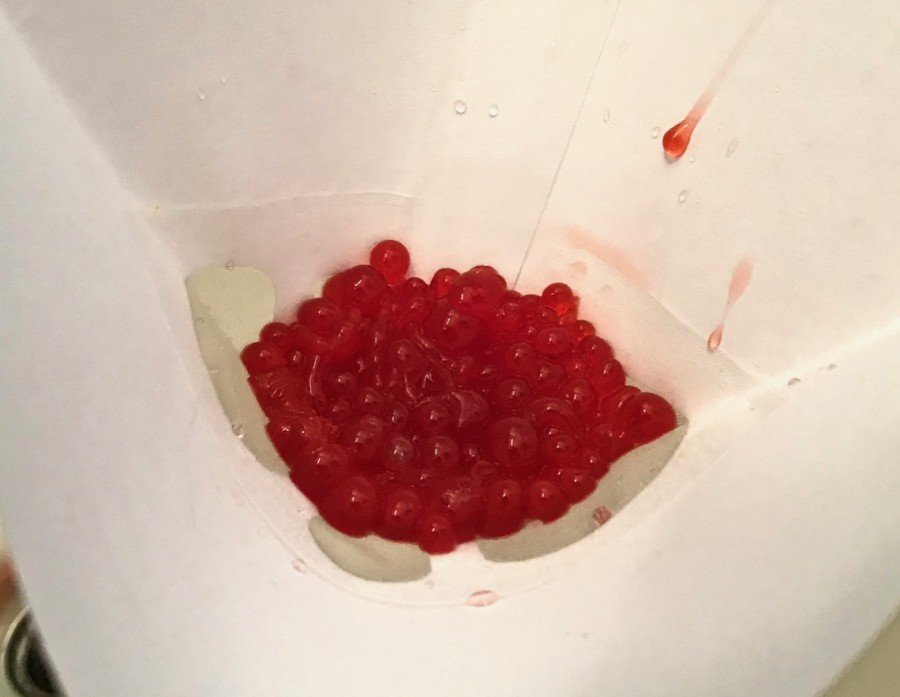
Once we had made a good amount of “water balls”, we opened the strainer over the sink and poured them inside.
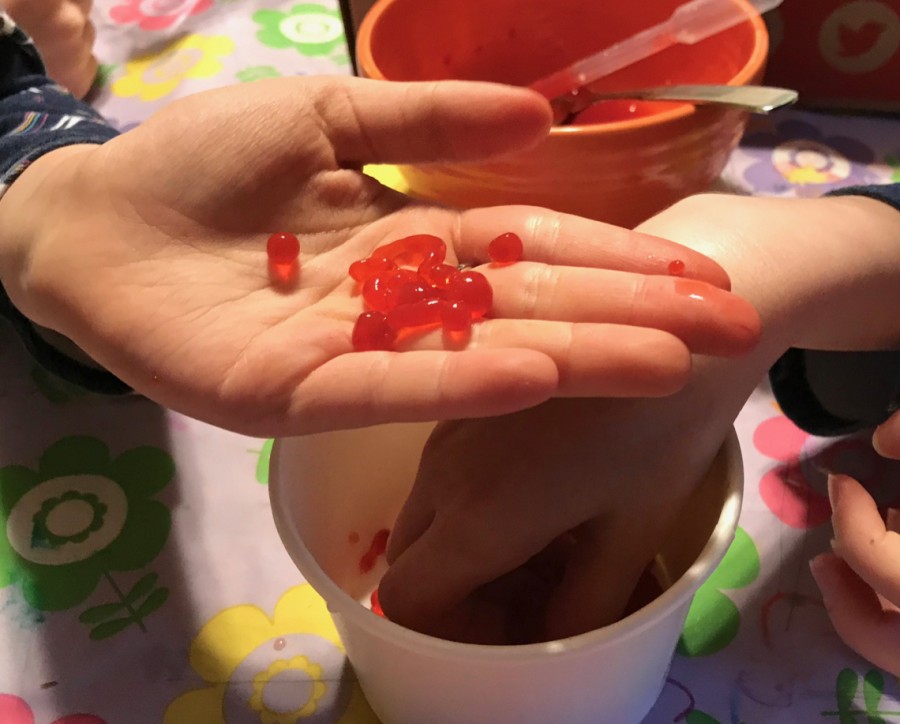
My kiddos had fun squishing, squeezing, and eating the results of our experiment. [Note: The info booklet stated that it was perfectly safe to eat, since the balls are just made of algae. I wouldn’t have let them do it otherwise. 😉 ]
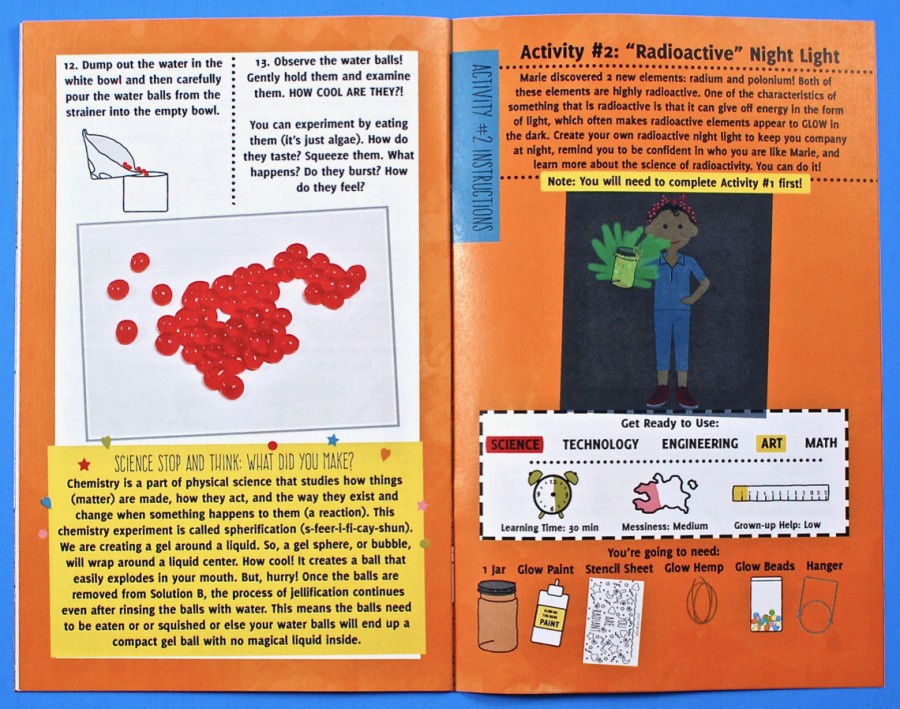
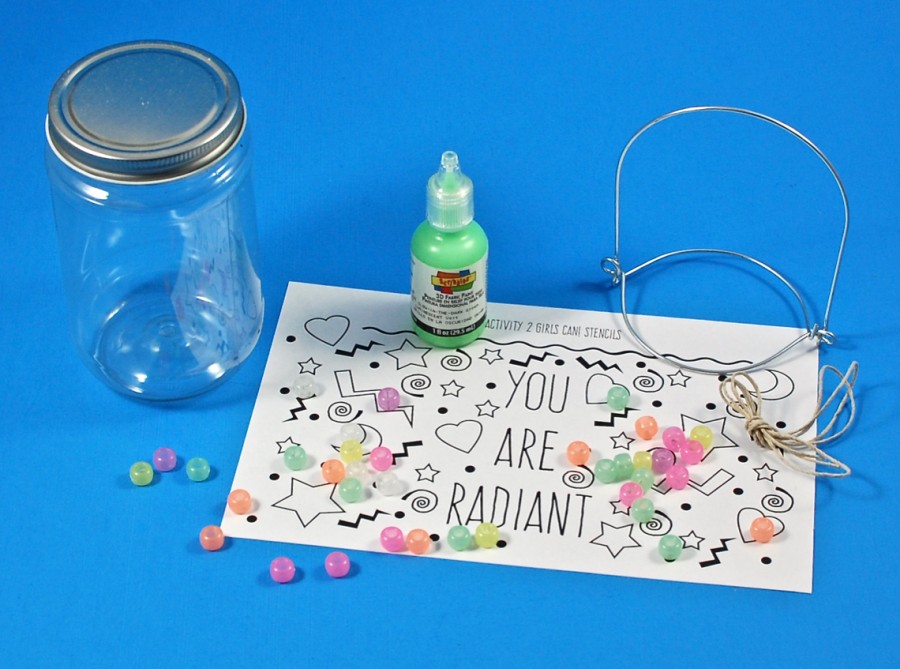
Activity #2: “Radioactive” Night Light
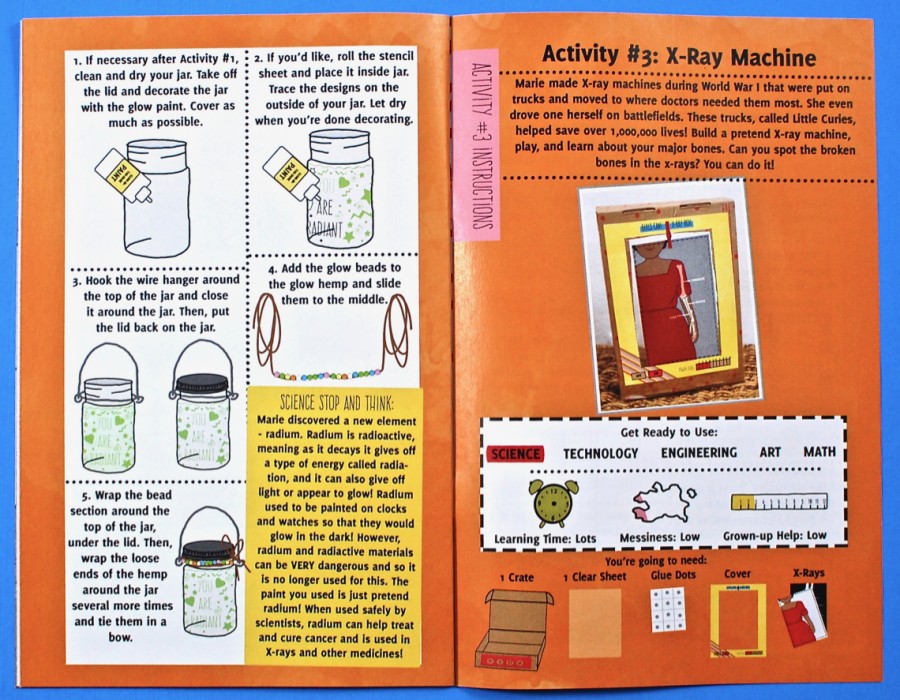
The second activity was to make a cute “radioactive” (glow-in-the-dark) night light. Materials included a plastic jar, glow paint, a stencil sheet, glow hemp, a metal hanger/handle, and glow beads.
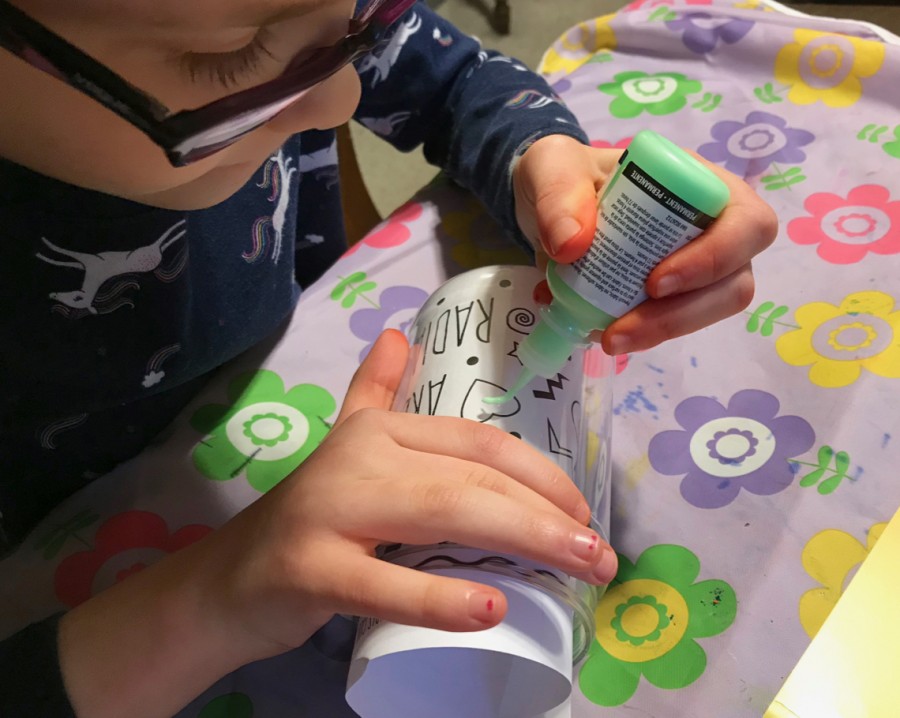
After fully drying our jar from the first activity, we placed the paper stencil sheet inside and began tracing the designs using the glow paint.
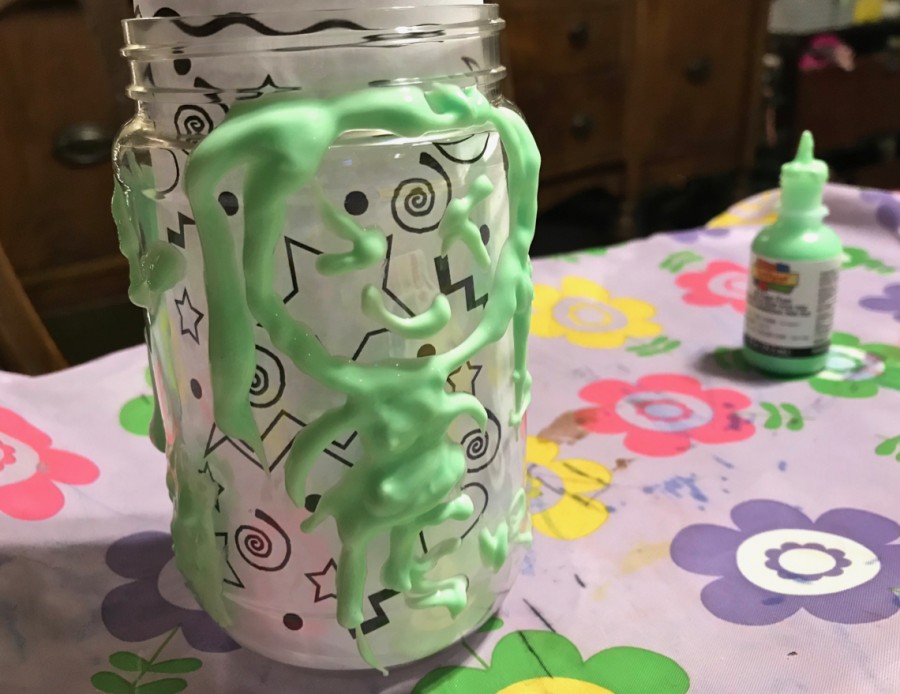
The whole tracing thing got to be a little too challenging, so she ended up creating her own designs… Including this “little girl”. Aw.
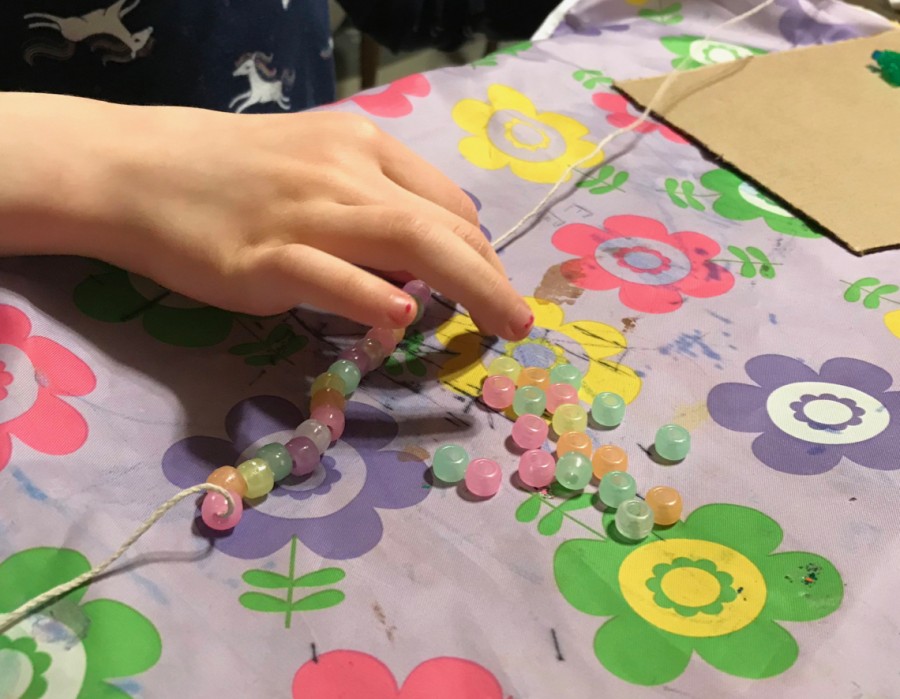
While waiting for the paint to dry we strung the glow beads onto the glow hemp, which would be tied to the top of the jar.
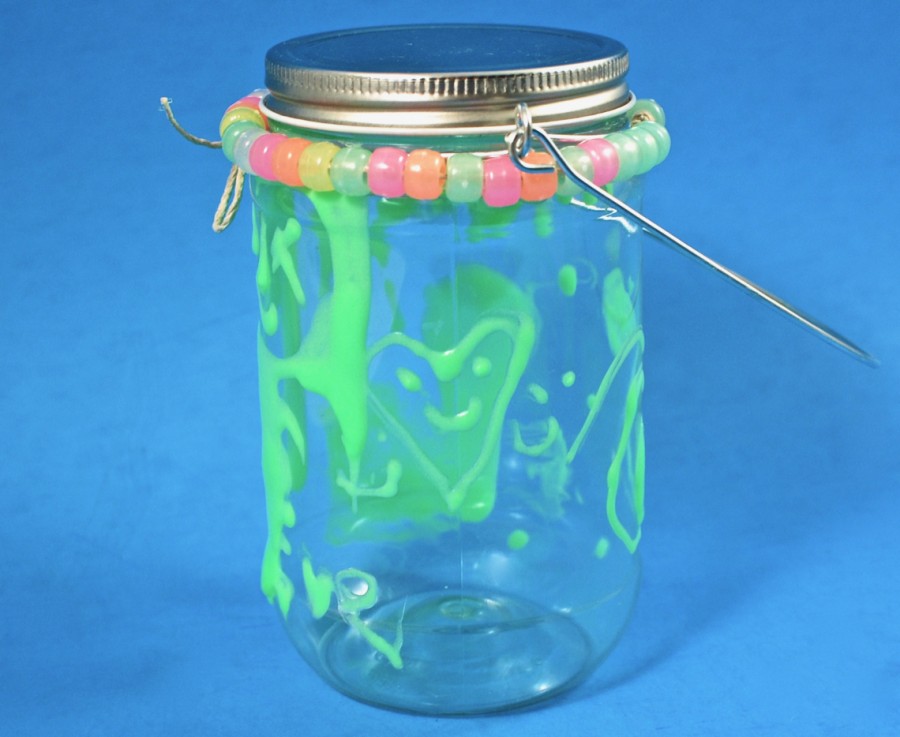
And here’s the final result!
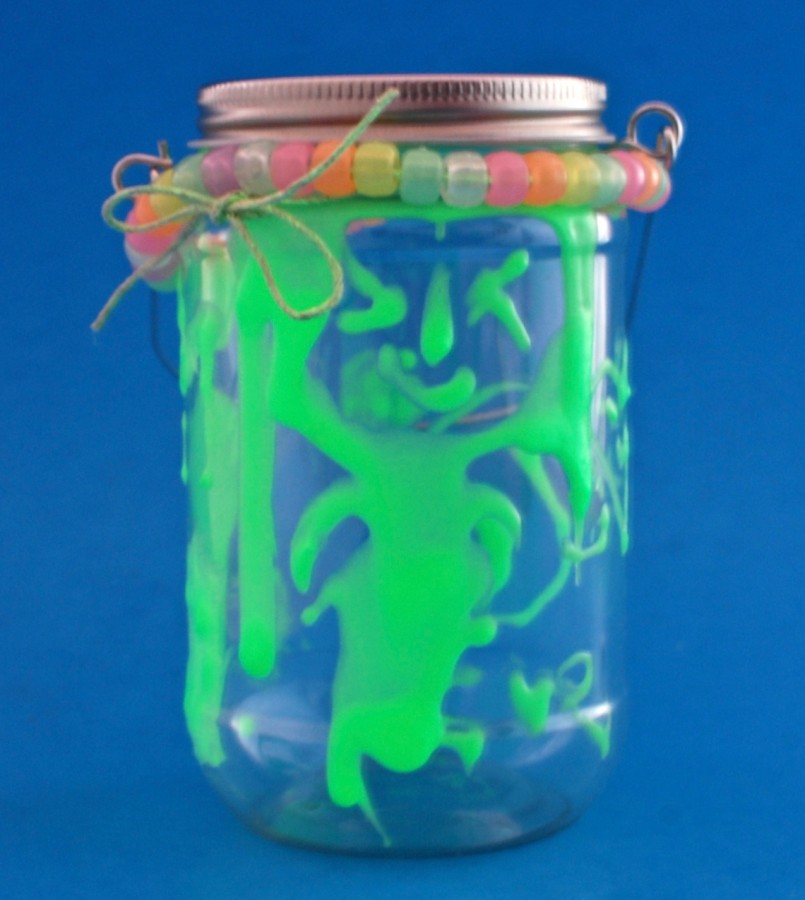
I took the photo above with the lights off (hence the blurriness) and you can see how bright the glow is. — Definitely helped that she was a bit heavy-handed with the painting. 😉
Activity #3: X-Ray Machine
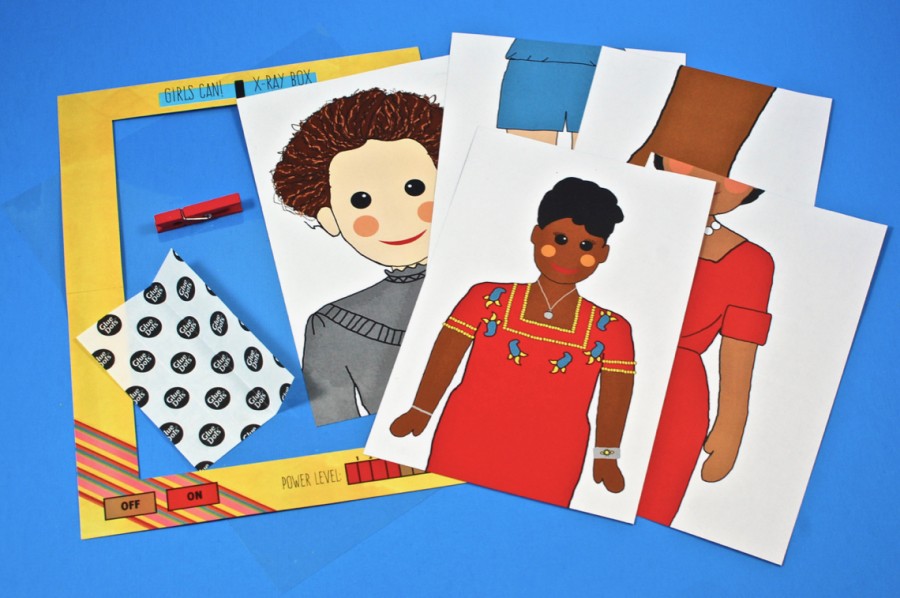
The final activity had us constructing a pretend x-ray machine. Materials included x-ray sheets, glue dots, an x-ray cover, clear sheet, and the box from this month’s crate.
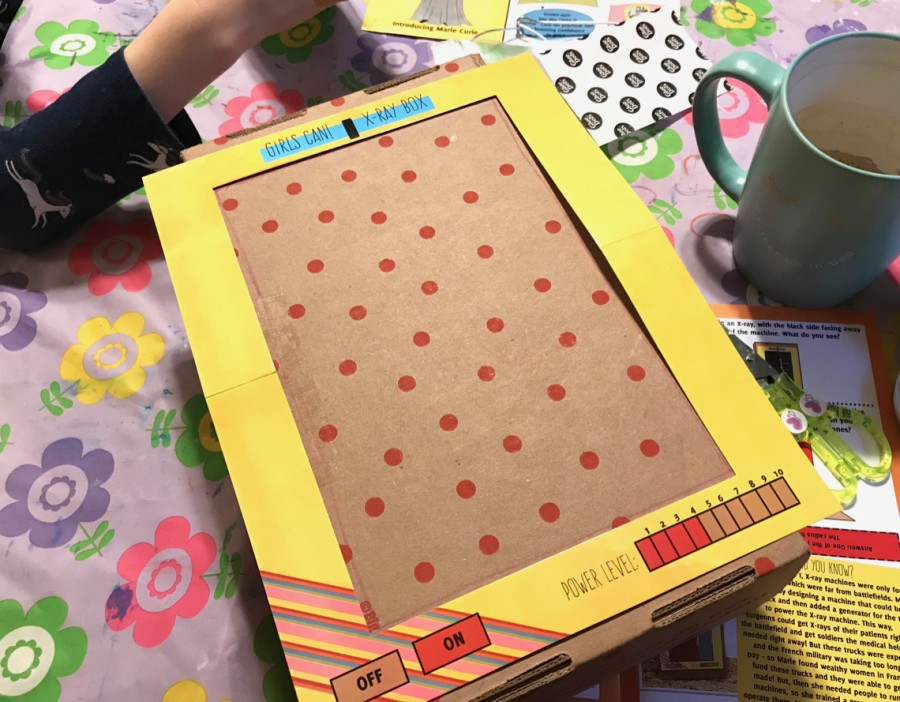
The first step was to place the x-ray cover onto the back of this month’s box and trace the open center rectangle with marker. (The top/flap of the box also needed to be removed beforehand.)
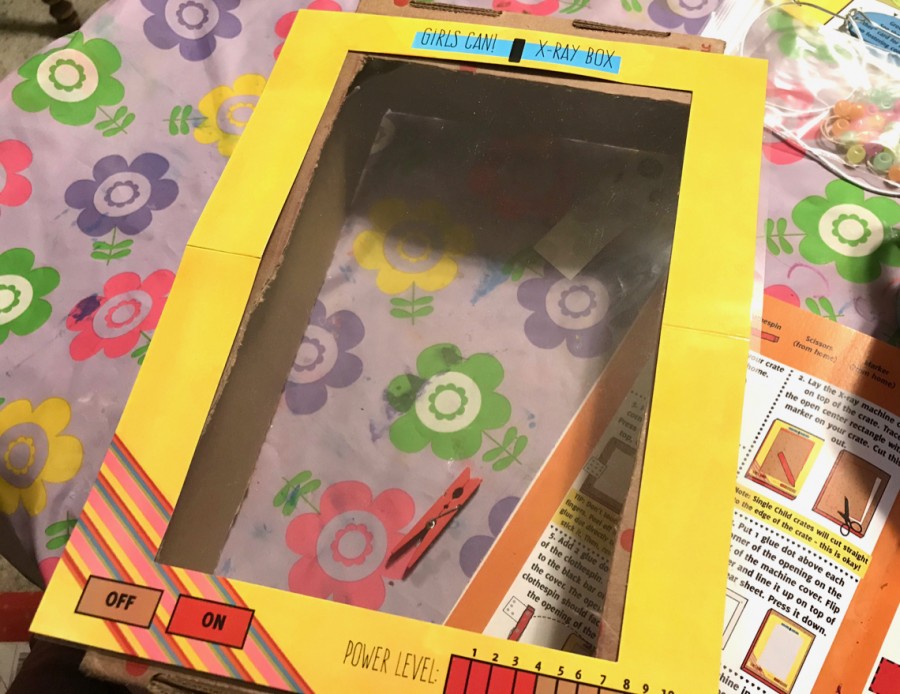
We then had to cut out the rectangle and attach the clear sheet and x-ray frame using glue dots. The final step was to attach (again, with glue dots) the small clothespin to the top of the frame.
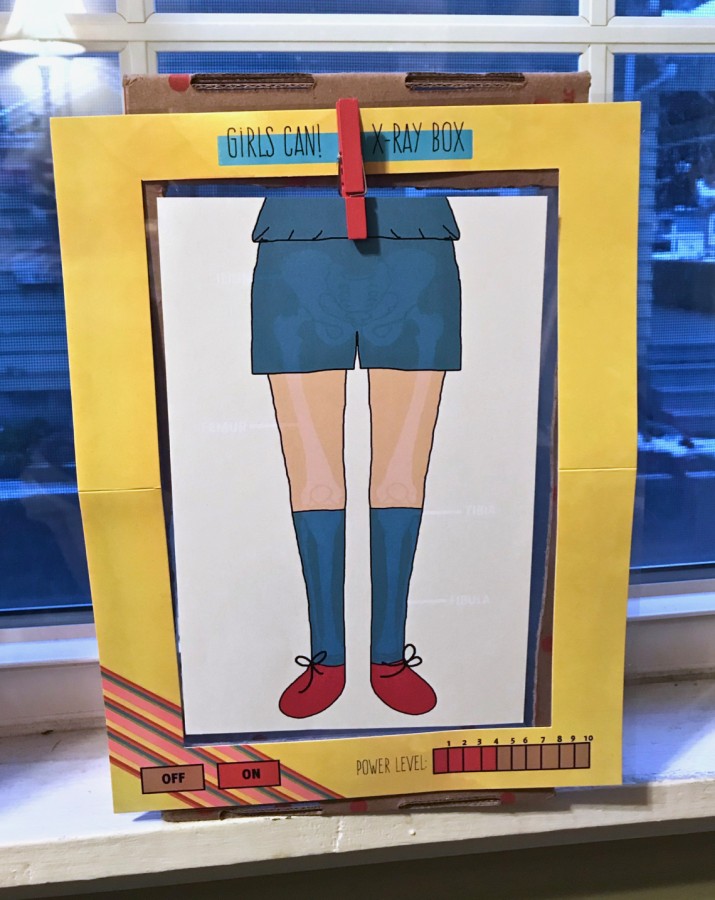
Using the clothespin, we hung one of the x-ray sheets in the machine and placed it by a window. Unfortunately, it was already pretty dark out by the time we got to this part, but you can still see the slight outline of the x-ray showing through the image. We’ll have to experiment with this more when it’s lighter out. 😉
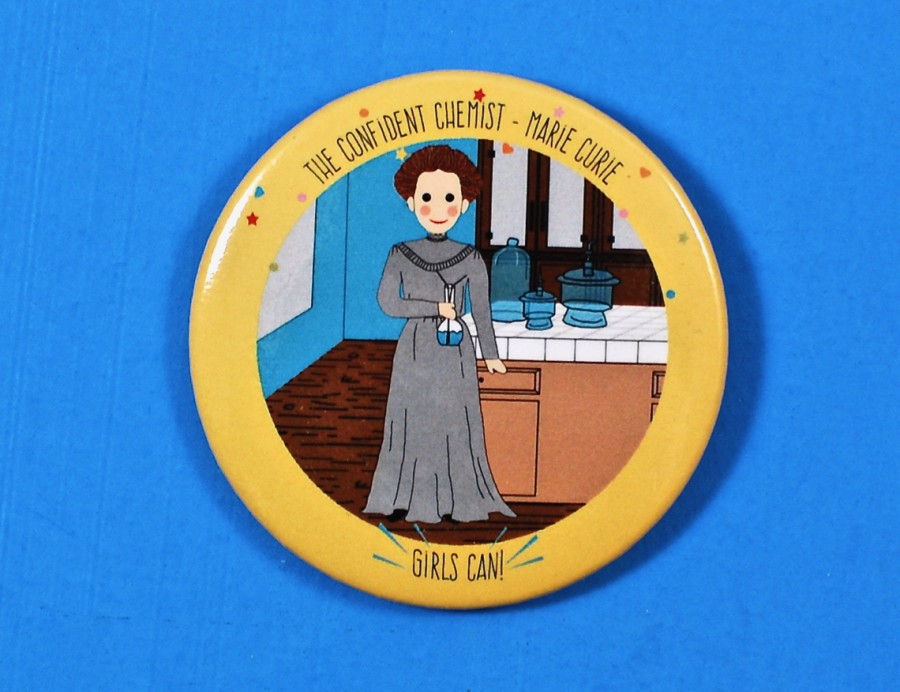
Once all of the activities were complete, we had officially earned our Marie Curie collectible button. 🙂
November’s Girls Can! Crate was a nice introduction to radioactivity and the important work of Marie Curie. My girls had fun with all of the activities and as always, it was a great learning experience. 🙂

Leave a Reply