Girls Can! Crate is a monthly subscription box that inspires girls ages 5-10 to believe they can be and do anything by introducing them to fearless women who made the world better.
Each box will include a 20-page activity book telling the featured woman’s unique story (as well as games, experiments, & more), 2-3 hands-on STEAM (science, technology, engineering, art, and math) activities related to her field, a creative play prop, a featured character trait that helped her succeed and 2-3 practical tips for parents to easily foster that trait, and more. The boxes are designed to encourage a love for STEAM, to foster creativity, curiosity, and support literacy development. With every box purchased, Girls Can! Crate donates 10% of the proceeds to nonprofit organizations working to empower women and girls.
Disclosure: I received this box for review purposes. I was not compensated in any way. All opinions are my own. Post may contain affiliate and/or referral links.
Subscriptions are $29.95/month or less with multi-month commitments. Shipping is free within the US.
Let’s see what’s in my October 2019 Girls Can! Crate!

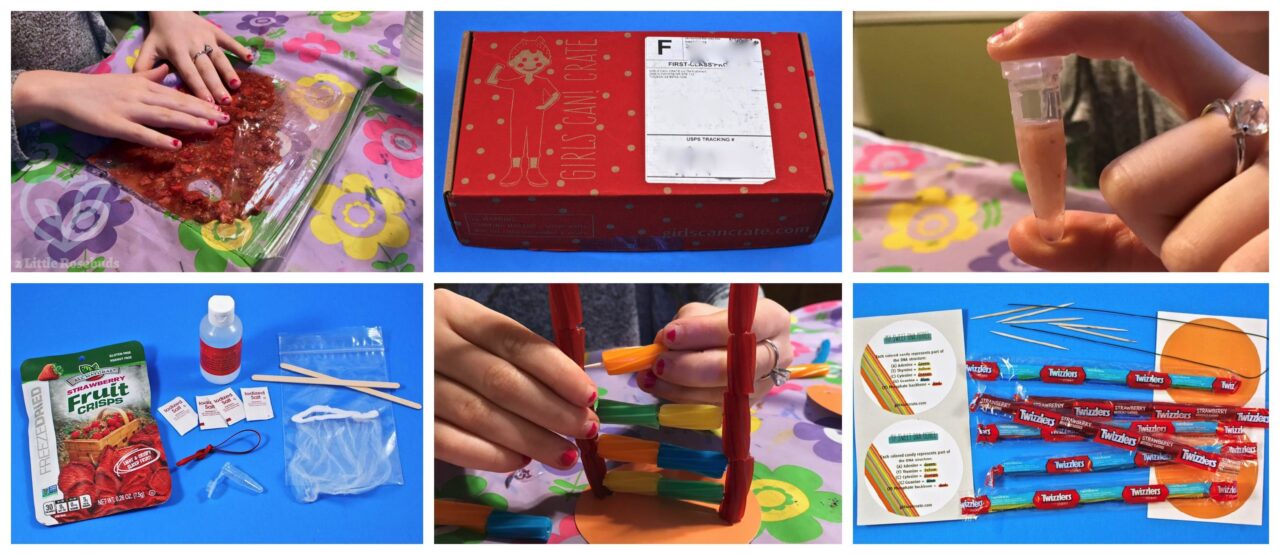
Everything was shipped in a bright red box with the Girls Can! Crate logo on top.

A peek inside!
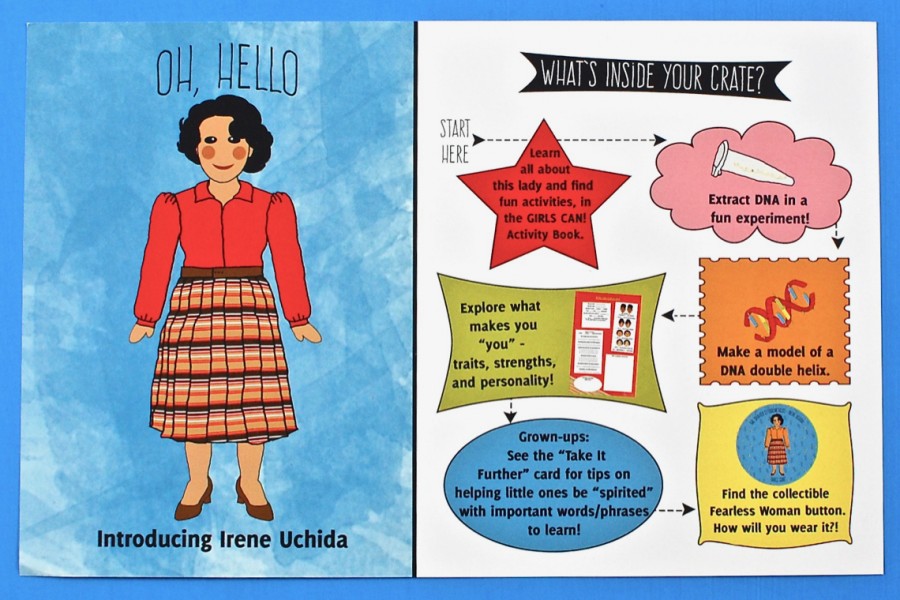

October’s featured “fearless woman” was Dr. Irene Uchida, a spirited cytogeneticist who discovered the link between women who received X-rays during pregnancy and their increased chance of having a baby born with Down Syndrome. An information card listed all of the activities in the crate and the order in which they should be completed. The reverse side included tips for parents on how to help their own children to become as unapologetically determined and opinionated as Irene.
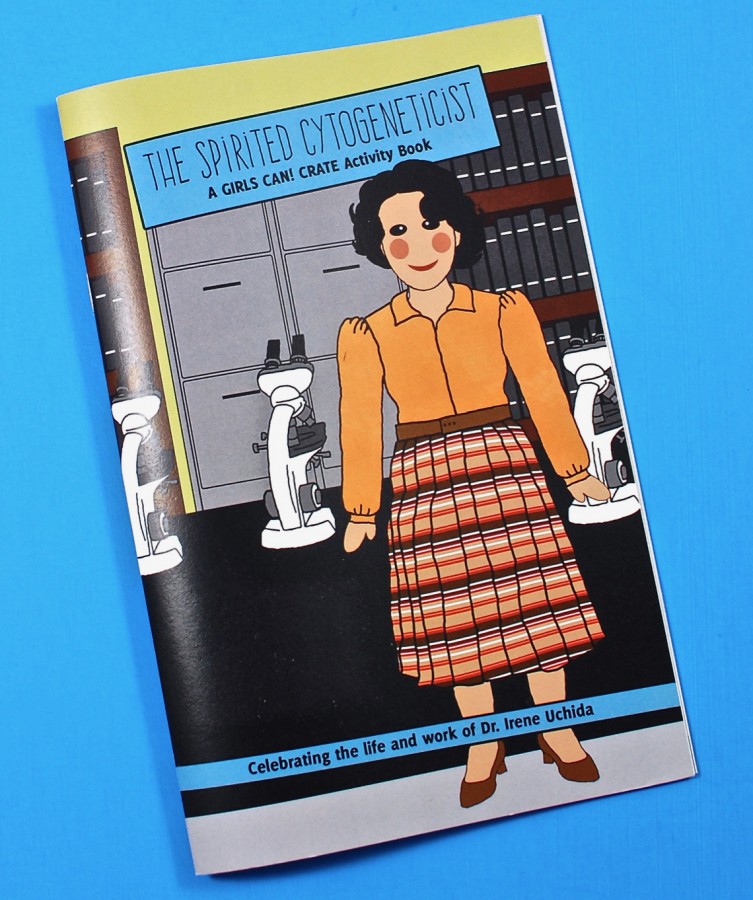


Activity Book
A 20-page, full color activity book included the story of Irene Uchida and how her work in genetics helped us learn more about the causes of Down Syndrome. It also included puzzles, games, experiments, and more. All of the activity instructions were printed in the booklet as well.


Activity #1: Extract DNA
The first activity had us extracting DNA from strawberries, as well as our own saliva. Materials provided were a bag of strawberry fruit crisps, a ziplock bag, wooden stir stick, salt, a strainer bag, rubbing alcohol, a centrifuge, and ribbon. Materials needed from home were water, a clear cup, and dish soap.
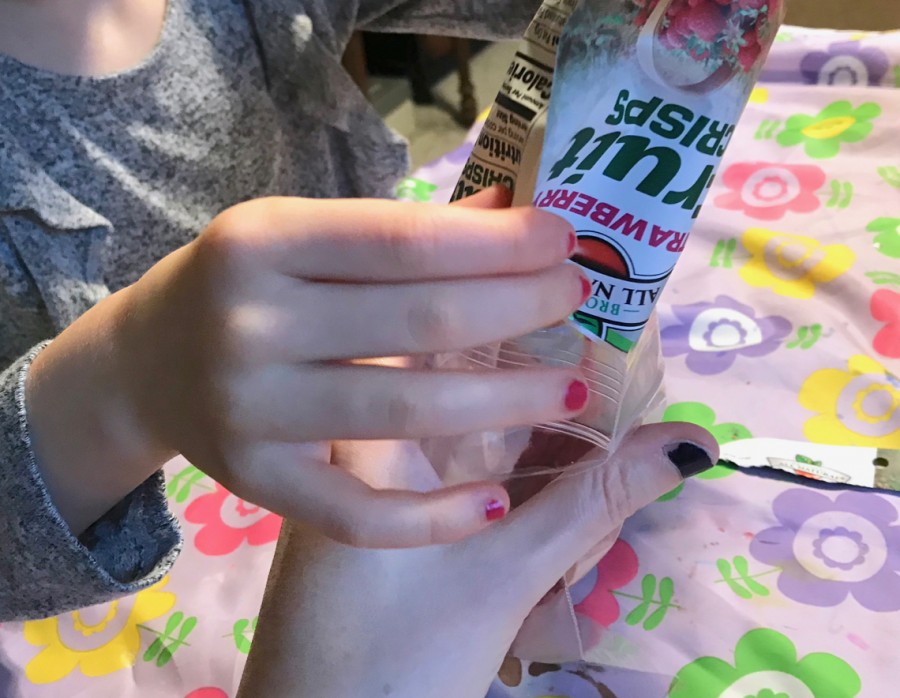
First, we had to empty the package of strawberry fruit crisps into the provided ziplock bag.
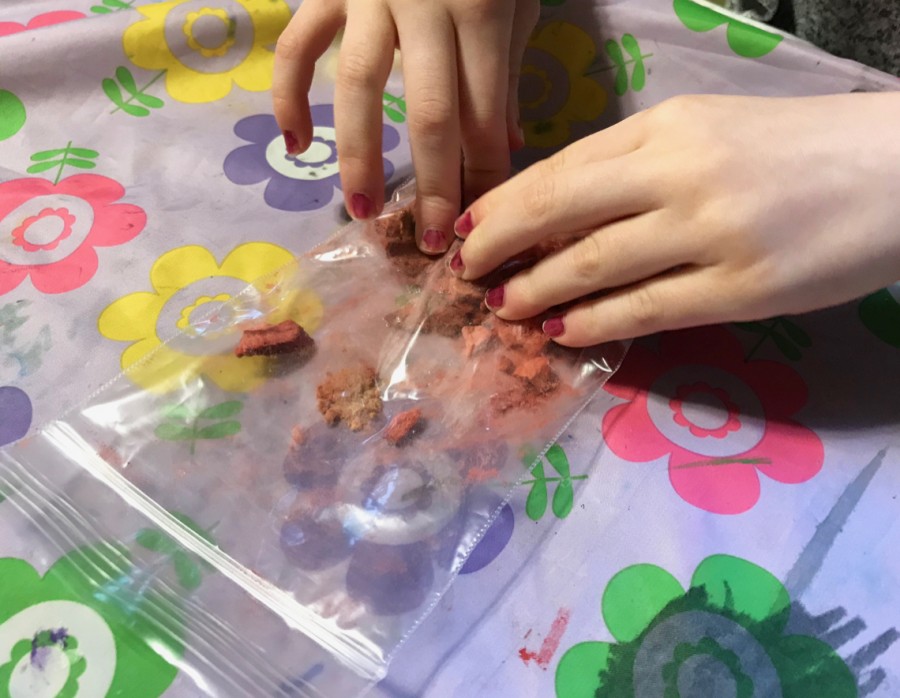
Next, we sealed the bag and crushed the strawberries inside until no large pieces were remaining. (The girls were a little too aggressive with the crushing, which led to us needing a replacement bag. 😉 )
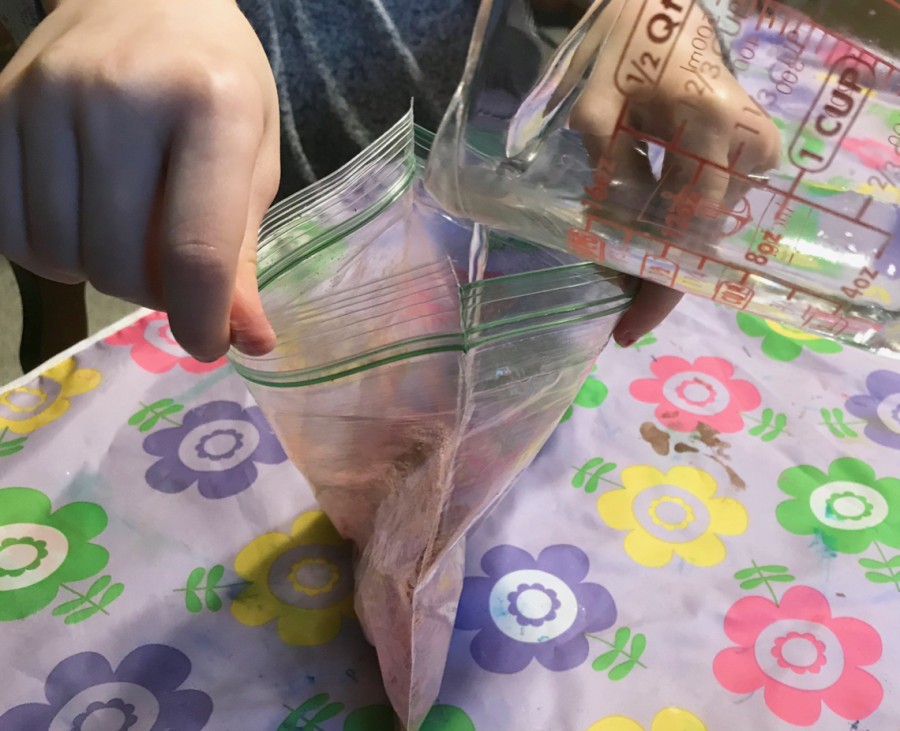
Once sufficiently crushed, we added 1/4 cup of water to the bag and sealed it closed.
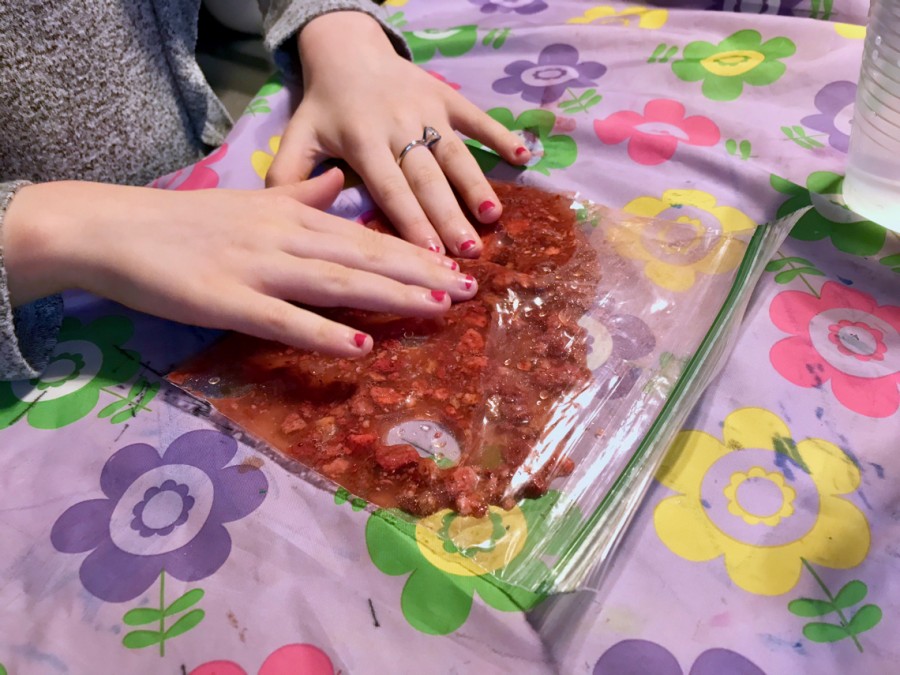
After adding the water, we needed to gently squish it into the strawberries.

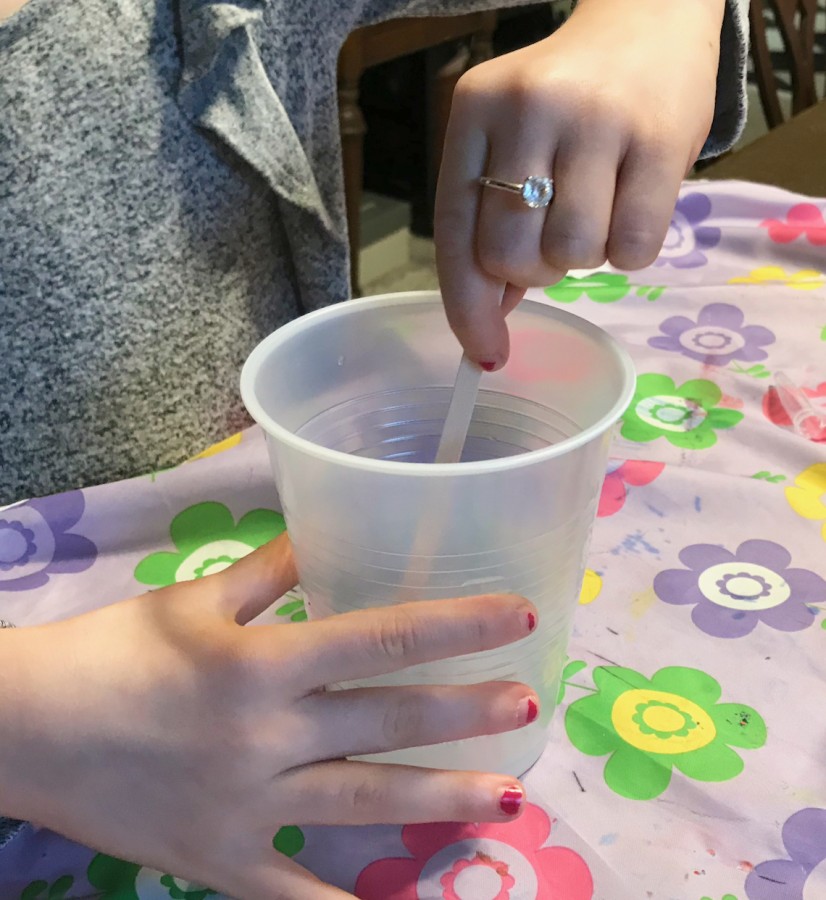
Using a clear cup from home, we created an “extraction solution” using 1/3 cup water, 2 teaspoons of dish soap, and 2 salt packets.
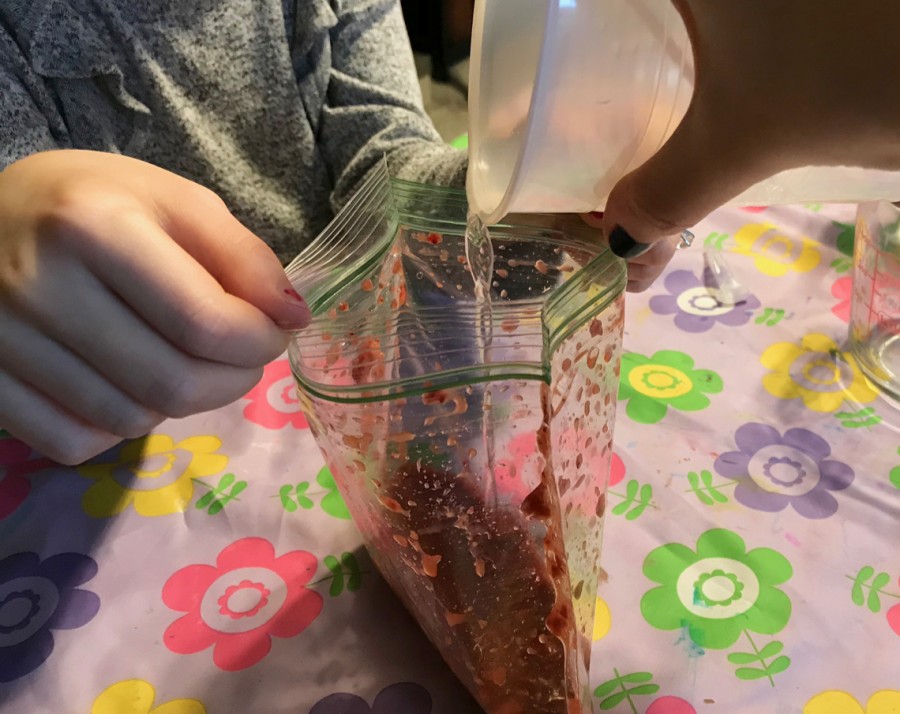
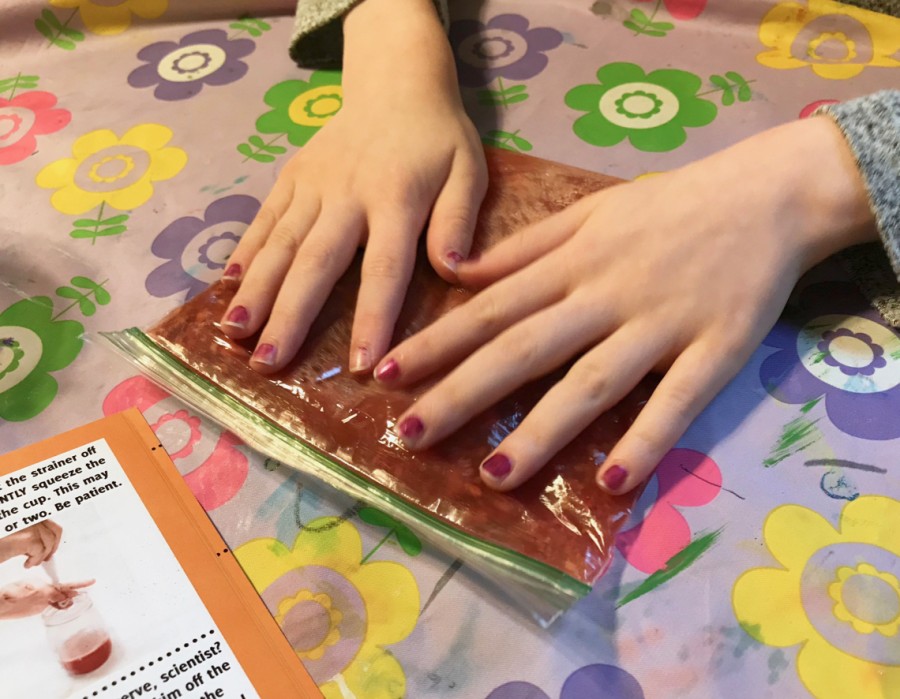
The extraction solution was then poured into our bag of soggy strawberries, which we resealed once again to smush the solution into the berries.
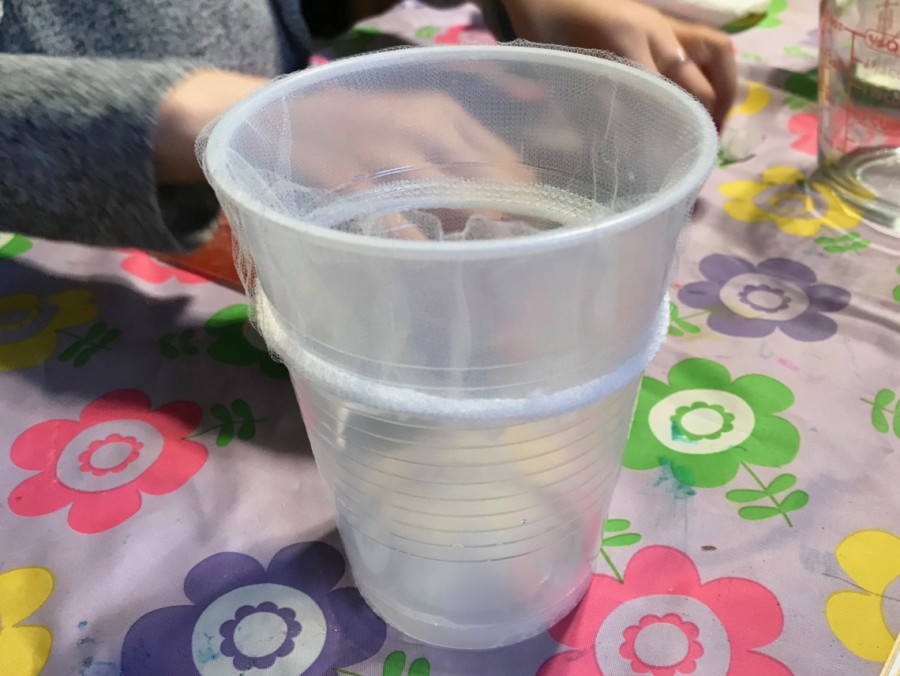
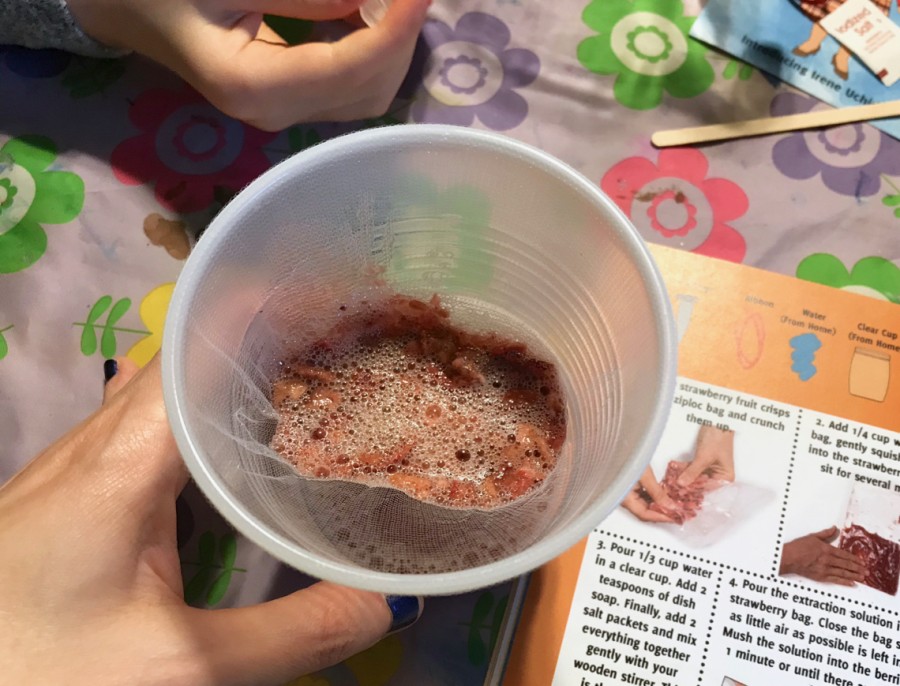
Next, we had to strain the mixture by placing the included strainer bag over an empty cup and pouring the bag’s contents inside.
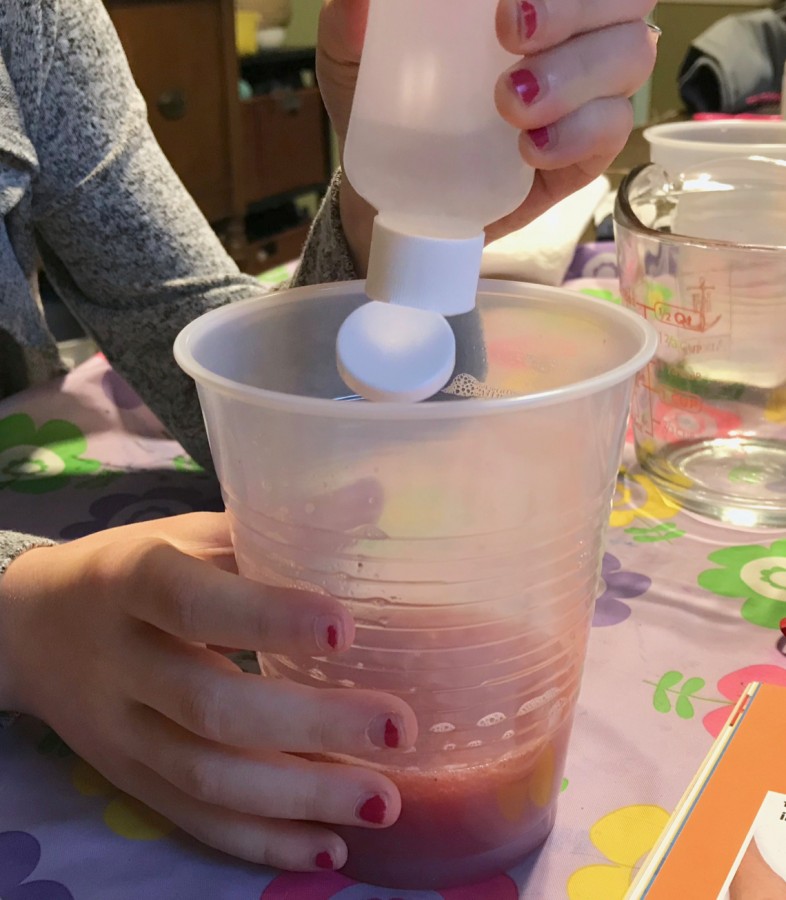
After squeezing out and removing the strainer bag, we poured an ounce (half the bottle) of rubbing alcohol into the cup.

We let the mixture sit for 1 minute and watched as a white film developed on the surface.
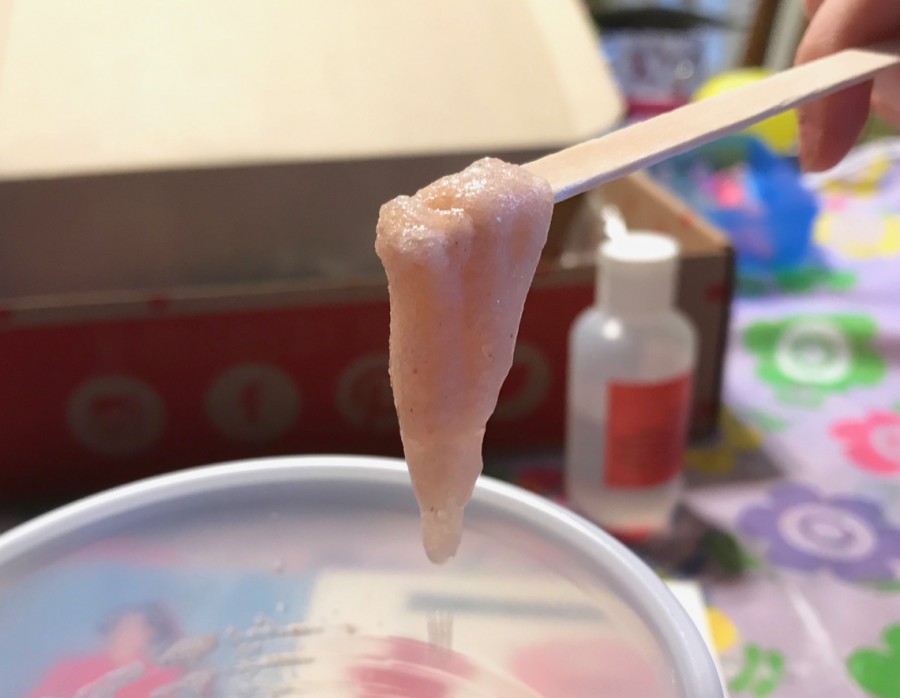
We used a wooden stirrer to pick up some of the film, which is actually the strawberry DNA!
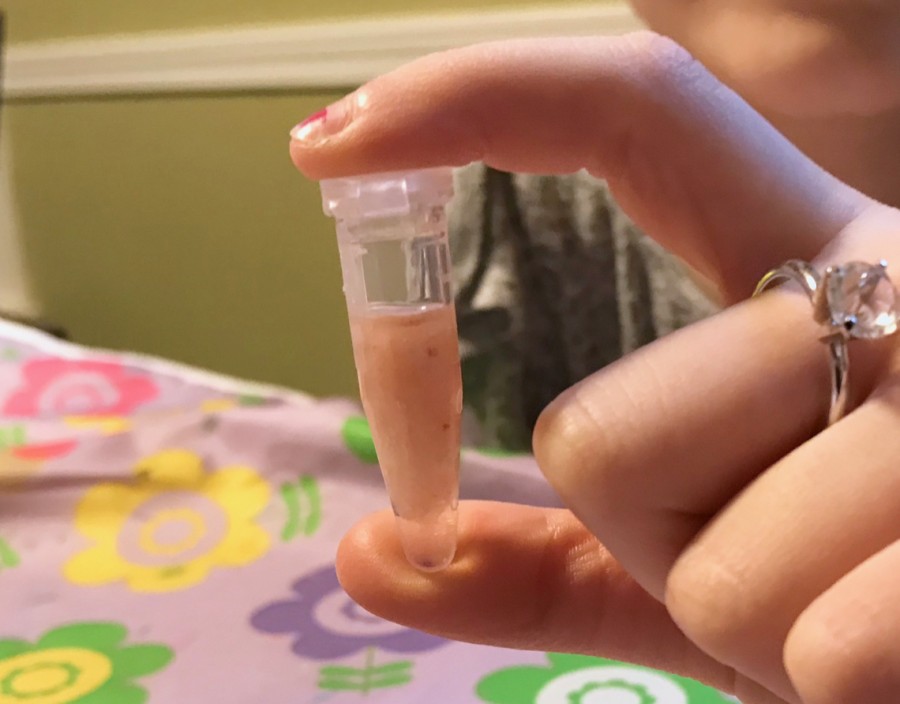
After playing with the “slime” a bit, we carefully slid some into the provided centrifuge to examine even closer. So neat! (And a little gross. 😉 )
There were also instructions for extracting our own DNA with our saliva, but it involved swishing/gargling a salt solution which both of my kiddos had zero interest in doing. Ah well. I did use the topic to explain how we had their DNA tested when they were toddlers to see whether they were identical or fraternal twins. They thought it was cool that they both share the same DNA (identical twins!).

Activity #2: Sweet DNA Model
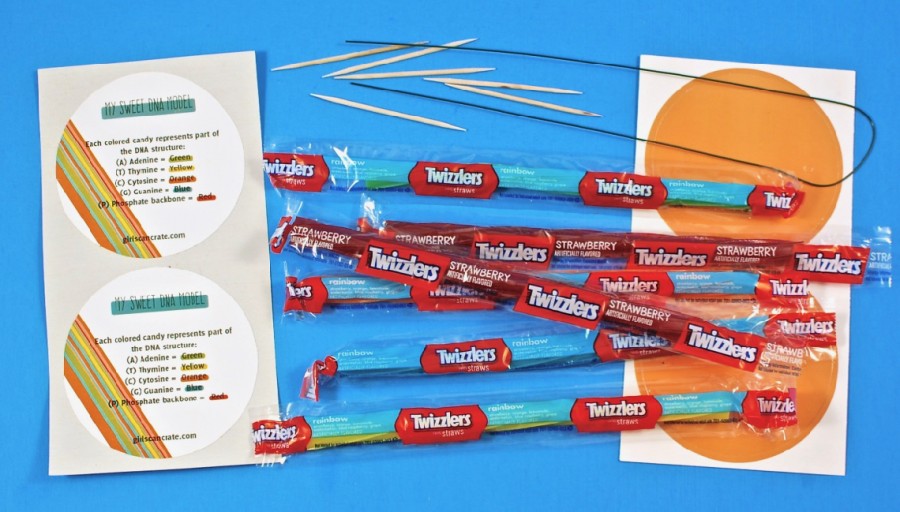
The second activity was to build our own DNA model using colored licorice pieces. Materials included 2 orange circles, 2 circle stickers, 6 licorice pieces, 6 toothpicks, and 1 piece of wire.

The first step was to slide the long piece of wire through one of the orange circles so that each side was an even length.
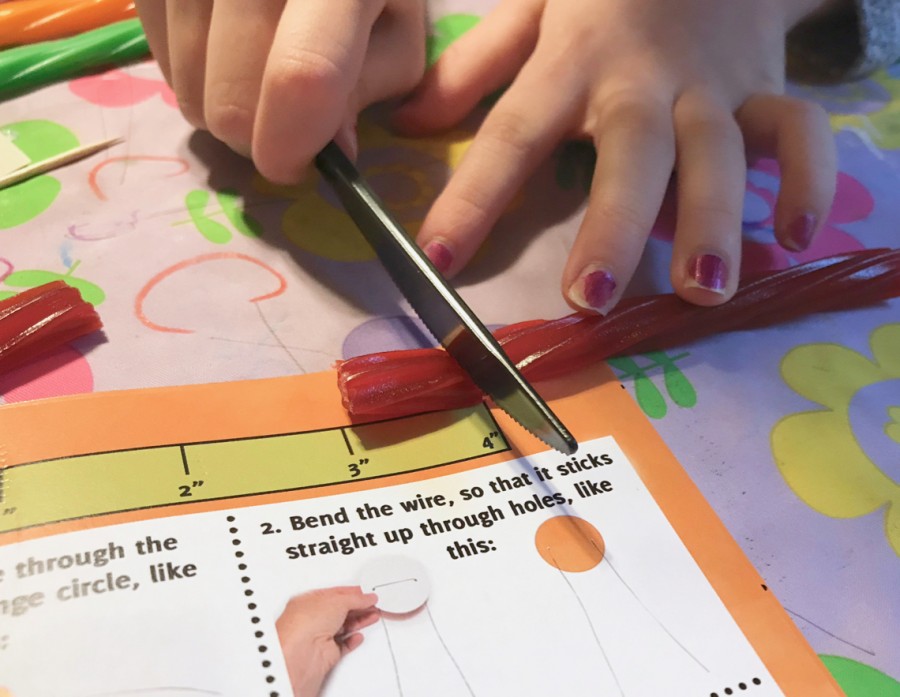
Next, we were to cut 1-inch pieces of red licorice using the ruler printed on the page above. We needed 12 pieces in all.

We then slid 6 pieces of licorice down onto each side of the wire.
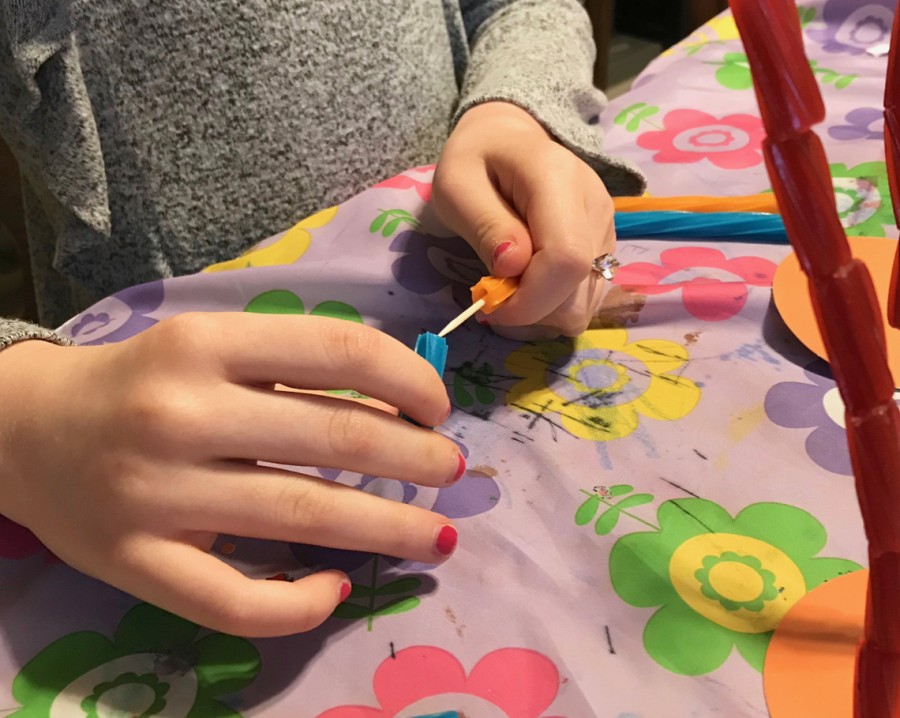
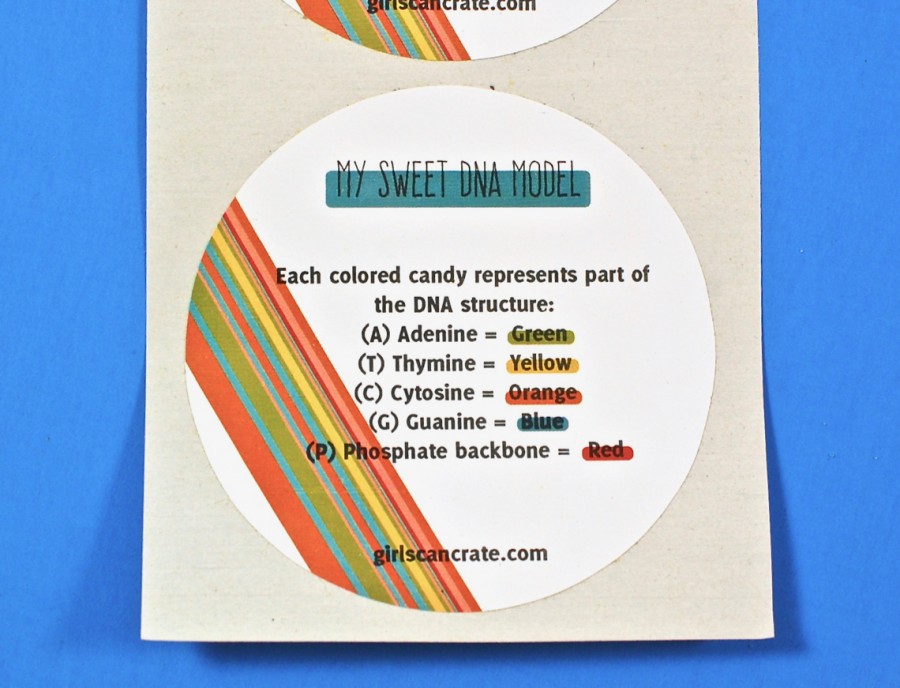
After cutting 3 1-inch pieces from the blue, green, yellow, and orange licorice, we made 3 pairs of licorice segments by combining 1 orange & 1 blue piece onto a toothpick. We repeated the process using 1 yellow & 1 green piece as well, until we had 6 pairs total.

We then took the pairs and stuck them inside the red licorice like rungs on a ladder.

Once all of the “rungs” were added, we slid the second orange circle down onto the open wire ends.

I twisted the wire ends together and a white sticker was placed onto each circle.

And with a careful twist, our DNA model was complete!

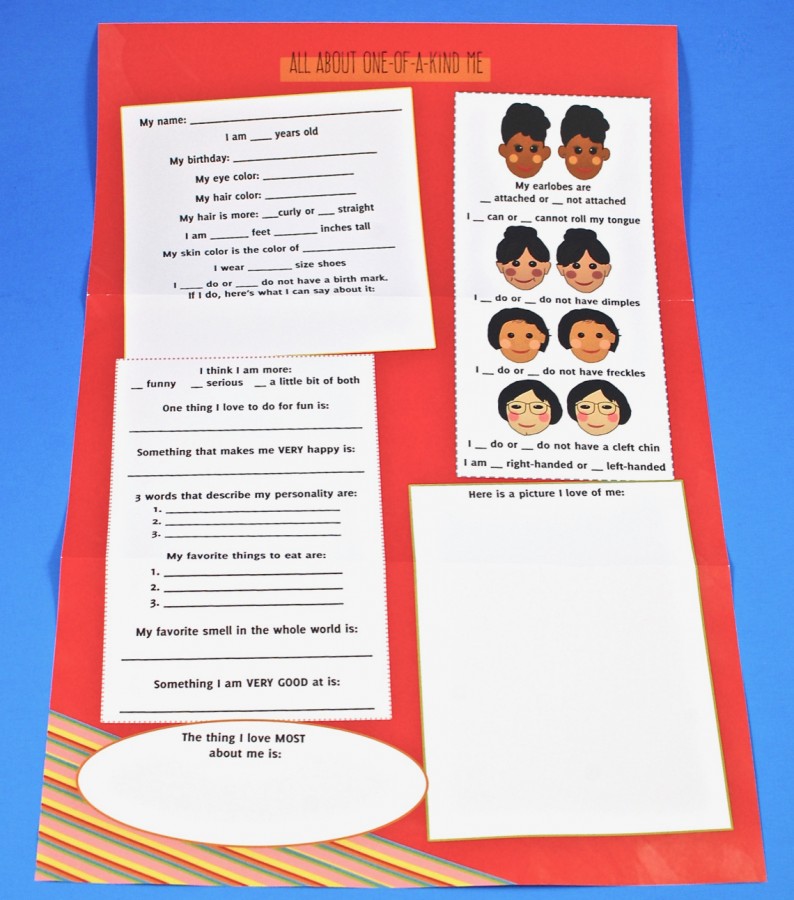


Bonus: All About Me Poster
October’s box also included a bonus activity which involved filling out and decorating the provided “All About Me” poster.

My daughter enjoyed filling it out, though we were sad not to have one for each kiddo. (Though they do sell sibling crates for that very purpose! 🙂 )
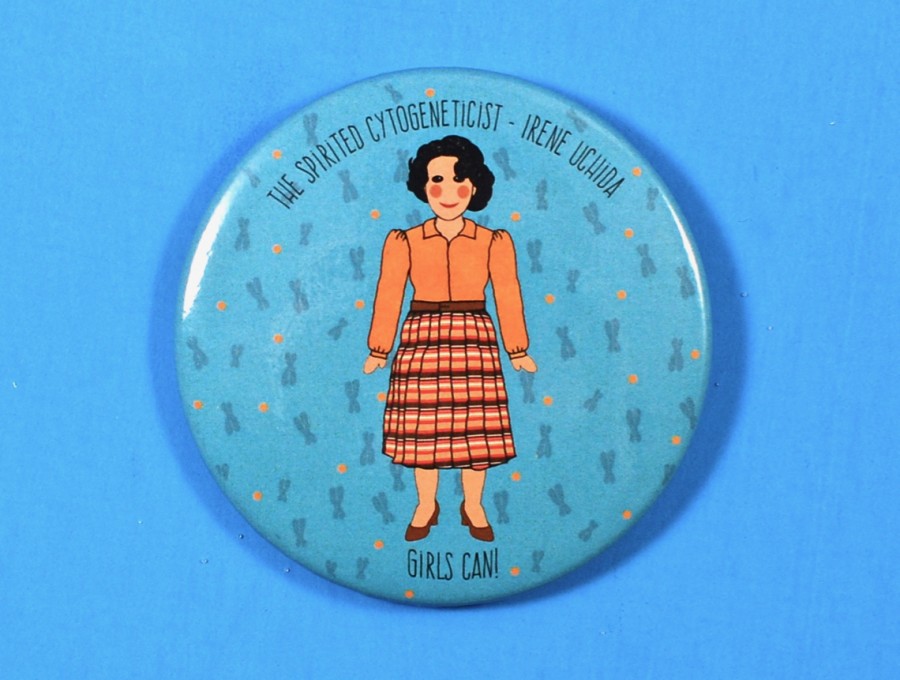
Once all of the activities were complete, we had officially earned our Irene Uchida collectible button. 🙂
October’s Girls Can! Crate provided an introduction to DNA that was great for my daughters’ age group. While they didn’t exactly grasp all of the concepts involved (they’re only 7), I think they understood the gist of it and have a better idea of what DNA is/can be used for. 🙂

Leave a Reply