Girls Can! Crate is a monthly subscription box that inspires girls ages 5-10 to believe they can be and do anything by introducing them to fearless women who made the world better.
Each box will include a 20-page activity book telling the featured woman’s unique story (as well as games, experiments, & more), 2-3 hands-on STEAM (science, technology, engineering, art, and math) activities related to her field, a creative play prop, a featured character trait that helped her succeed and 2-3 practical tips for parents to easily foster that trait, and more. The boxes are designed to encourage a love for STEAM, to foster creativity, curiosity, and support literacy development. With every box purchased, Girls Can! Crate donates 10% of the proceeds to nonprofit organizations working to empower women and girls.
Disclosure: I received this box for review purposes. I was not compensated in any way. All opinions are my own. Post may contain affiliate and/or referral links.
Subscriptions are $29.95/month or less with multi-month commitments. Shipping is free within the US. — For a limited time, you can save 20% on your first month with coupon code “WELCOME20“!
Let’s see what’s in our September 2021 Girls Can! Crate!

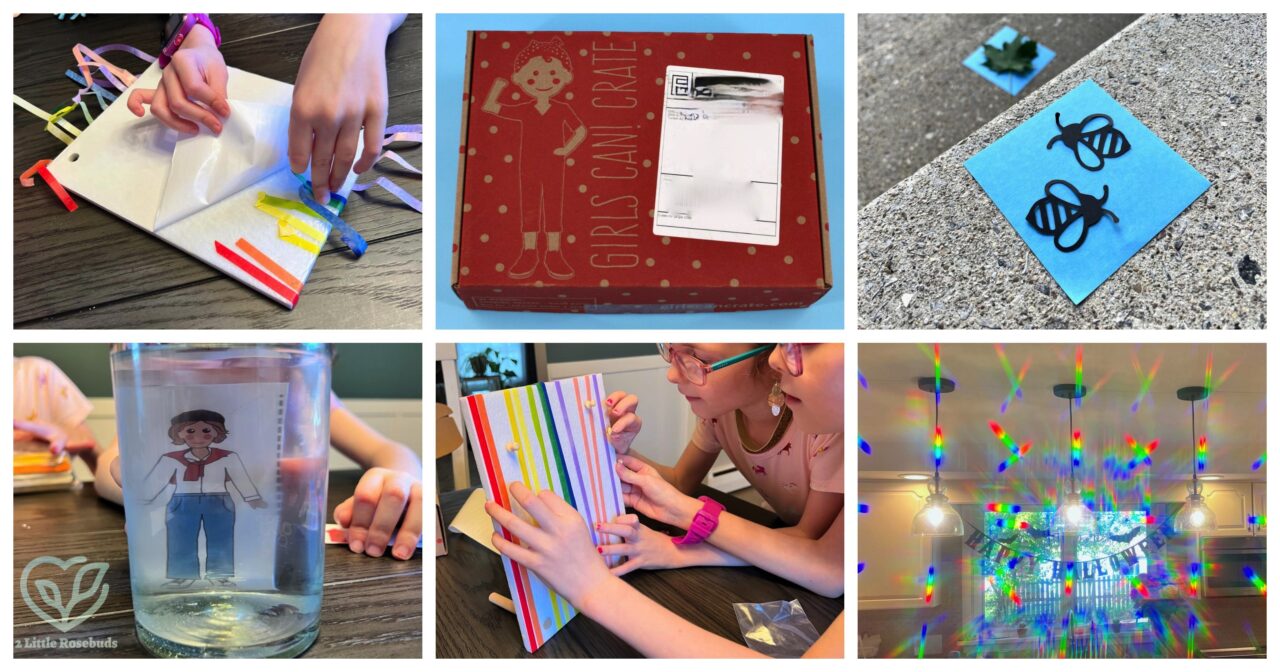
Everything was shipped in a bright red box with the Girls Can! Crate logo on top.

A peek inside!


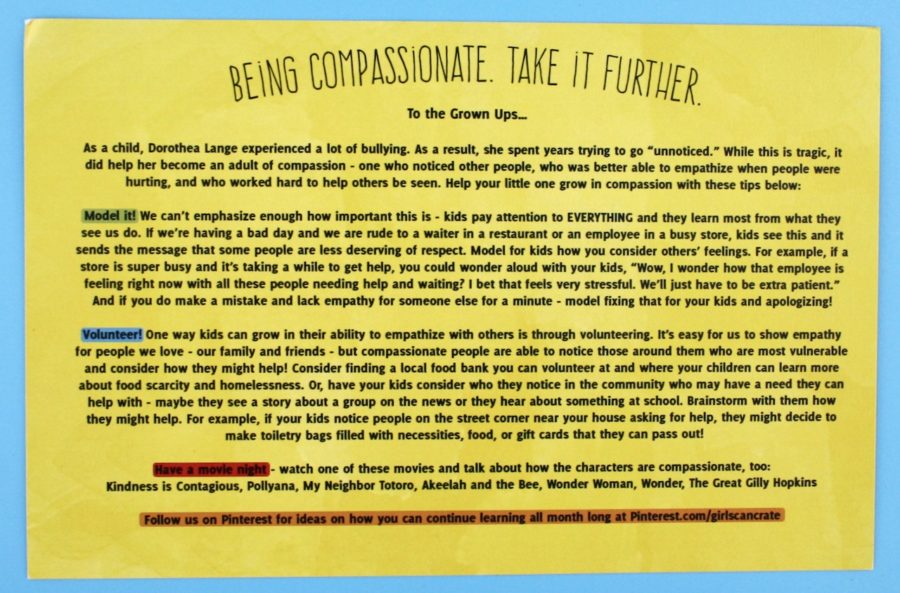
September’s featured “fearless woman” was Dorothea Lange — the compassionate photographer. An information card listed all of the activities in the crate and the order in which they should be completed. The reverse side included tips for parents to help encourage their children to grow in compassion and empathize with others just like Dorothea did through her photography.


Activity Book
A 20-page, full color activity book included the story of Dorothea Lange and how being bullied in her youth helped her become more compassionate and able to capture the struggles of others through her photographs (which were also included in the booklet). It also included puzzles, games, experiments, and more. All of the activity instructions were printed in the booklet as well.


Challenge #1: Experiment with Light and Refraction
The first activity involved experimenting with light and refraction. Materials included an image card and a pair of rainbow glasses.

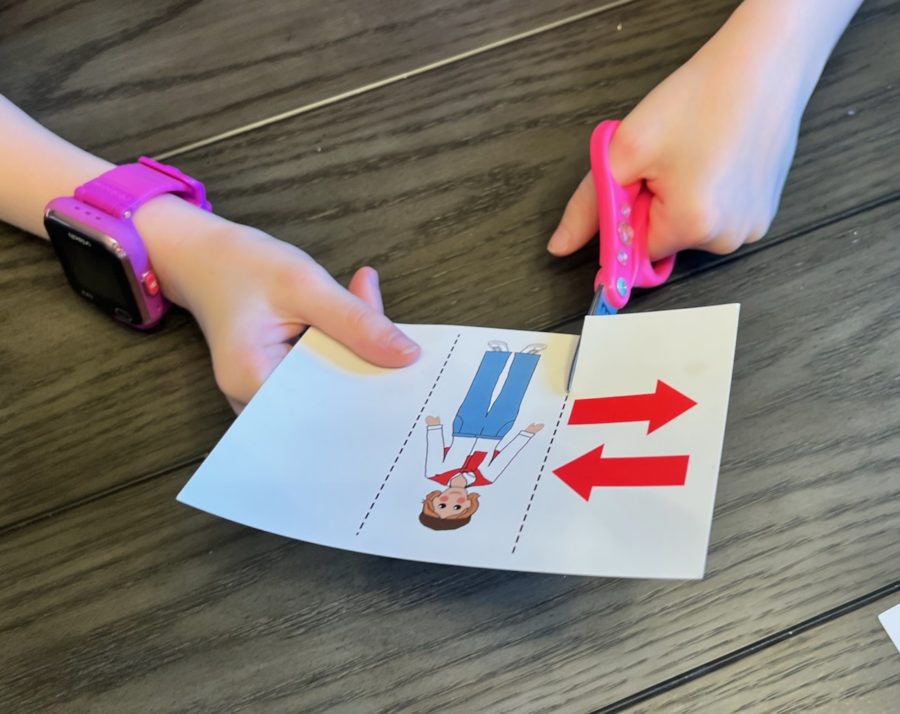
To begin, we cut our image card into three parts at the dotted lines.

Next, we simply held the cards (one at a time) behind a full glass of water to see how the image changed.

Thanks to the effects of refraction, our Dorothea card became distorted and she appeared larger through the glass.

A blank card was included to create our own image. My daughter went with a drawing of Ronnie (aka “Grunty”), her little cow Squishmallow.

She thought it was hilarious how Ronnie/Grunty looked chubbier behind the glass. 😉

Also included was a pair of “rainbow glasses”, which create a prism so you can see all of the different colors that make up white light. The photo above shows a view of our kitchen lights/window without the glasses…

…and here’s the same view with the glasses (placed in front of my camera). How cool is that?!


Challenge #2: Creating Photographs
The second activity had us learning about negatives by creating photographs with sunprint paper. Materials included a packet of twelve cyanotypes/sunprint papers.

First, we had to gather a couple flat objects to use for our prints. (We used paper bee confetti and a leaf.) We then needed to go into a dark room to remove two sheets of cyanotype papers from the packet and place the objects on top.

After carefully carrying them outside, we placed the objects/paper in the sun.

After about 5 minutes in direct sunlight, the papers turned white and were ready to bring back inside.

After bringing them in, the papers were rinsed with cold water for about one minute and placed on a paper towel to dry. Although they did produce images, they were a bit blurry/distorted due to the fact that I originally placed them in a spot that ended up casting shadows on them and had to move them over to a sunnier spot halfway through the light activation process. Thankfully, we still have 10 more sheets to practice with. 😉


Challenge #3: Create a Photo Display
The final activity was to create a felt board photo display. Materials included 1 thick felt board, 1 thin felt board, 10 rolls of colorful washi tape, 2 wooden dowels, and 10 push pins.

We began by positioning strips of the washi tape over the thicker felt board, leaving at least an inch of tape hanging over the edges.

The washi tape wasn’t designed to stick well to felt, so we had to be careful not to move the strips out of place.

Once her design was complete, my daughter carefully flipped the board over and started to peel off the backing to reveal the sticky surface below. This allowed her to fold the access parts of the tape over onto the adhesive to hold them in place.

After folding/securing all of the strips, she then placed the second thinner sheet of felt onto the original sheet to cover the sticky side and hold everything together.


Next, she slid both of the wooden dowels into the pre-made holes on the board. These would serve as a stand to allow the board to be propped up for display.

All done!

Both girls then insisted on sticking all of the push pins into the board so it would be ready for photos. 🙂

With all of the activities complete, we had officially earned our Dorothea Lange collectible button.
My girls both LOVE taking photos, so the September 2021 Girls Can! Crate box was a lot of fun for them. They enjoyed learning about Dorothea and the photos featured in the booklet prompted good conversations about homelessness and unfair treatment of others. The projects were fun to complete and they love their new photo board. 🙂 — Remember for a limited time, you can save 20% on your first month with coupon code “WELCOME20“!


Leave a Reply