Green Kid Crafts is a children’s subscription box that delivers educational, do-it-yourself STEAM projects sent to your door every month — using only sustainable materials.
Each box features a different theme and provides all the hands-on materials needed to inspire creative and educational fun. You’ll receive up to 6 individually packaged STEAM (science, technology, engineering, arts, and math) kits developed using eco-friendly materials. Boxes will also include a 10-page STEAM magazine/activity book relating to the current month’s theme.
Disclosure: Box was received for review purposes. Post may contain affiliate links.
Green Kid Crafts offers two different age-based subscriptions: Discovery Box (for children ages 5-10+) and Junior Discovery Box (for children ages 2-4), as well as Sibling Boxes (two sets of each project kit).
Subscriptions are $19.95/month, or less with multi-month commitments. (Sibling Boxes start at $37.95/month.) — For a limited time, you can save $5 on your first box with coupon code “CRATEJOY5“!
Let’s see what’s inside my May 2019 Green Kid Crafts Box!
Everything was shipped in a green and white box with the Green Kid Crafts logo on top.
A peek inside!
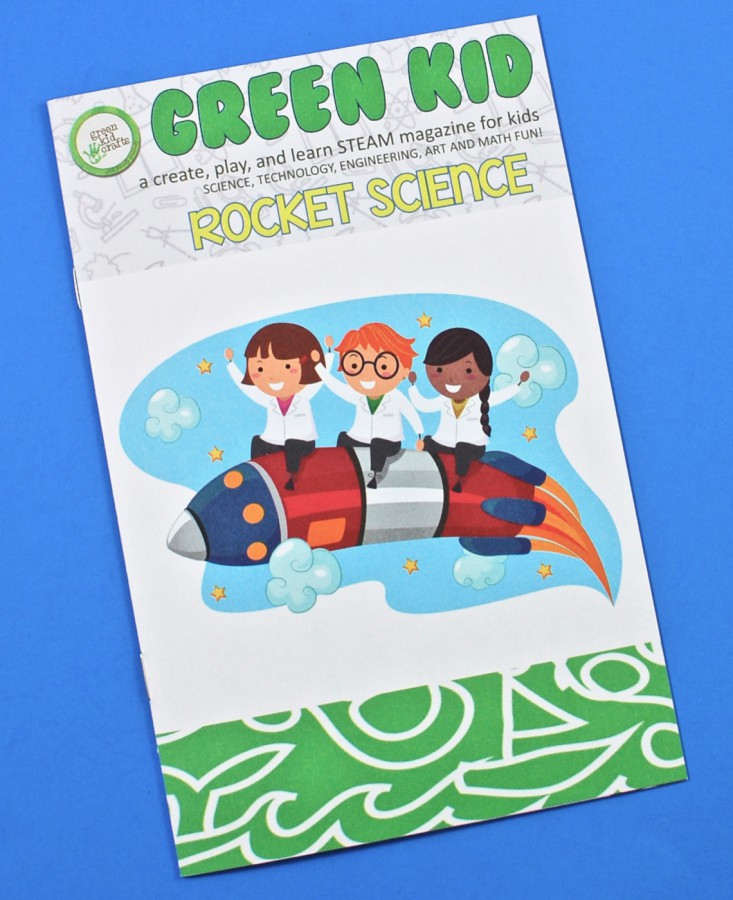
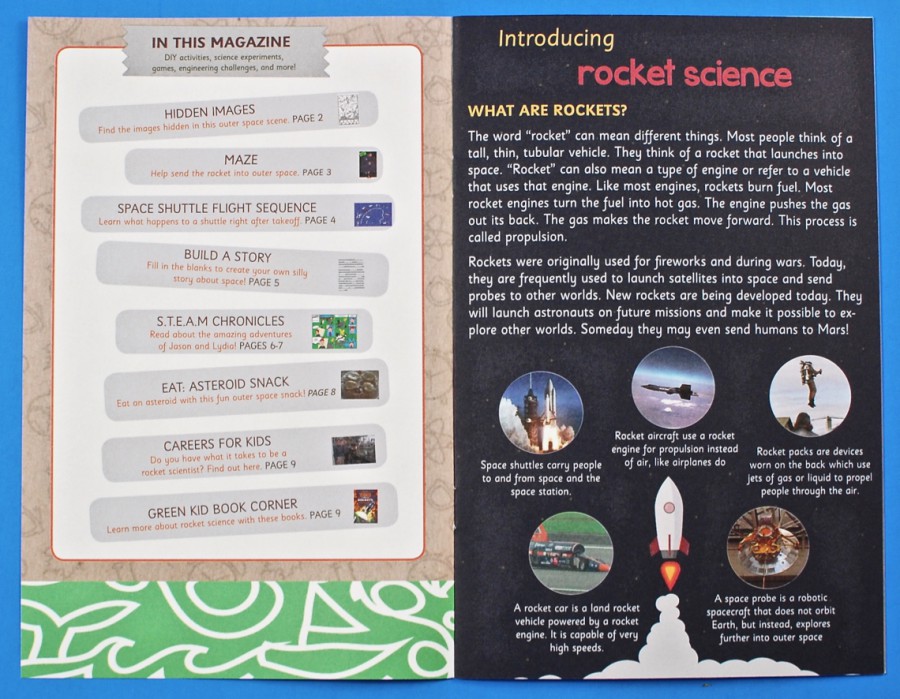
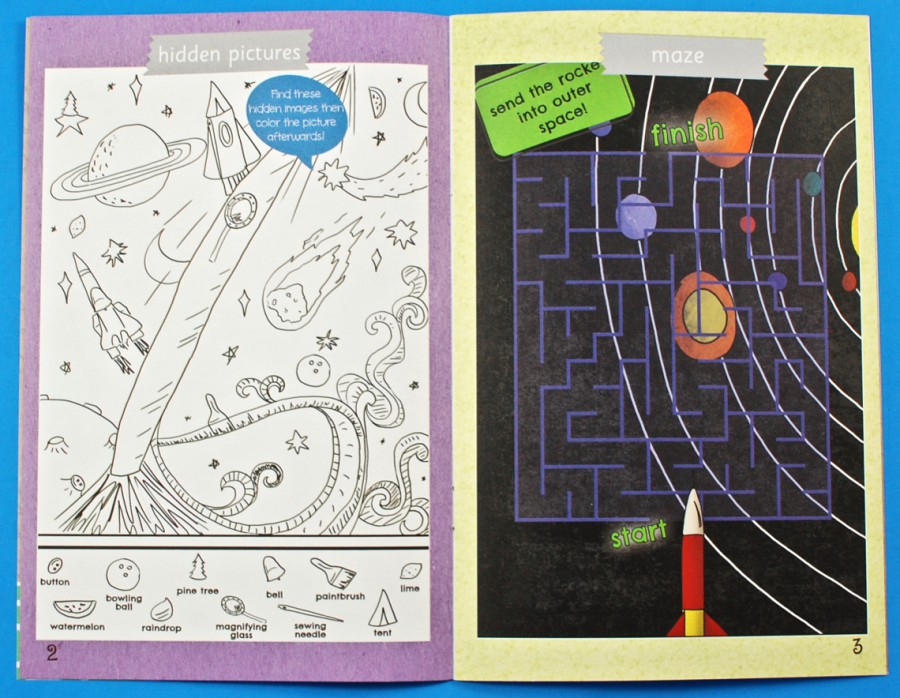
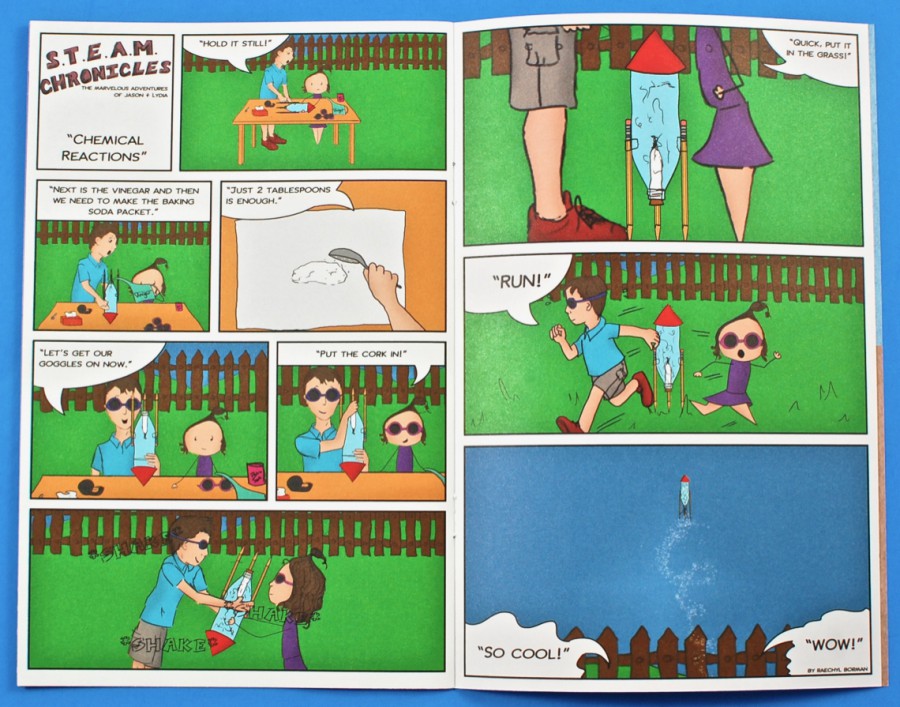
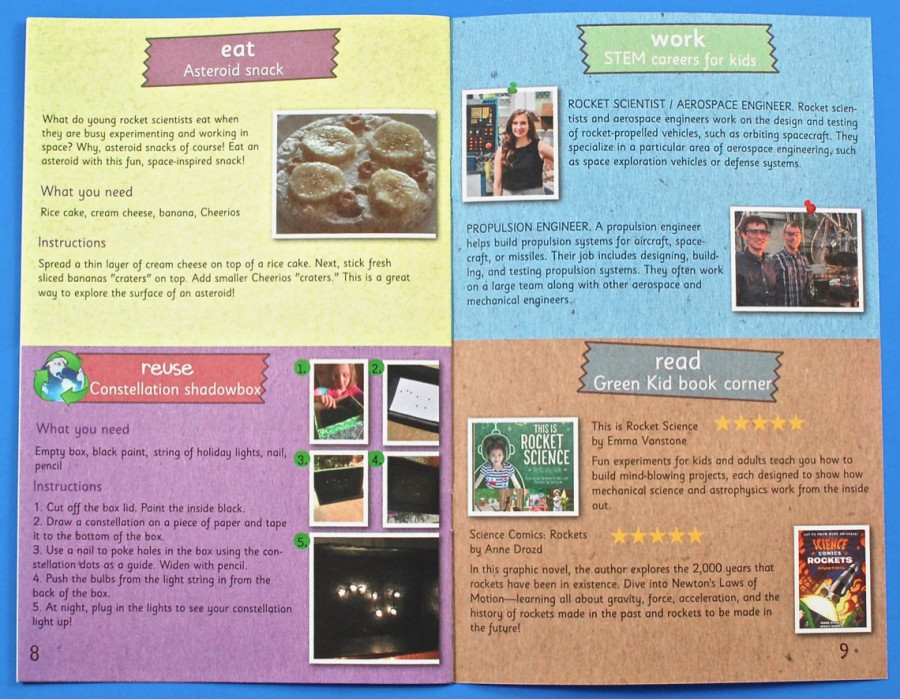
Green Kid STEAM Magazine
The 10-page STEAM magazine revealed this month’s theme — Rocket Science! Inside were games, DIY activity ideas, science experiments, comics, and more.
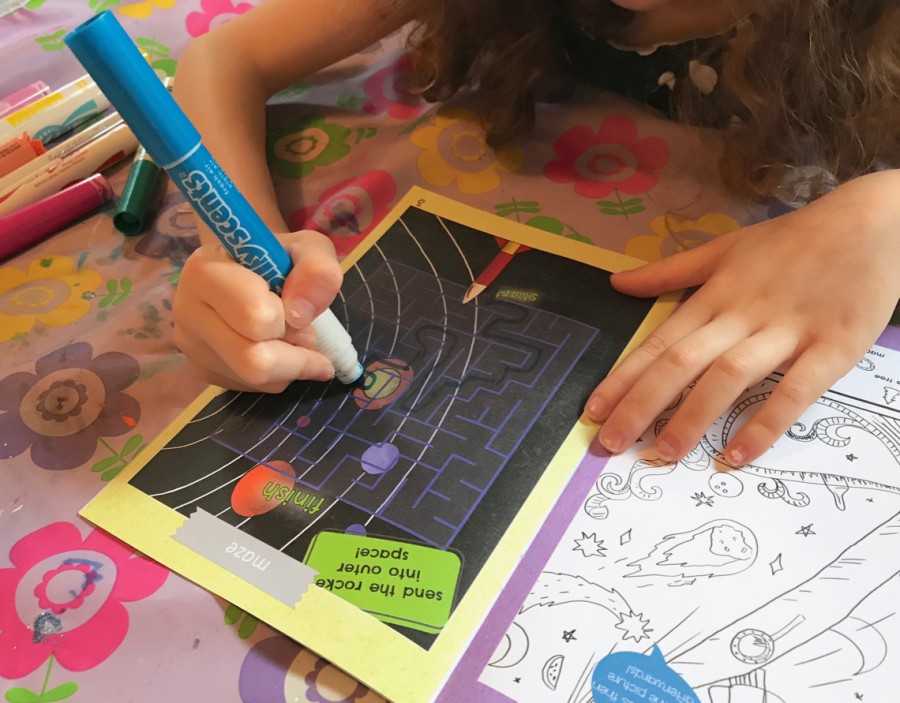
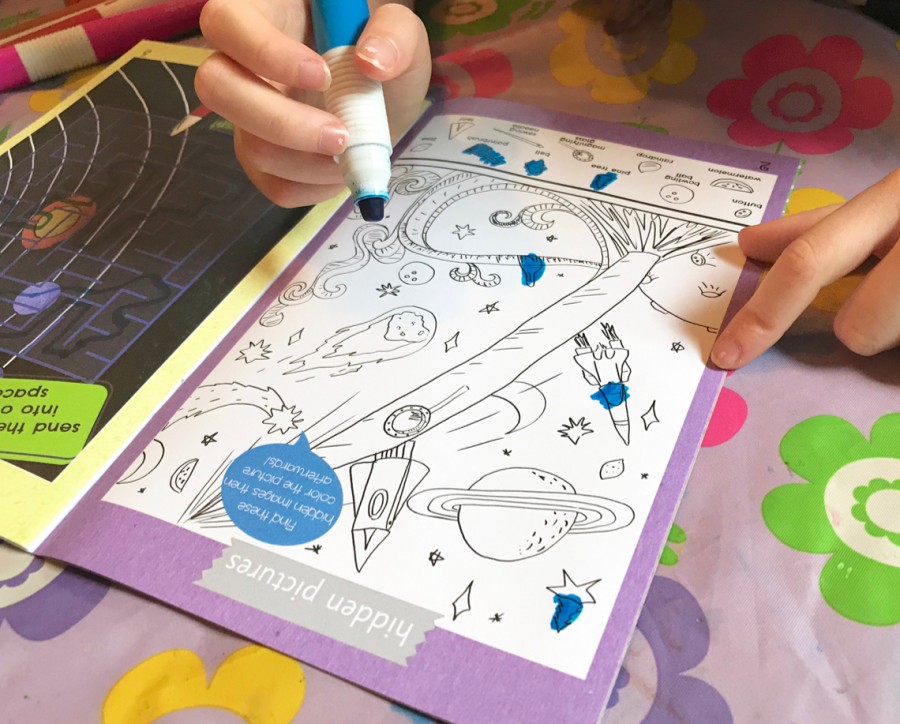
Mazes and hidden pictures are favorites these days.
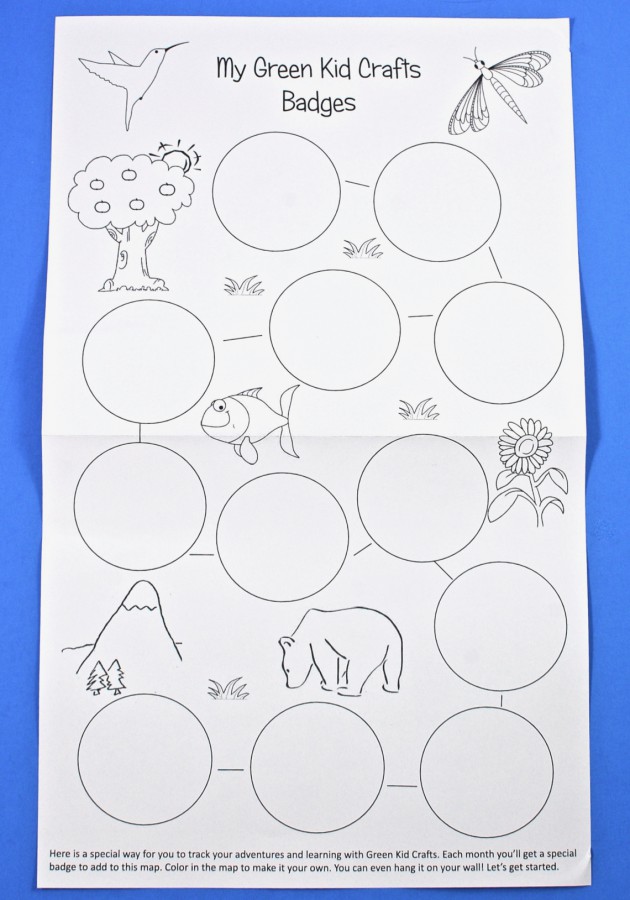
Badge Map
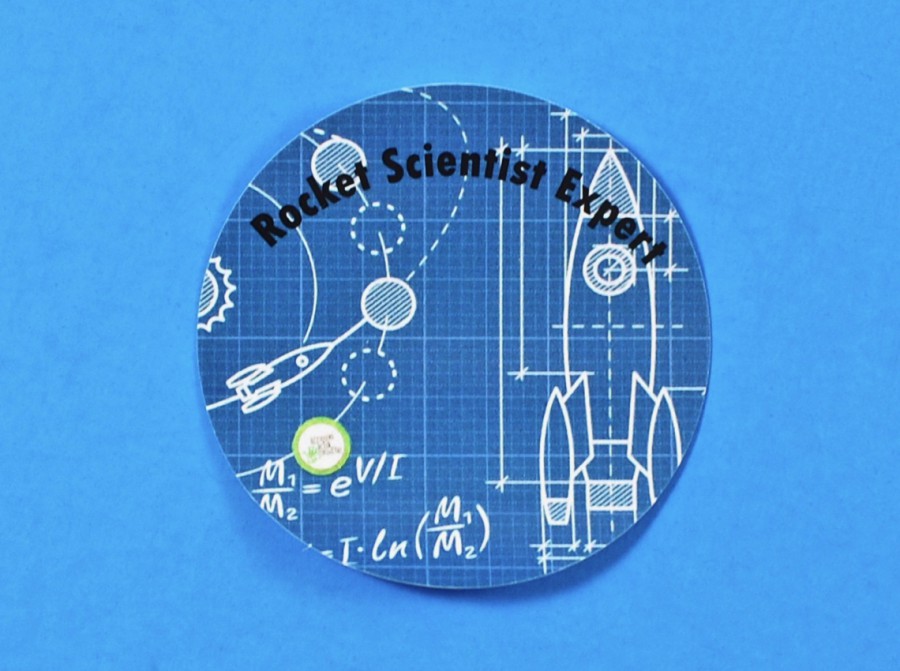
Each box will come with a different badge (sticker) associated with that month’s theme. A badge map was provided to color in and collect all of the badges in one place.
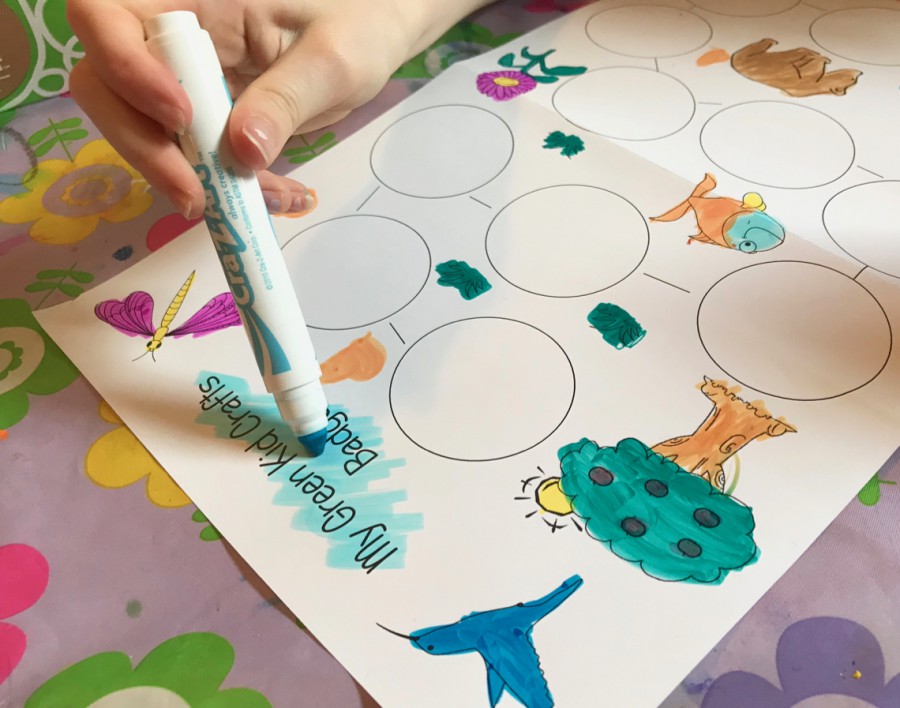
Making the map “pretty”.
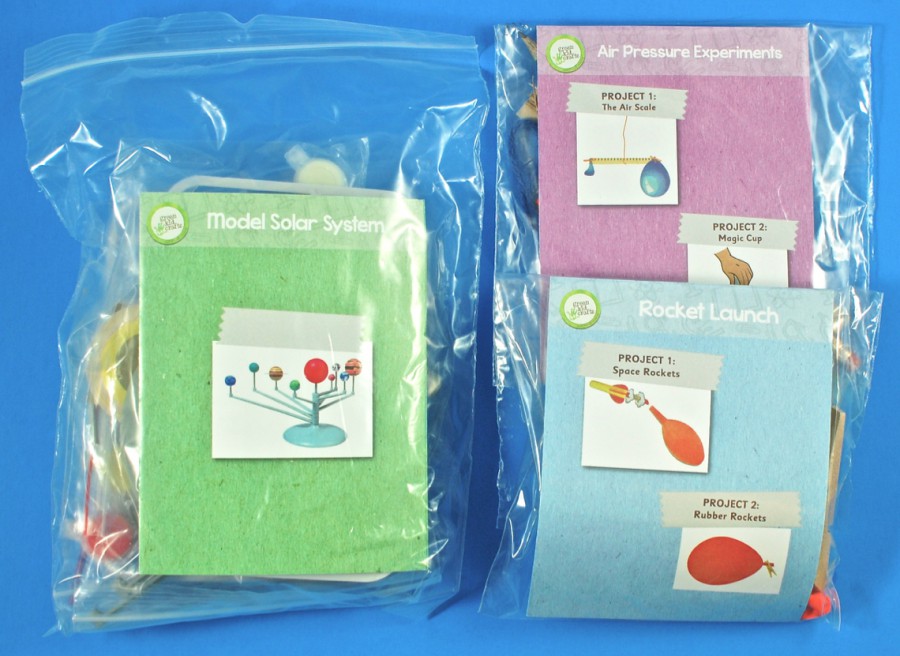
All of the projects were tucked into reusable/recyclable bags. May’s box included 5 projects in all.
Kit #1:
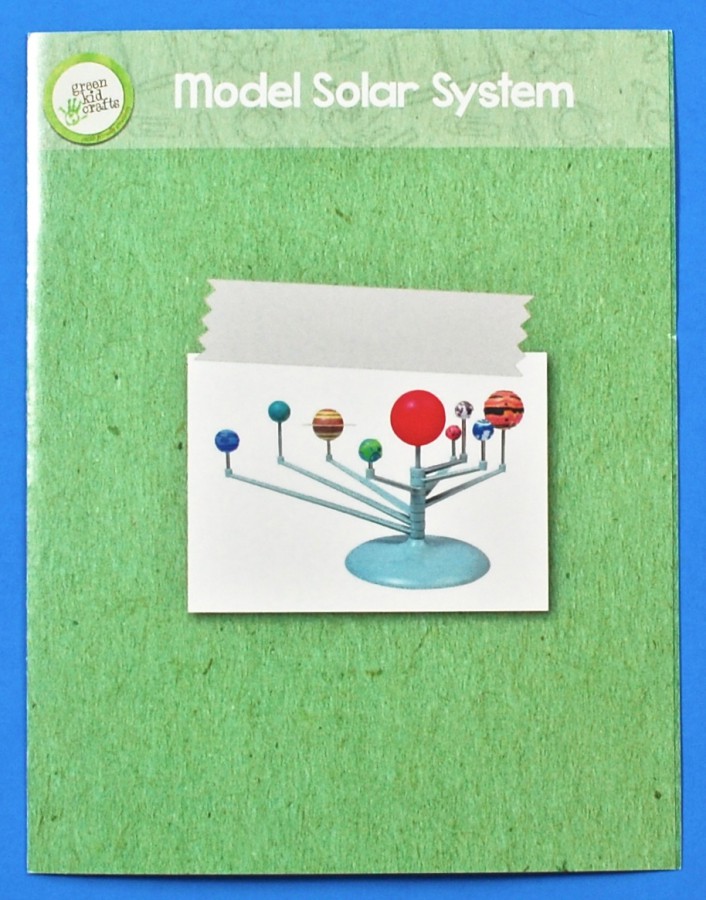
Model Solar System
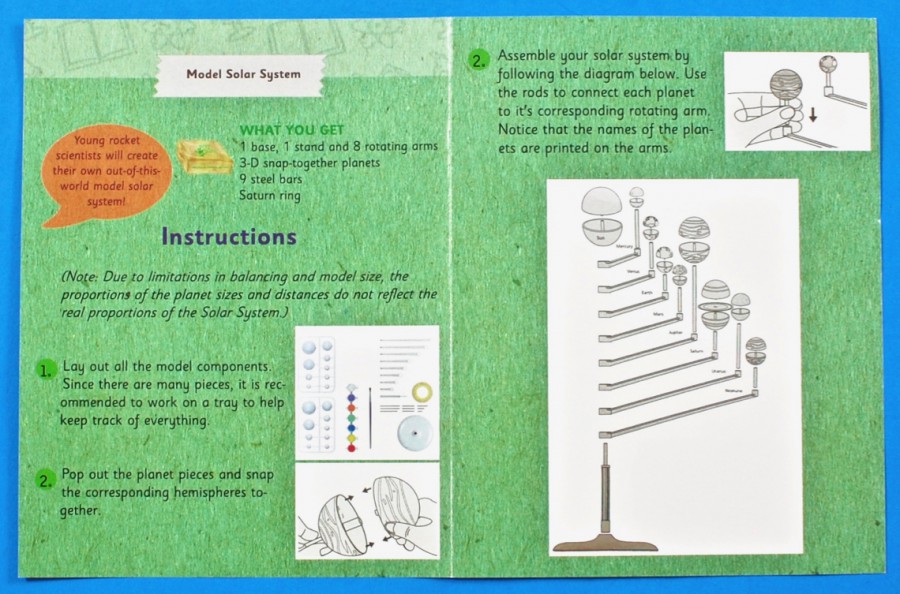
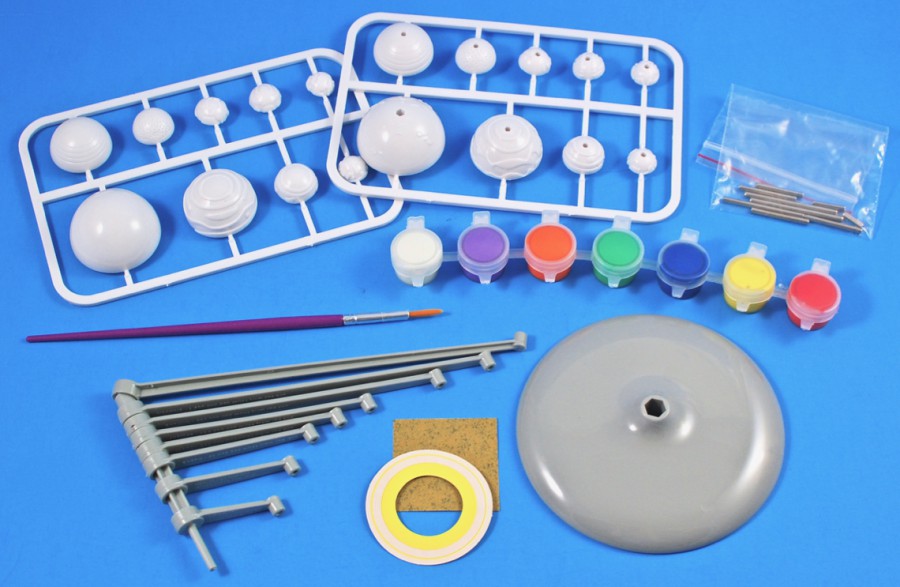
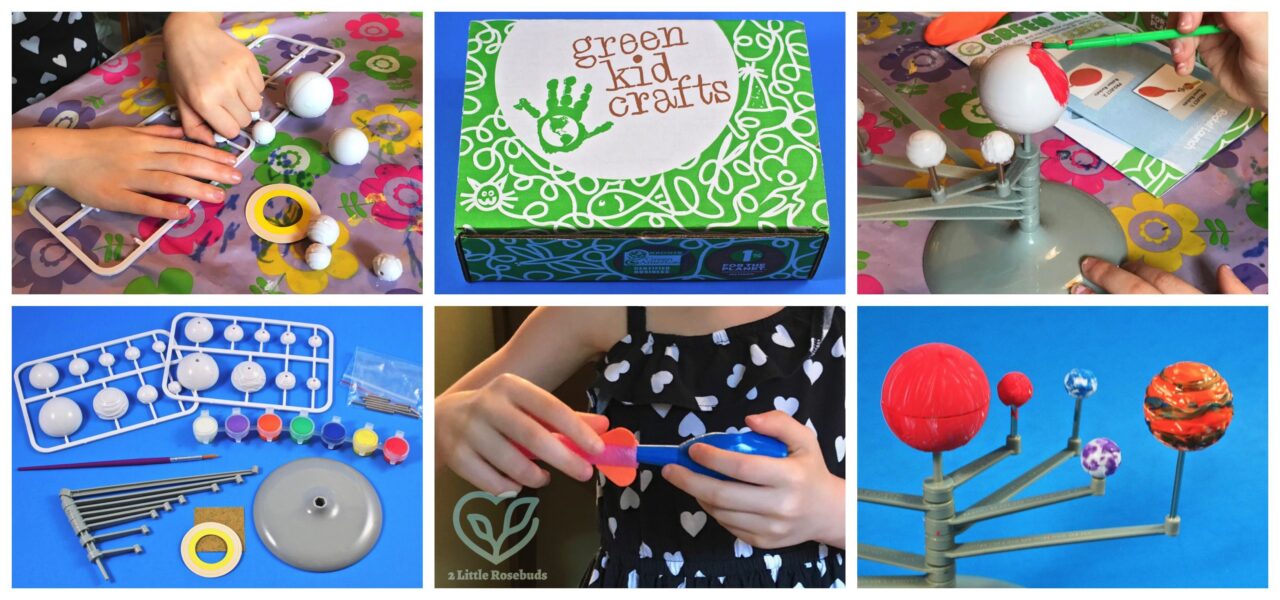
The first kit consisted of one project — a model solar system! Materials included 1 base, 1 stand, 8 rotating arms, 3D snap-together planets, 9 steel bars, 1 Saturn ring, 1 paint brush, and a paint set.
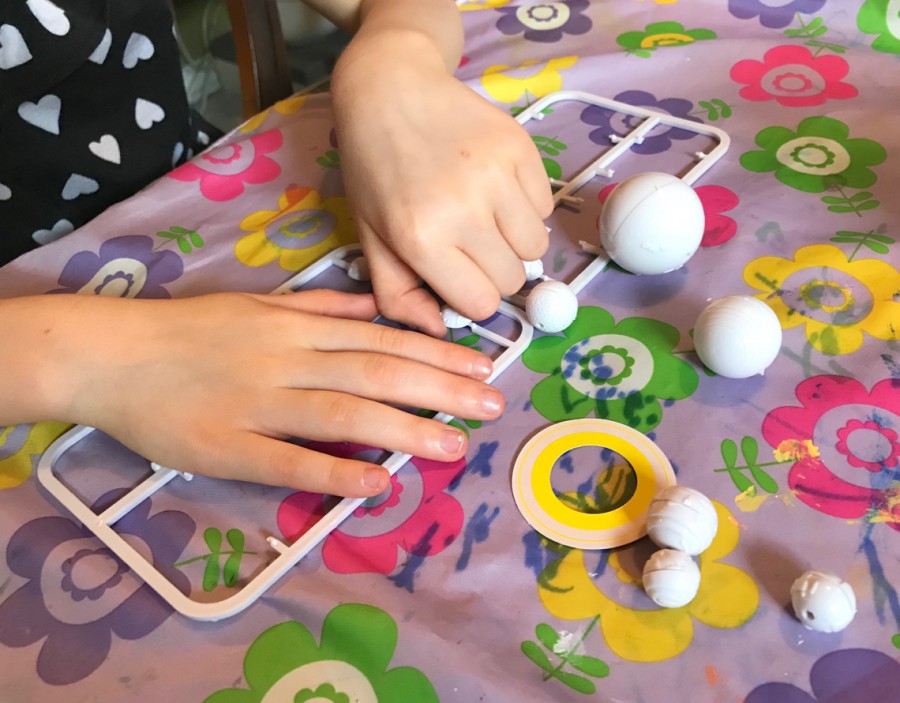
The first step was to pop out all of the planet pieces and snap the corresponding hemispheres together.
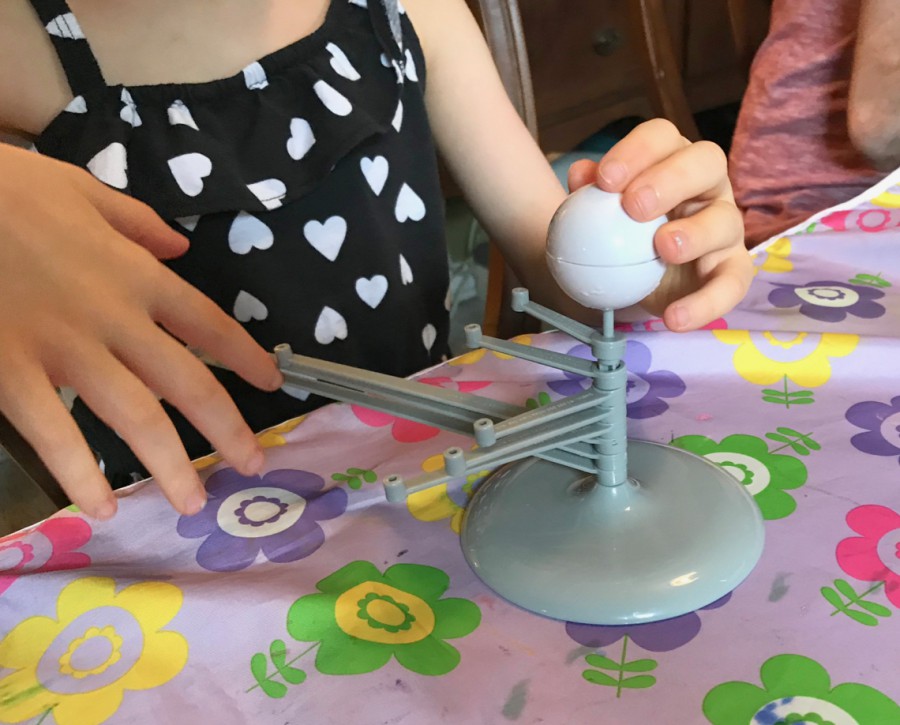
Once all of the planets were assembled, we placed each one in its proper spot on our solar system model using the little metal bars provided. It was a little difficult to tell exactly which planet went where based on the diagram in the booklet, so I’m not 100% sure we did it correctly — but close enough! 😉
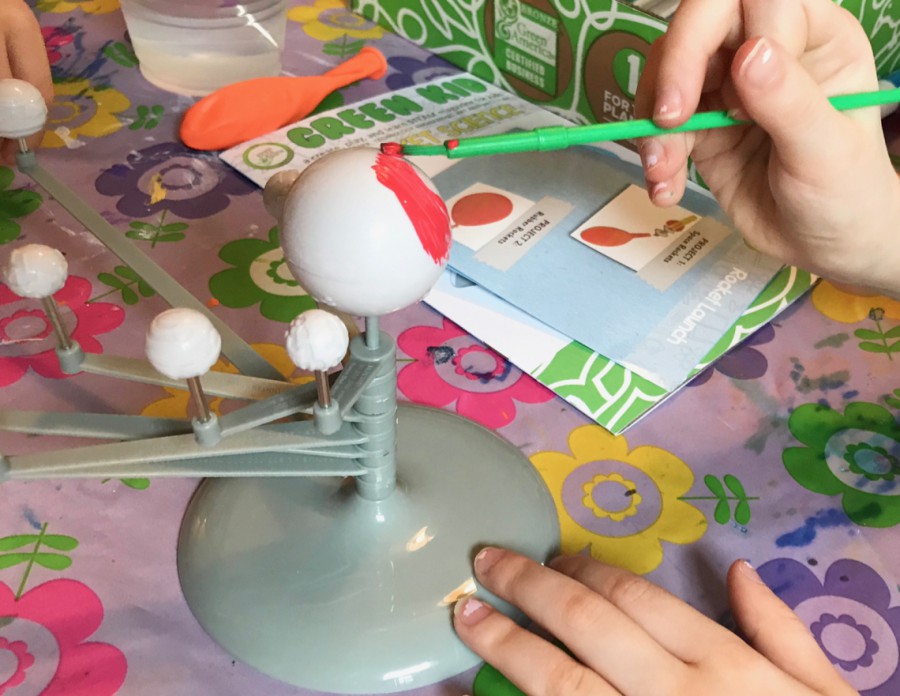
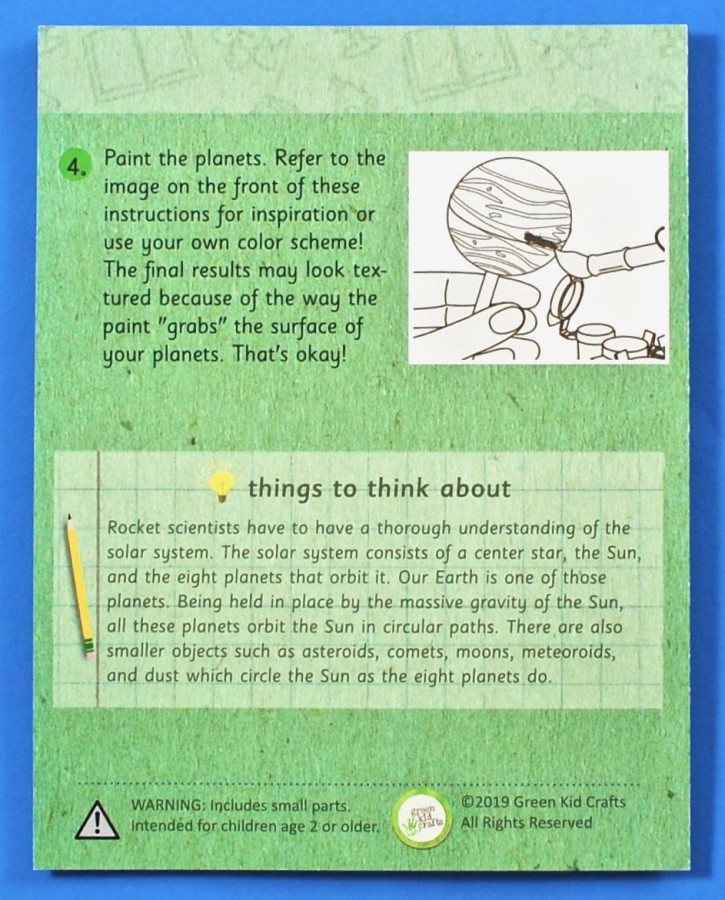
Finally, it was time to paint!
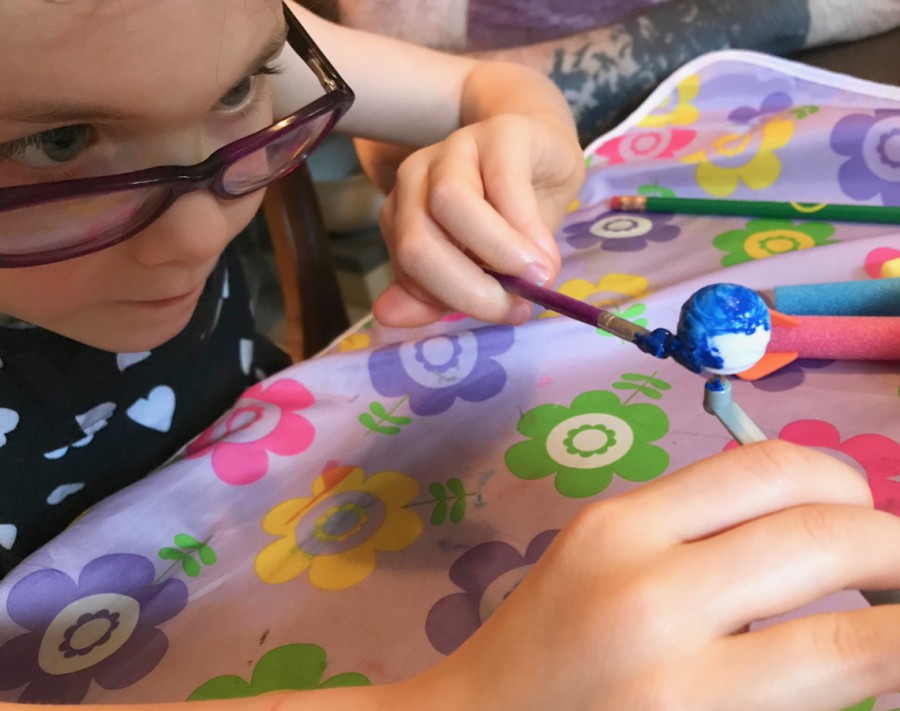
Again, I’m not sure if we used the correct colors, but we did the best we could. 🙂
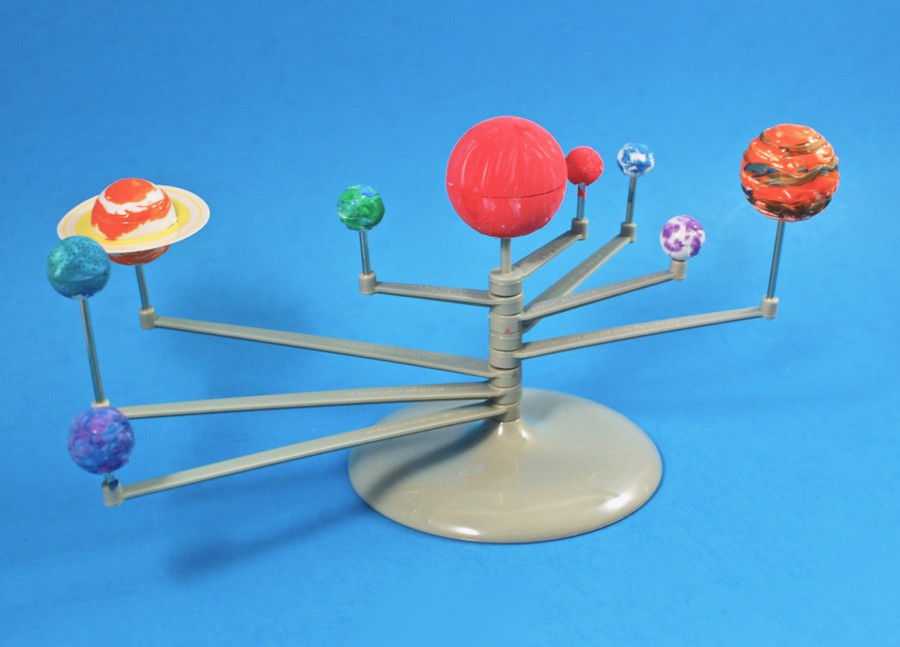
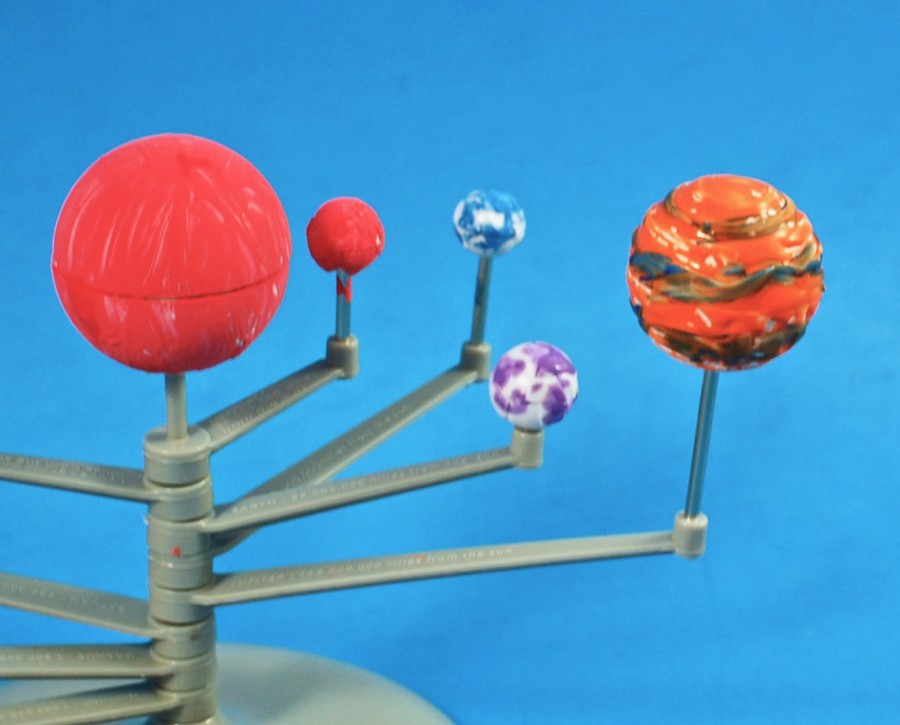
Model solar system, complete!
Kit #2:
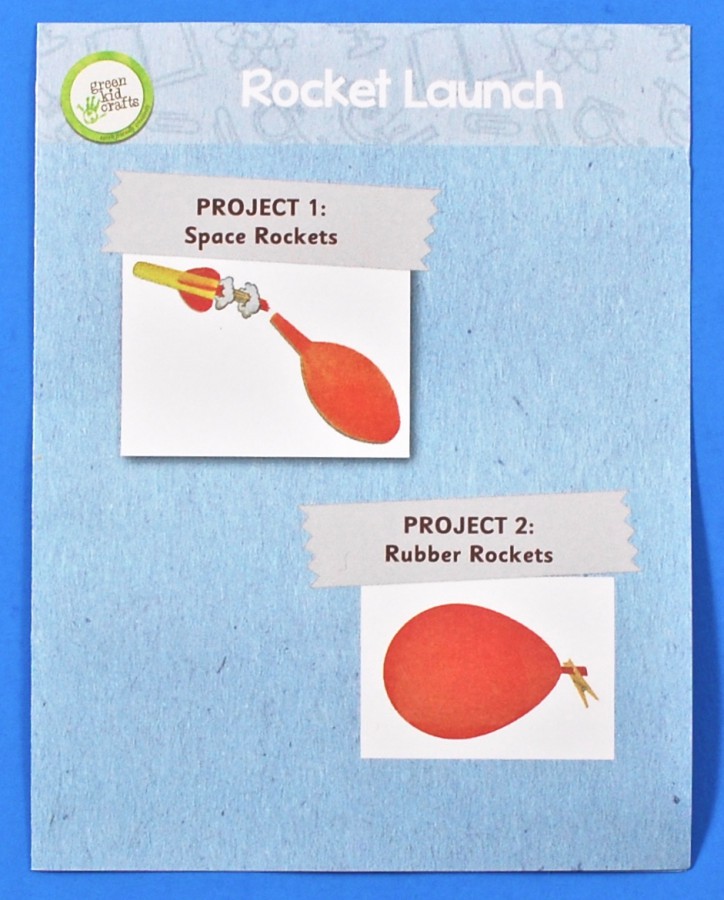
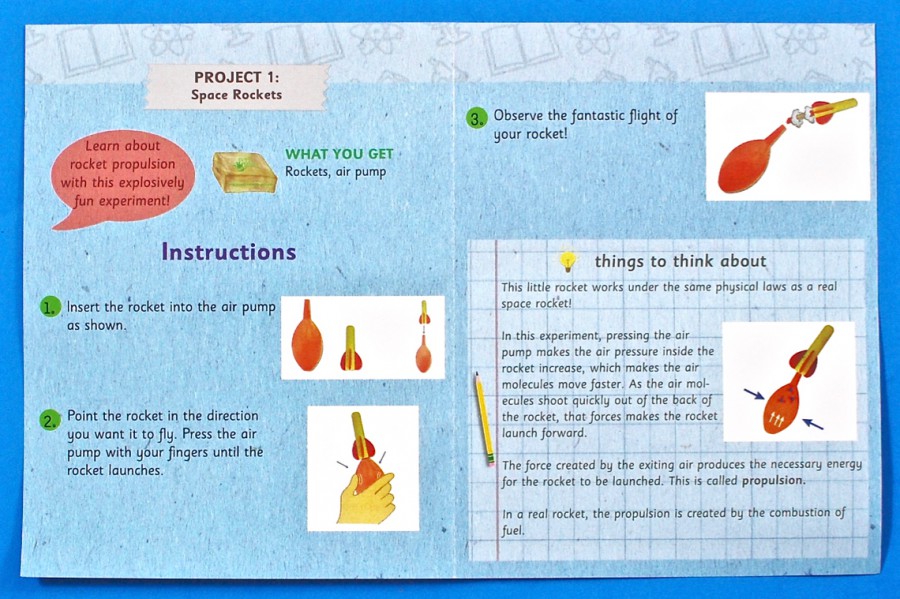
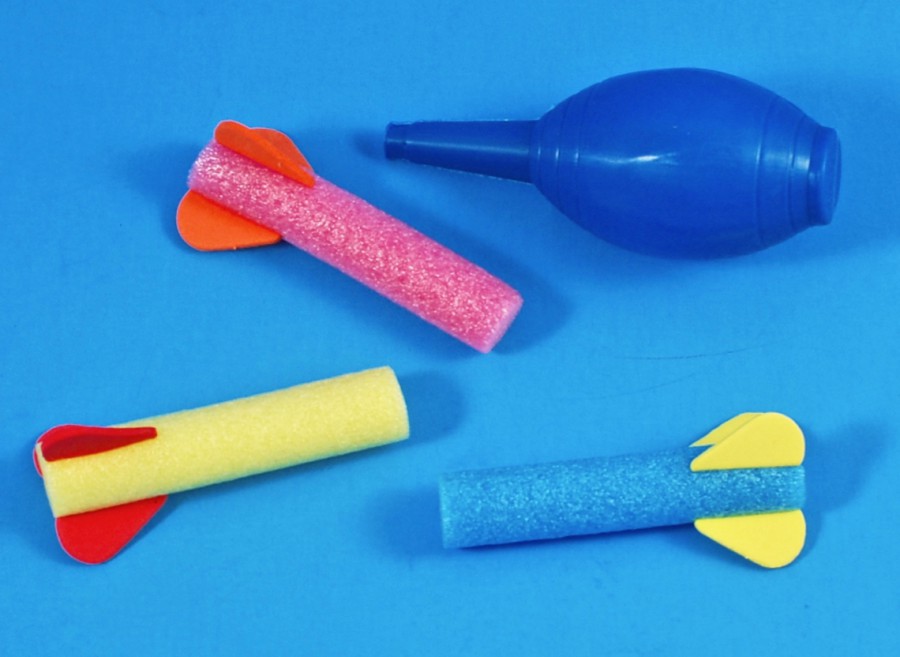
Rocket Launch: Space Rockets & Rubber Rockets
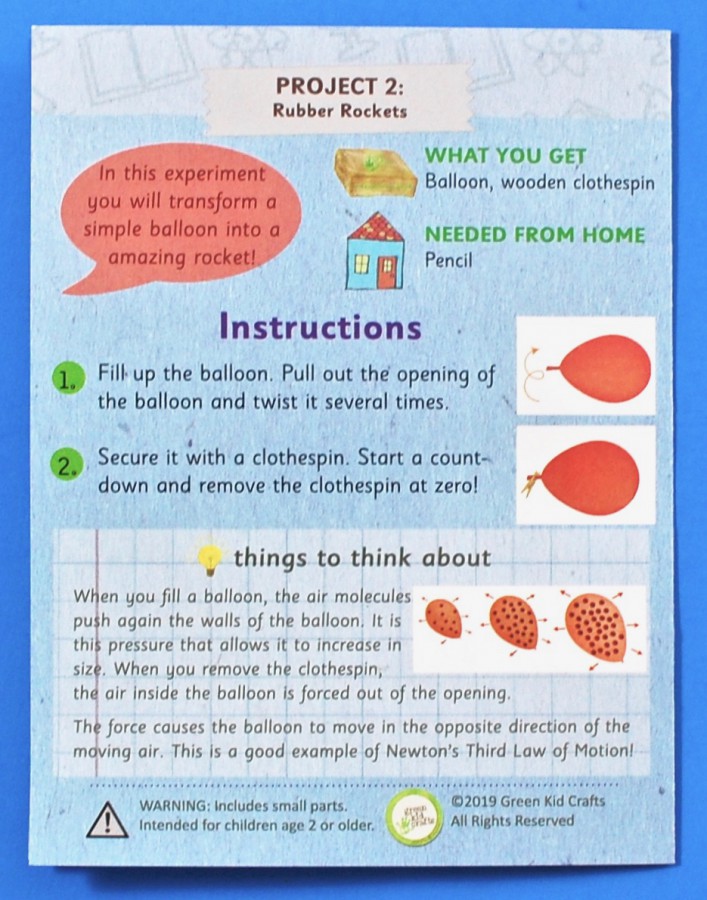
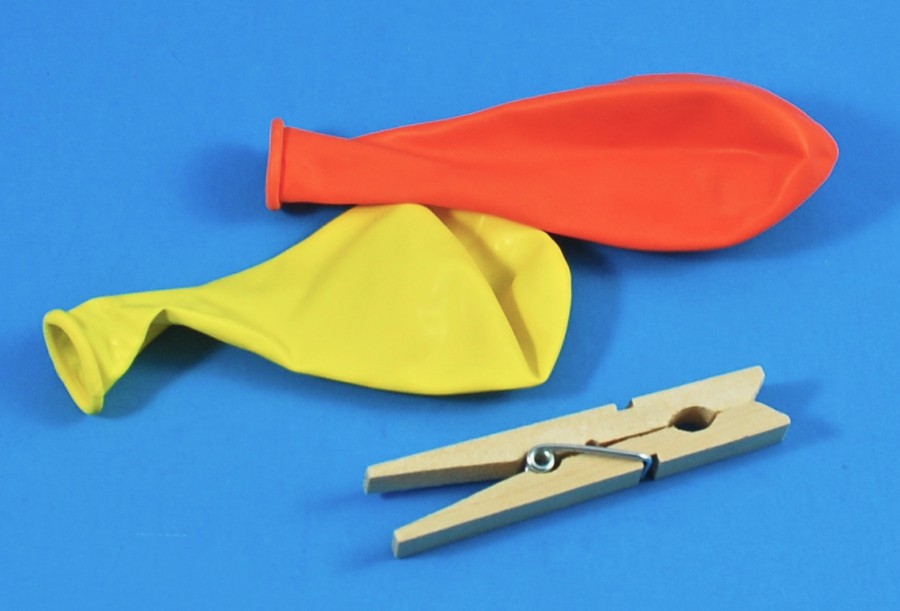
The second kit consisted of 2 projects. Materials for the first project (Space Rockets) included 3 foam rockets and an air pump. The second project (Rubber Rockets) included two balloons and a clothespin.
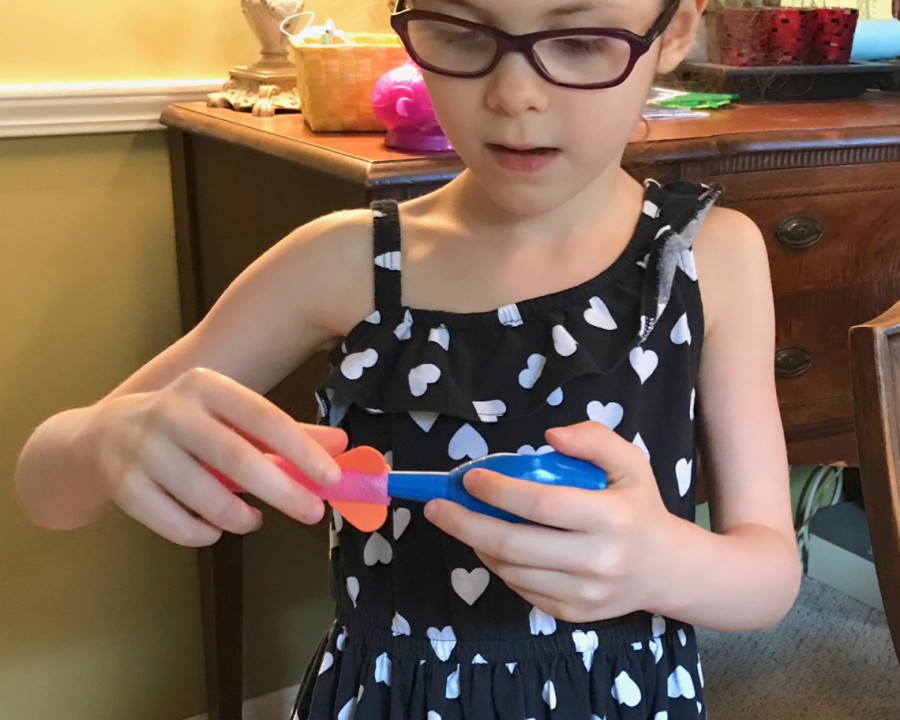
The Space Rockets didn’t require much assembly. — Just insert the foam rocket into the plastic air pump, then squeeze the pump to let it fly.
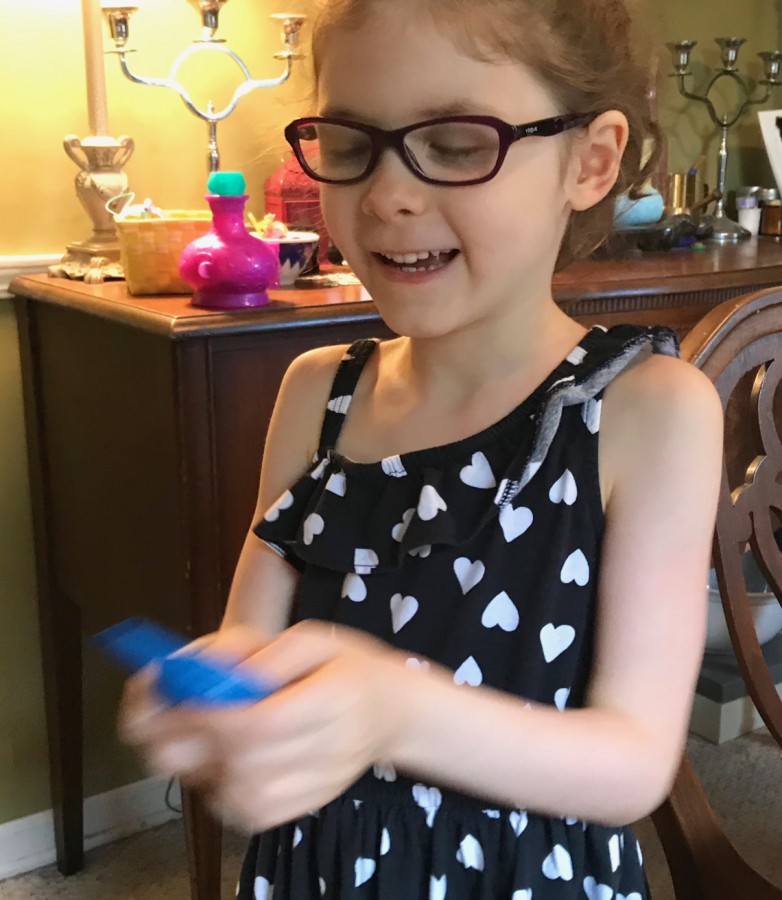
Blurry action shot!
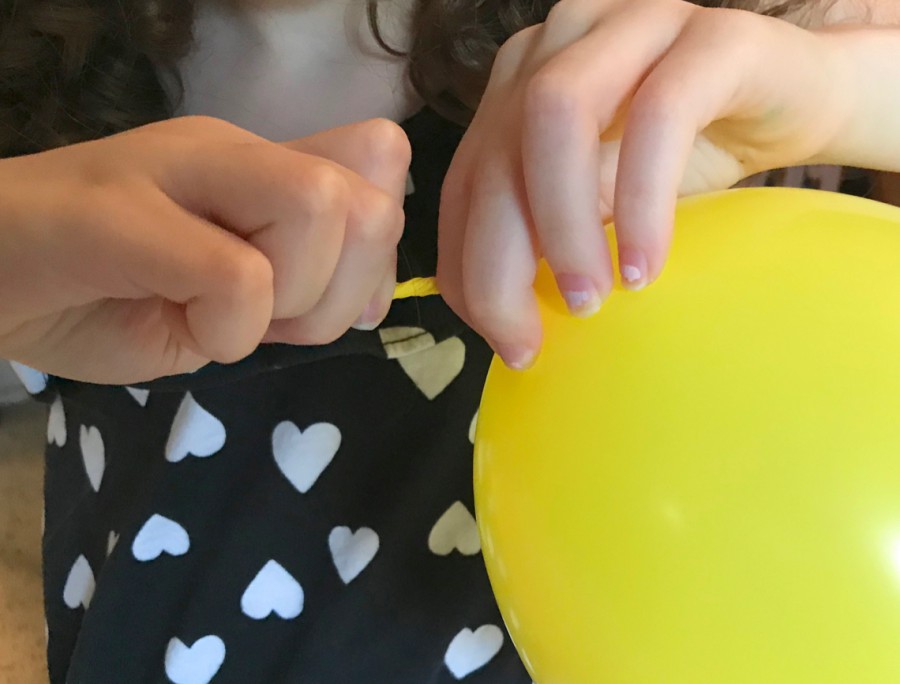
Rubber Rockets involved blowing up a balloon, then pulling out & twisting the end several times.
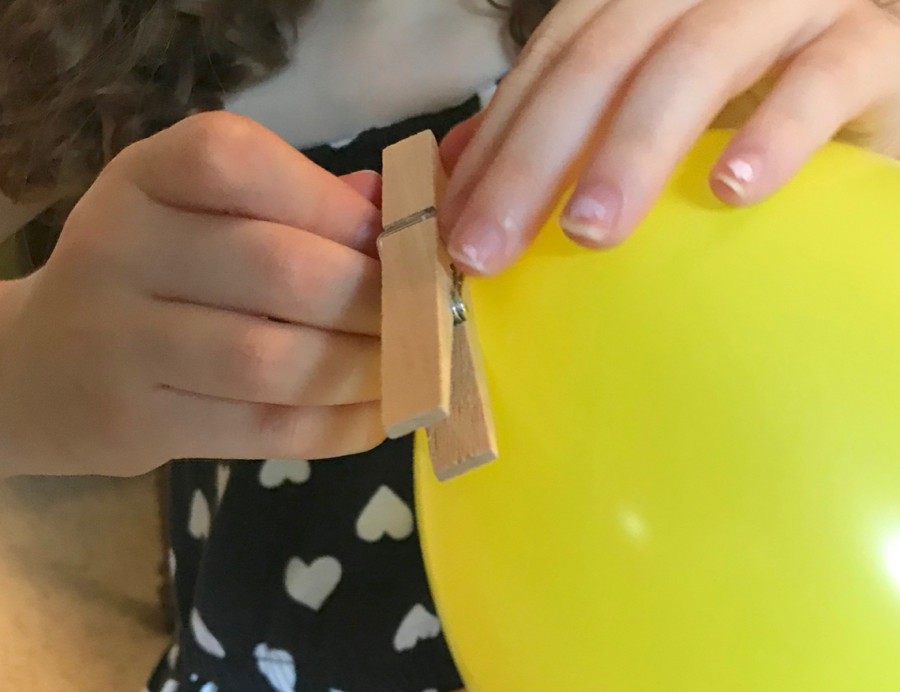
Once twisted, you were to place a clothespin over it to hold it in place. When you were ready to make the balloon turn into a rocket, you just removed the clothespin to watch it fly into the air. Not exactly the most involved experiment, but simple fun for a 6-year-old. 😉
Kit #3:
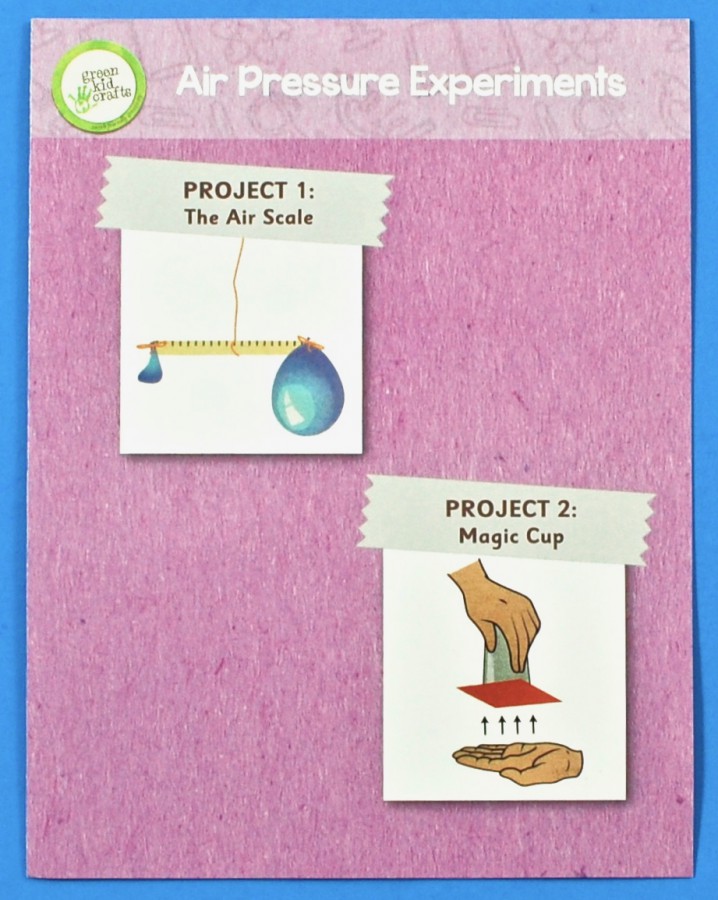
Air Pressure Experiments: The Air Scale & Magic Cup
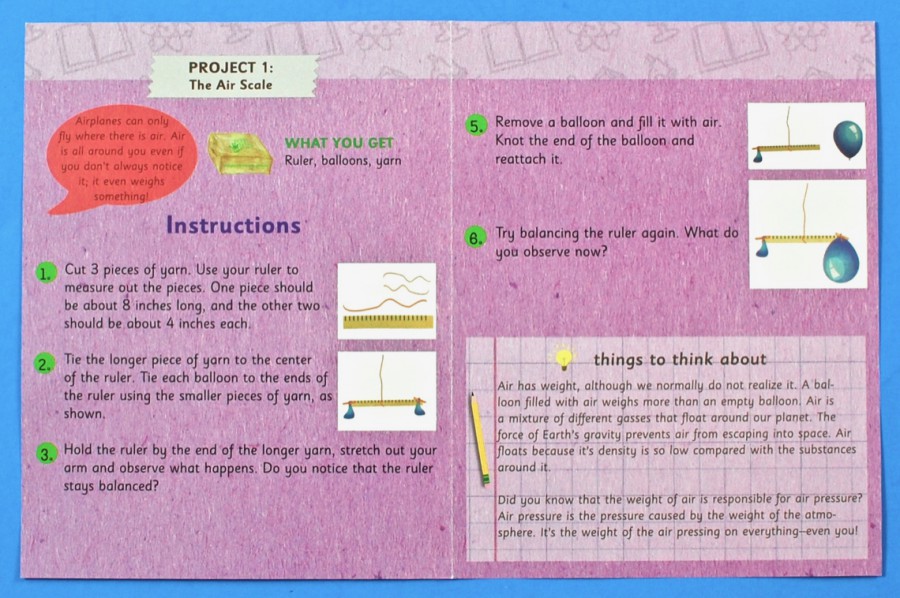
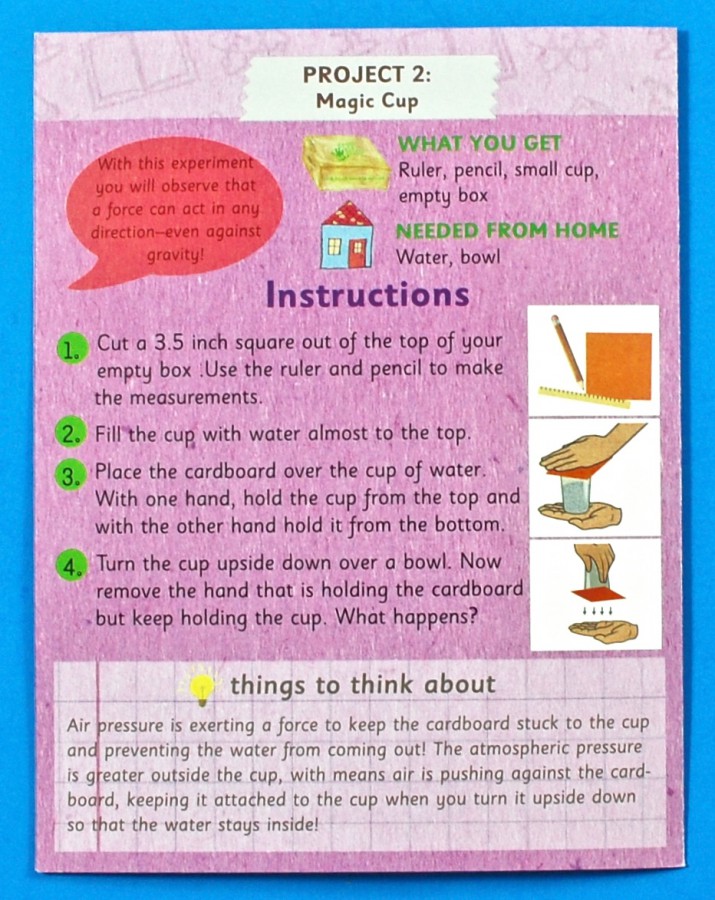
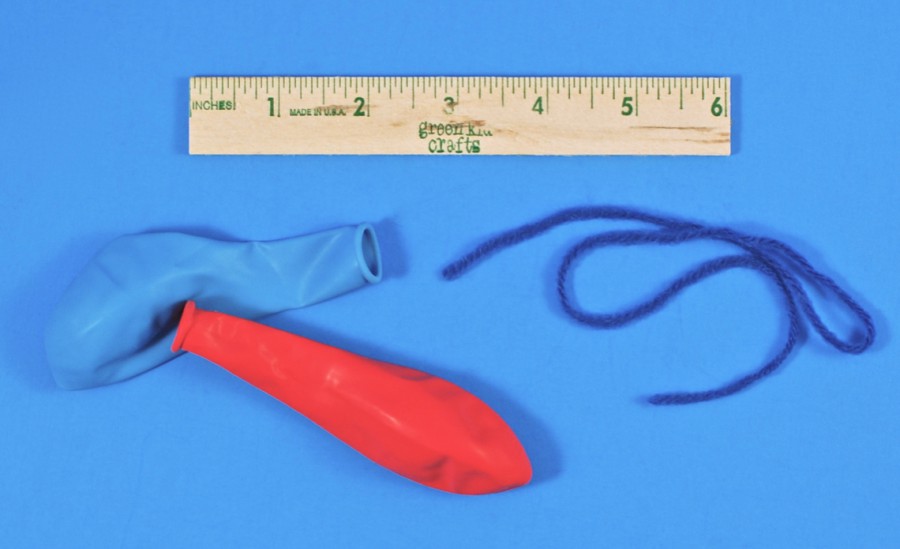
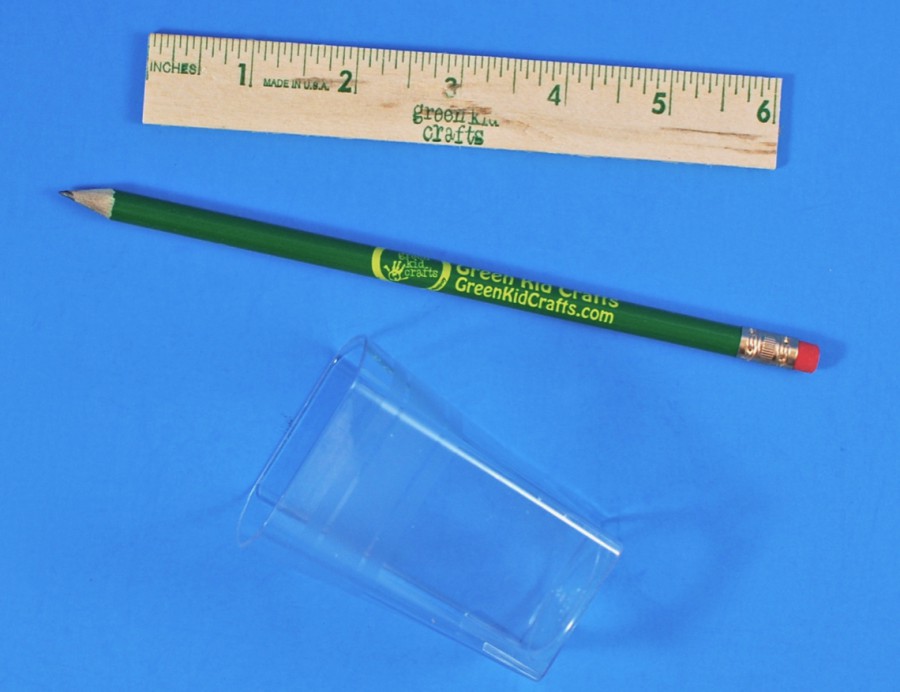
The third kit also consisted of 2 projects. Materials for the first project (The Air Scale) included a wooden ruler, a piece of yarn, and 2 balloons. The second project (Magic Cup) included the same wooden ruler, a pencil, and a plastic cup. You also needed to utilize the Green Kid Crafts box to cut out a cardboard square, as well as your own bowl and water.
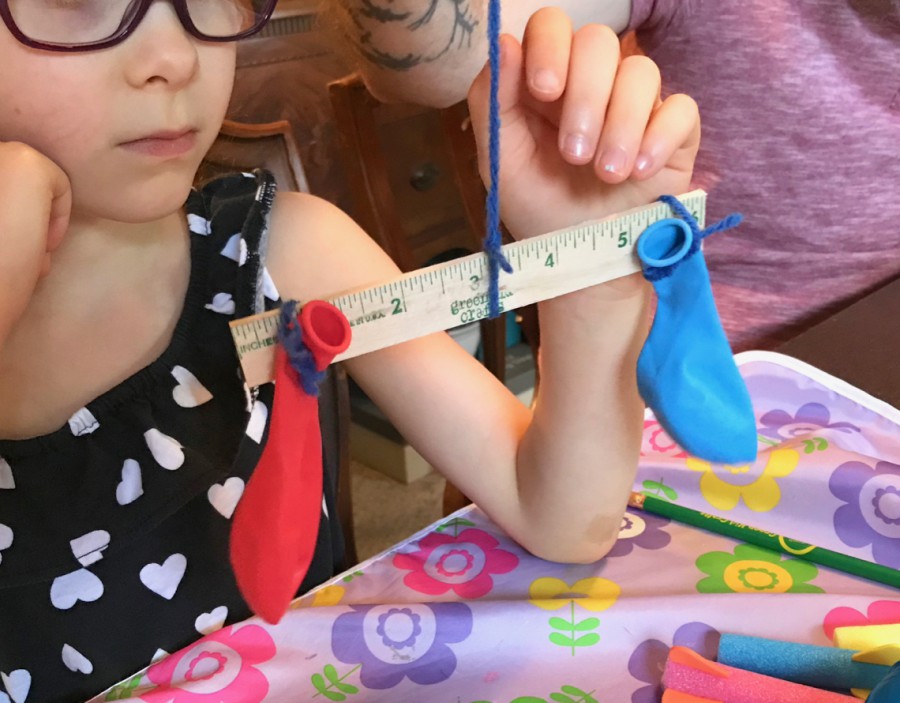
The Air Scale project had us attaching two empty balloons to the ends of a wooden ruler using two pieces of yarn. A longer piece of yarn was tied to the center of the ruler. This was to represent a scale that was balanced on both sides.
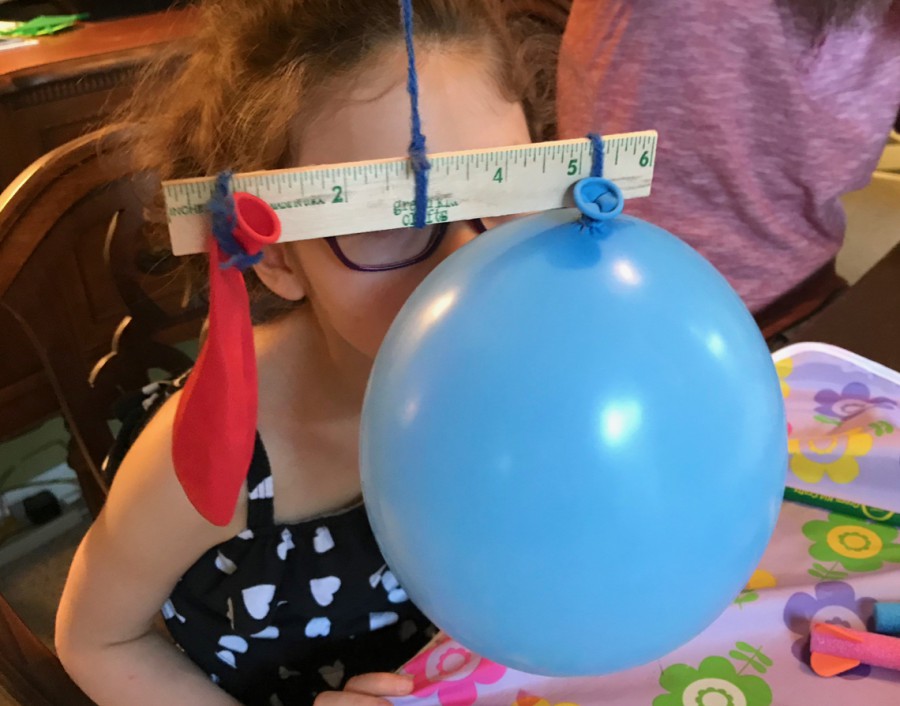
Next, we needed to blow one of the balloons up with air and reattach it to the ruler. According to the info booklet, the air would make the balloon heavier, but ours just stayed balanced. I’m not sure if it was the way we were holding it or what, but it seemed more balanced with the air than without. Weird.
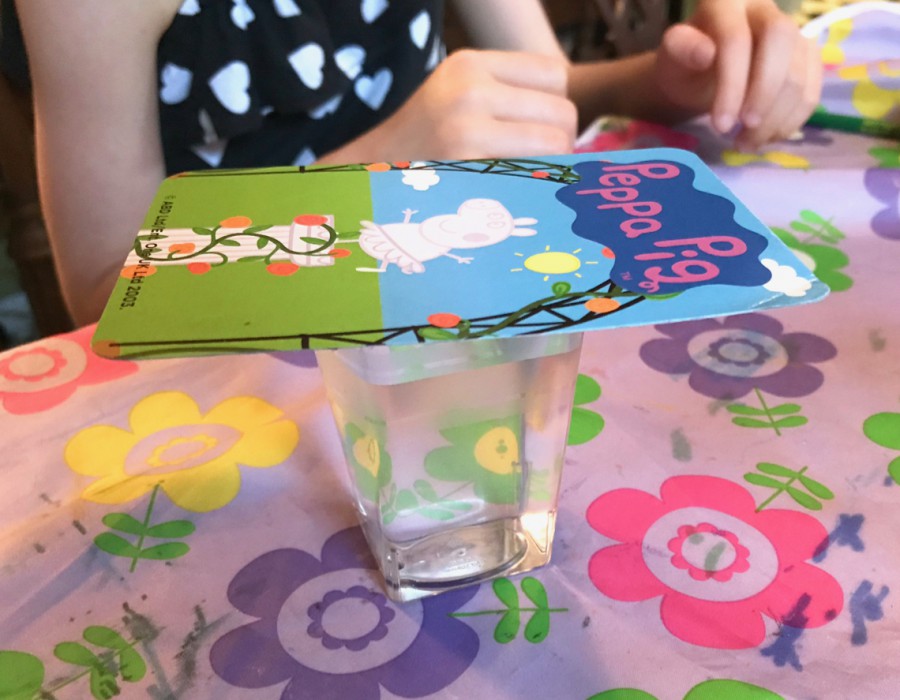
The final project, Magic Cup, had us filling a plastic cup with water (almost to the top), then placing a piece of cardboard — we went with a playing card — on top.
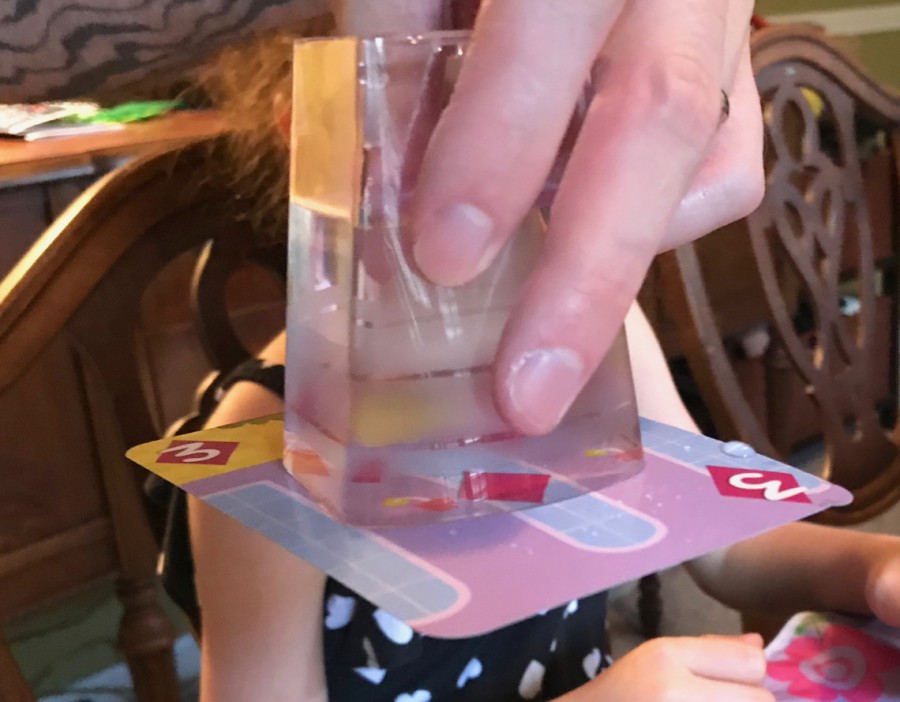
With one hand on the top of the cup/card, and one hand on the bottom, we had to flip the cup upside-down. Once flipped, we were to remove our hand from the bottom and observe what happened. — The card stayed “stuck” to the cup without leaking any water! 😀
Badge/Sticker
Once all of the activities were complete, you were ready to add your “Rocket Scientist Expert” badge to the map!
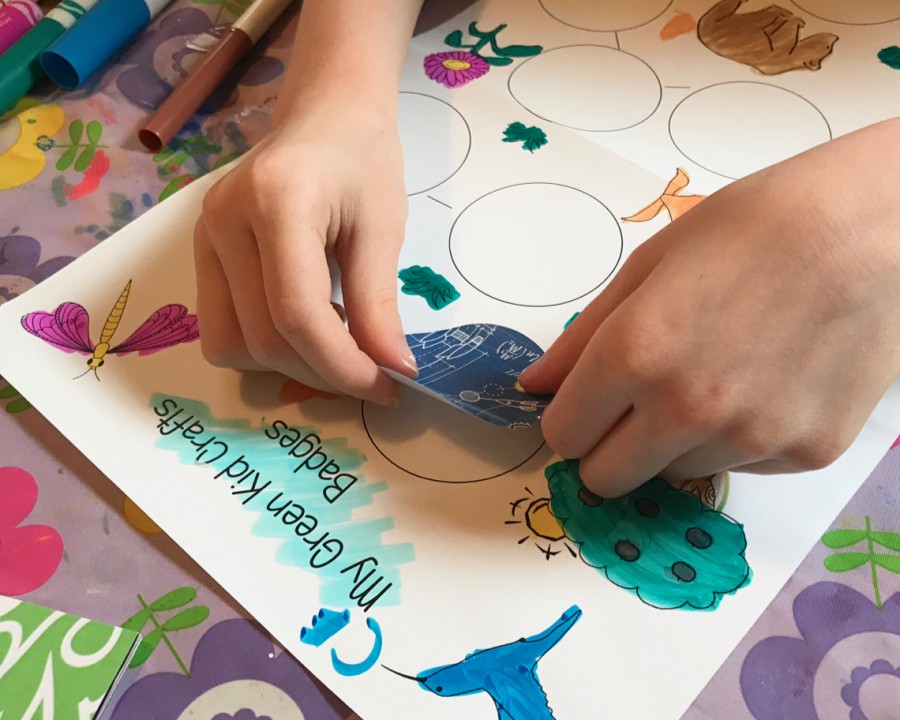
Mission, complete!
My girls really enjoyed all of the fun “Rocket Science” themed activities in this month’s Green Kid Crafts box. Their favorite projects were the model solar system (anything involving paint is an instant win!), space rockets, and the magic cup. 🙂 Remember — for a limited time, you can save $5 on your first box with coupon code “CRATEJOY5“!

Leave a Reply