Time to review the November/December 2017 The Hippie Hobby box!
The Hippie Hobby is a subscription box that sends you a fun and eco-friendly DIY craft project to complete every other month. Each box will feature a new crafting experience with an emphasis on incorporating upcycled, recycled, or natural elements into the project. You’ll receive easy to follow step-by-step instructions along with all of the materials needed to complete the craft.
Disclosure: I received this box for review purposes. I was not compensated in any way. All opinions are my own. Post may contain affiliate and/or referral links.
Subscriptions are $23.95 every 2 months, or less with multi-month commitments. Shipping to US is free. — You can save $7 on your first box when you use coupon code “ROSEBUD7” at checkout!
Let’s see what’s in the November/December 2017 The Hippie Hobby box!
The box!
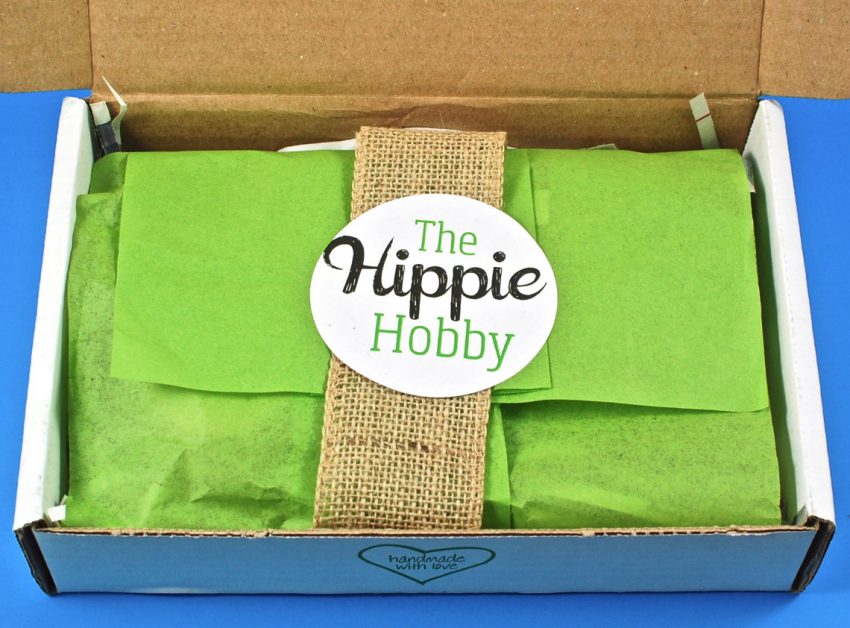
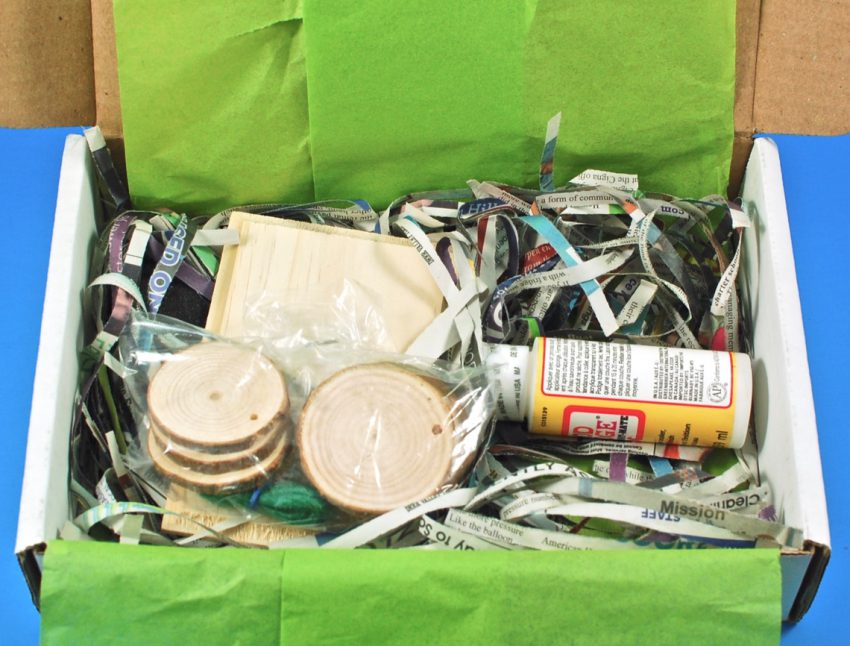
A peek inside.
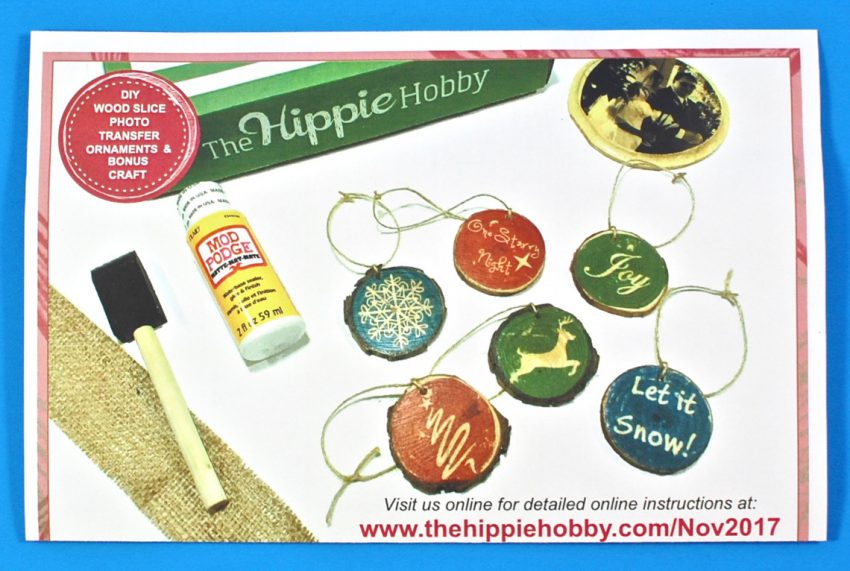
The featured project for November/December 2017 was DIY Wood Slice Photo Transfer Ornaments. A link was provided where you could find complete step-by-step instructions, along with helpful tips and photos.
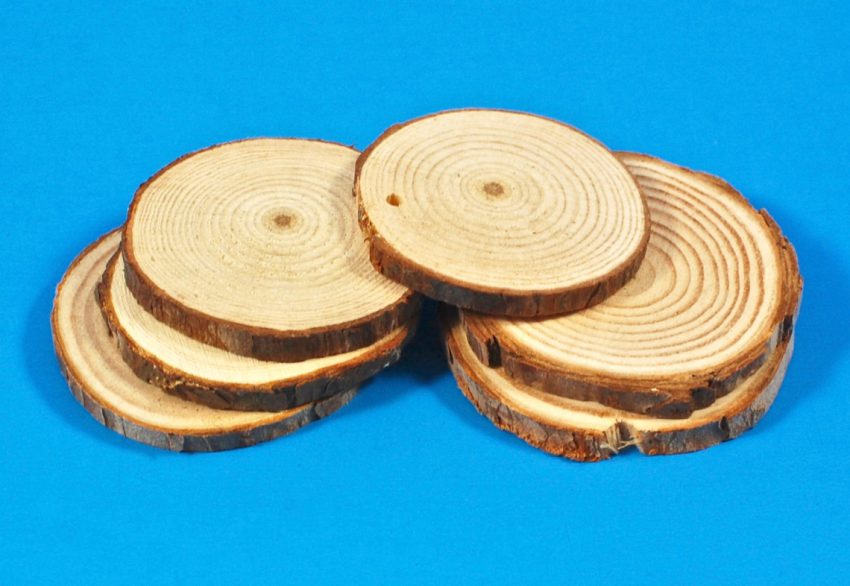
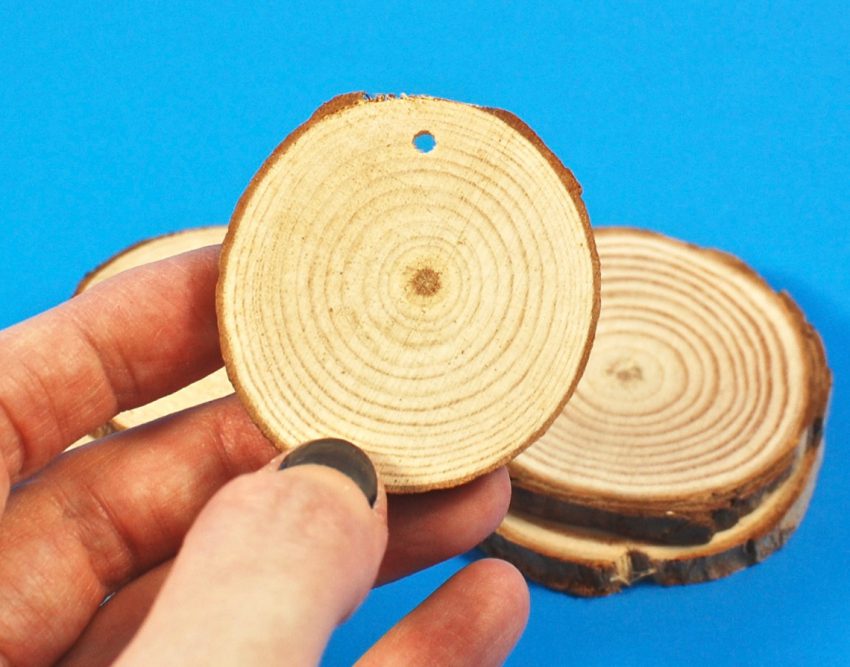
Pre-Drilled Natural Wood Slices
6 pre-drilled wood slices were included, which would serve as the main component of the project. They all varied in size between 2-3 inches in diameter.
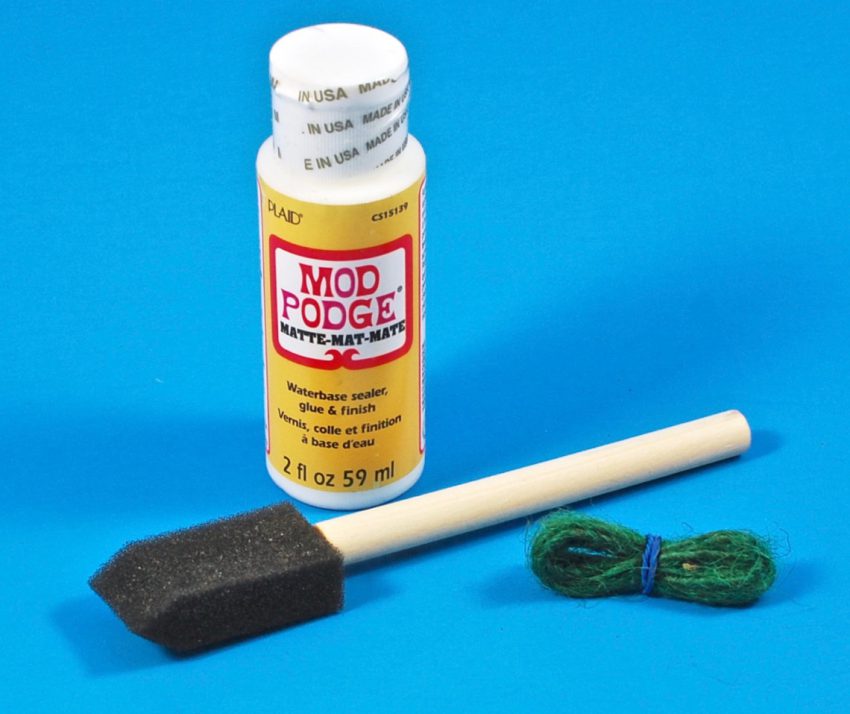
Mod Podge, Brush, String
A small bottle of Mod Podge was provided to transfer the photos onto the wood. A foam brush was included to apply it, and a small bundle of string would be used to hang the finished ornaments.
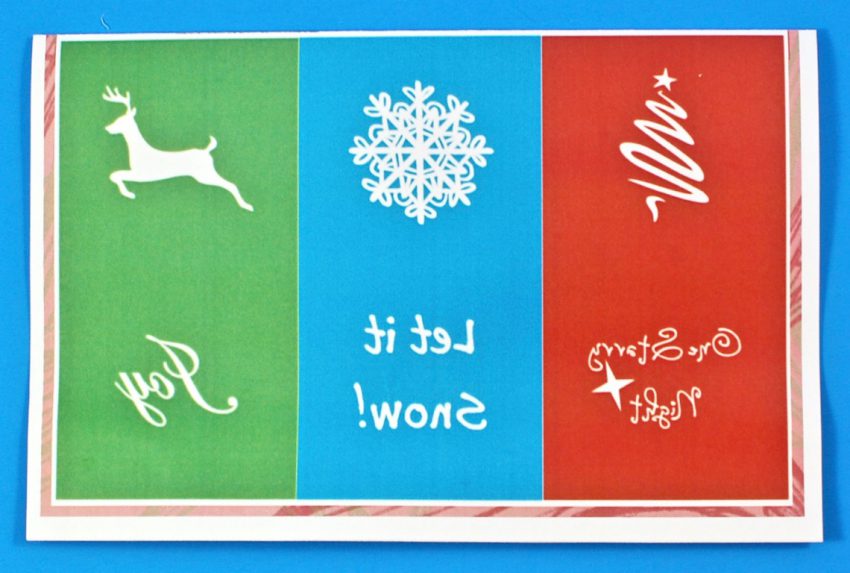
Laser Jet Printout
This particular project required the use of laser jet printouts/copies. Ink jet printers don’t produce the type of copies needed and wouldn’t work with the transfer process. The box included a sheet of laser printed designs to use for your ornaments if you don’t have access to your own laser printer.
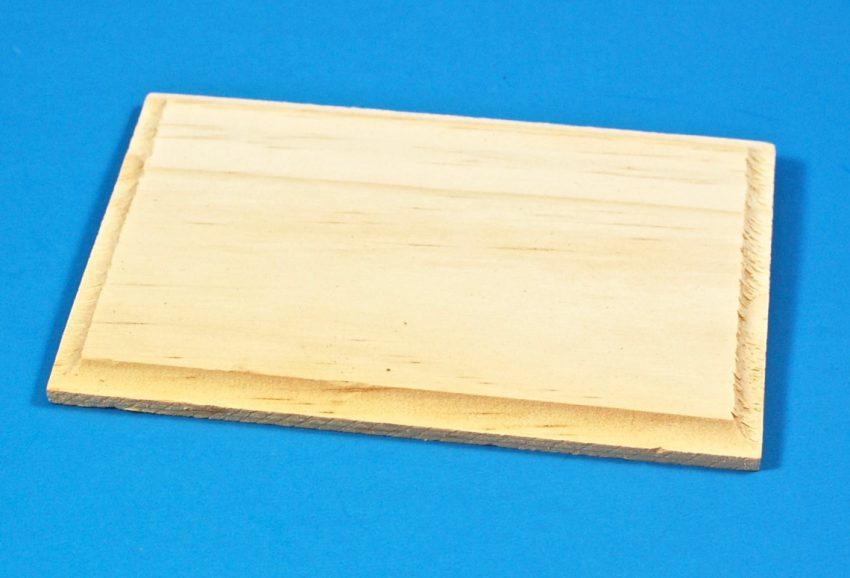
Wooden Plaque
A rectangular wooden plaque was included for the bonus project, which was to be done exactly like the ornaments.
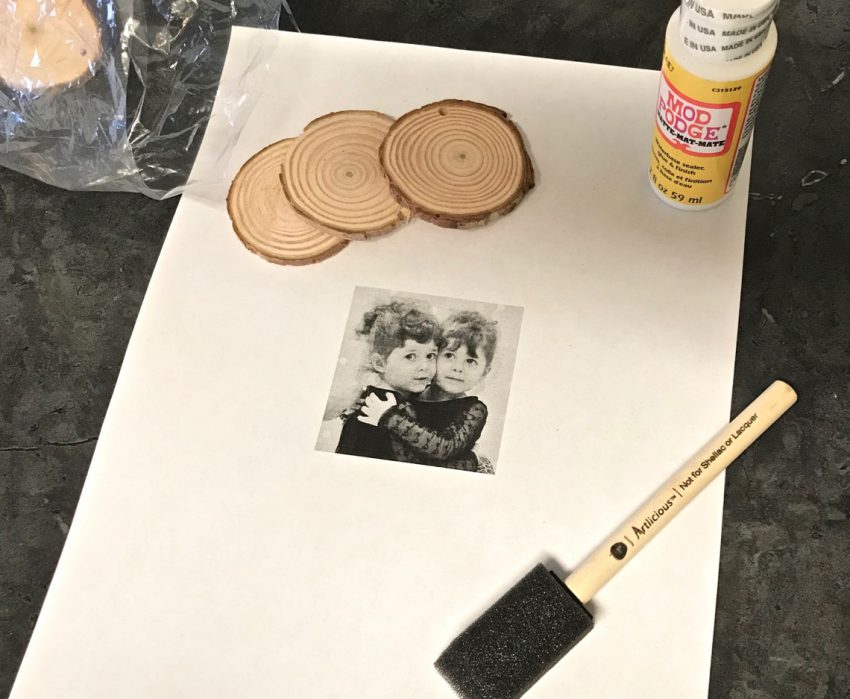
I honestly wasn’t too sure if our printer was the exact type needed, so I decided to just do half of the ornaments to see how they turned out. I printed one photo of my girls and used two of the designs from the box.
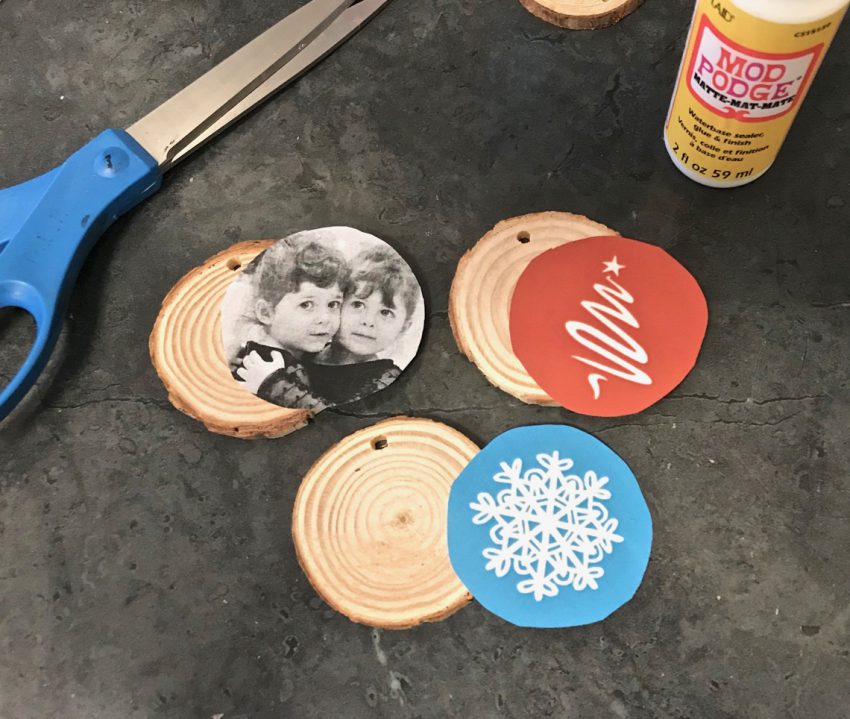
I traced the wood slices onto the images and trimmed them a bit to better fit inside.
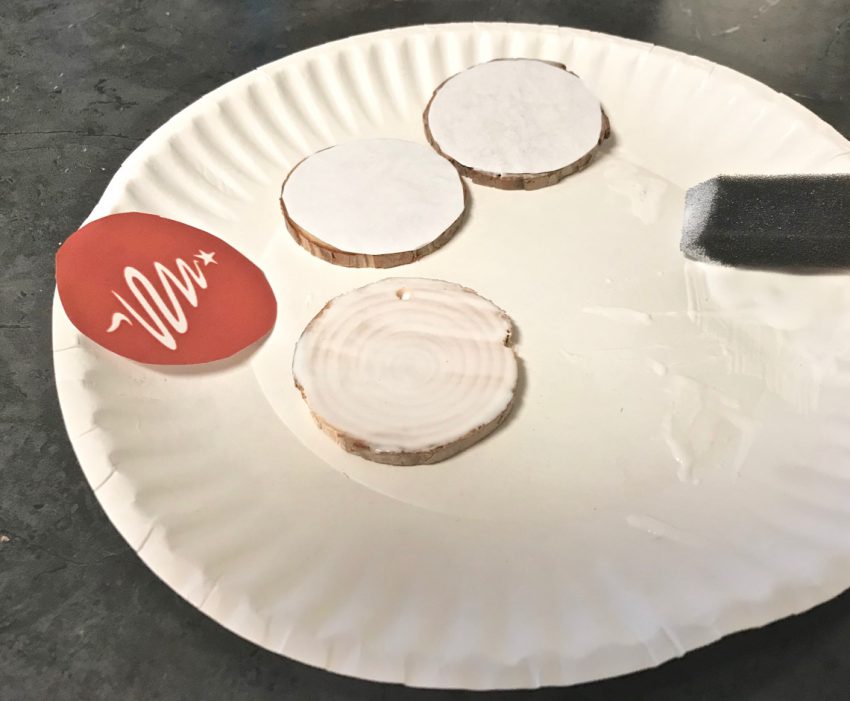
Next, I applied an even coat of Mod Podge onto each wood slice and placed the images face down onto each one. The image that shows up on the ornaments would be reversed, which is why the text on the designs shown earlier was backwards. Since the images I chose didn’t contain text, I didn’t have to worry about it.
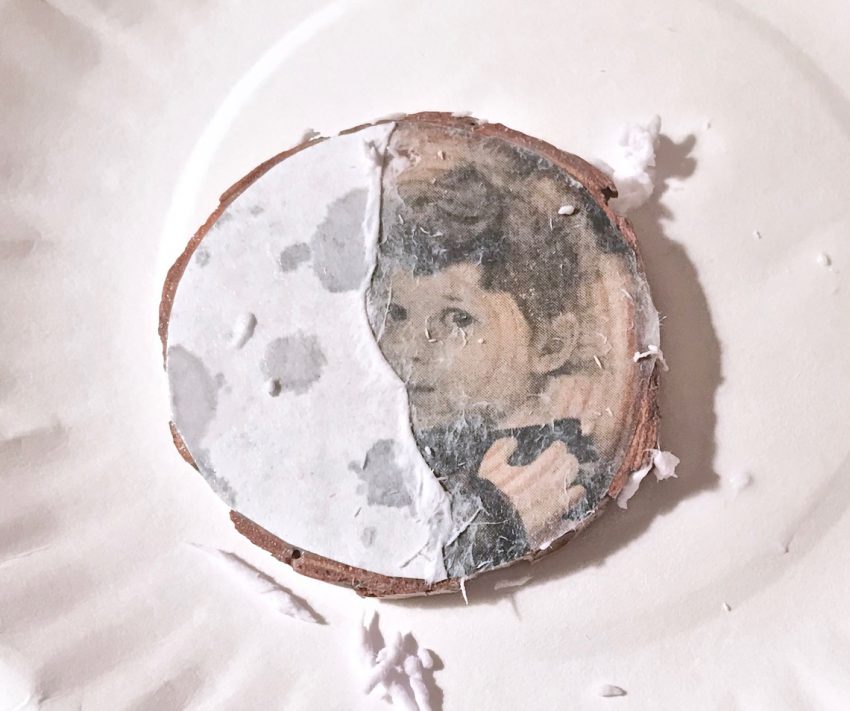
After letting them dry for 24 hours, it was time to peel off the paper. To do this, you needed to wet the paper with your fingers and carefully roll your fingers over it as though you were rolling out dough. It was a very slow process that involved adding more water, letting it dry a bit to see how much paper was left, and repeating the process. Once the image looked relatively clear (it was bound to have a little residue remaining), you were to let it dry and apply another coat of Mod Podge.
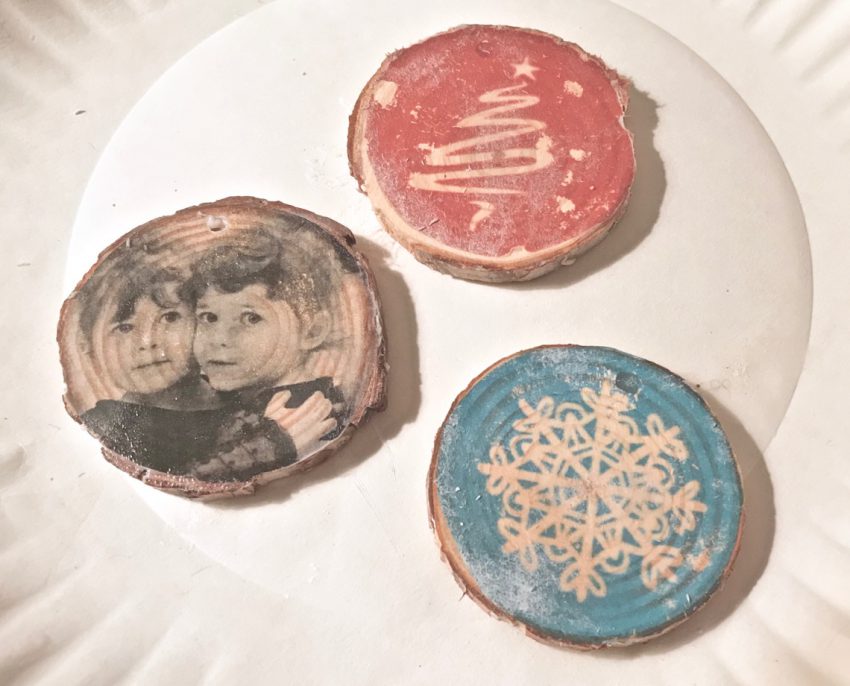
Just about done!
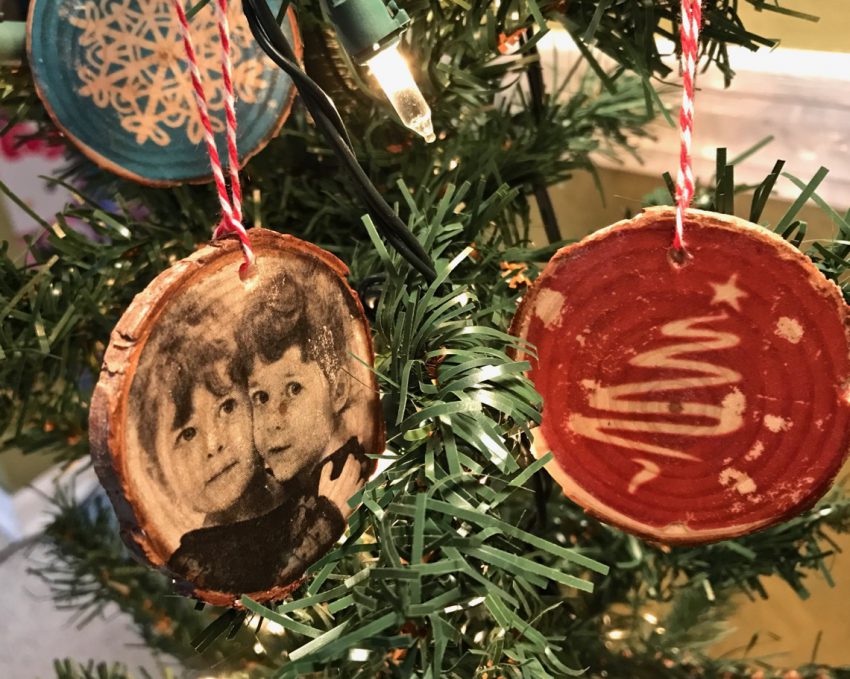
After applying the Mod Podge, I reinforced the pre-drilled holes and used my own string to hang the completed ornaments.
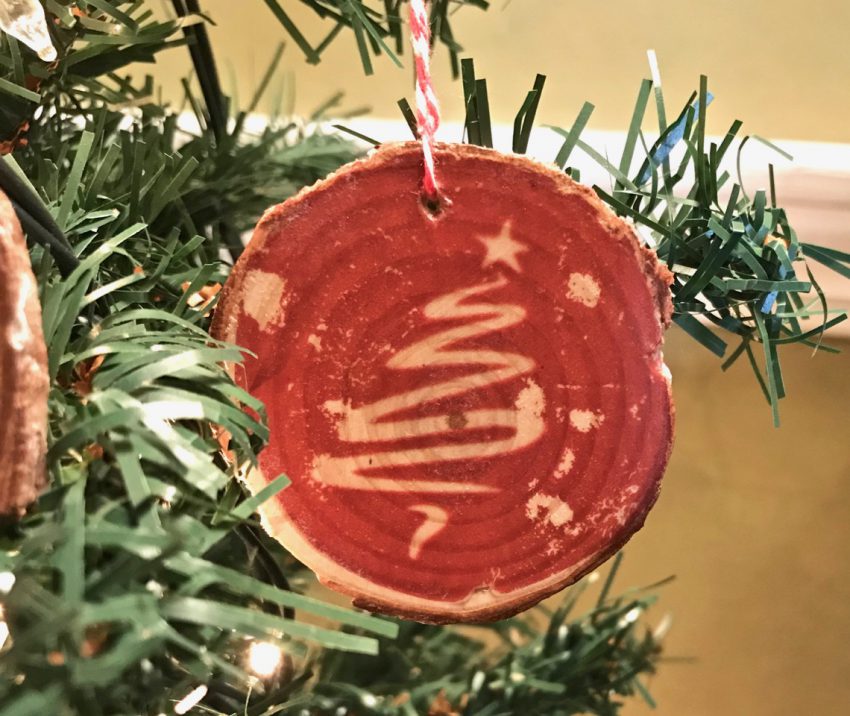
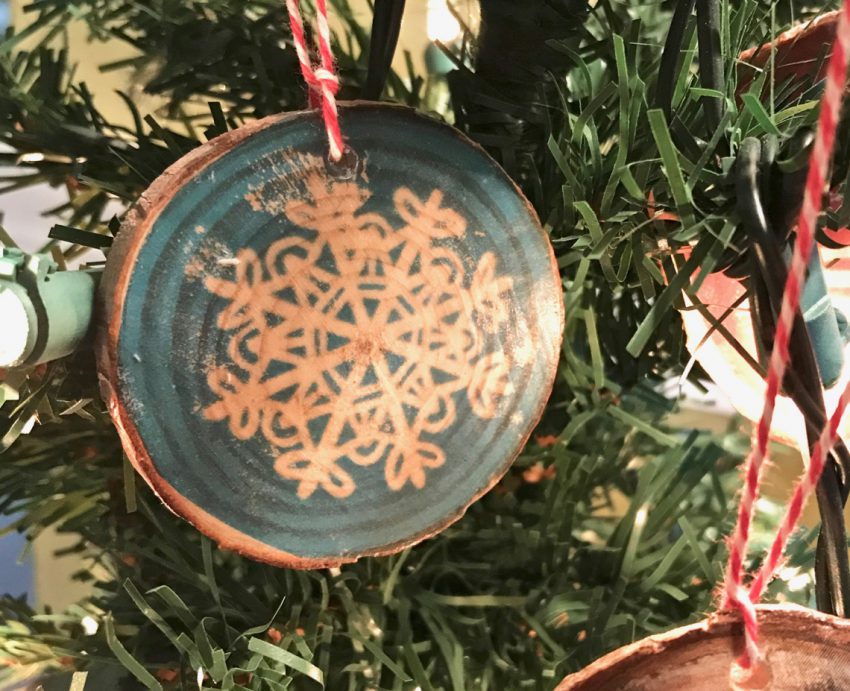
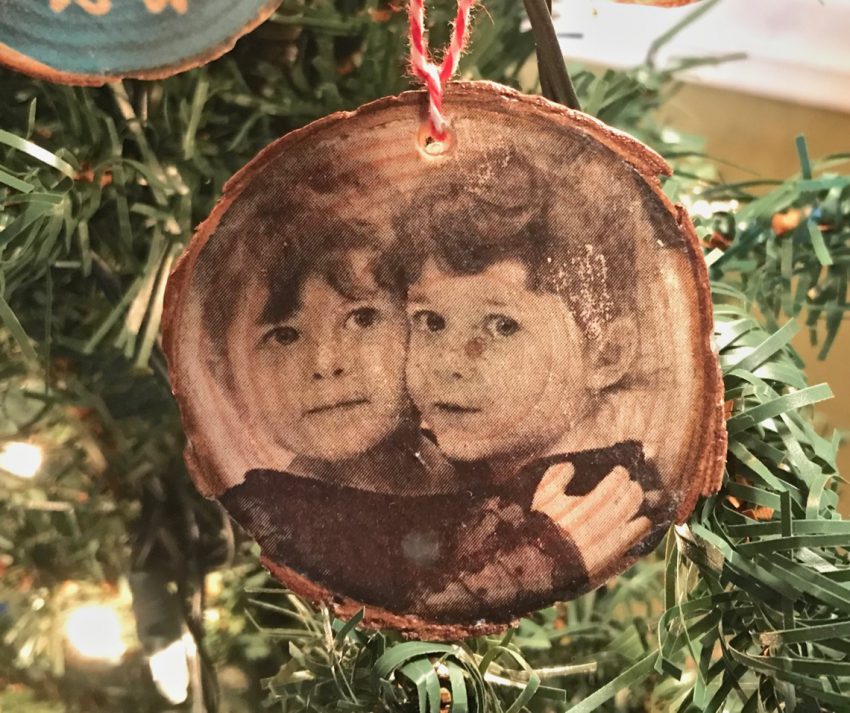
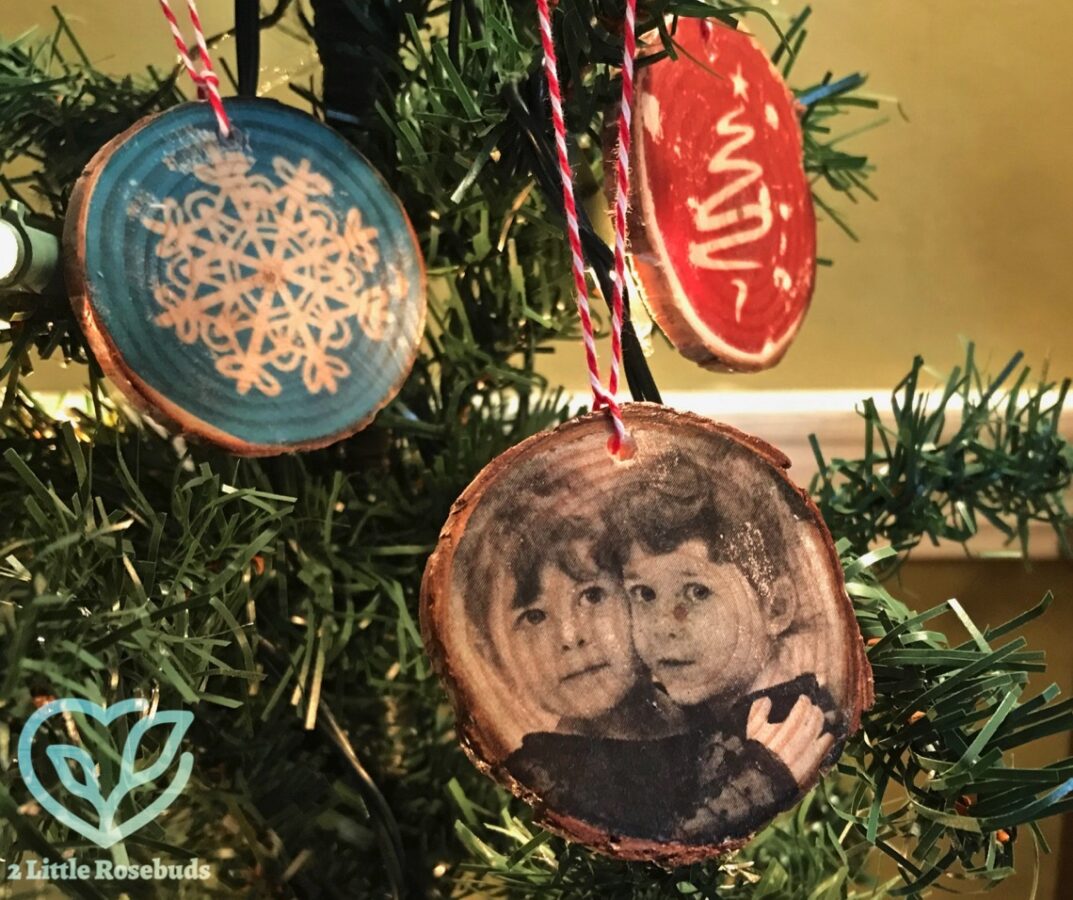
I kinda wish the center of the wood slice — the little brown dot — didn’t end up being right next to my kiddo’s nose (ha!), but other than that I LOVE how they all turned out! 😀
November/December 2017’s The Hippie Hobby box project was one of my favorites yet! I absolutely love how my ornaments turned out and am looking forward to working on the other 3, as well as the bonus project. — I just haven’t decided on photos yet. 🙂 — Remember, if you’d like to subscribe you can save $7 on your first box (making it just $16.95) when you use coupon code “ROSEBUD7” at checkout!

Leave a Reply