Kiwi Co. has just released a new line of Chemistry Crates that explore the amazing science behind chemical reactions.
There are currently 3 different Chemistry Crates available: Fire Lab, Vortex Lab, and Glow Lab. Each crate comes complete with all of the materials needed, easy to follow step-by-step instructions, and explanations as to how each of the experiments work. The crates are designed for ages 14 and up, as they include “big kid” materials like chemicals and fire-making components.
[text-blocks id=”7911″ plain=”1″]
You can purchase each of the crates individually, or buy all 3 for $109.95 shipped.
This is a review of the Fire Lab Crate, which sells for $34.95.
Coupon: Save 30% on your first month’s box with coupon code “SHARE30“.
Let’s check out KiwiCo’s Fire Lab Chemistry Crate!
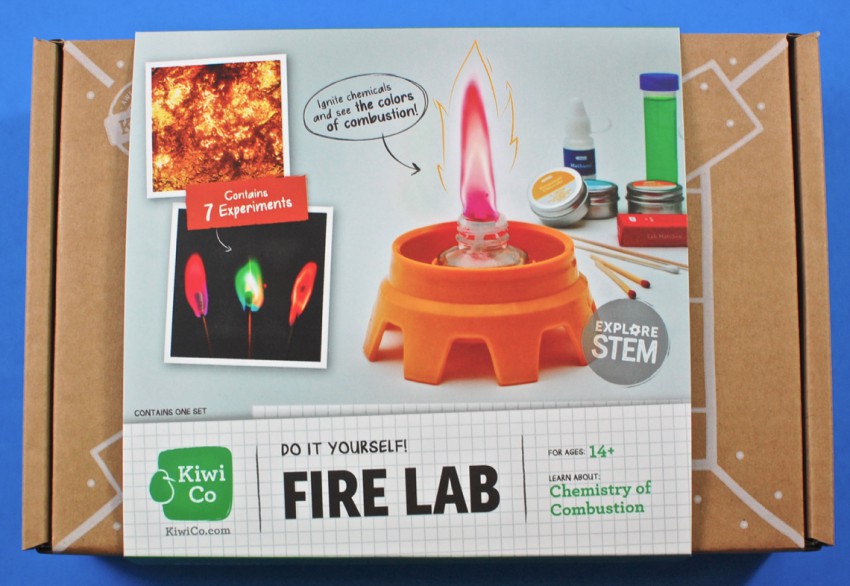
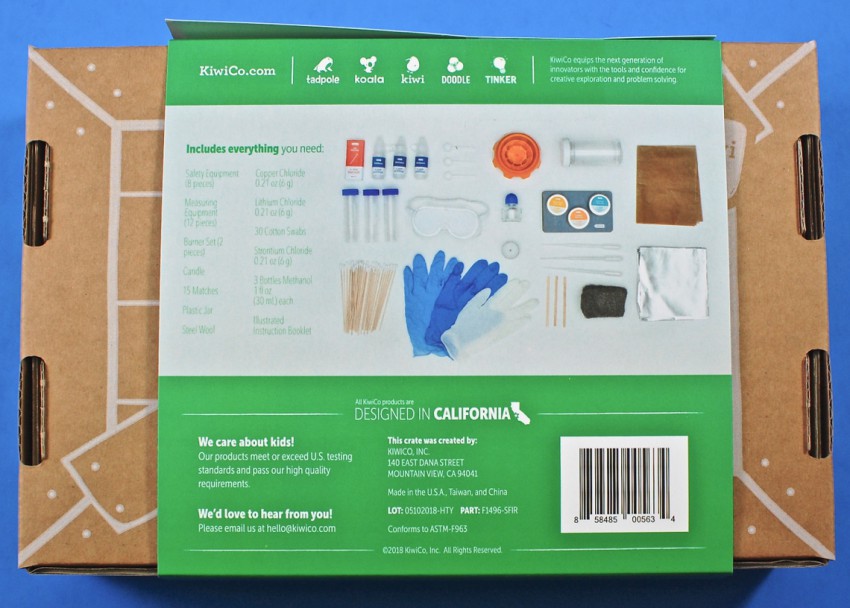
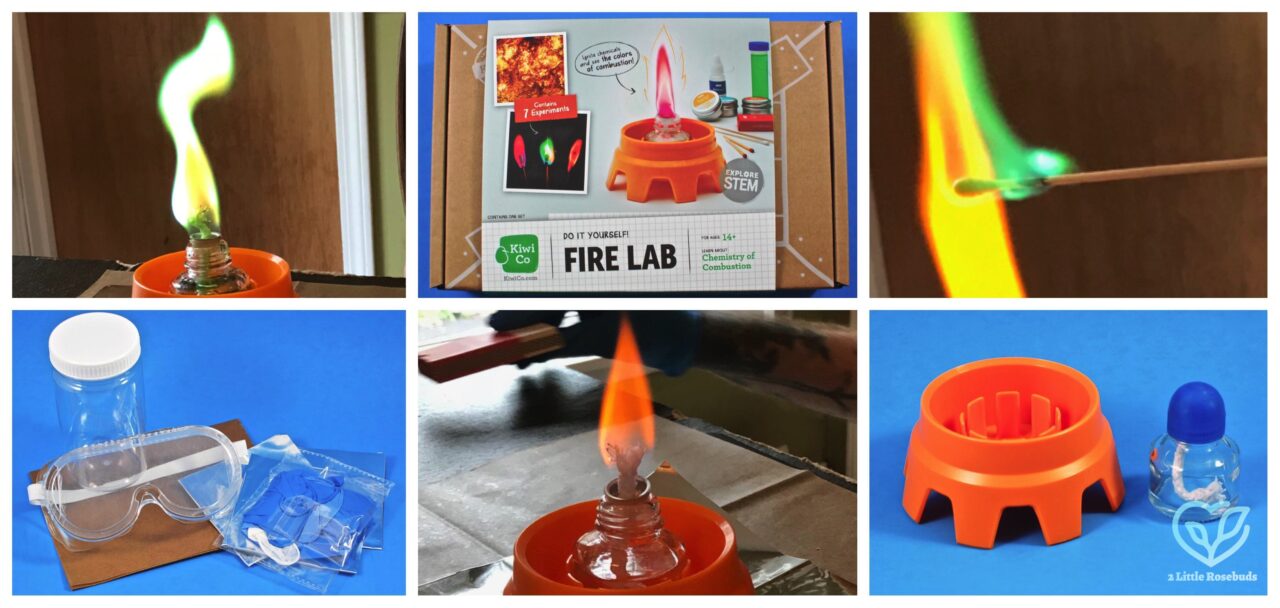
Everything was shipped in a cardboard “crate” with a full-color paper sleeve that featured photos of some of the materials & a full list of its contents.
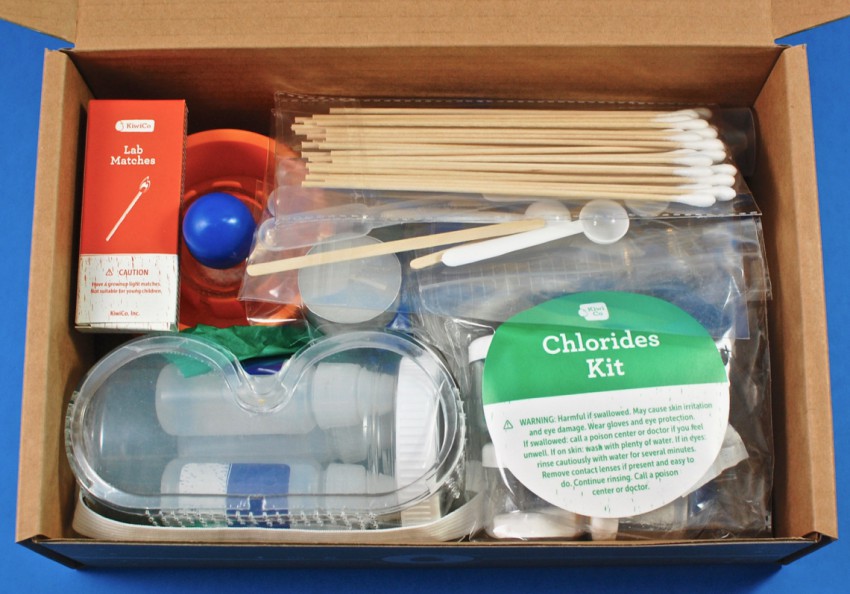
A peek inside!
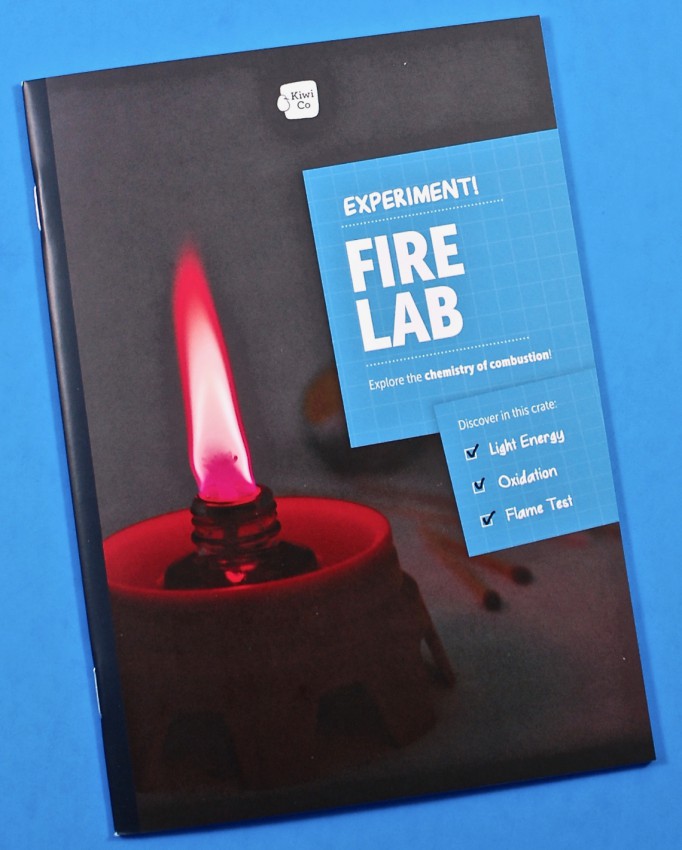
A comprehensive, 32-page booklet provided all the information and instructions needed to successfully complete all 7 experiments.
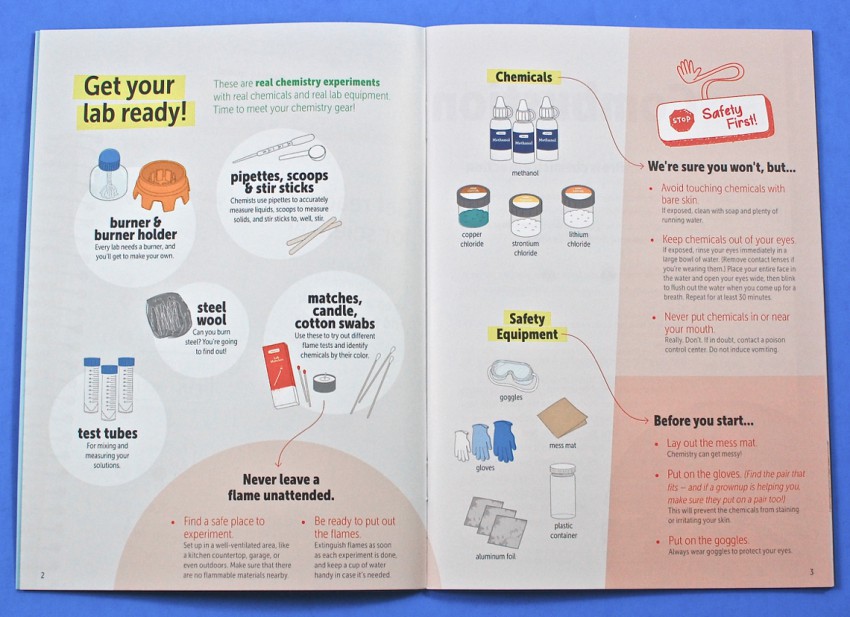
The first section explained what each of the materials would be used for and how to handle them all safely.
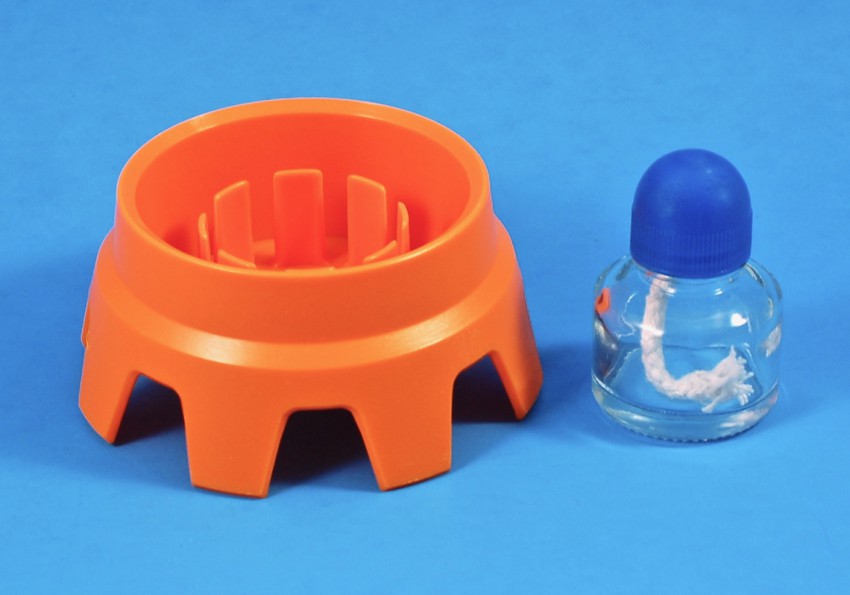
Burner & Burner Holder
These items would be used to build your own burner for performing a portion of the experiments.
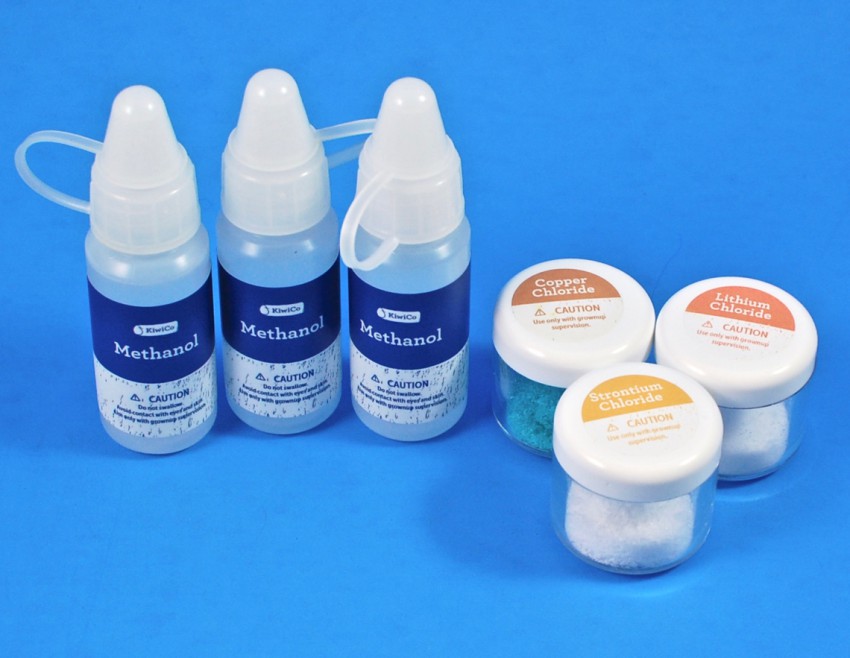
Chemicals
Some of the experiments required the use of chemicals. — Included were methanol (3 bottles), copper chloride, strontium chloride, and lithium chloride.
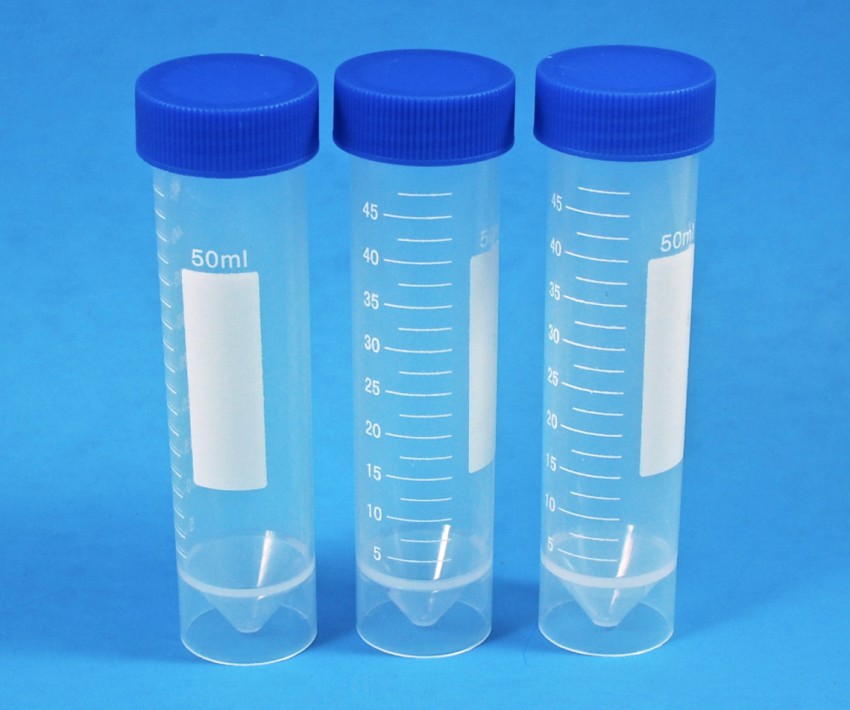
Test Tubes
Three plastic test tubes were to be used for mixing and measuring your solutions.
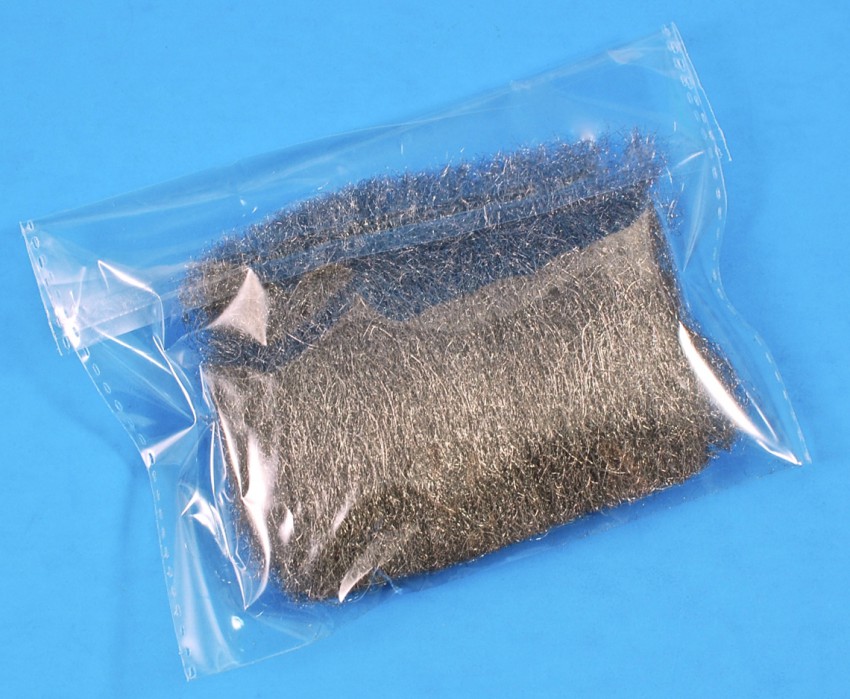
Steel Wool
Can steel wool be burned? You’ll find out soon enough. 😉
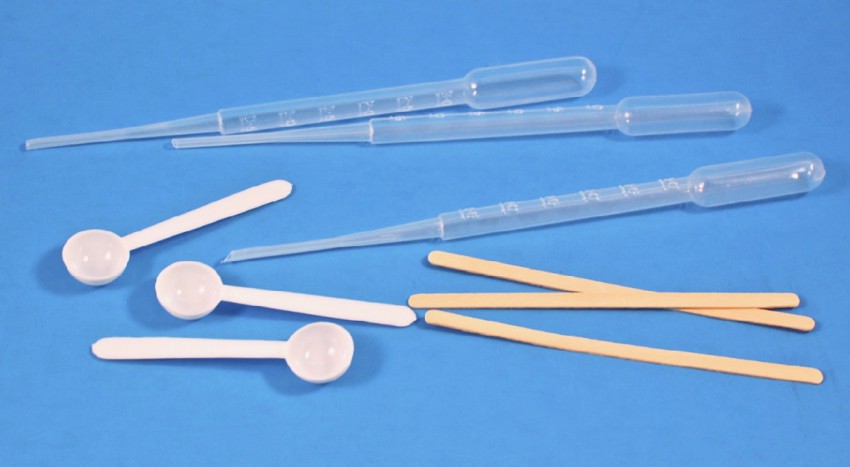
Pipettes, Scoops, Stir Sticks
Pipettes were provided for accurately measuring liquids, plastic scoops for measuring solids, and wooden stir sticks to… stir.
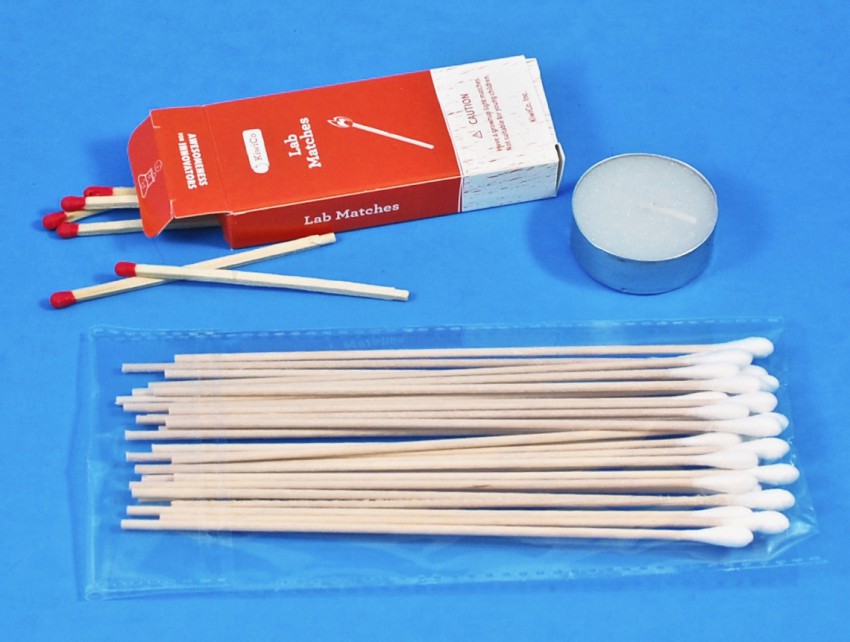
Matches, Candle, Cotton Swabs
Cotton swabs were to be used for performing flame tests — via matches and a candle — on various chemicals to help identify them by their flame color.
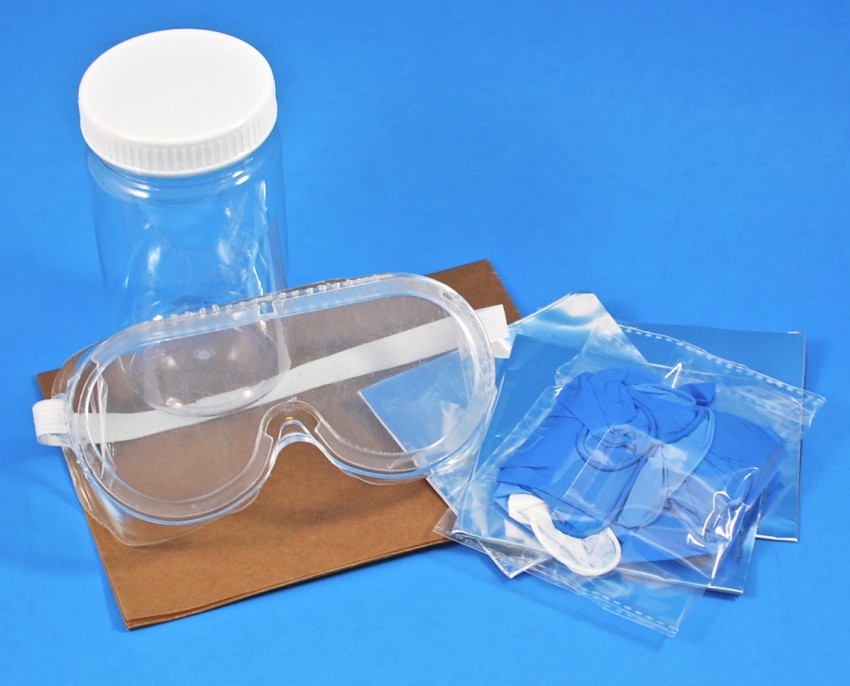
Safety Equipment
To keep your workspace (and you!) safe, the box also included a mess mat, gloves, safety goggles, a plastic container, and aluminum foil.
Onto the experiments!
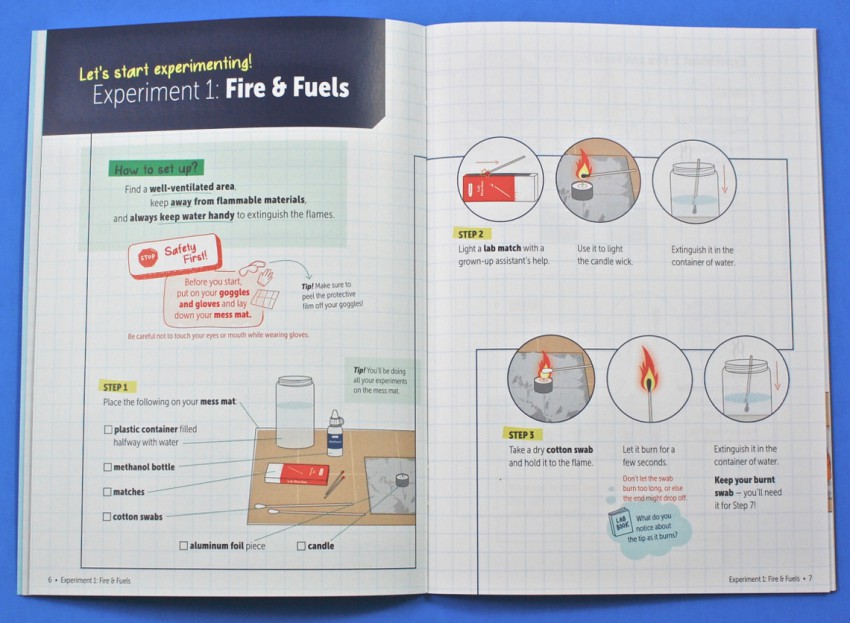
Experiment 1: Fire & Fuels
The first experiment involved burning the tips of two different cotton swabs. The first would be placed in the flame of a candle without any chemicals added. Next, you would take a second swab, dip it in methanol, and place it in the same flame. You were to observe the difference in how each one burned and how the cotton tips looked after the flames were blown out.
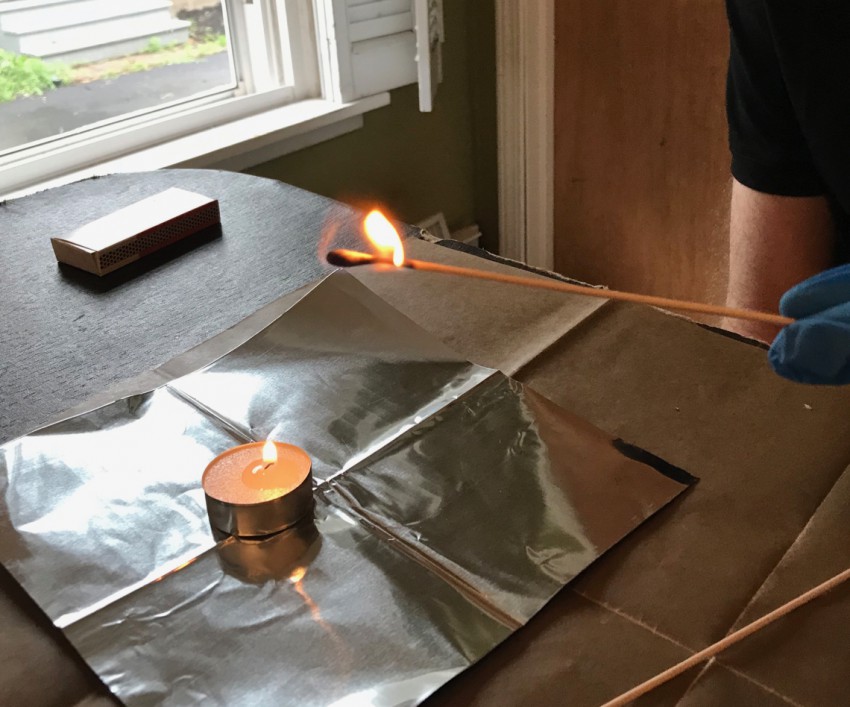
When the dry cotton swab burned, it turned black. However, the swab with the menthol stayed white because the menthol (not the cotton) served as the fuel.
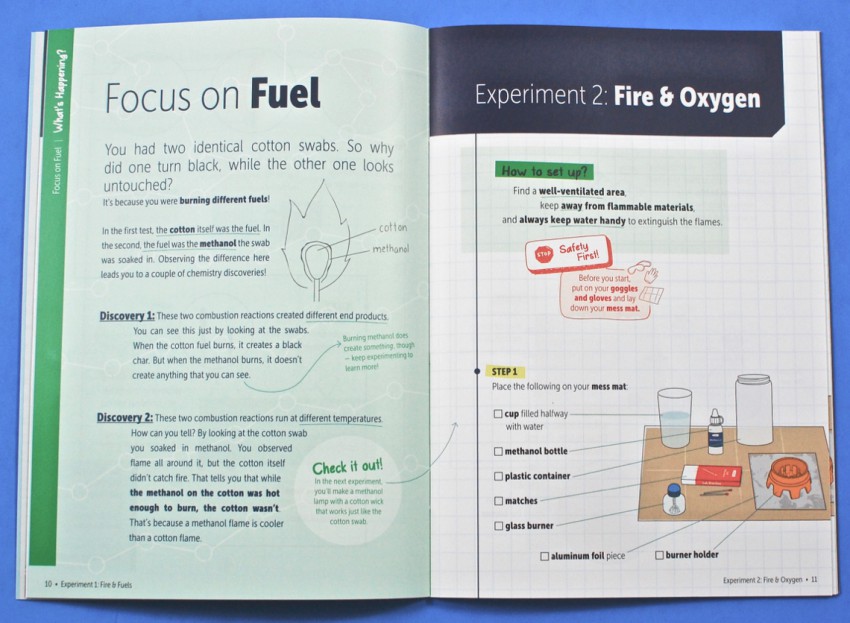
Experiment 2: Fire & Oxygen
The second experiment required you to assemble the burner and fill it with methanol. Once set up, you were to light the wick with a match and then turn your plastic container over and place it on the burner. Covering up the burner with the container would put out the flame, due to the loss of oxygen to fuel the fire.
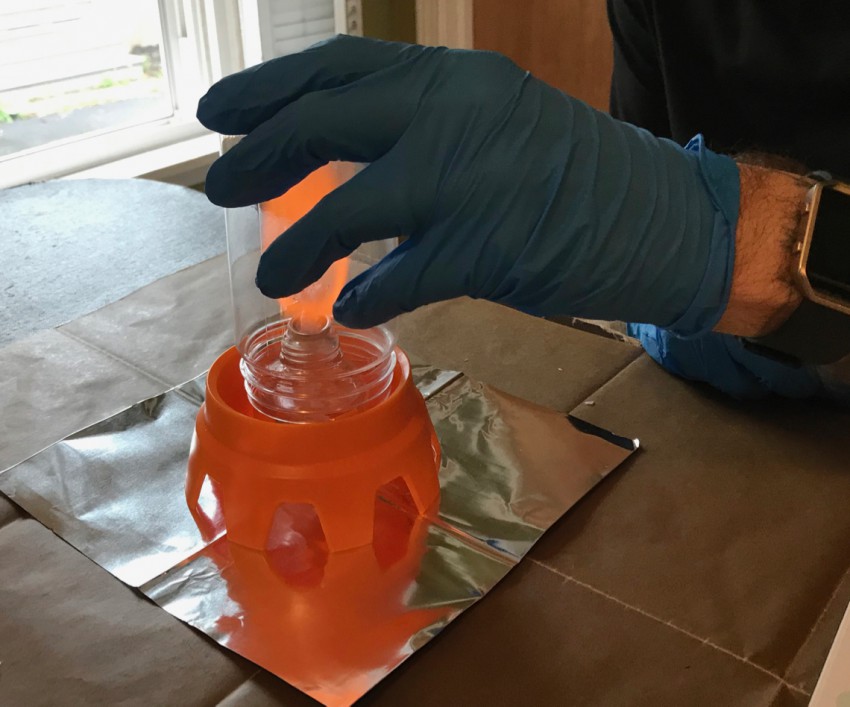
Extinguishing the flame.
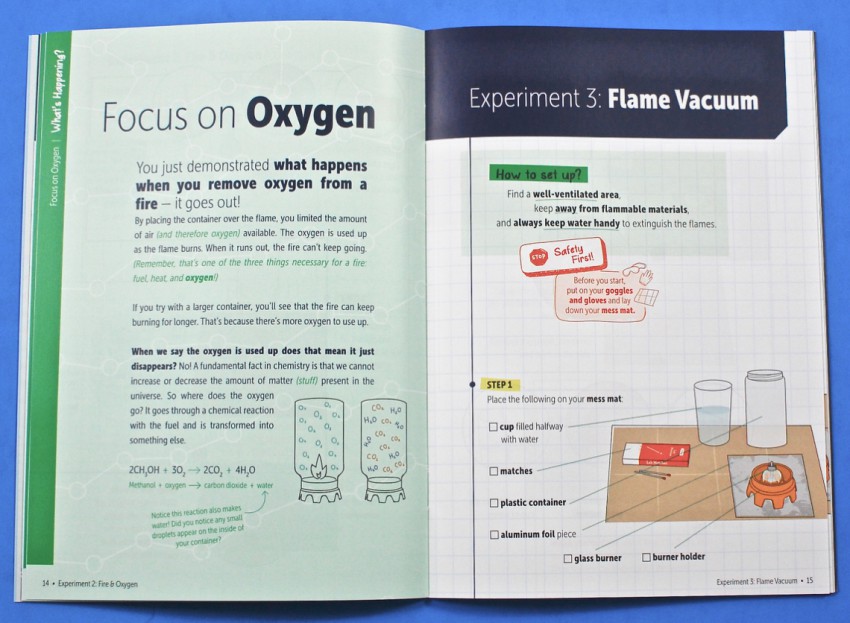
Experiment 3: Flame Vacuum
The third experiment utilized the burner again, but this time you were to fill the burner holder with water. You were then to light the glass burner inside, then gently cover it with the plastic container from the previous experiment. As the flame is being covered by the container, some air will get trapped inside of it, creating pressure. As you lift the container back up, the hot air pushes against the sides of the container causing a vacuum — and bubbles!
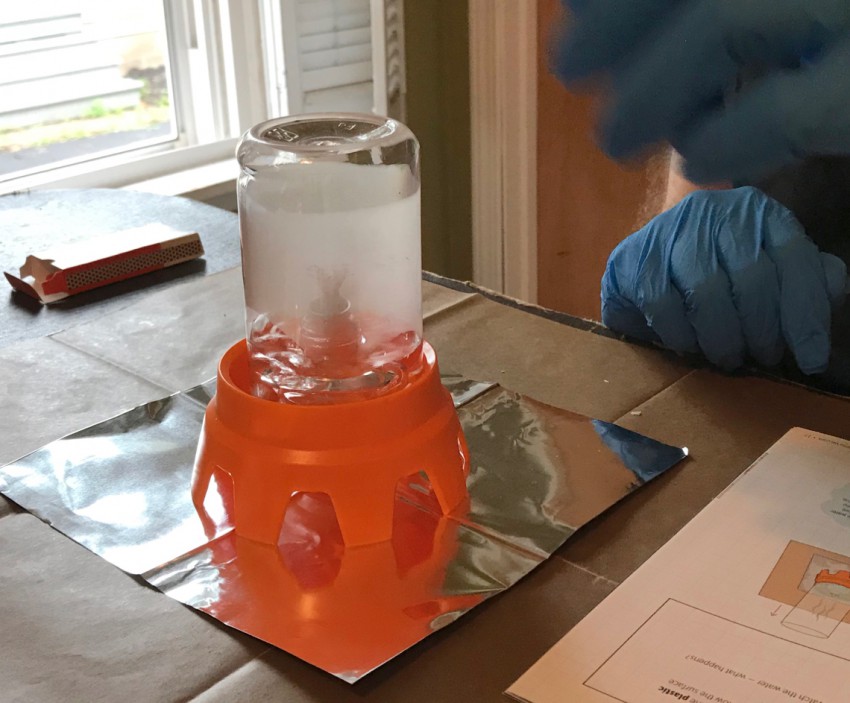
The flame was quickly extinguished as the bubbles went away.
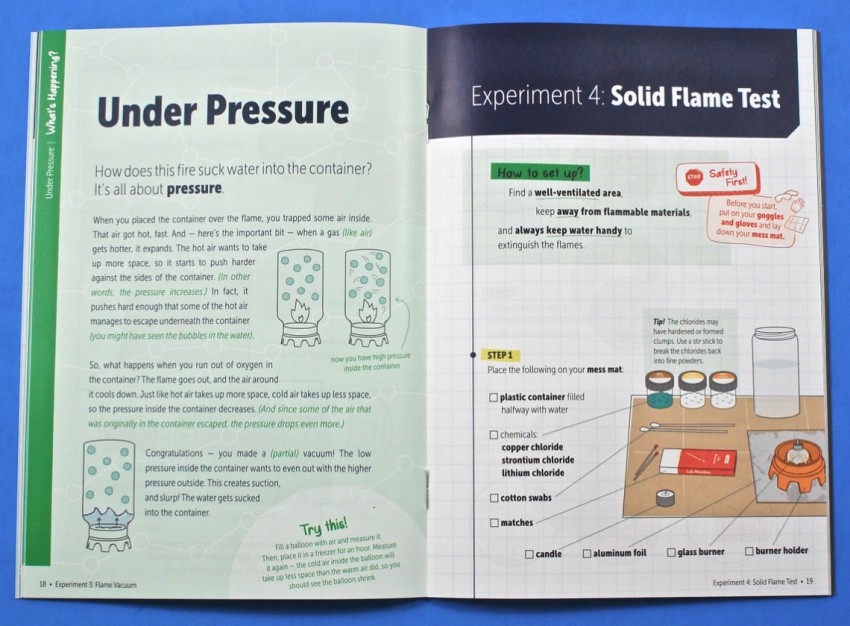
Experiment 4: Solid Flame Test
The fourth experiment had you performing a “flame test” on each of the chemicals — lithium chloride, strontium chloride, and copper chloride. You were to light your candle, allowing it to burn for at least 5 minutes for the wax to pool. You would then dip a swab into the melted wax, coat it in the chemical powder, then hold it over the burner flame for five seconds to observe the color reaction of each different chemical.
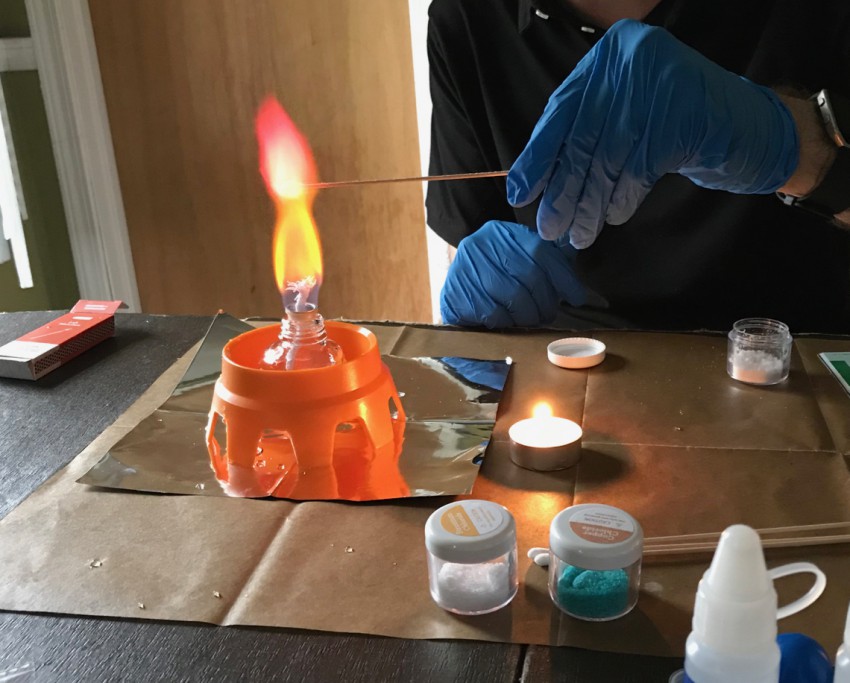
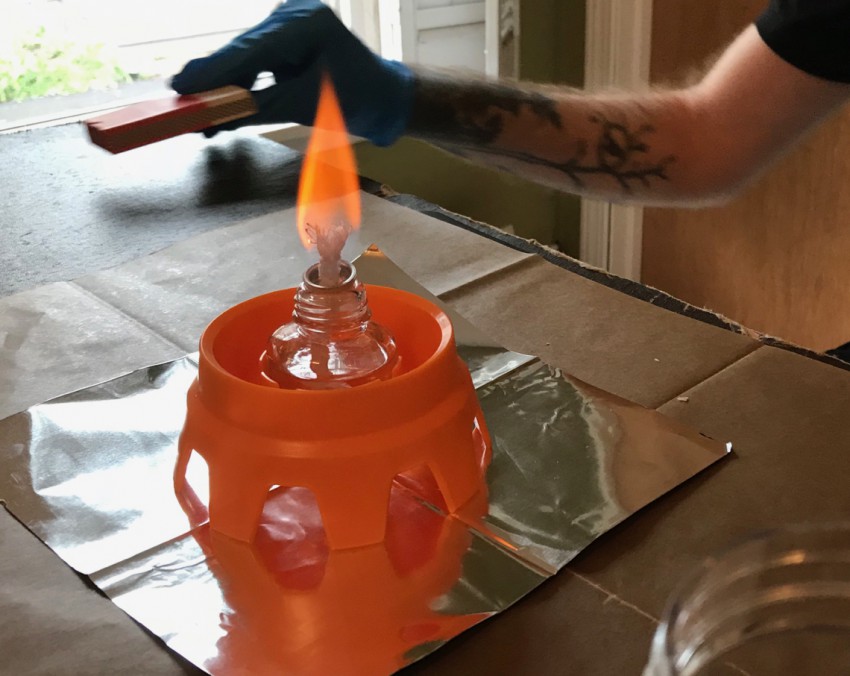
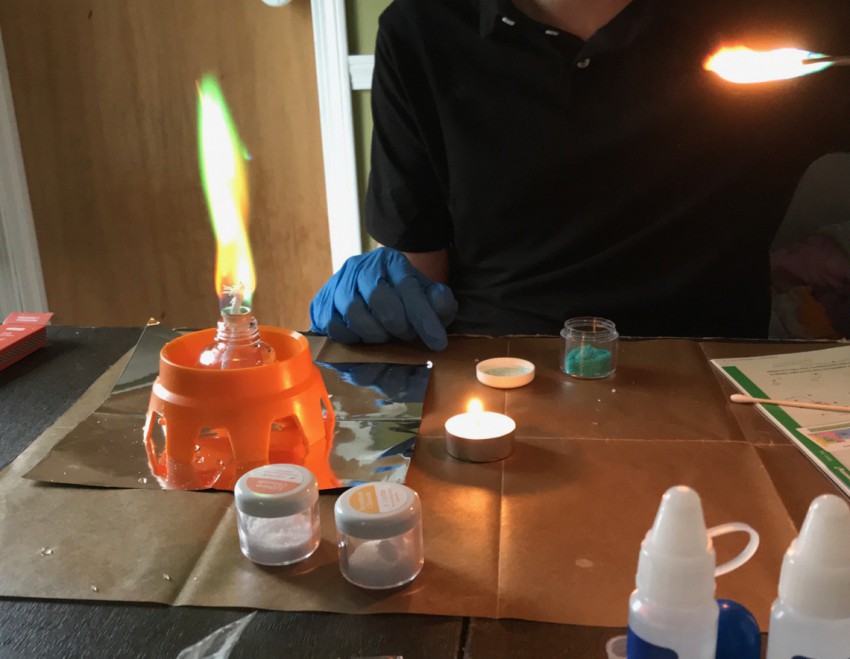
The green flame from the copper chloride was the prettiest. 😉
Experiment 5: Liquid Flame Test
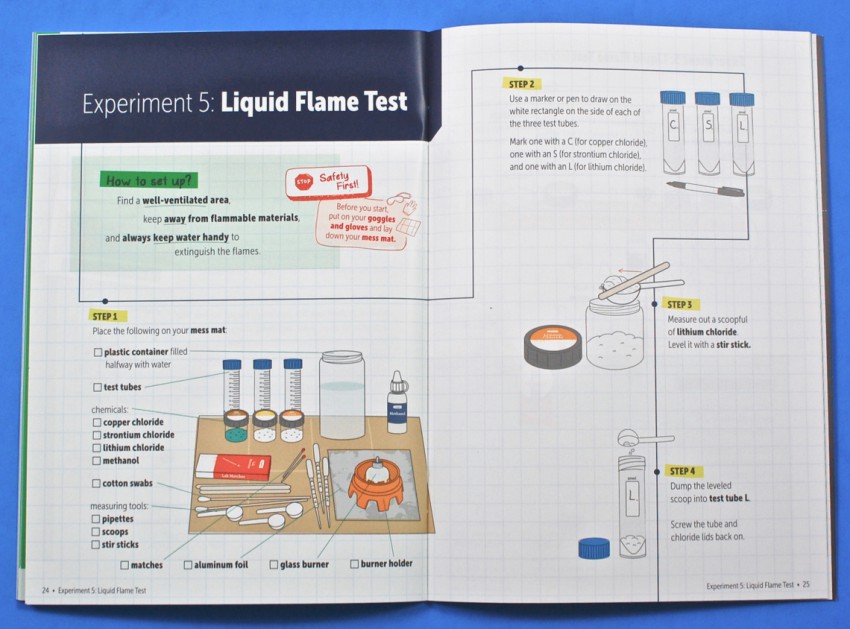
The fifth experiment was similar to the fourth, but instead of using the chemicals in their solid states, you were to turn them into a liquid solution using methanol. Following the instructions, you were to put a designated amount of methanol into each test tube and mix in a scoop of each chemical (one per tube). Once mixed, you would dip a cotton swab into each tube (again, one tube/chemical at a time) and hold it over the burner flame to observe the reaction.
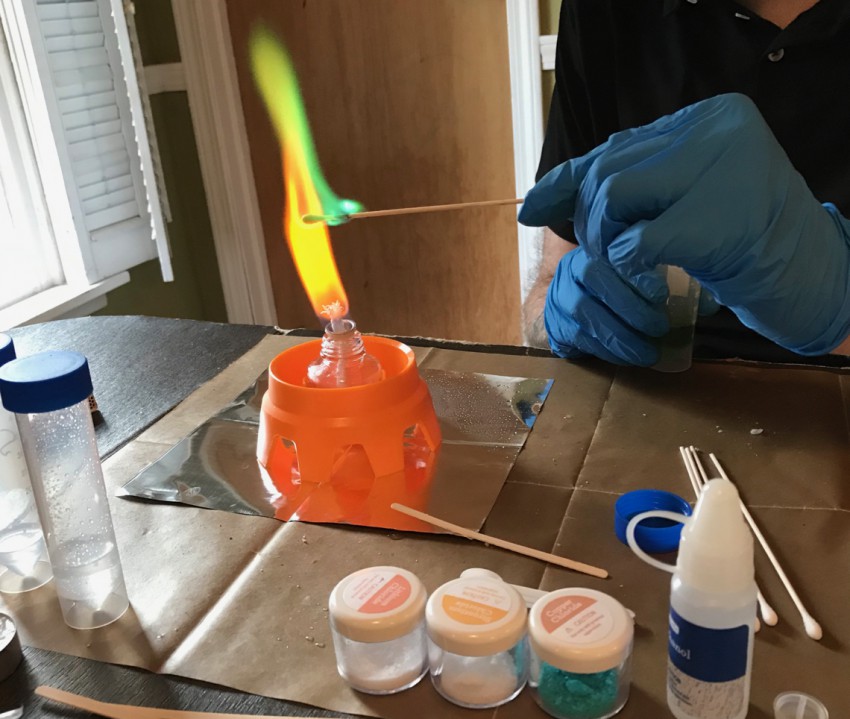
Once again, the copper chloride solution was my favorite. So pretty!
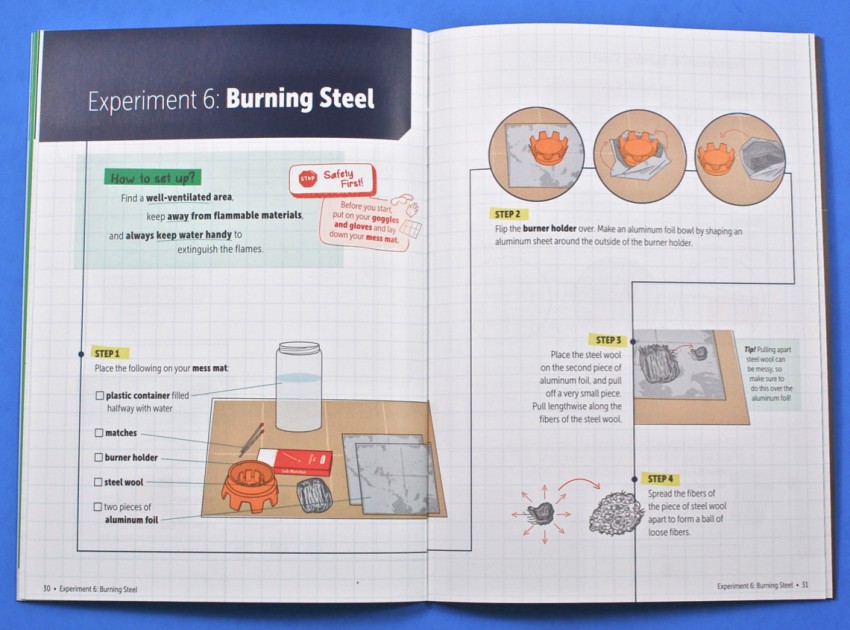
Experiment 6: Burning Steel
The sixth experiment involved wrapping aluminum foil over the underside of the burner holder to form a bowl into which steel wool could be safely burned. You were to place varying sizes and densities of the steel wool into the bowl, light it with a match, and observe how quickly (or slowly) it burned.
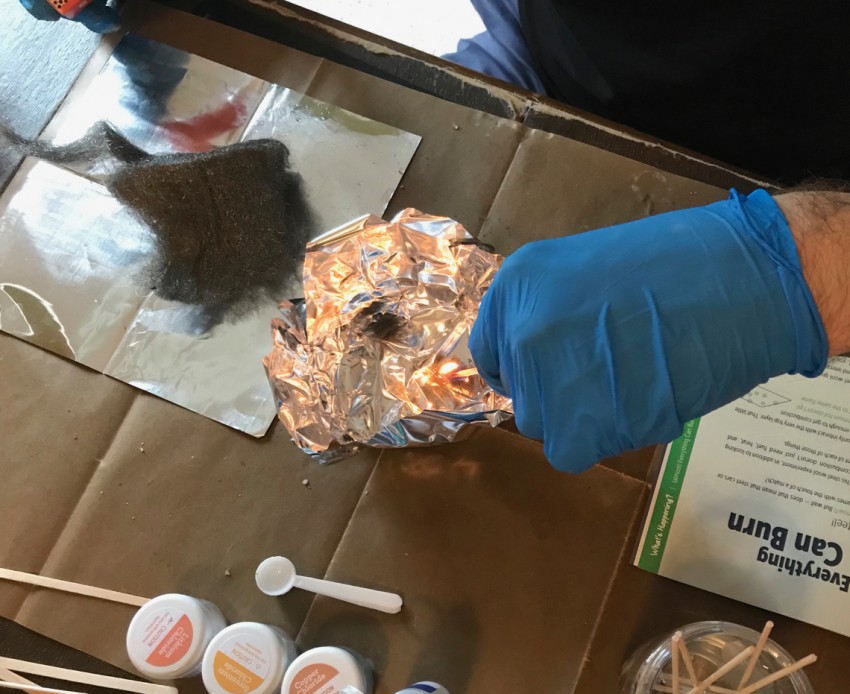
This experiment was a little hard to capture in photos, but the more loosely packed the steel wool was, the quicker it burned — thanks to the larger amount of oxygen between the fibers.
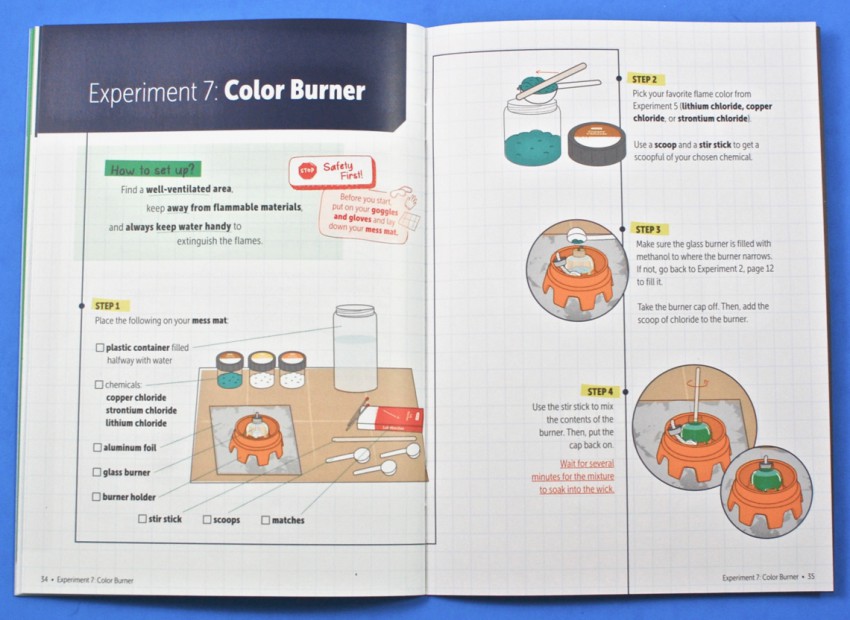
Experiment 7: Color Burner
The final experiment allowed you to choose your favorite flame color from the previous experiments to make your own color burner. Making sure the glass burner was still filled with methanol, you were to remove the wick, mix in a scoop of your chosen chemical, then replace the wick. Using a match, you could then light the burner and enjoy the colored flame.
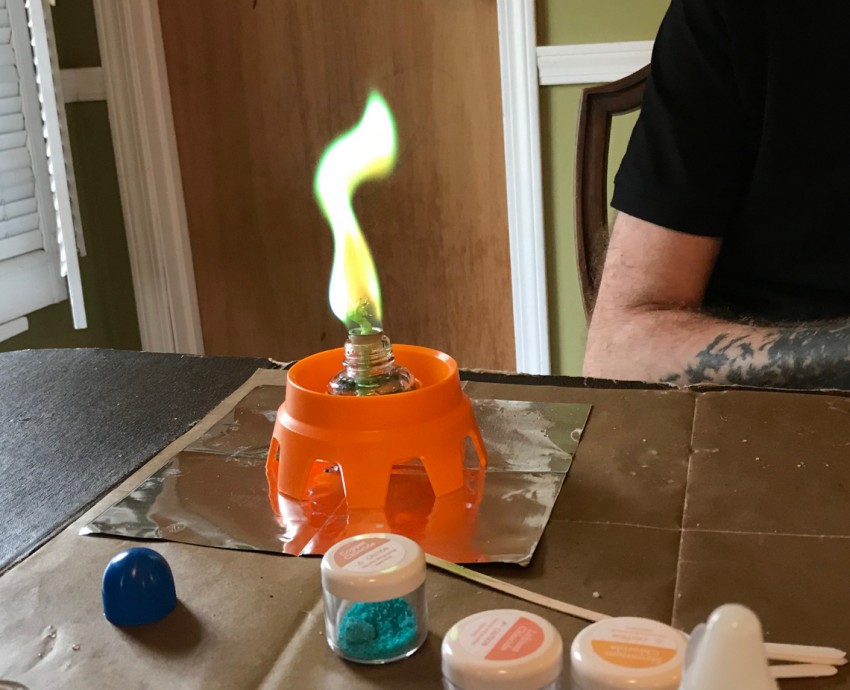
Big green flame! — It was a lot more impressive in person. 😉
While I honestly can’t say I’ve ever been much of a chemistry fan, KiwiCo did a great job with their Fire Lab Chemistry Crate. The experiments were all easy to follow with help from the detailed instruction booklet, which also included additional info explaining how the experiments produced the results that we witnessed. Even my 5-year-olds — who are clearly way too young to actually participate in the labs — enjoyed watching the experiments unfold. Definitely a great box for any budding scientist! 🙂

Leave a Reply