Annie’s Creative Girls Club is a monthly craft subscription specially designed for girls ages 7 through 12.
Each shipment will contain TWO different craft kits to encourage her inner artist. Both kits will include easy-to-follow instructions and all the materials needed to get crafting with minimal adult supervision. She’ll learn fun skills that will last a lifetime: painting, beading, stitching, paper crafting, and much more!
Disclosure: Box was received for review. Post may contain affiliate links.
Subscriptions are $19.98/month + shipping. — For a limited time, you can get your first month for just $3.98 when you use this link to activate the offer!
Let’s see what’s in our Annie’s Creative Girls Club shipment!
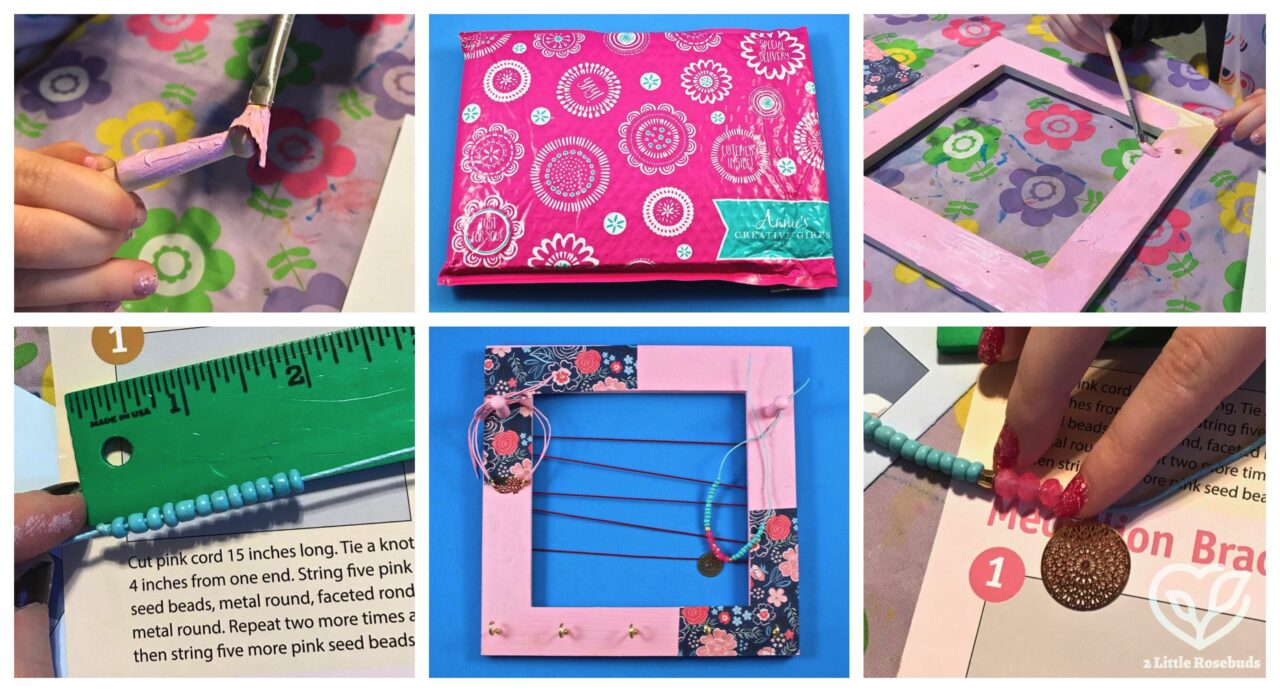
Everything was shipped in a pink & white padded mailer with an Annie’s Creative Girls Club logo in the bottom right corner.
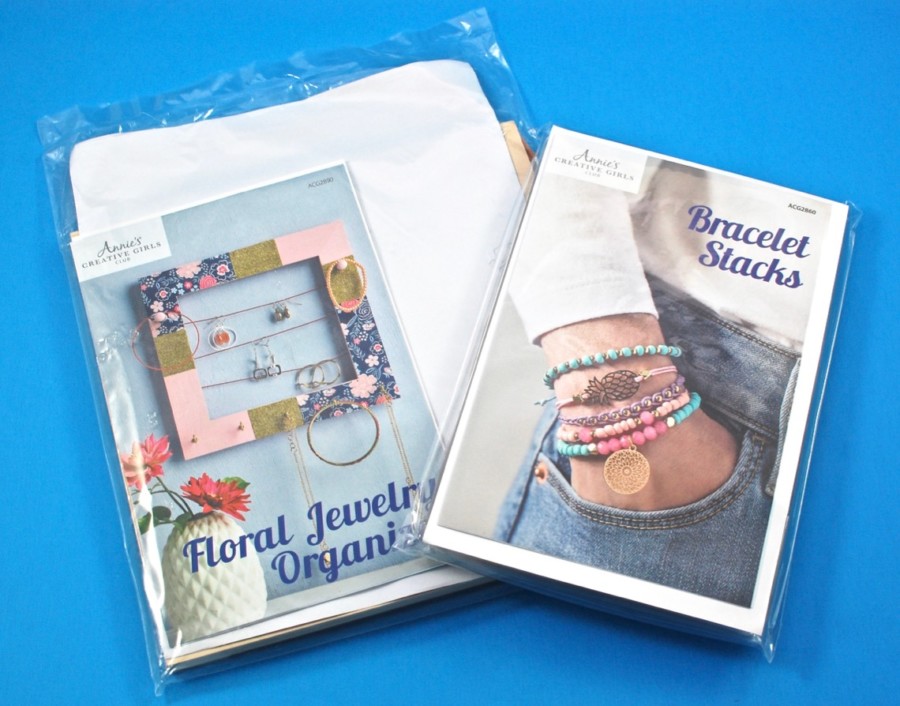
The contents of the envelope! — This month’s projects were “Floral Jewelry Organizer“ and “Bracelet Stacks“.
Kit #1- Floral Jewelry Organizer:
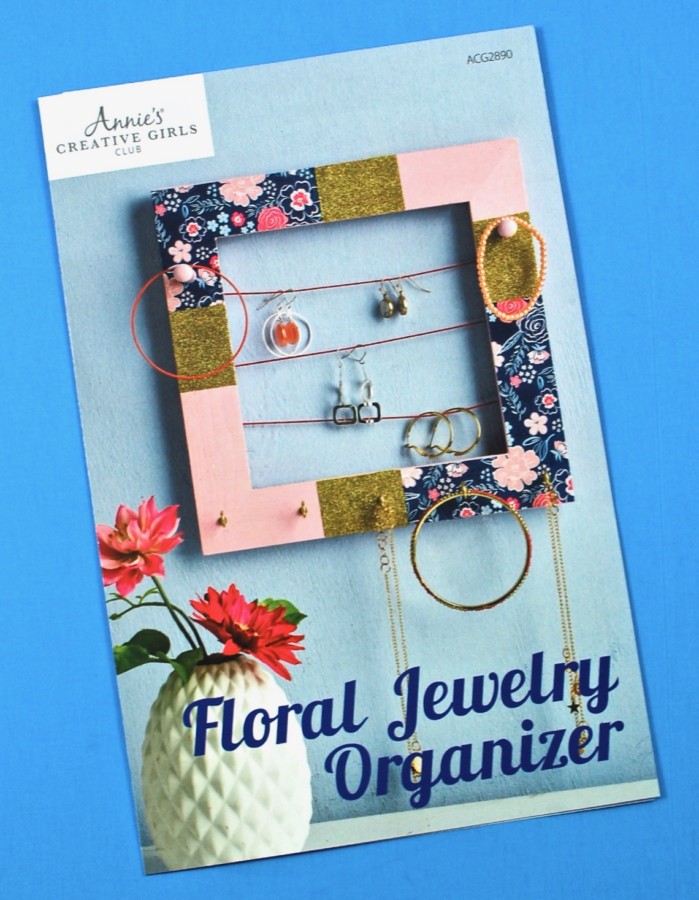
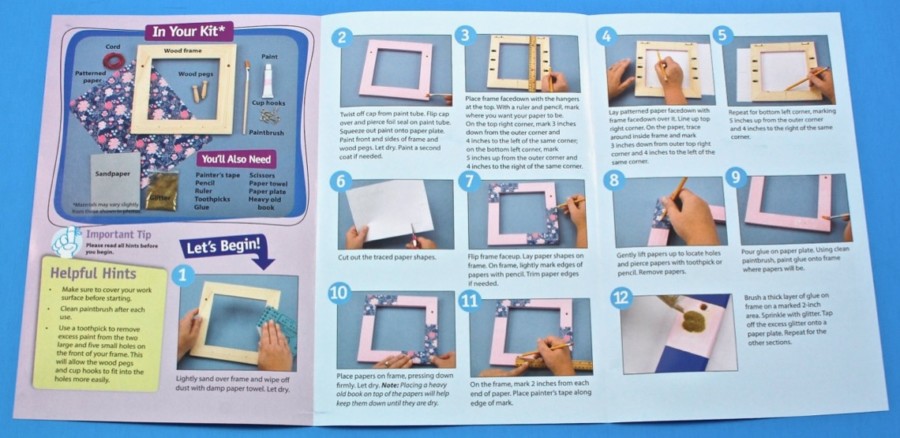
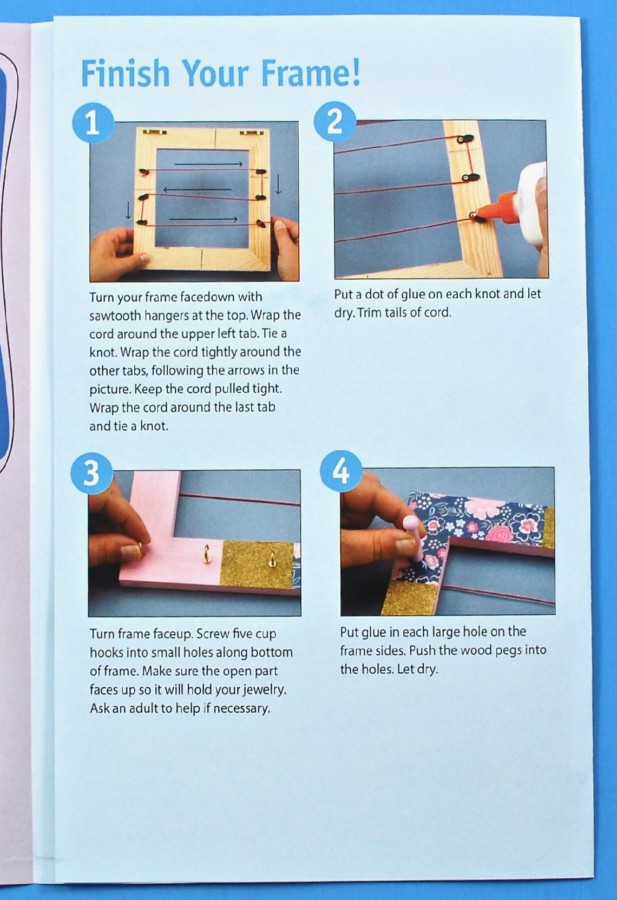
A full color insert provided step-by-step instructions with helpful hints and photos to go along with each step.
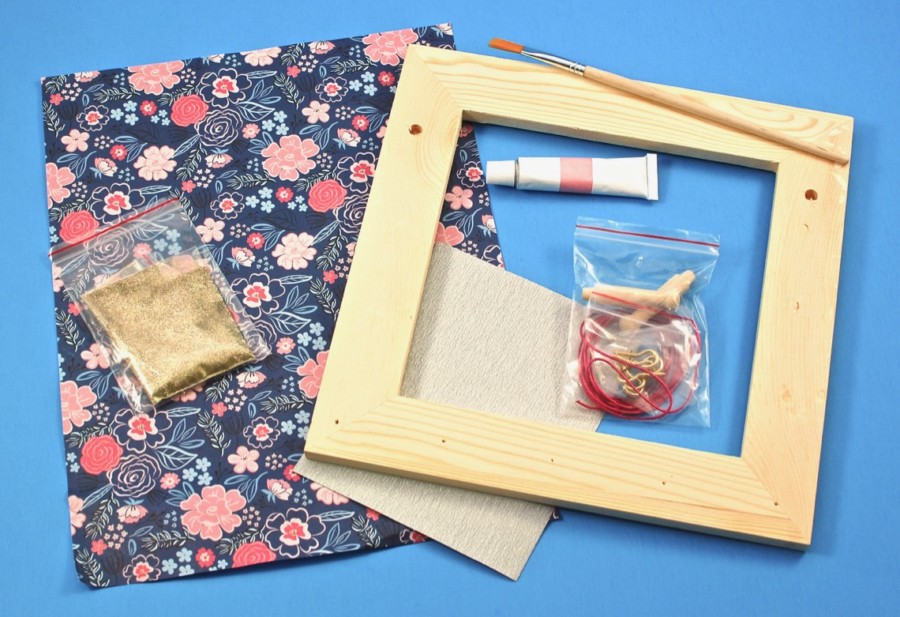
Supplies included patterned paper, glitter, a wooden frame, sandpaper, paint, paintbrush, cording, cup hooks, and wooden pegs.
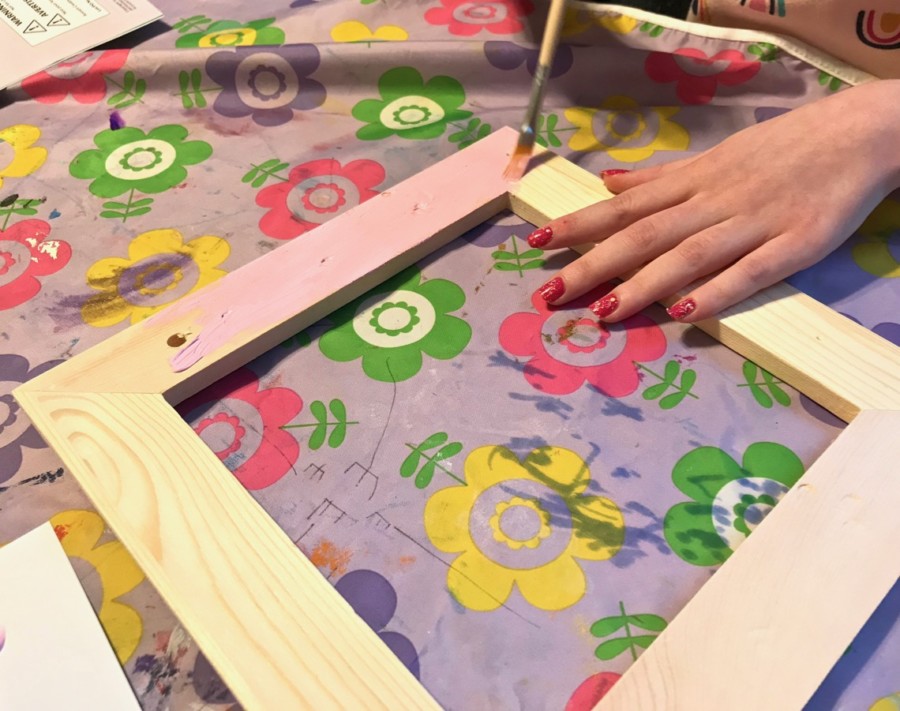
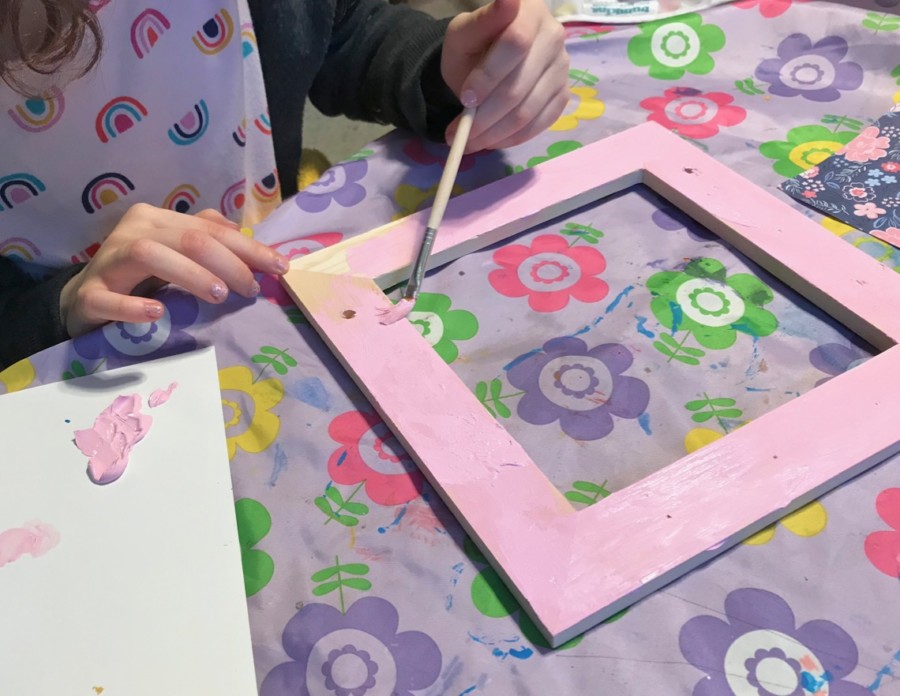
The first step was to lightly sand over the frame and dust off with a damp paper towel. Next, we painted the frame using the included pink paint.
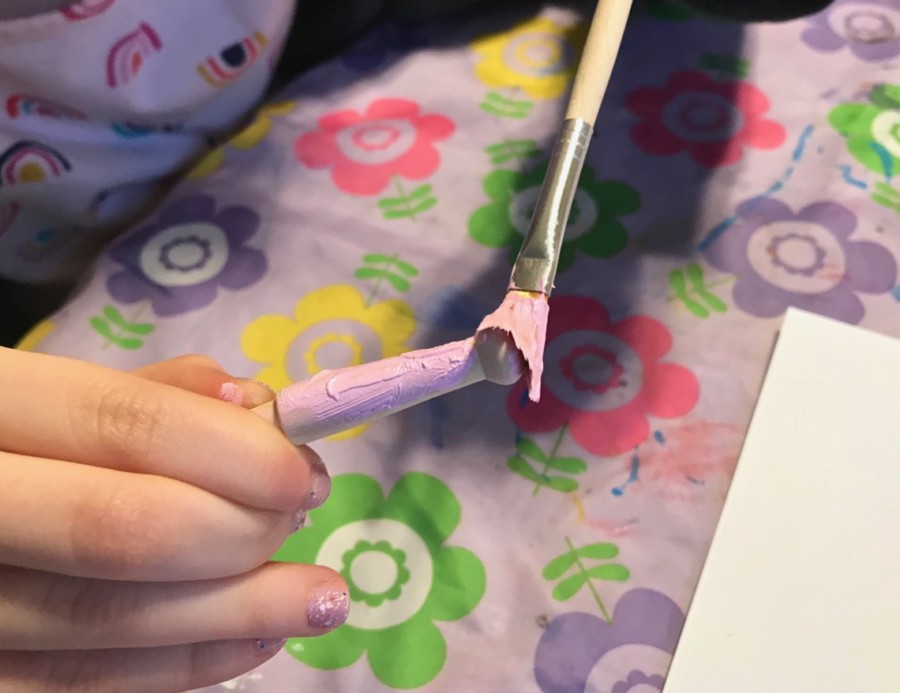
We also painted the wooden pegs.
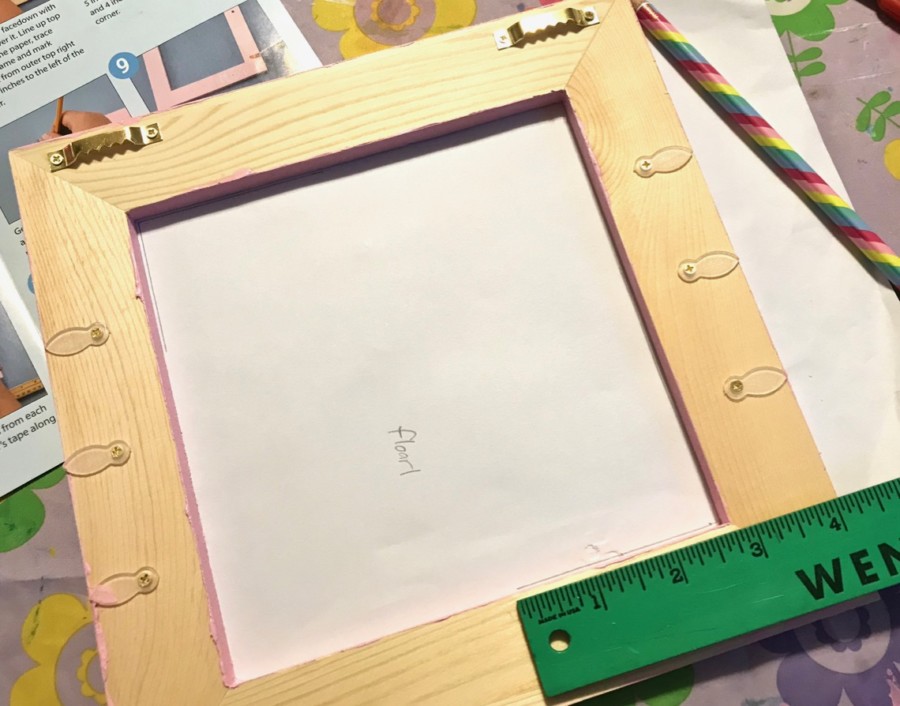
After the paint had dried, it was time to measure and trace the floral paper (reverse side shown above) to show where we’d need to cut to achieve the perfect fit.
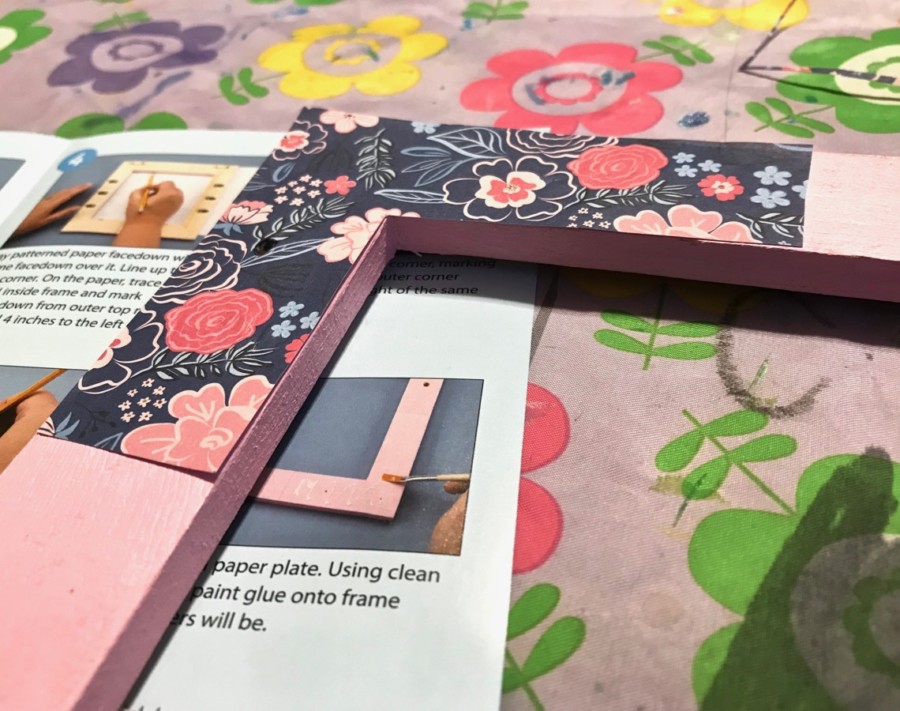
We cut out the paper shapes and laid them on top of the frame. In order not to cover up the pre-drilled holes, a toothpick was used to puncture the paper where they were located.
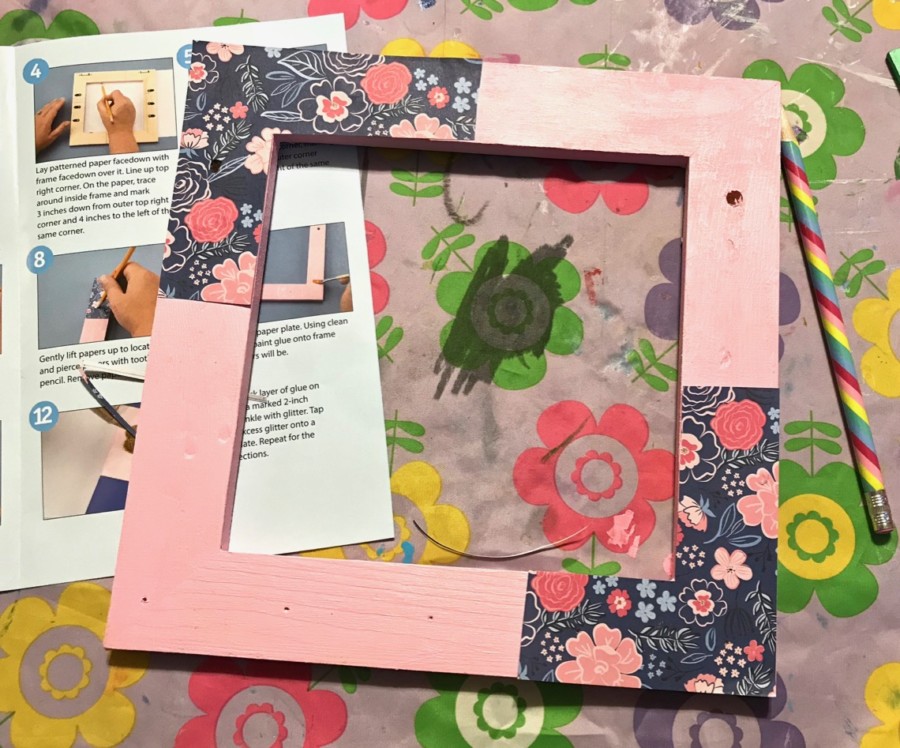
After the holes were located/poked open, we glued the paper shapes to the frame. (Gold glitter was also supposed to be added at this point, but you know how I feel about glitter. 😉 )
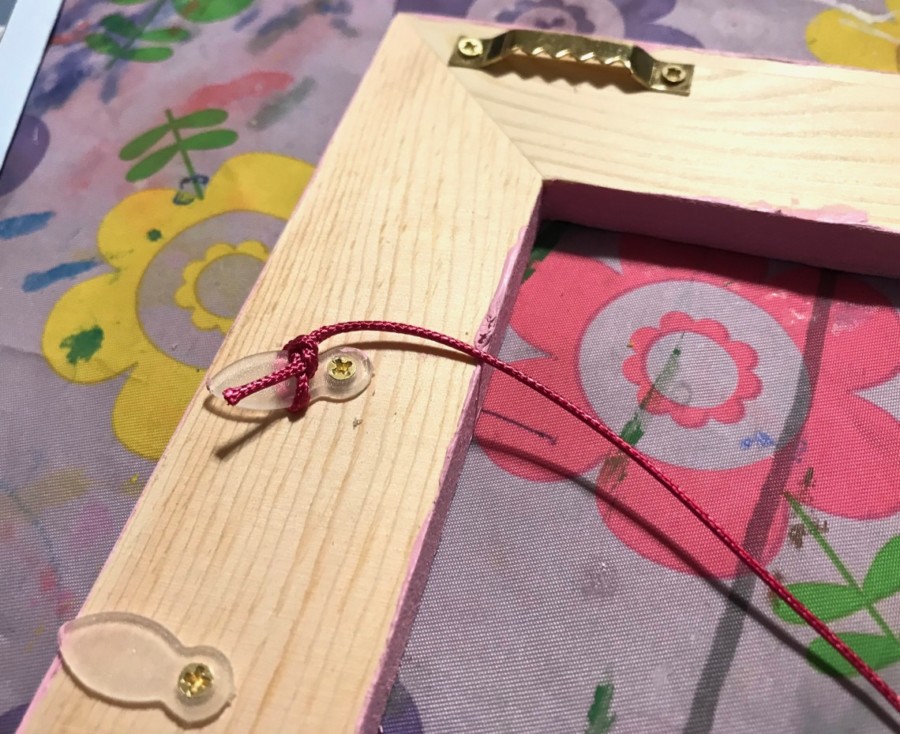
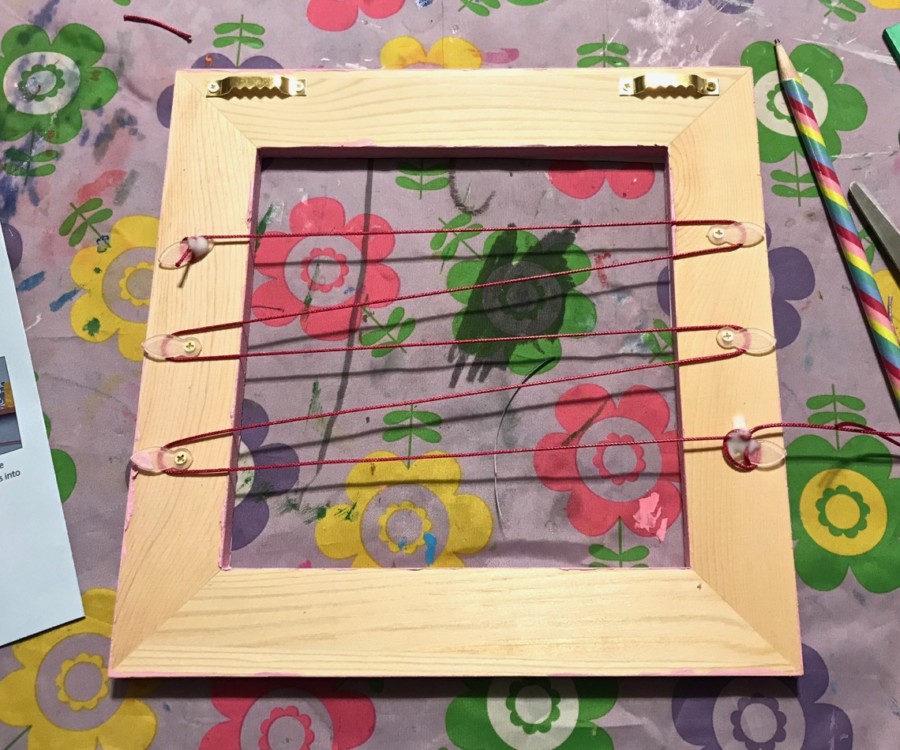
Once the paper was dry, we flipped the frame over and wrapped the cord around each tab and secured it with a knot at each end (which was also dotted with glue for extra hold).
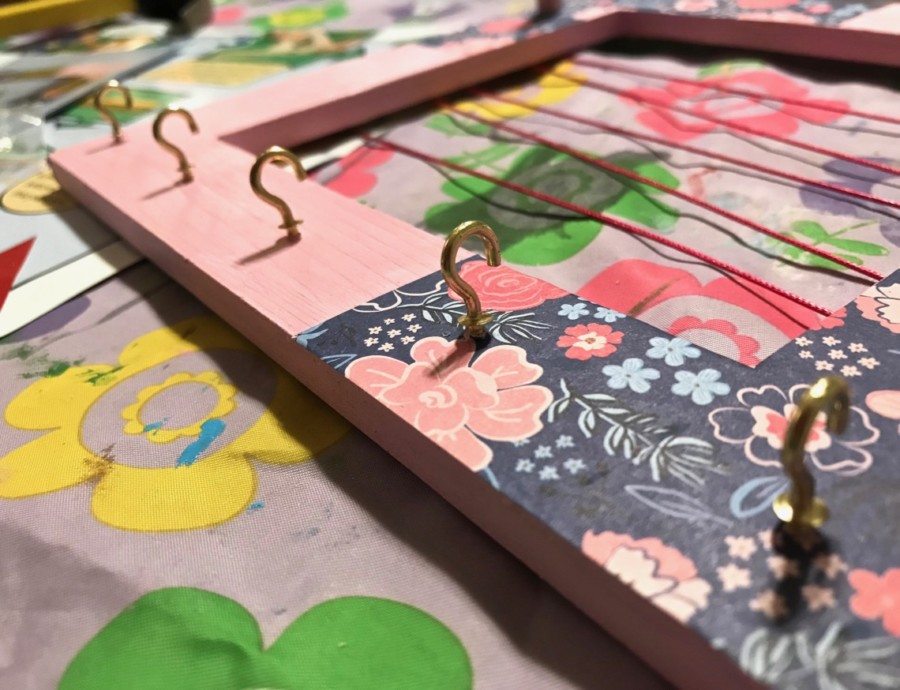
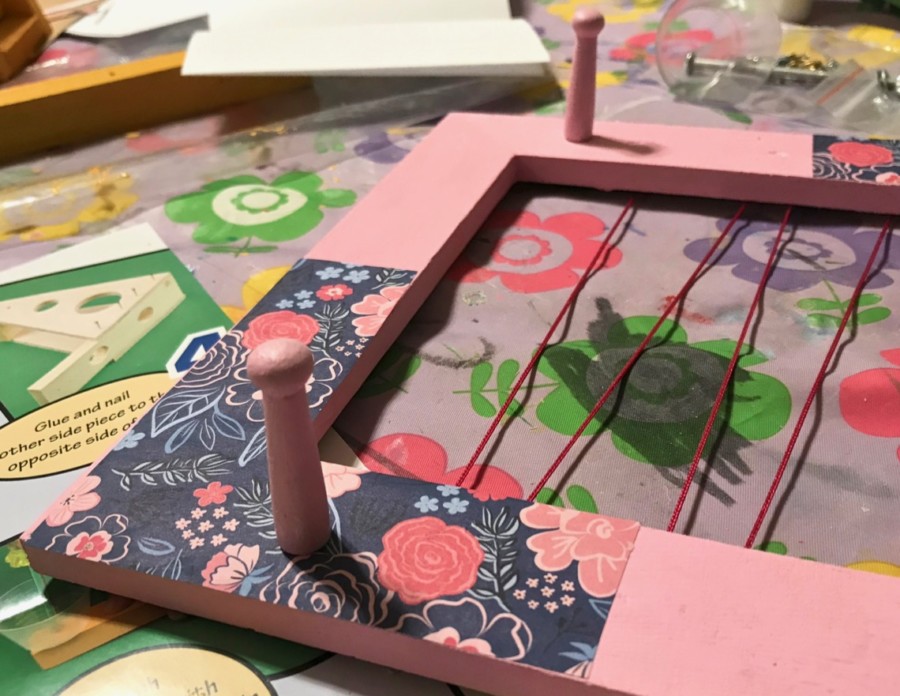
The final steps were to screw in the small gold cup hooks at the bottom and the two wooden pegs at the top.
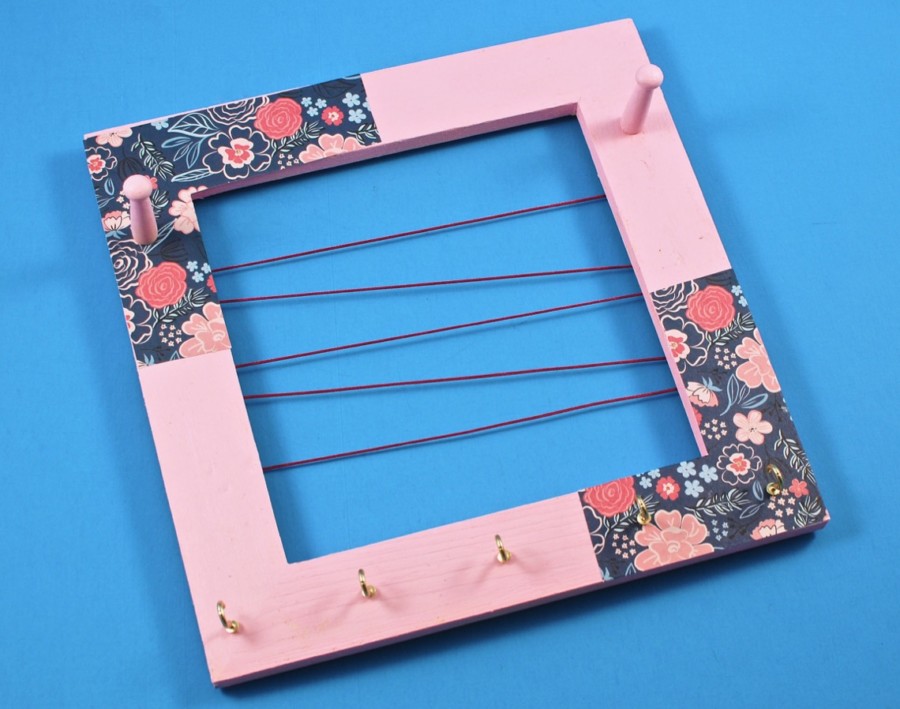
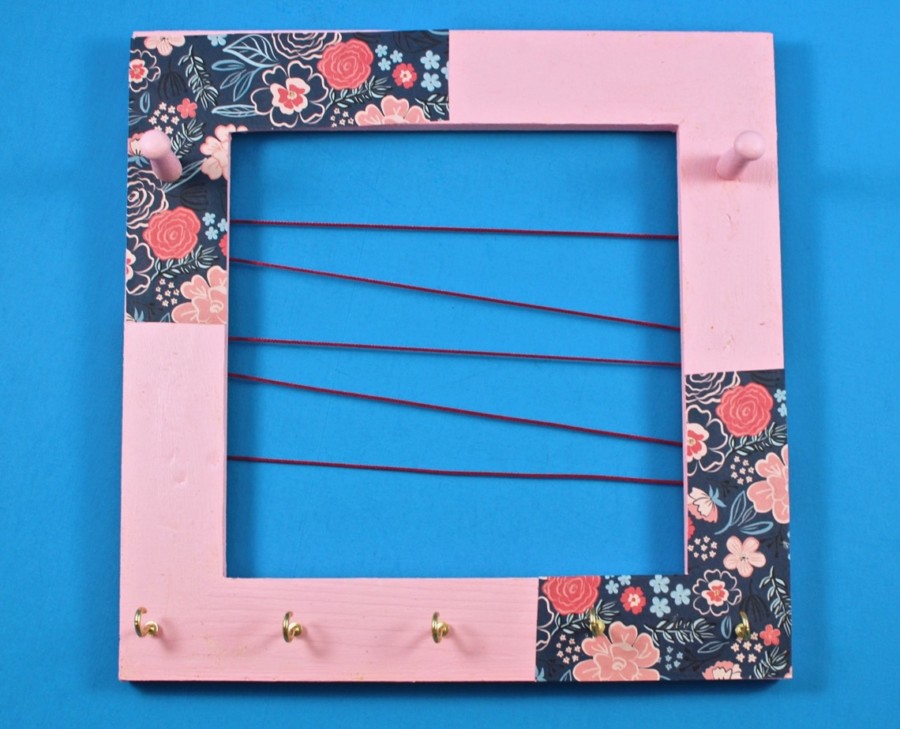
All done! — It turned out so cute. My daughter is excited to hang all of her “dangly” earrings on the strings. 😀
Kit #2: Bracelet Stacks:
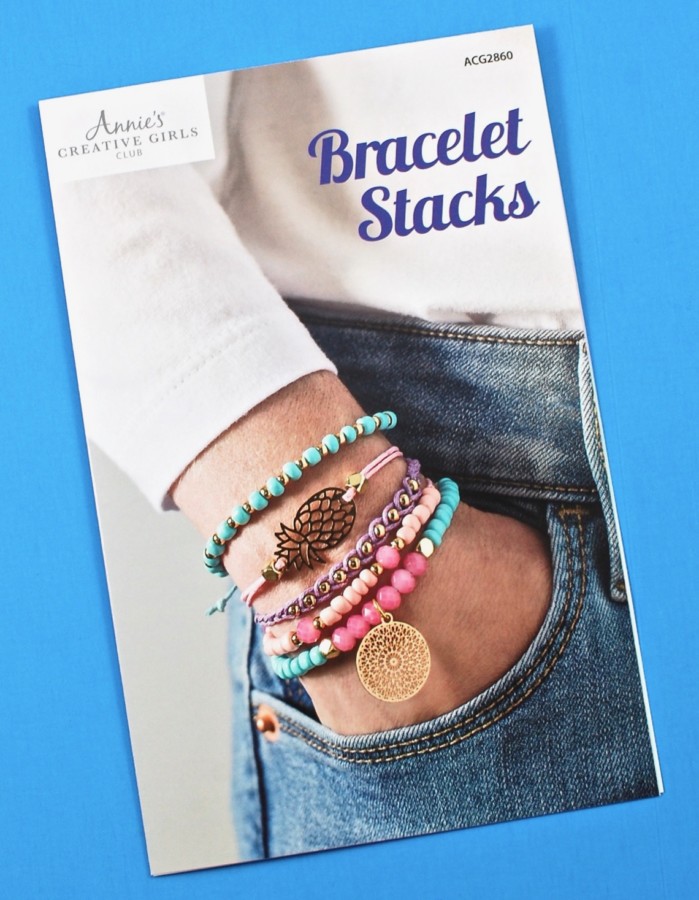
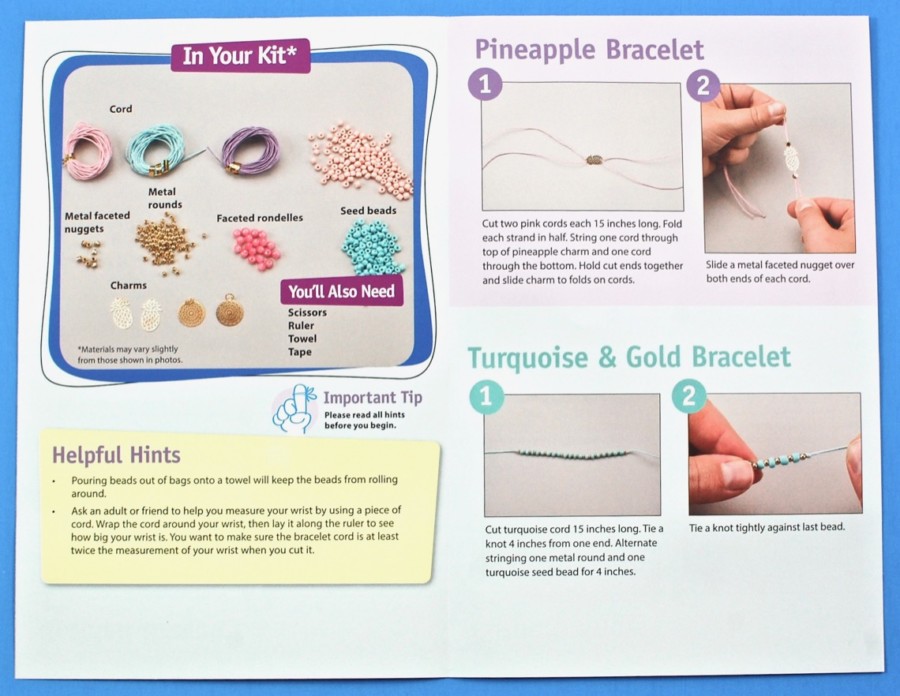
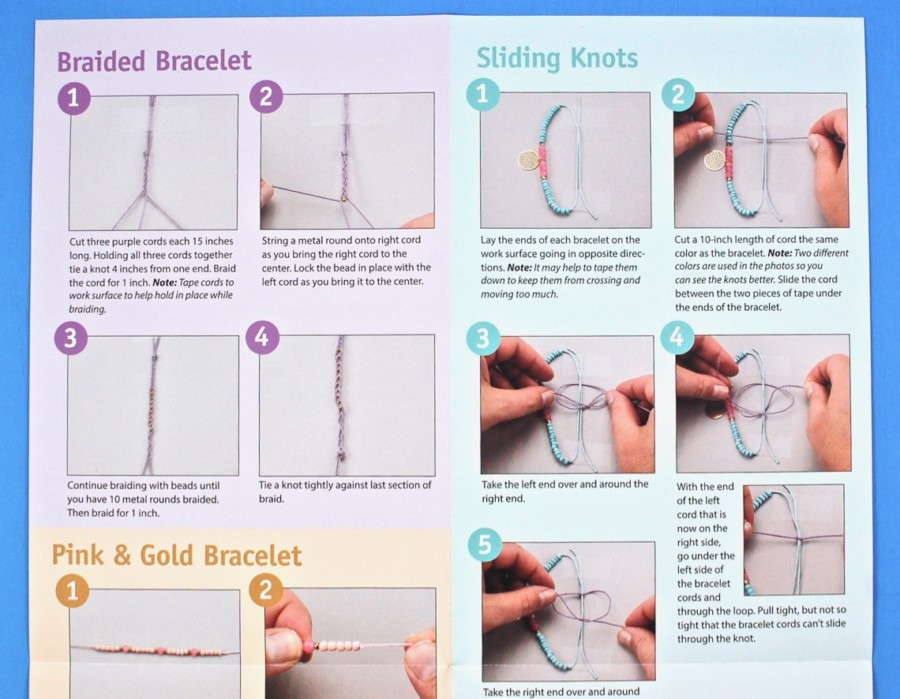
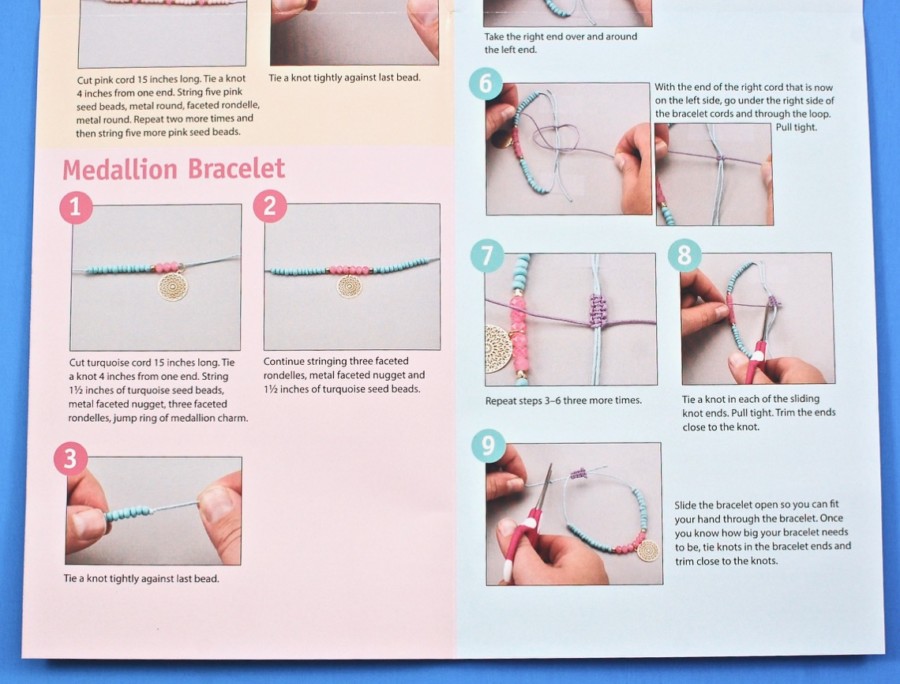
Again, a full color insert provided step-by-step instructions with helpful hints and photos to go along with each step.
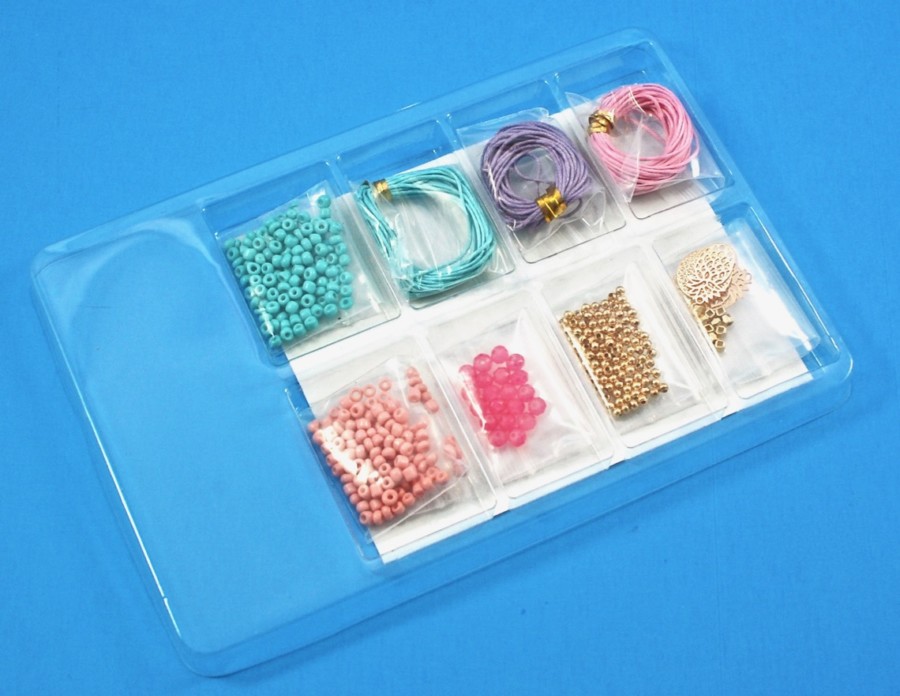
Supplies included three different colors of cording, metal faceted nuggets, faceted rondelles, pink & blue seed beads, charms, and metal rounds.
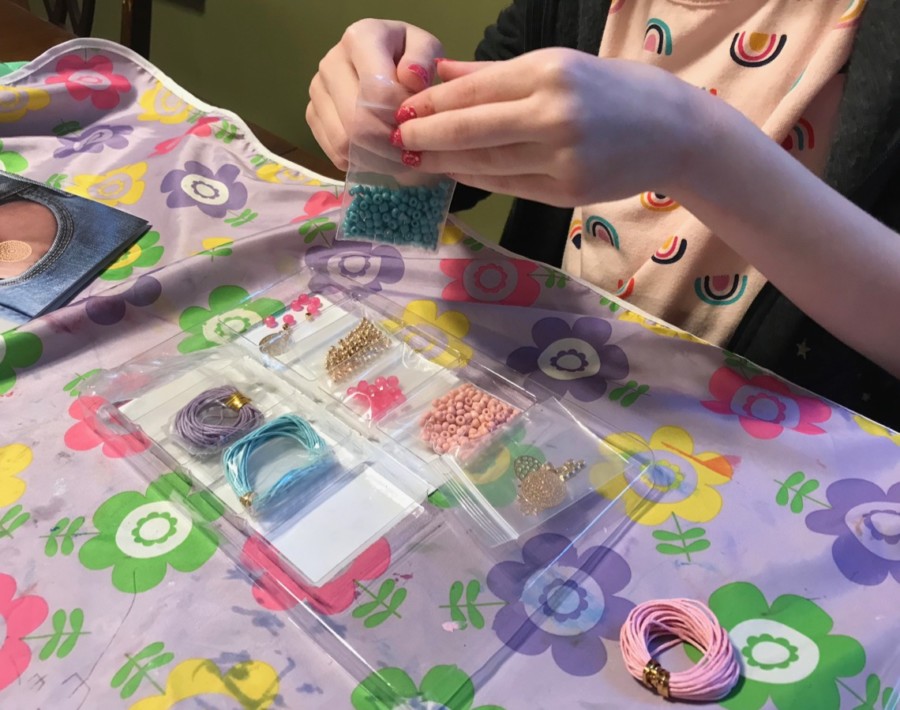
Unfortunately, this project didn’t go quite as well as the first one. We did as much as we could, but ultimately ended up not completing all of the bracelets.
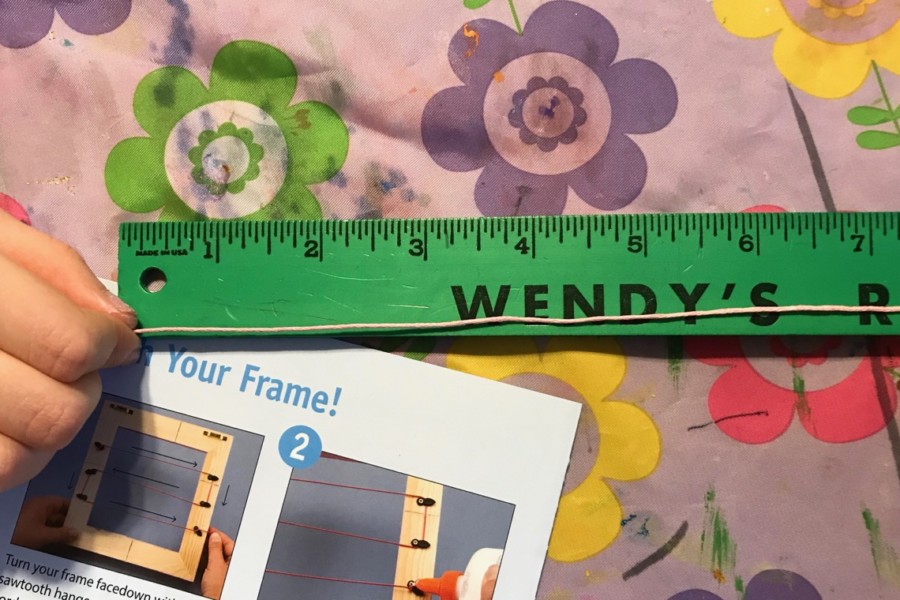
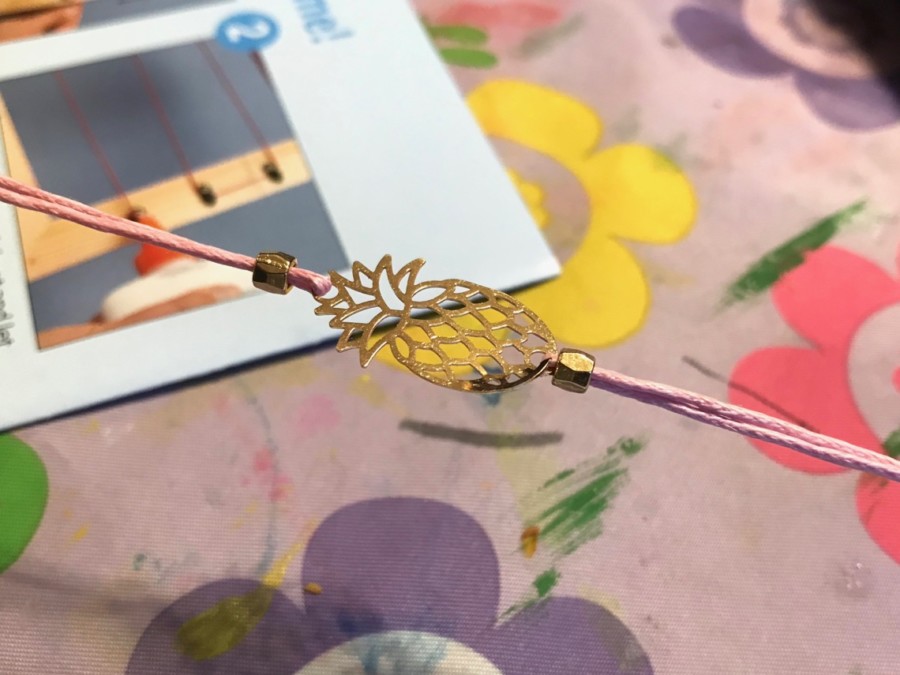
We started with the Pineapple Bracelet, which was fairly simple to assemble. It involved measuring two cords at 15 inches each in length, then stringing one cord through the top of the pineapple charm and one cord through the bottom. Two gold beads were then slid through the folded ends of each cord.
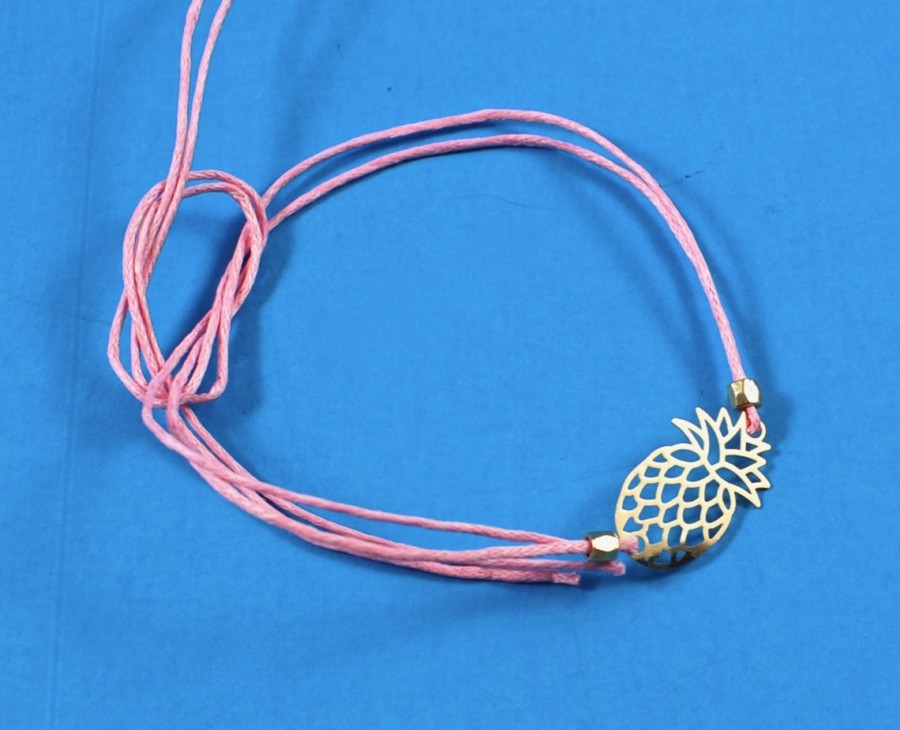
The instructions for the sliding knot closure weren’t horribly advanced, but they were enough to overwhelm us (me) so we (I) skipped that step for the time being.
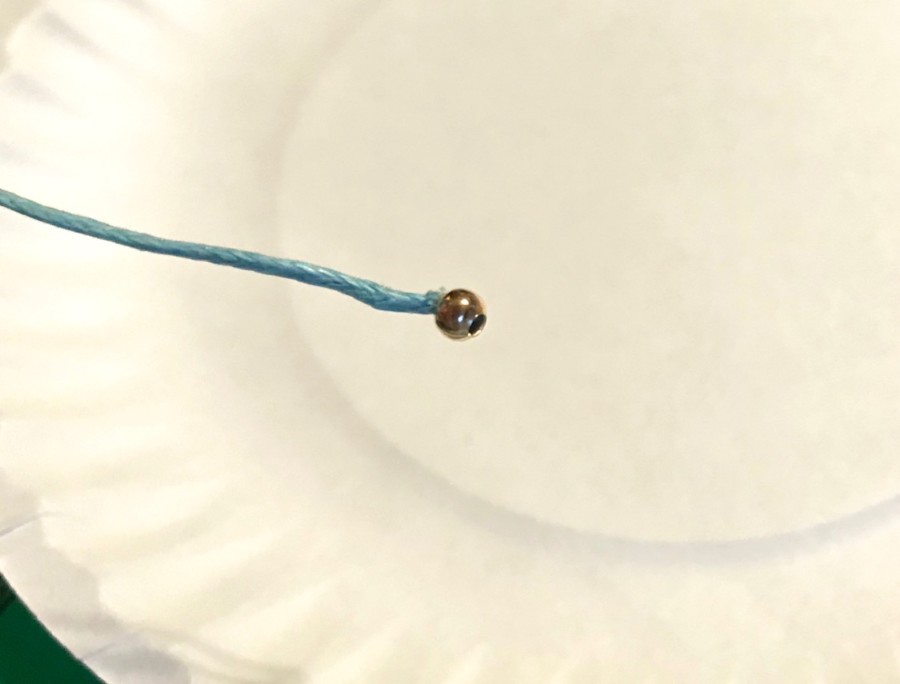
Next, we attempted to make the Turquoise & Gold Bracelet. We measured and cut a 15-inch piece of blue cord and tied a knot 4 inches from the end. We added one turquoise bead and were supposed to alternate with gold beads, but as you can see in the photo above the gold beads were WAY too small. Their tiny holes just wouldn’t allow the cord to slide through, even after multiple attempts with different beads. Bummer. 🙁 (That said, we had to skip the other two bracelets that also called for the use of the gold beads.)
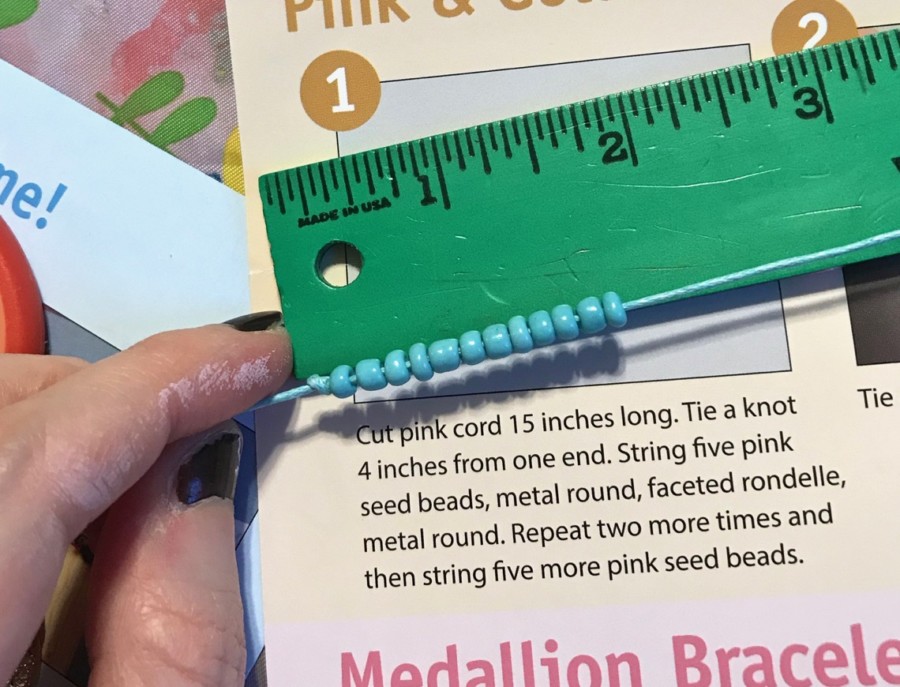
Our final project was the Medallion bracelet. We started by cutting a 15-inch piece of blue cord and tying a knot 4 inches from one end. We then strung on 1 1/2 inches of blue beads.
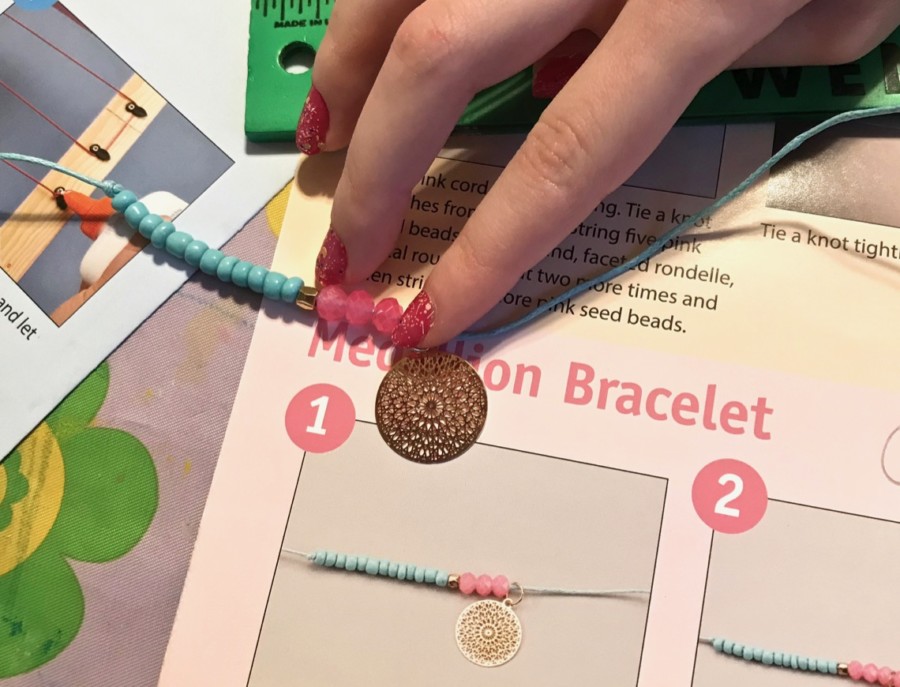
A (larger) gold bead and three pink beads were added, followed by the gold medallion charm.
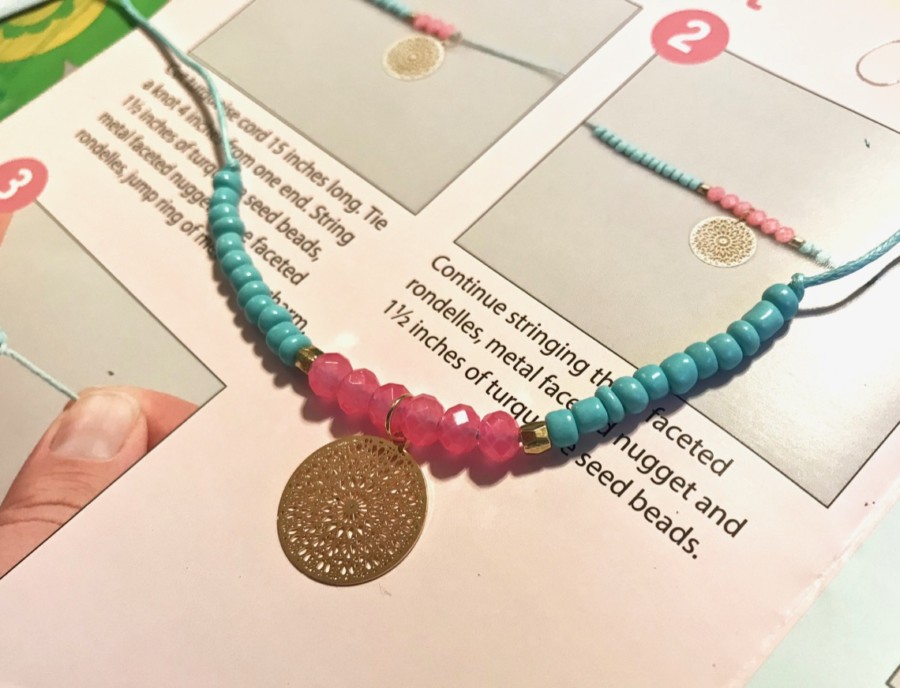
The pattern was then repeated in reverse order on the other side of the medallion.
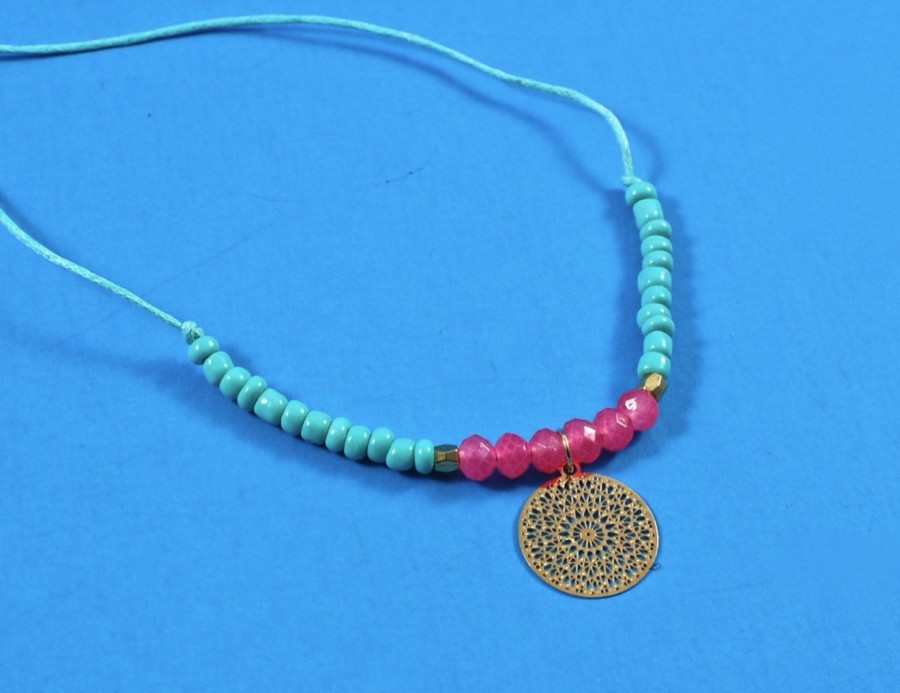
This was definitely the girls’ favorite out of the two bracelets we were able to complete.
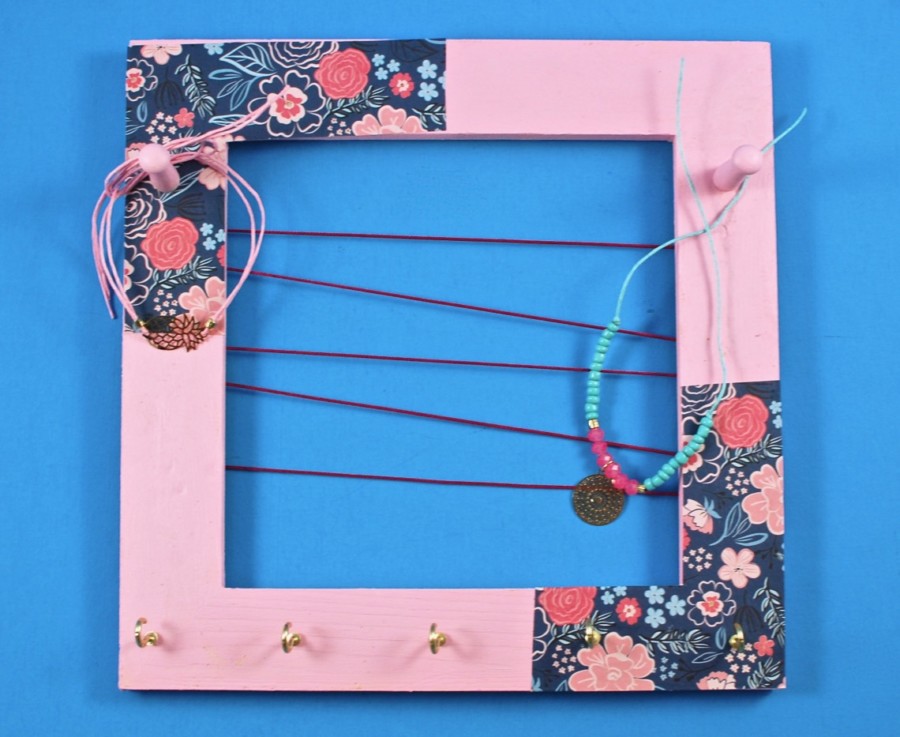
Here are both of the completed kits together. — So fun & girly!
Although the bracelet kit had a few hiccups, we still really enjoyed our Annie’s Creative Girls Club projects. The jewelry organizer was a big hit and the girls were excited about how nice it turned out. We’re actually going to be moving next month, so they can’t wait to hang it up in their brand new room! 😀 — Remember, for a limited time you can get your first month for just $3.98 when you use this link to activate the offer!

Leave a Reply