Annie’s Farmhouse Style Kit Club is a crafting subscription box that sends a new stylish and affordable farmhouse craft kit to your door every month.
Each kit will include all of the crafting materials you’ll need, along with easy, step-by-step instructions to complete the project. — Just use your own basic tools, like a glue gun and scissors, and start creating. From the family room to the kitchen table, holiday decorations to gift ideas, every project brings fresh farmhouse character into your space…and reflects your love for all things handmade.
Disclosure: Box was received for review purposes. Post may contain affiliate links.
Subscriptions are $19.99/month, but for a limited time you can save 50% on your first month with coupon code “SHARE50“!
Let’s see what’s in my August 2020 Annie’s Farmhouse Style Kit Club box!
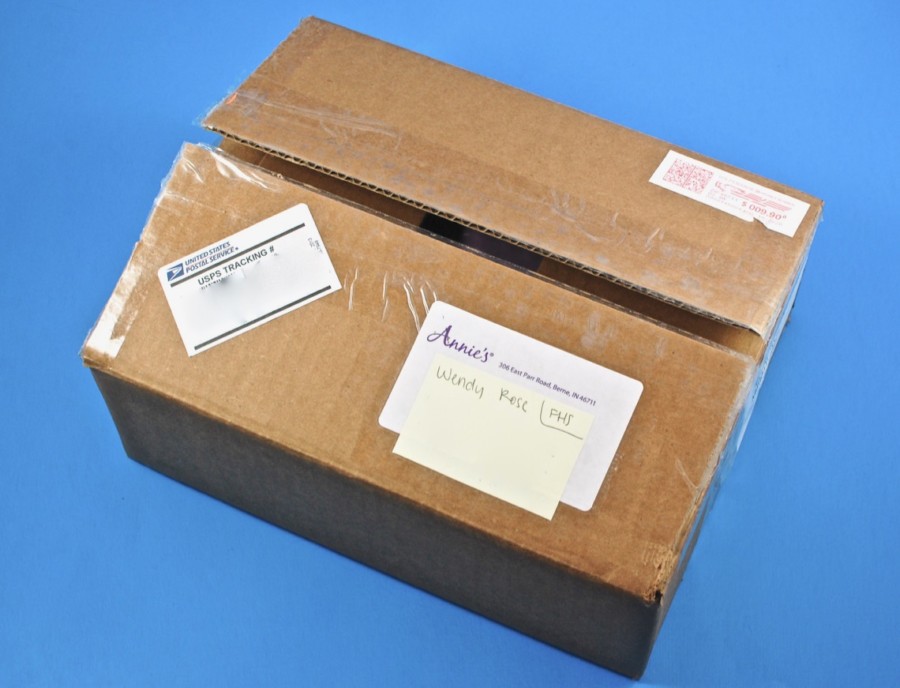
Everything was shipped in a small brown box via USPS First Class mail.
Inside the box was a purple padded envelope that all of the supplies were tucked into.
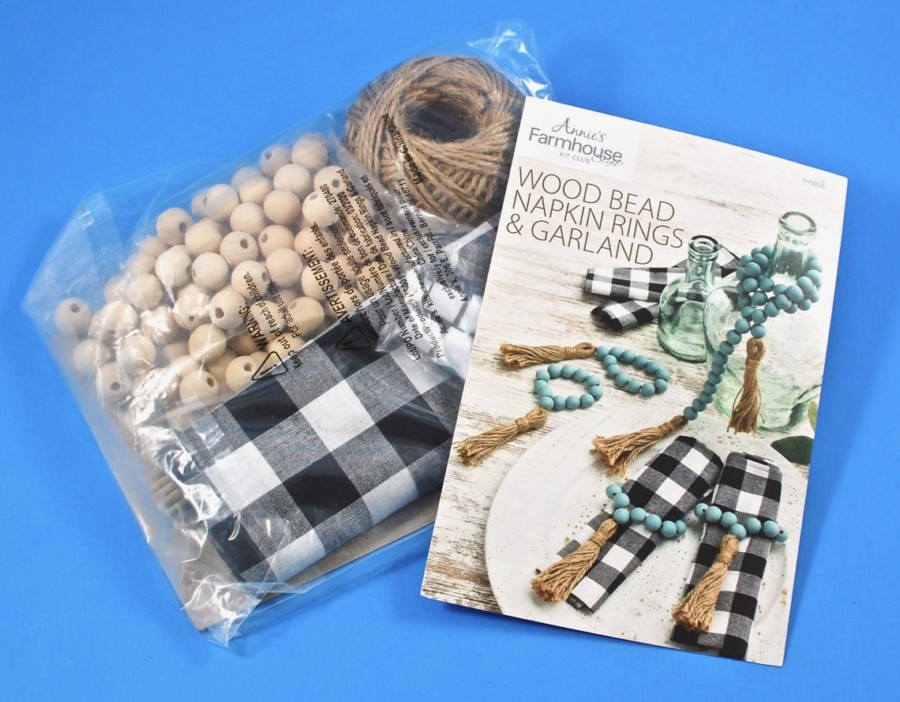
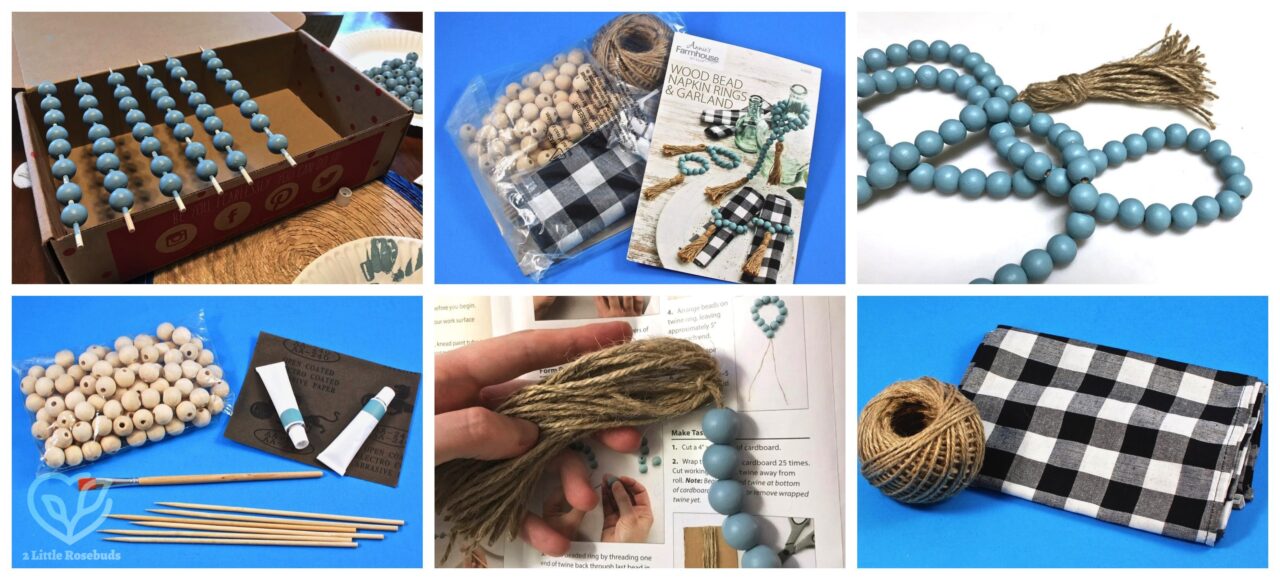
The contents of the envelope! — This month’s project was “Wood Bead Napkin Rings & Garland“.
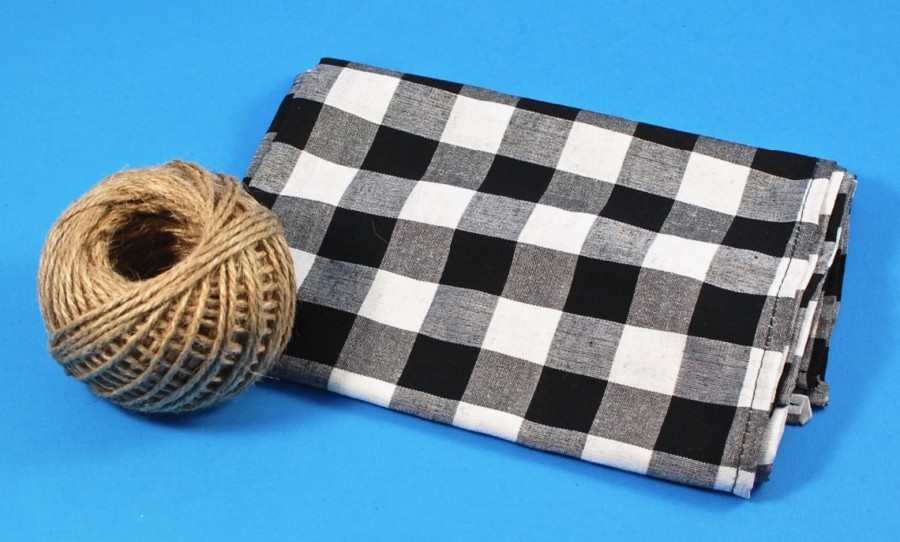
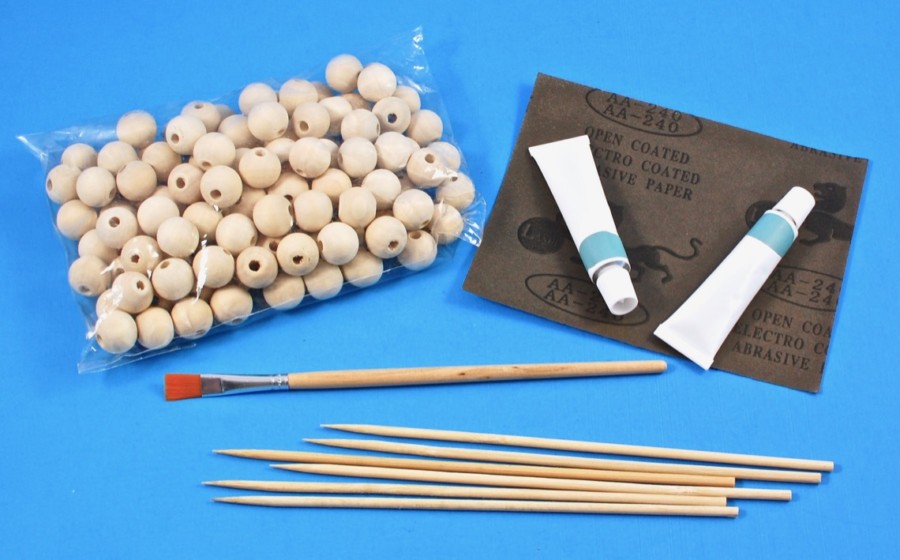
Supplies included jute twine, 4 fabric napkins, wooden beads, sandpaper, 2 tubes of paint, wooden skewers, and a paintbrush.
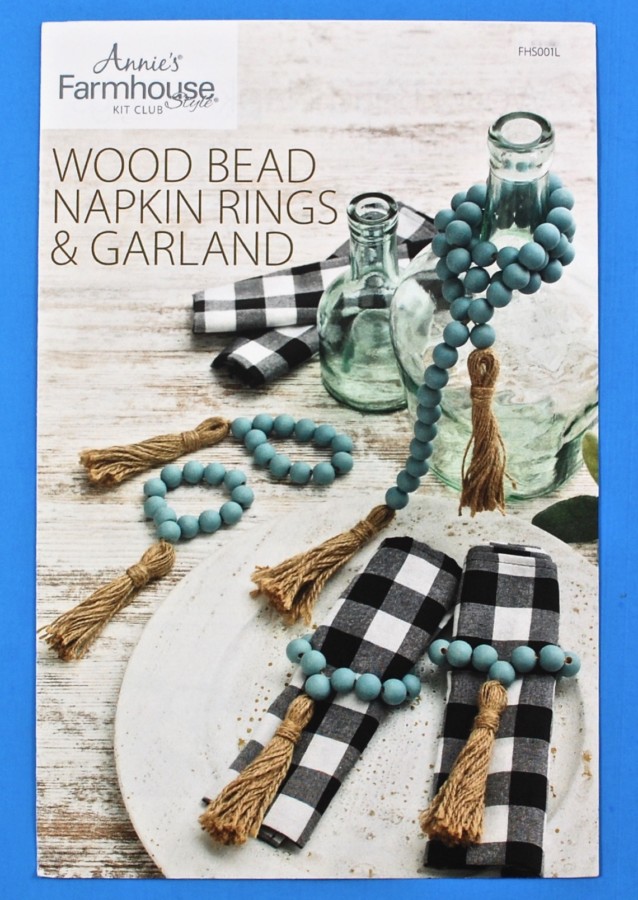
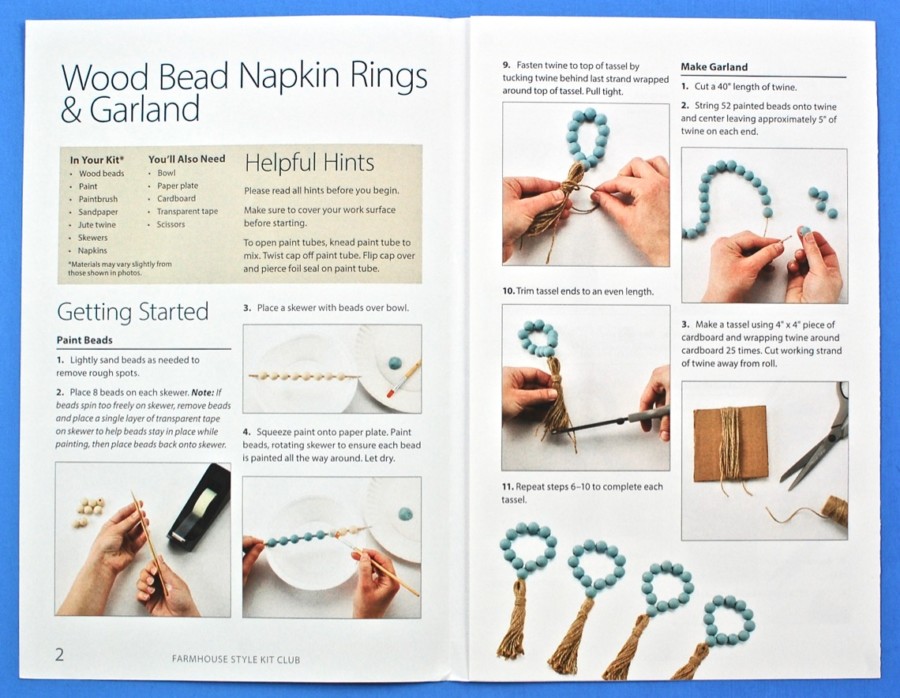
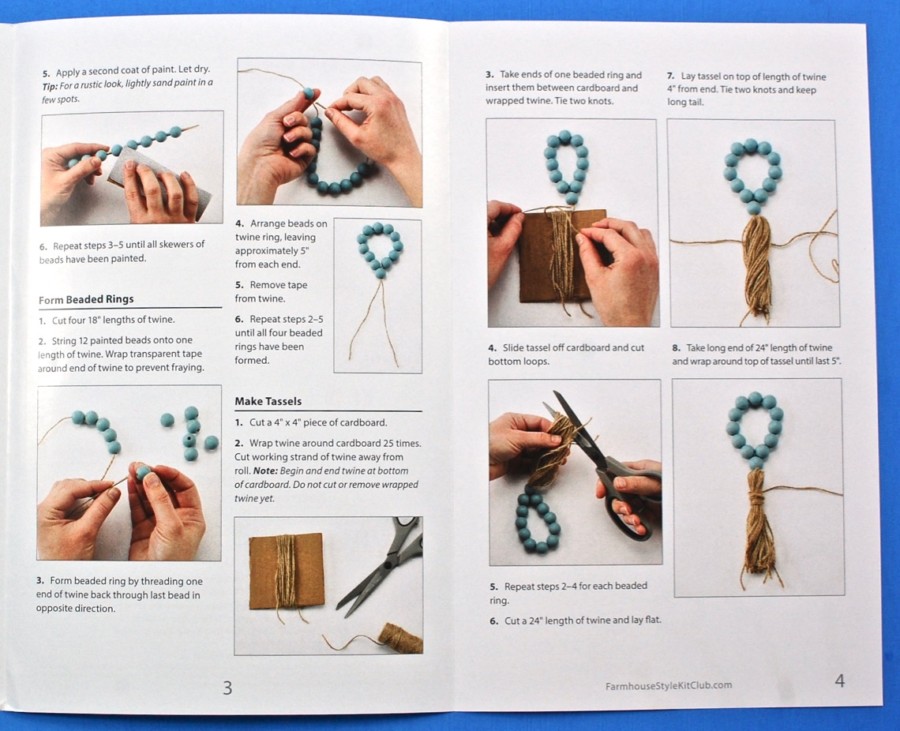
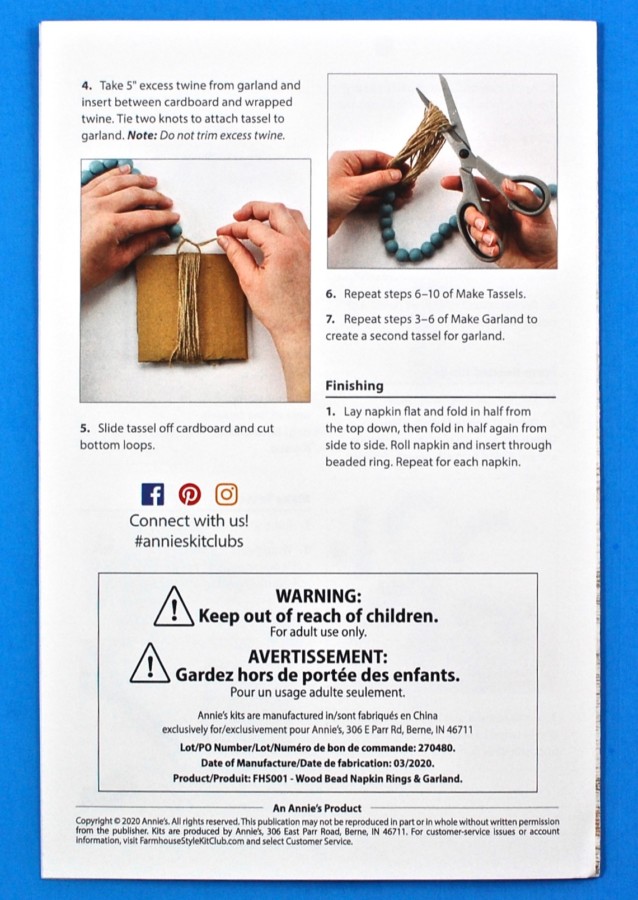
A full color booklet provided step-by-step instructions with helpful hints and photos to go along with each step.
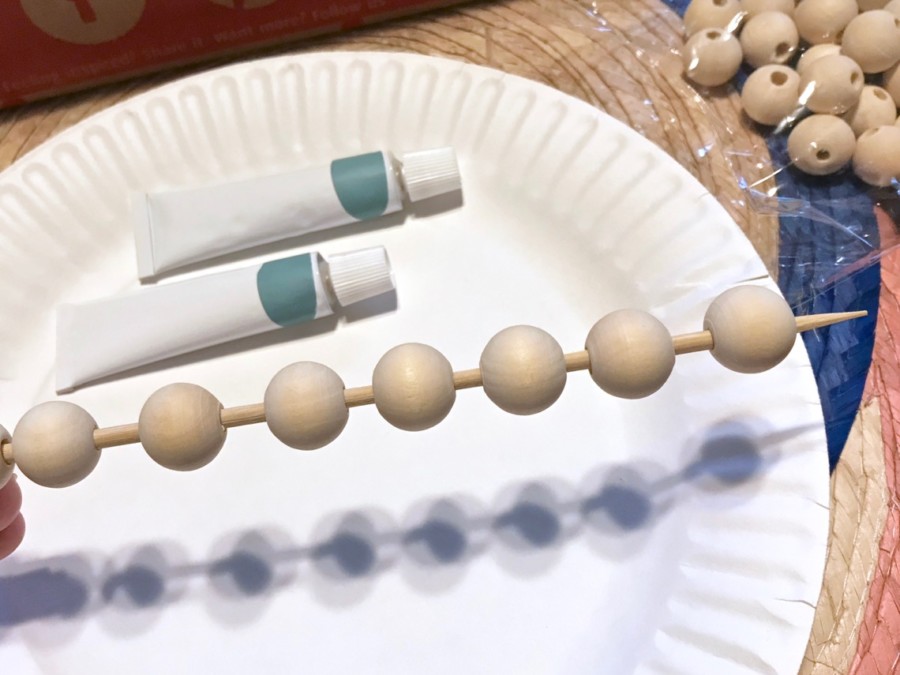
The first thing to do was paint all of the wooden beads. To do this, I first needed to place 8 beads on each of the 6 skewers.
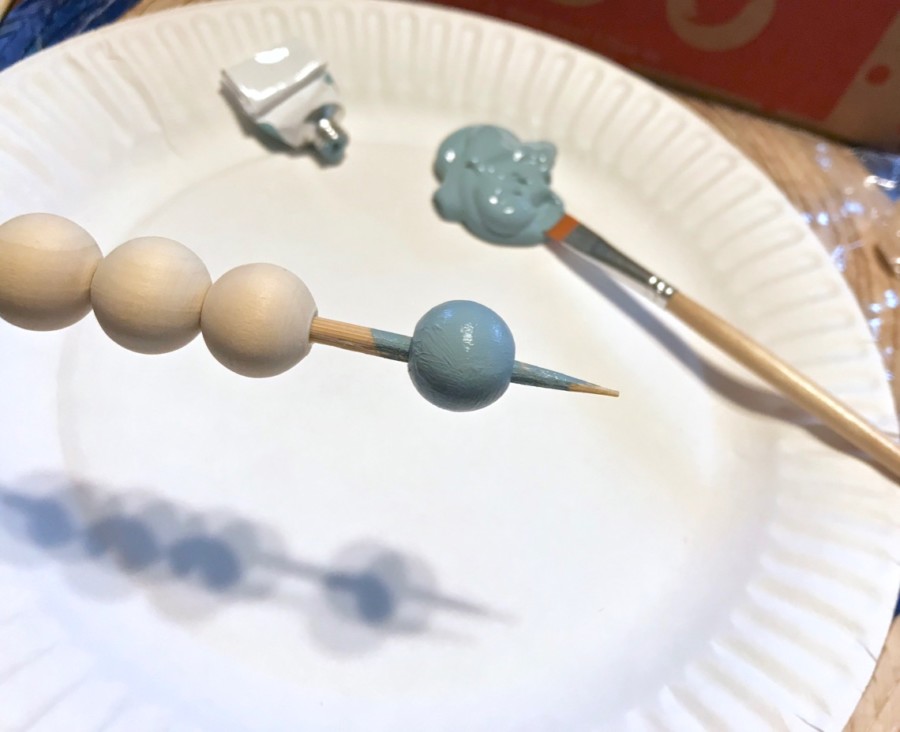
I then started to paint them, one skewer at a time. I believe I filled about 10 skewers total, so roughly 80 beads in all.
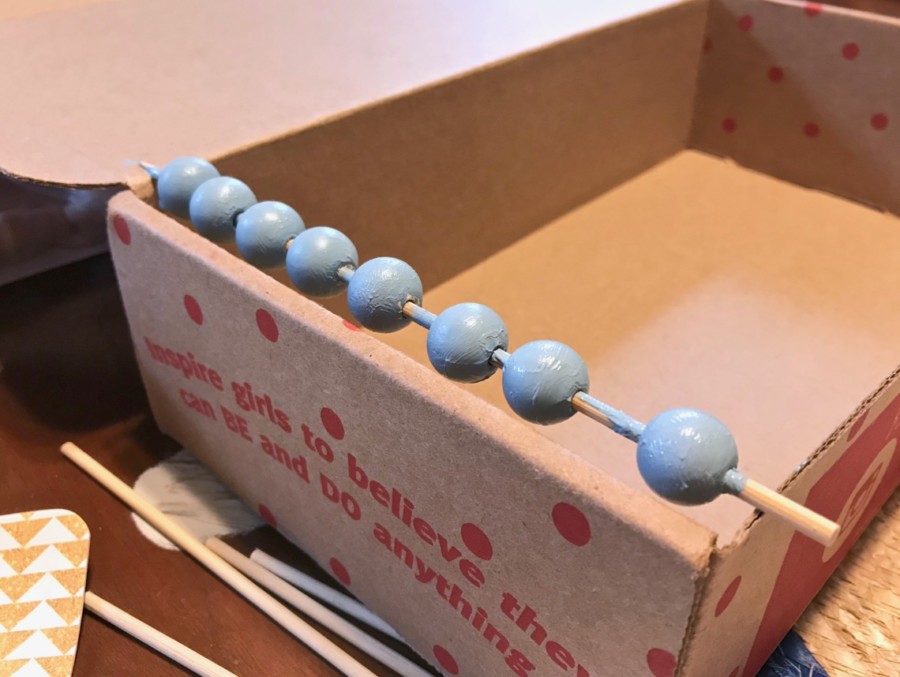
It was suggested that you place the skewers over a bowl to let them dry, but I found a cardboard box to be an ideal drying rack for multiple beads/skewers at once.
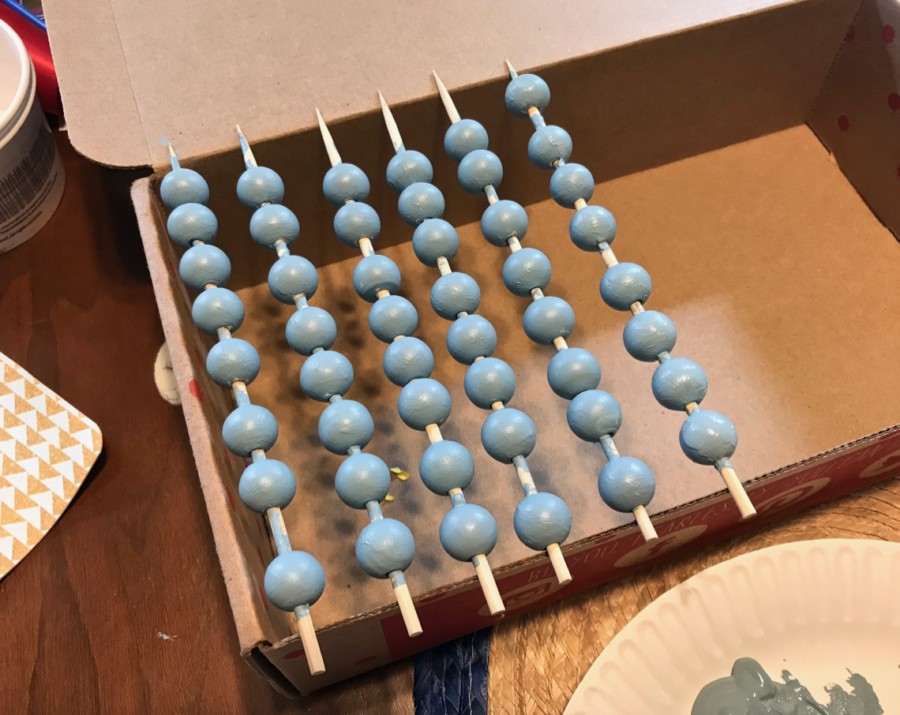
Drying!
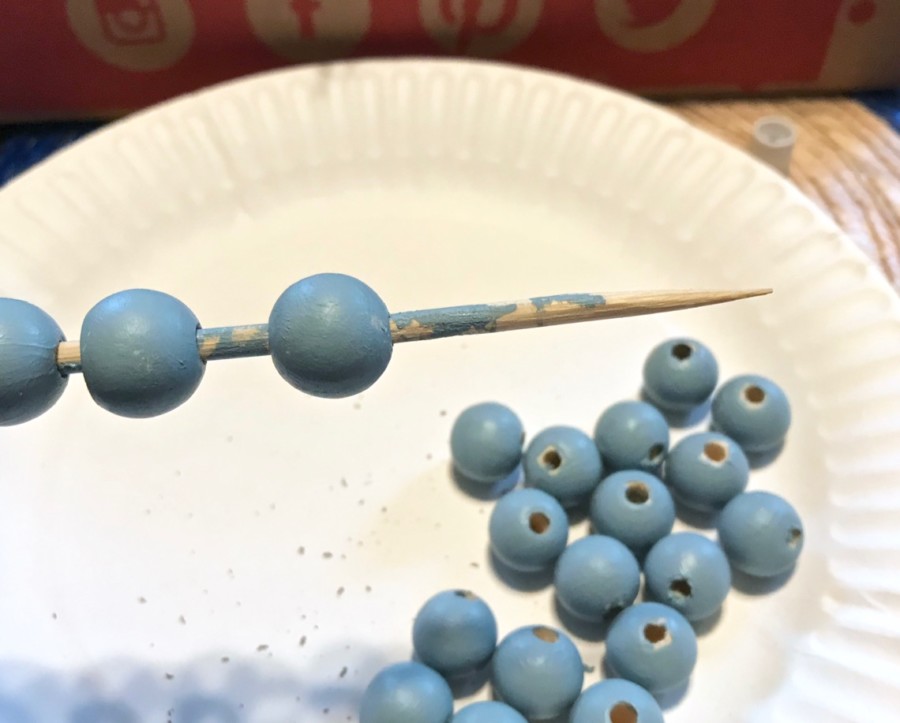
Once a batch was fully dried, I carefully wiggled all of the beads off of each skewer.
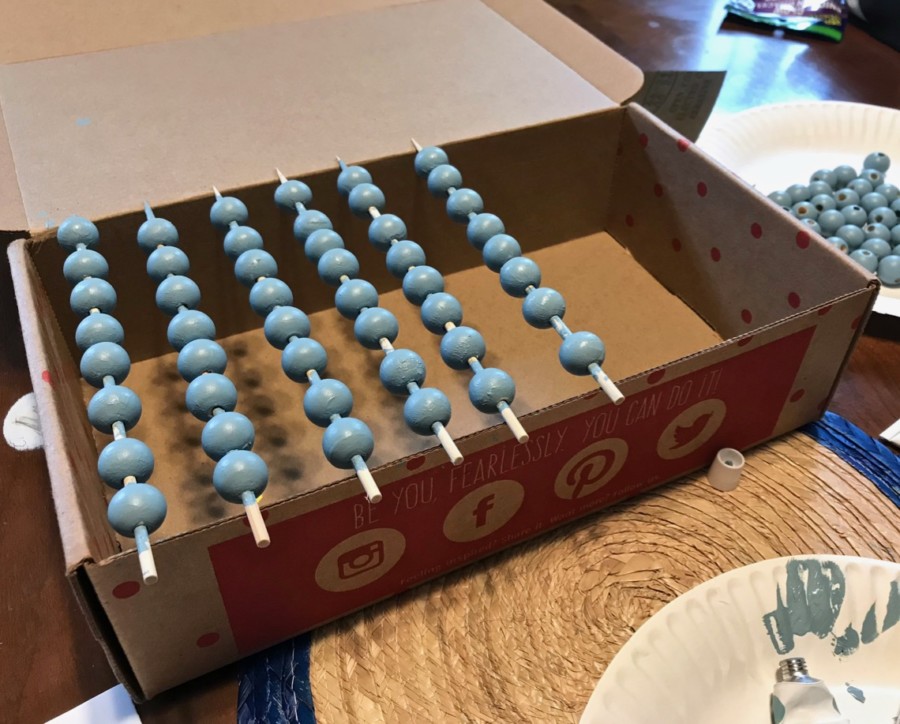
Halfway done!
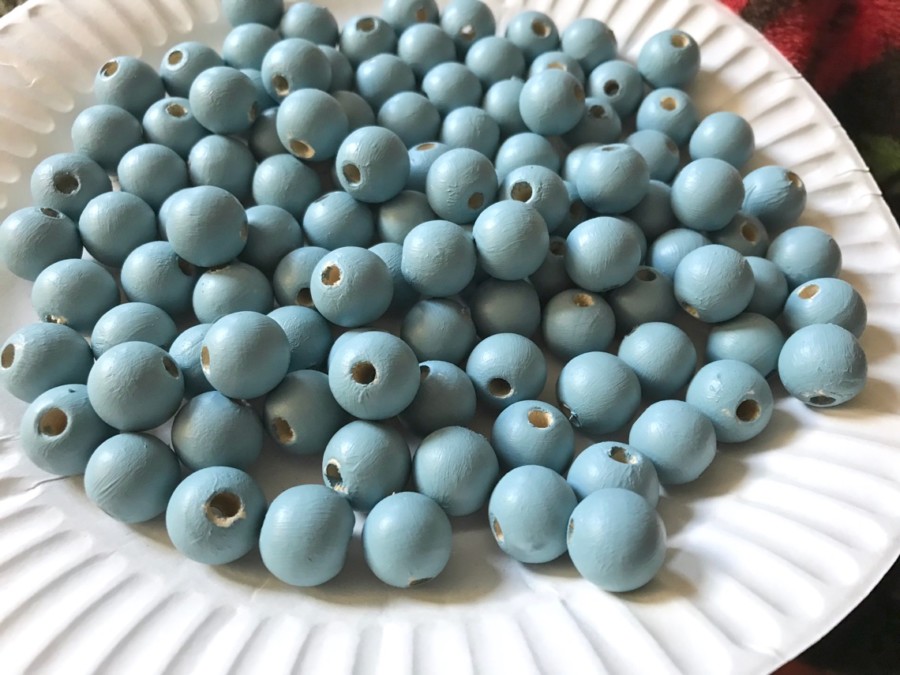
The finished beads sort of resembled a bounty of fresh blueberries. 😉
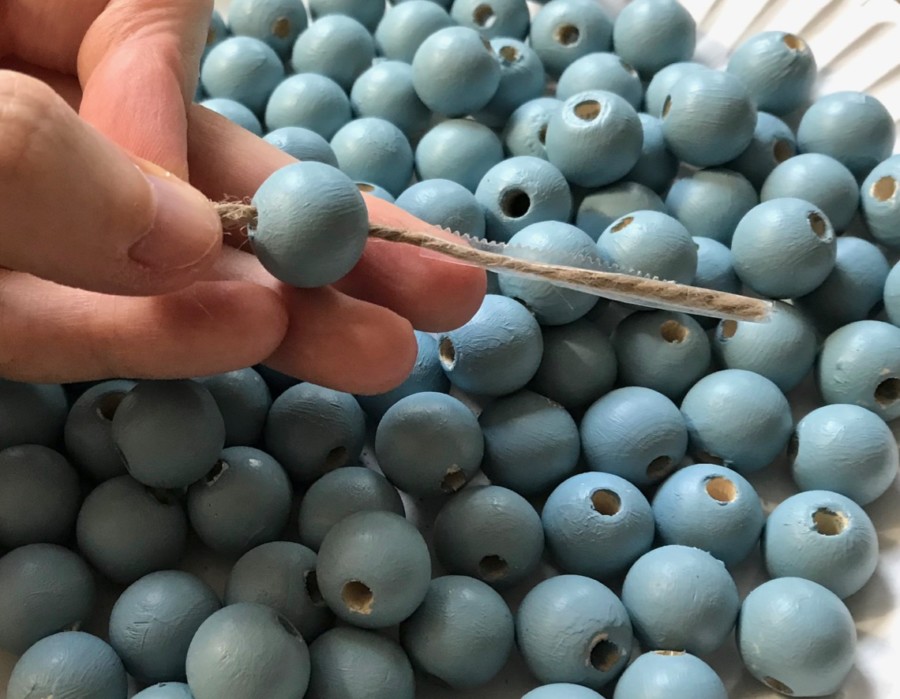
The next step was to start string the beads onto the jute twine. — Oh, I should probably note that I decided to nix the napkin rings and just do one long garland instead. I knew we would never actually use napkin rings, so I figured I’d just stick with something I would use to decorate our home.
To string the beads without having the twine fray, I wrapped the end with a thin piece of clear packing tape and it worked like a charm.
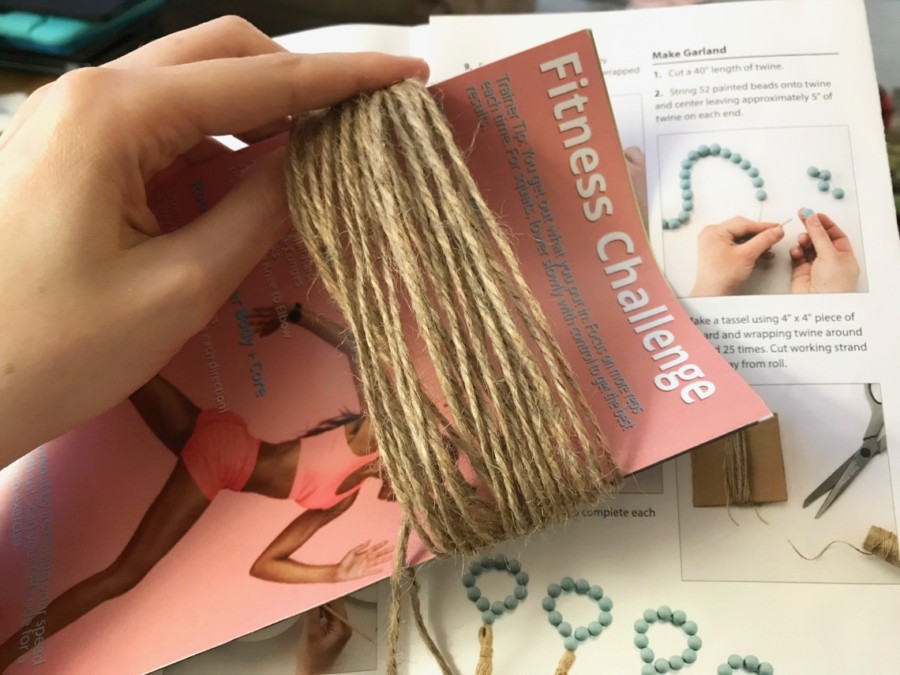
Once I had strung all 80+ beads, it was time to make the tassels. First, I had to wrap the twine around a 4″ piece of cardboard — I just grabbed something from the recycling bin — 25 times.
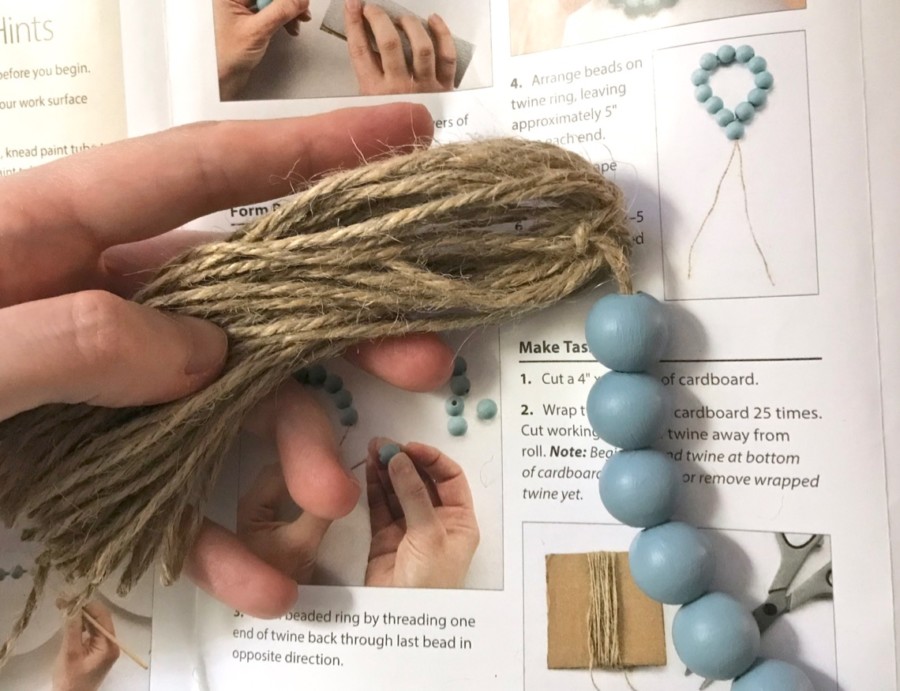
Next, I attached the excess twine from the garland onto the tassel by tying two knots. I then slid the twine off of the cardboard and cut the bottom loops.
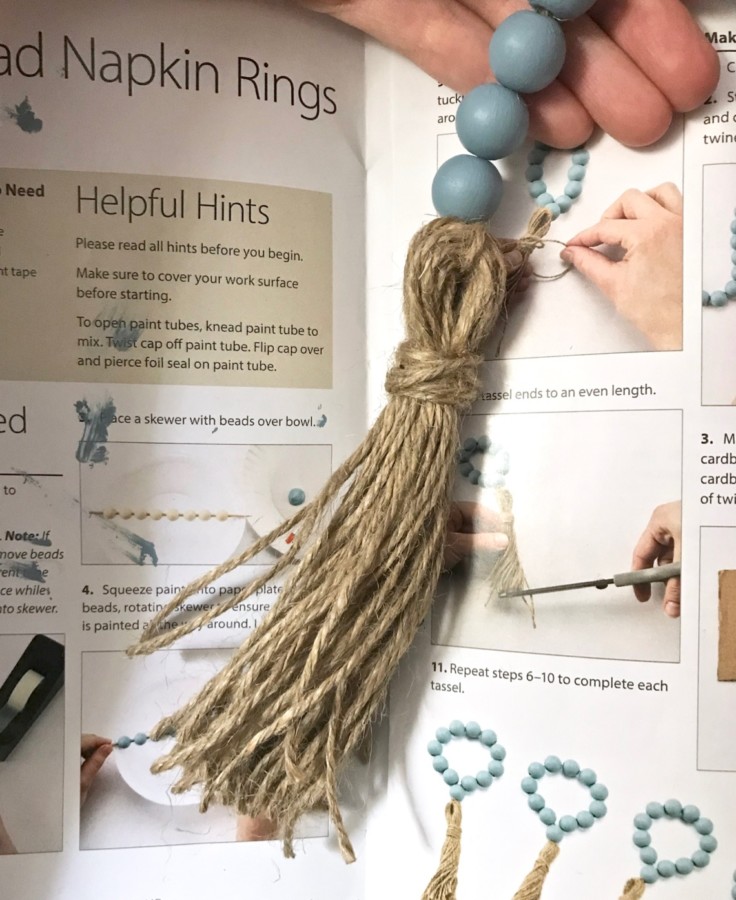
The final step was to wrap a 24″ piece of twine at the top of the tassel and tuck the remaining piece behind the last strand to hold it in place.
I repeated the steps above to complete the second tassel as well.
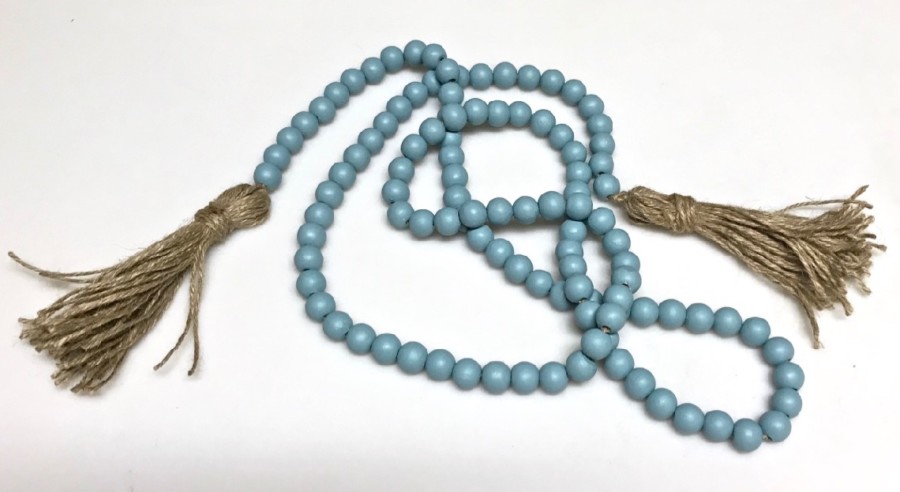
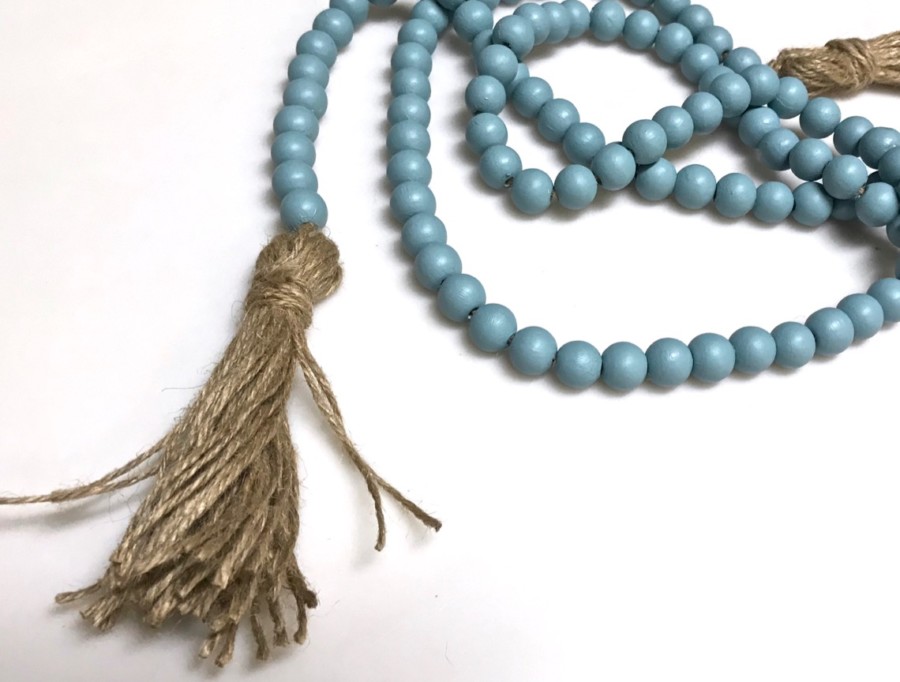
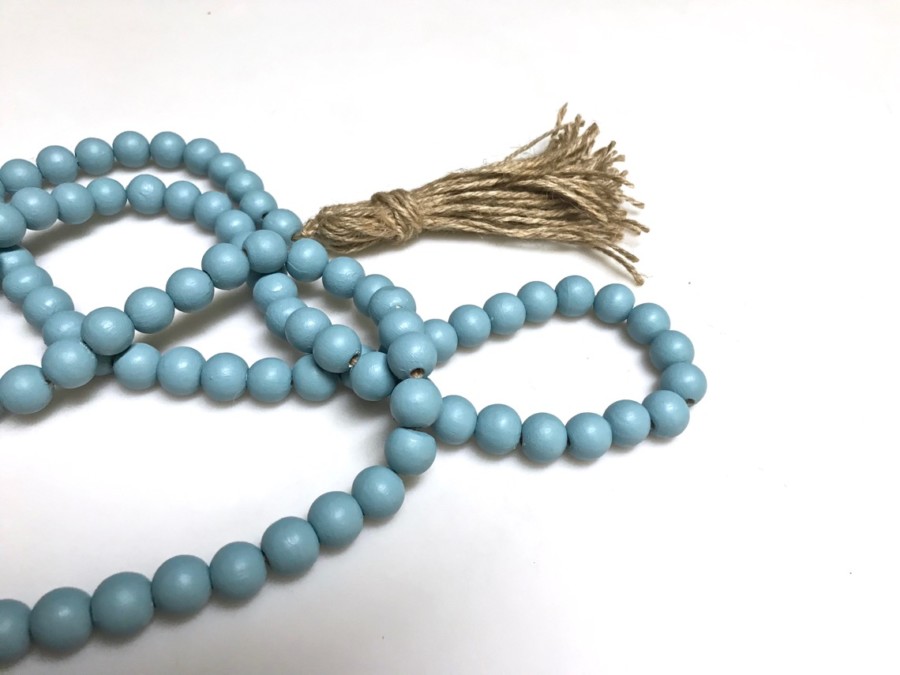
And here is the finished result! — From tassel end to tassel end, the garland measured a little over 6 feet long. 😀
I’m honestly not much of a crafter, but I really enjoyed August’s Annie’s Farmhouse Style Kit Club box. Though I chose to go my own way and forgo the napkin rings, I really love how my extra-long garland turned out. It’s fun to be pushed out of my comfort zone sometimes and tackle a project like this… Especially when the end result is something I’ll happily display in my home. 😀 — Remember, for a limited time you can save 50% on your first month with coupon code “SHARE50“!

Leave a Reply