Annie’s Farmhouse Style Kit Club is a crafting subscription box that sends a new stylish and affordable farmhouse craft kit to your door every month.
Each kit will include all of the crafting materials you’ll need, along with easy, step-by-step instructions to complete the project. — Just use your own basic tools, like a glue gun and scissors, and start creating. From the family room to the kitchen table, holiday decorations to gift ideas, every project brings fresh farmhouse character into your space…and reflects your love for all things handmade.
Disclosure: Box was received for review purposes. Post may contain affiliate links.
Subscriptions are $19.99/month, but for a limited time you can save 50% on your first month with coupon code “SHARE50“!
Let’s see what’s in my Annie’s Farmhouse Style Kit Club shipment!
The kit was shipped in a padded envelope with a blue and white floral design.
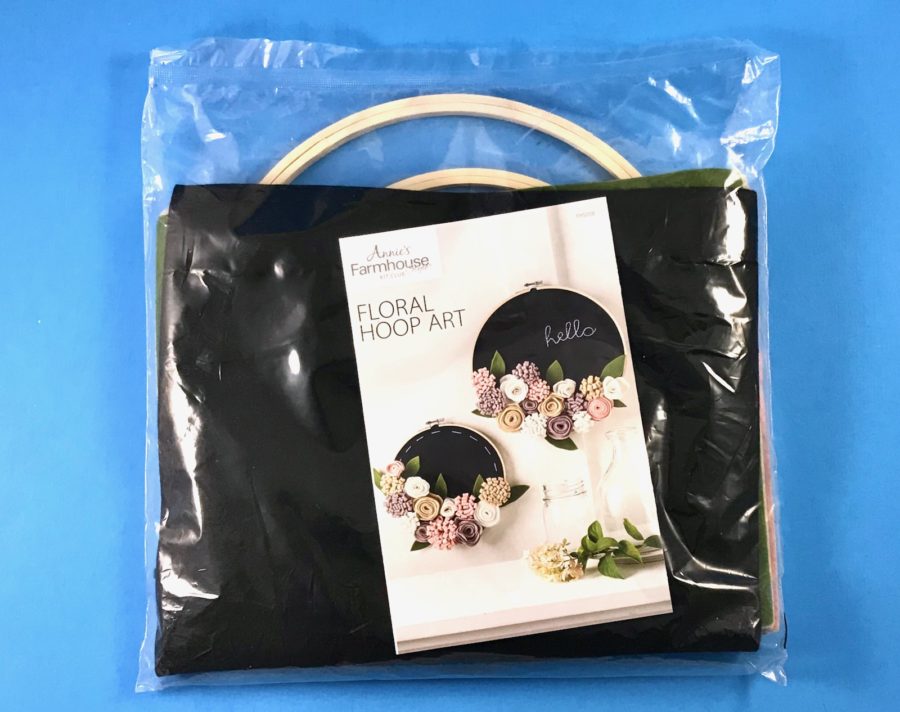
The contents of the envelope! — This month’s project was “Floral Hoop Art“.
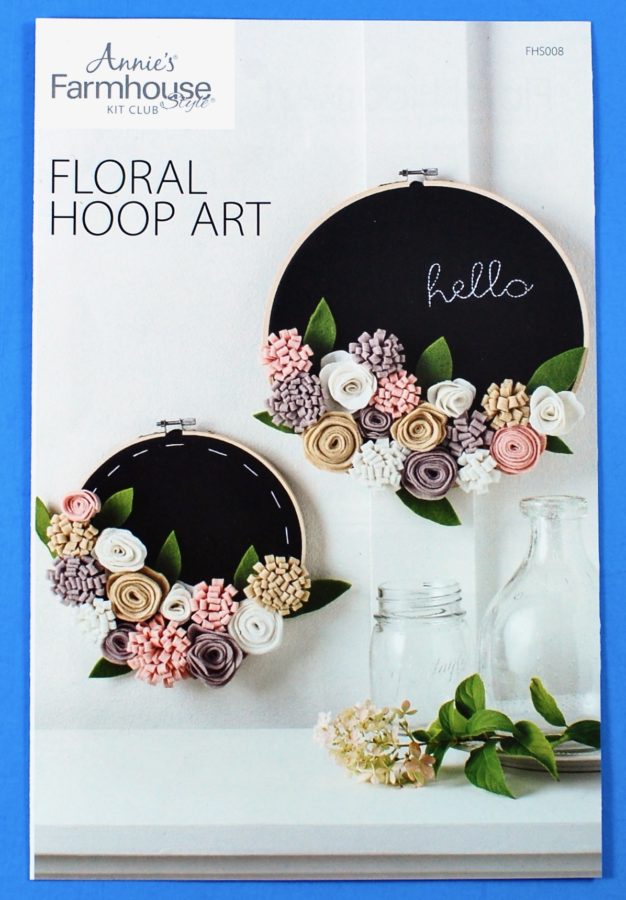
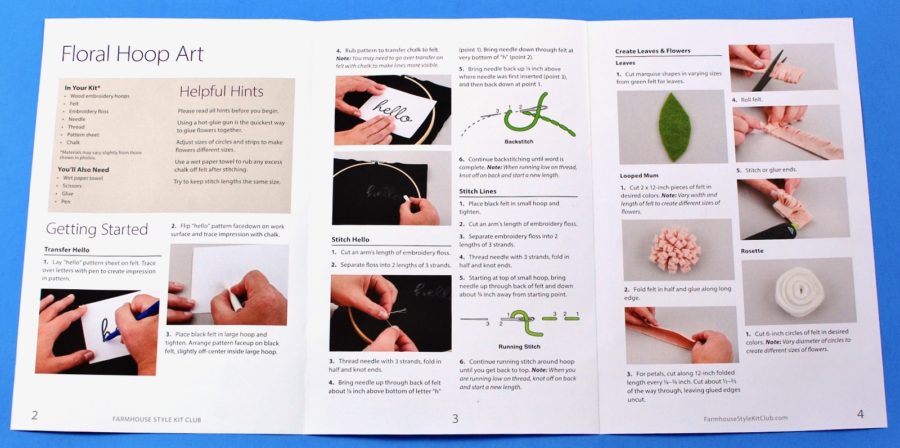
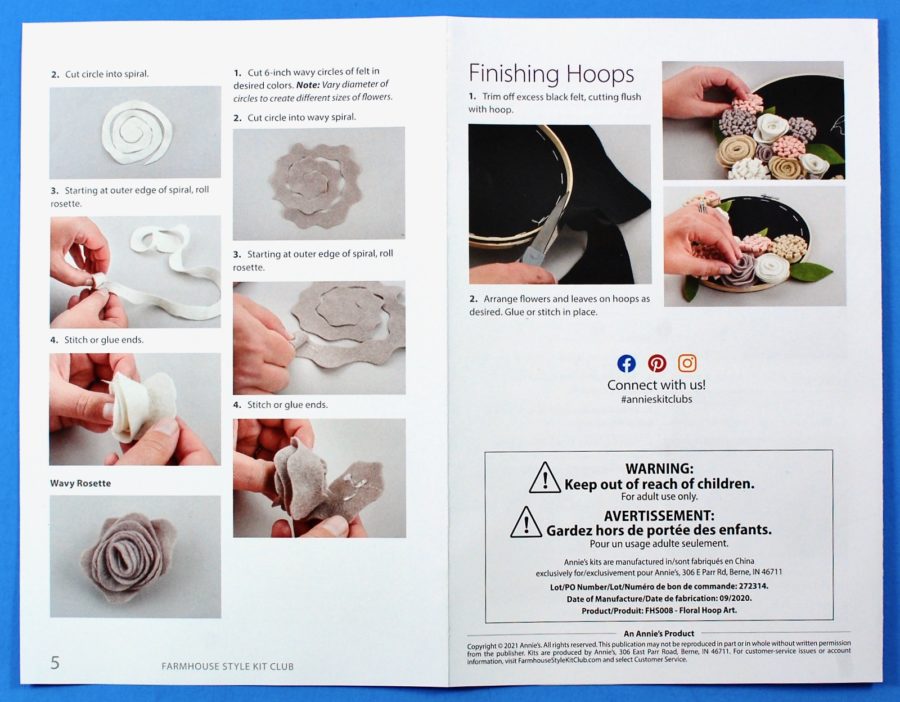
A full color insert provided step-by-step instructions with helpful hints and photos to go along with each step.
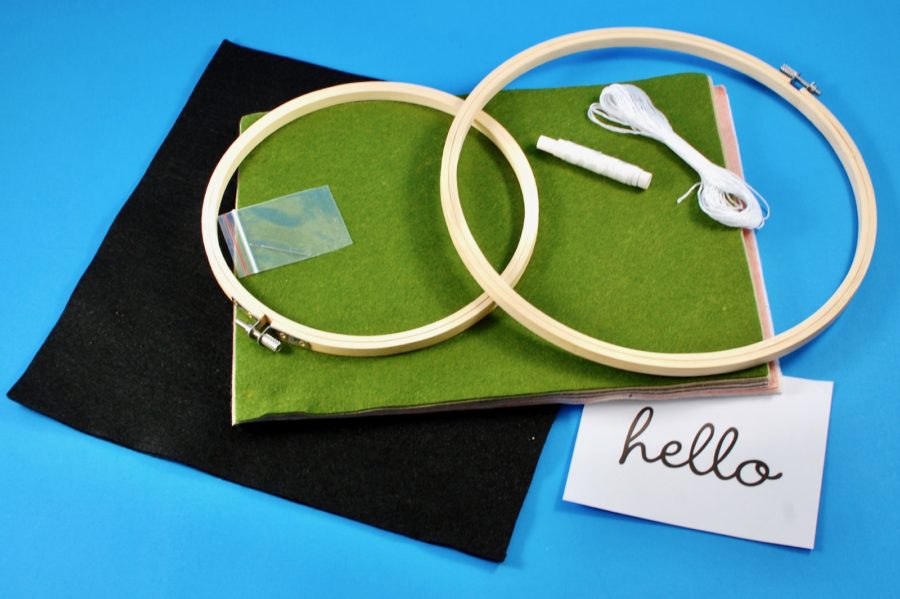
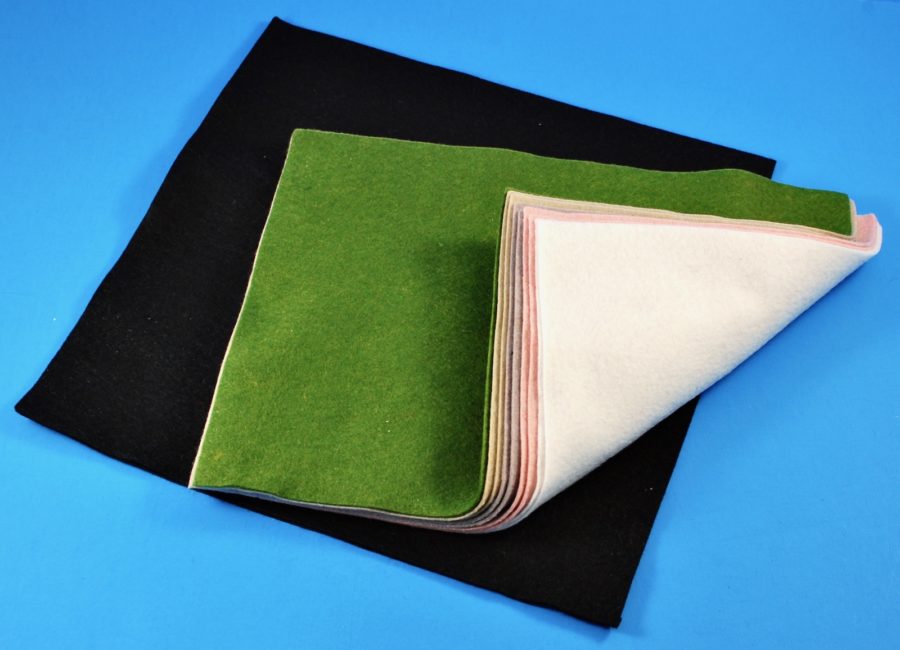
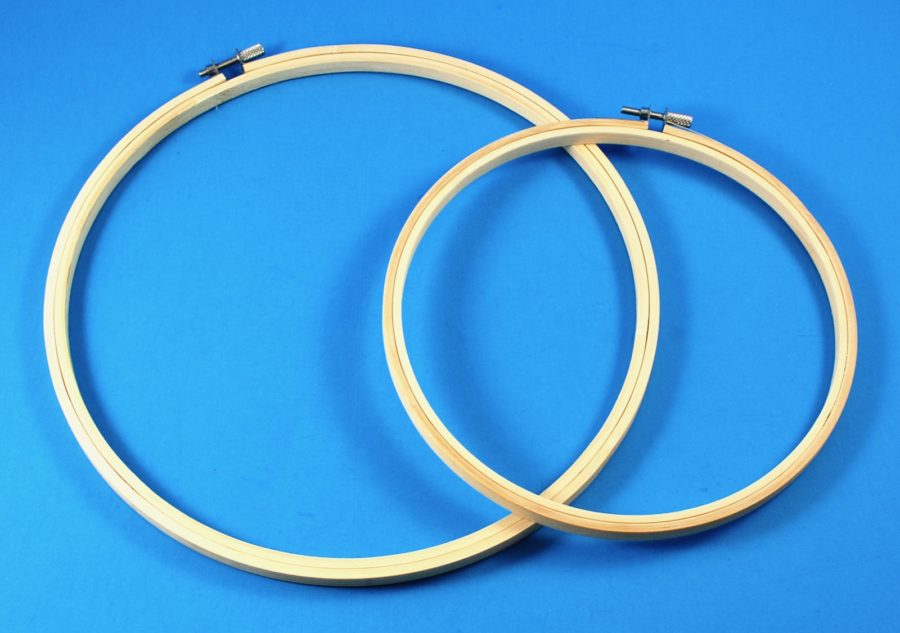
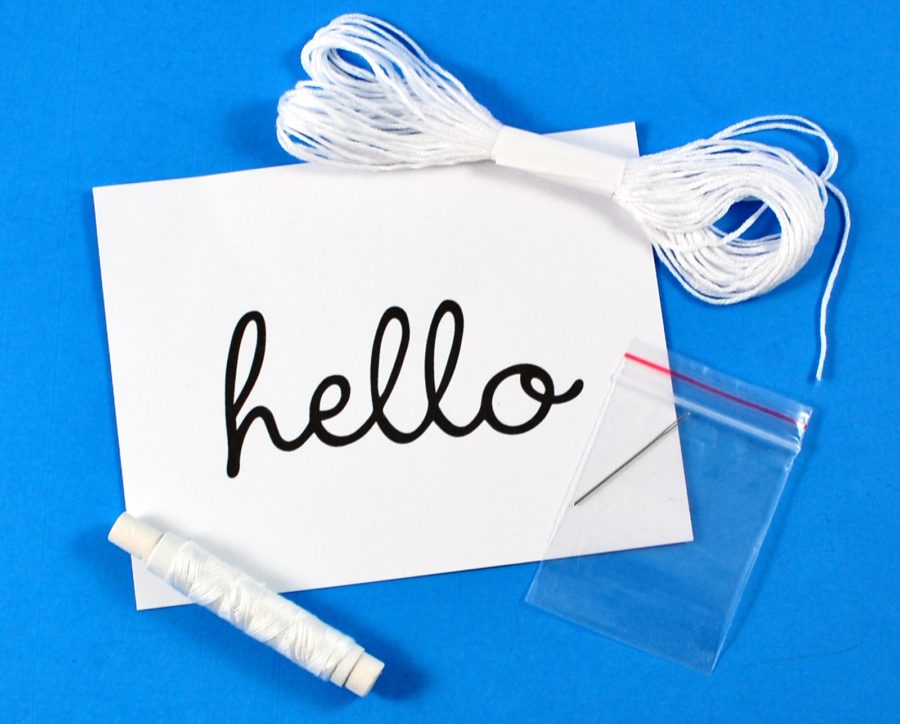
Supplies included multiple sheets of felt in various colors, 2 wooden embroidery hoops, embroidery floss, a needle, thread, and a pattern sheet.
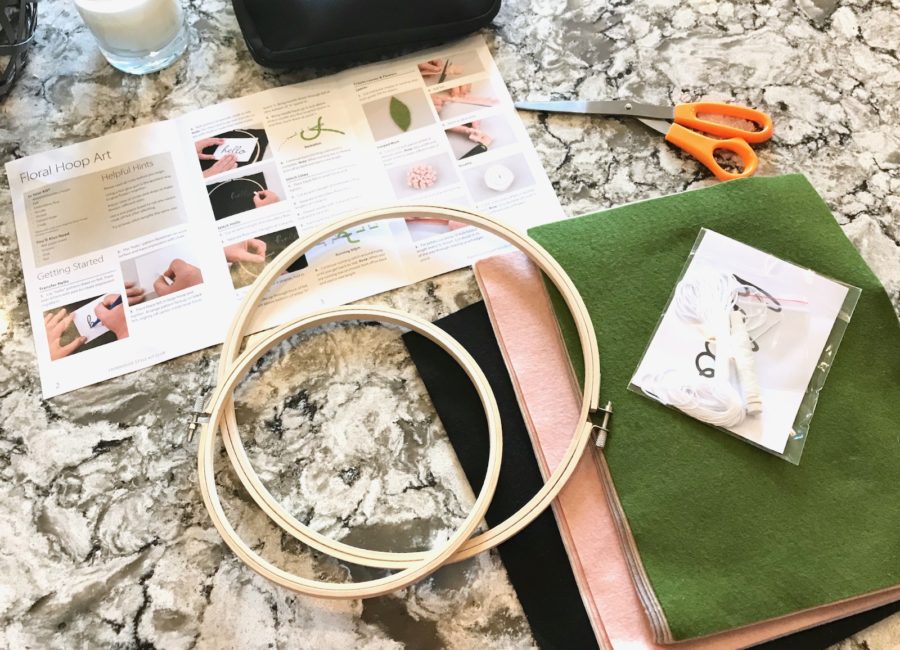
I began by laying out all of my supplies on the kitchen island.
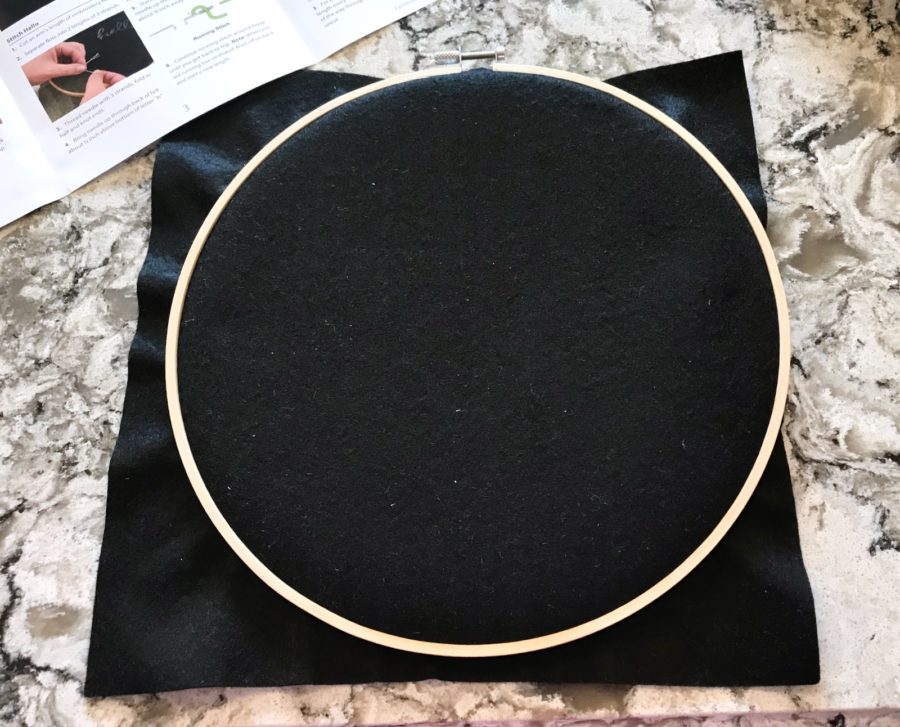
The first step was to secure one of the large black felt sheets into the larger wooden hoop. — The project included enough supplies to make two completed pieces (one small & one larger), but I just made the larger one for this review.
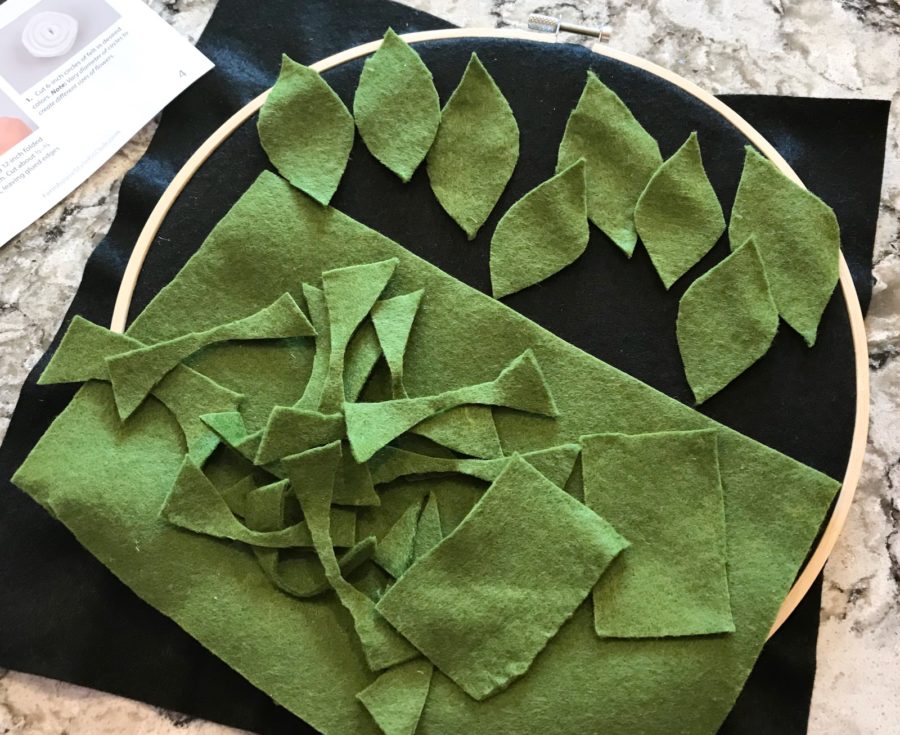
Next, I had to cut various “leaves” out of the green felt. There was no specified amount, so I just went with 8 to start.
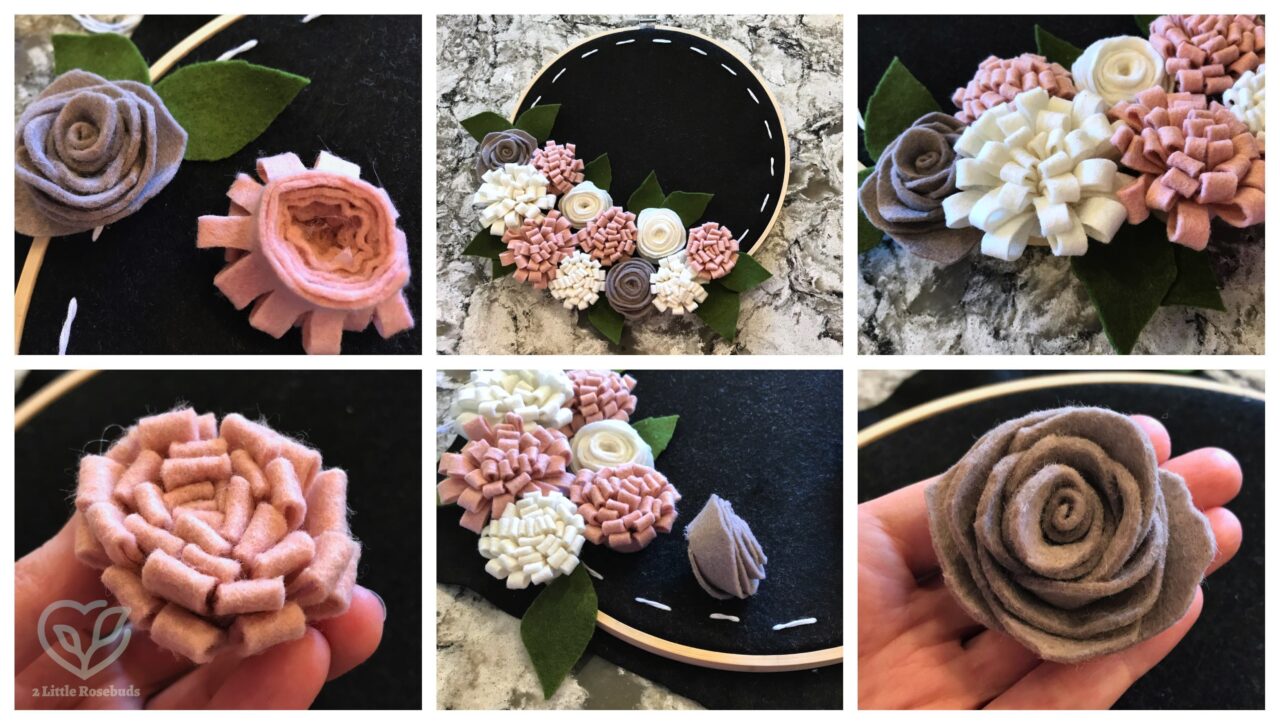
The project featured 3 different flower designs, shown below.
Looped Mum:
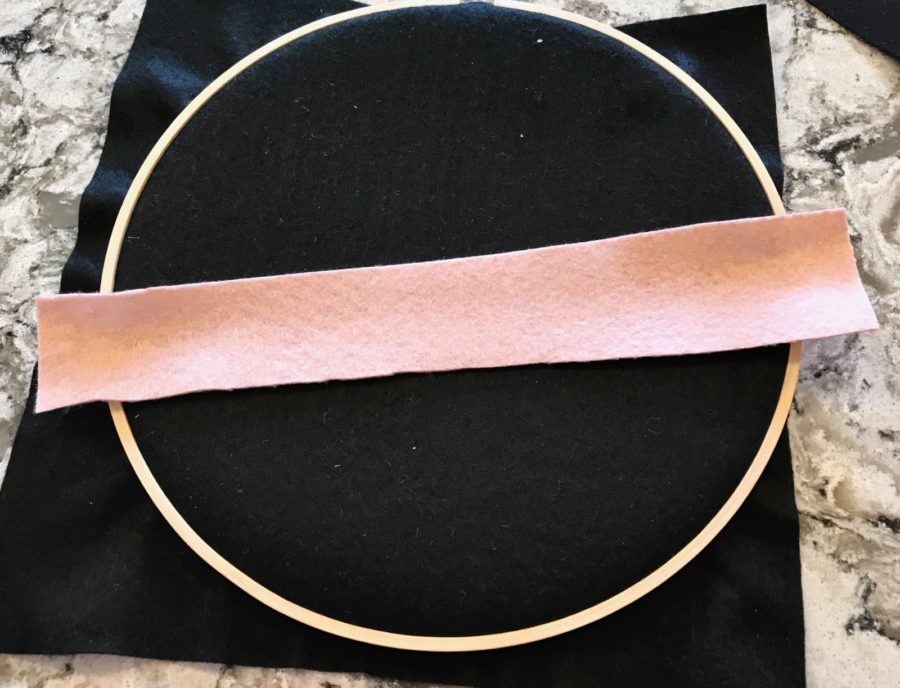
For the looped mum, the first step was to cut a 2 x 12 inch strip of felt in any color you’d like.
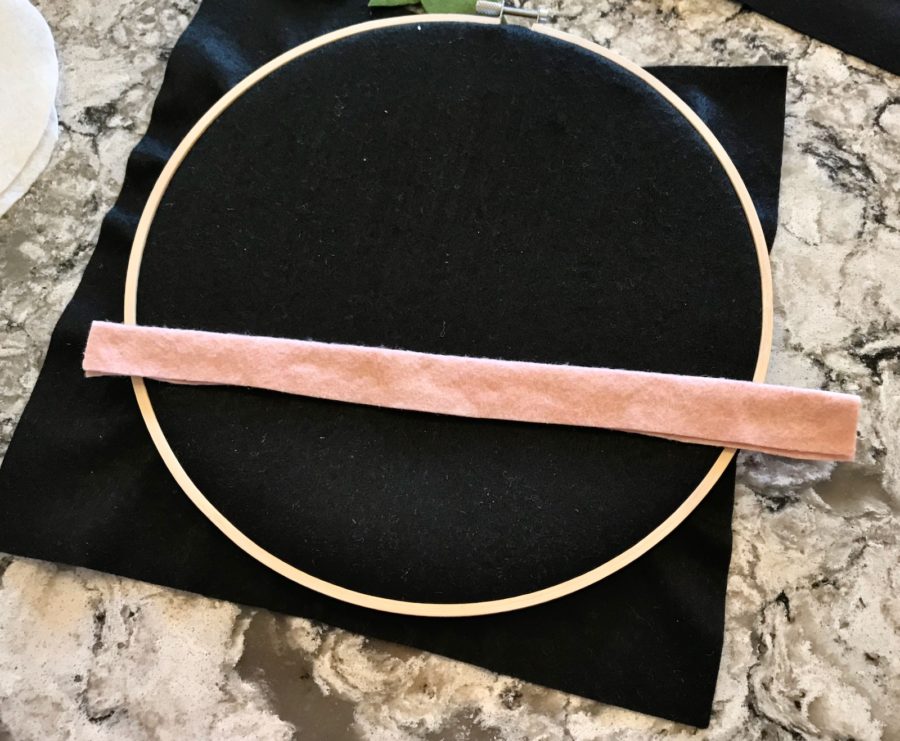
Next, fold the felt in half width-wise and secure with hot glue.
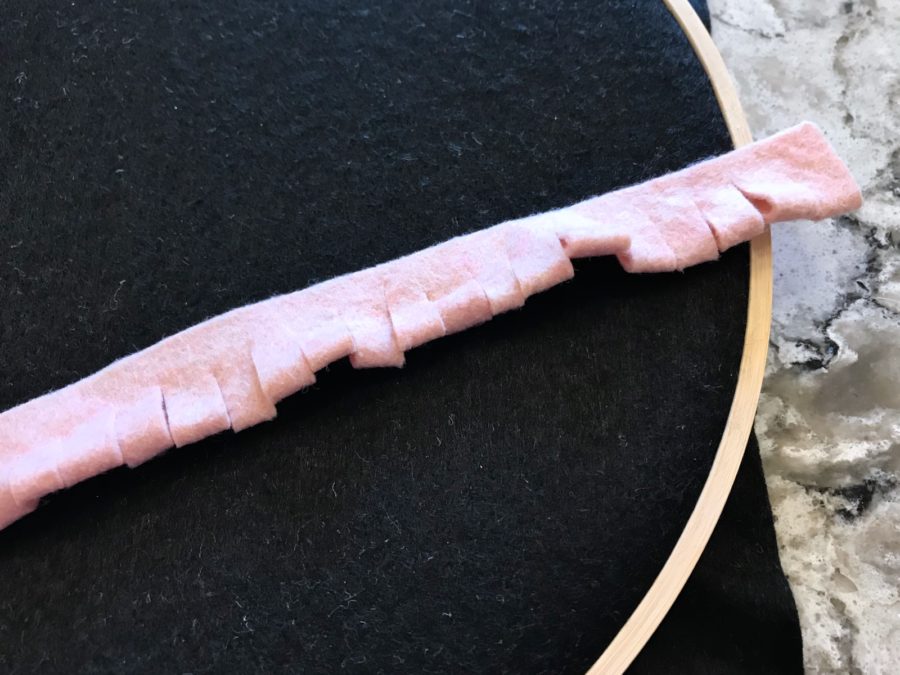
Once secured, cut along the folded edge every 1/8 to 3/8 inches — stopping before you reach the glued portion.
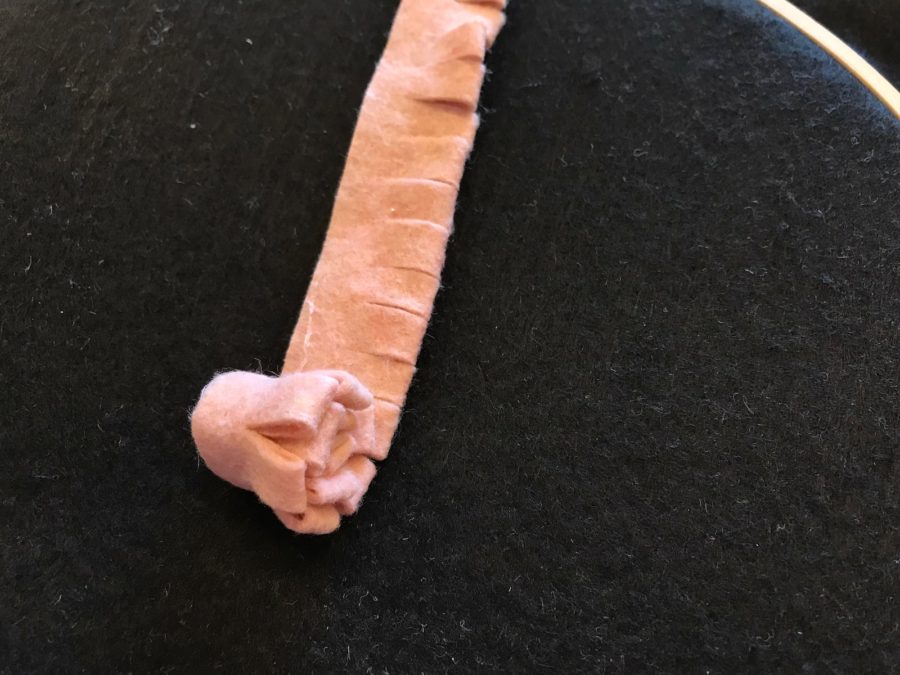
Then simply roll up the strip and secure the end with more hot glue.
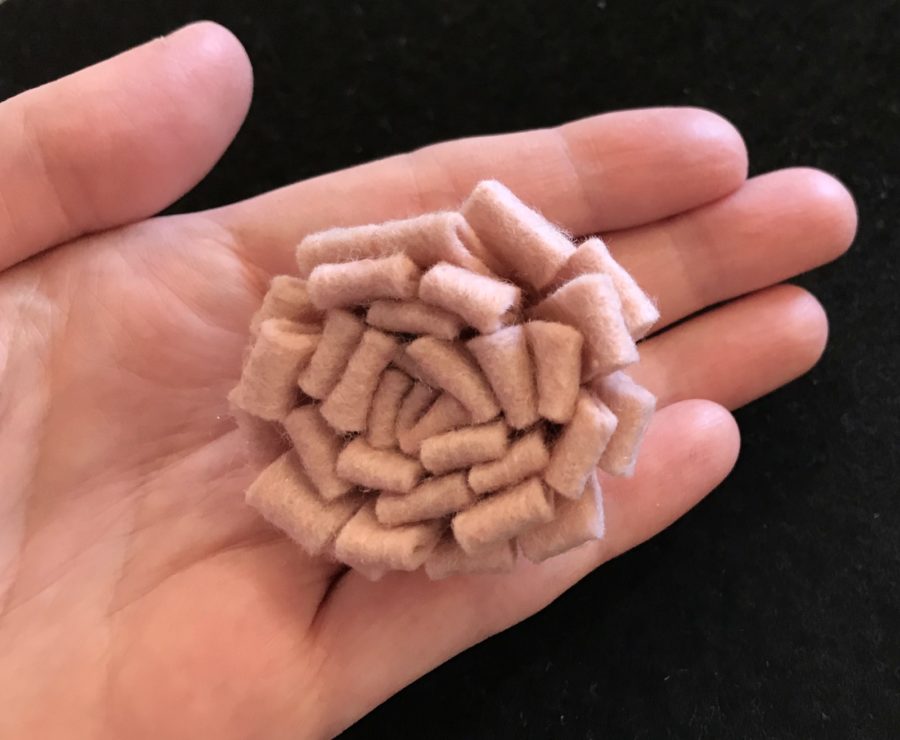
Done!
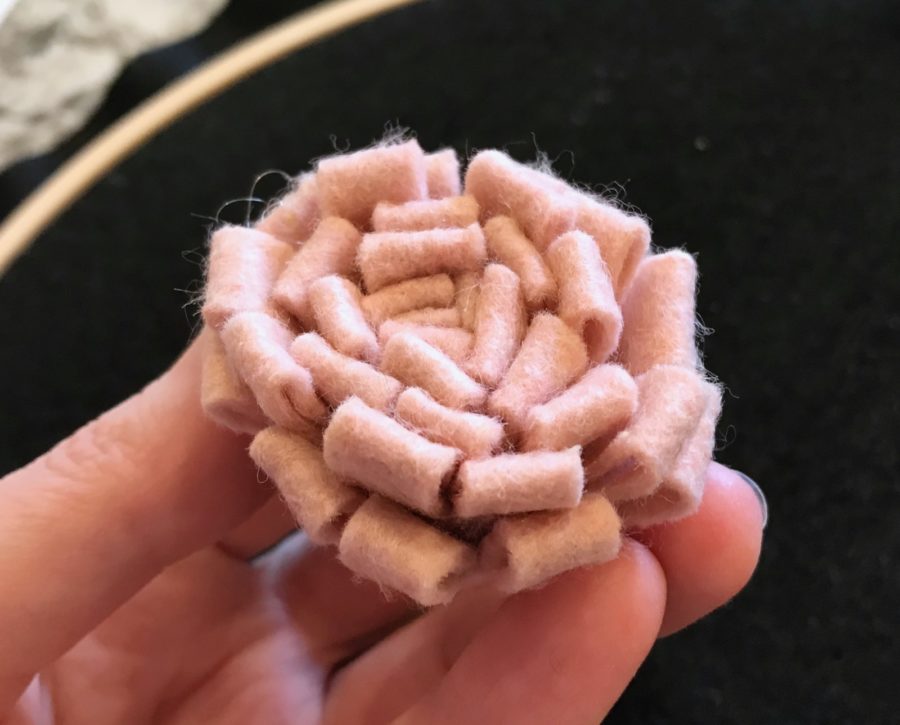
I was pleasantly surprised by how easy this was, yet how cute the result turned out.
Rosette:
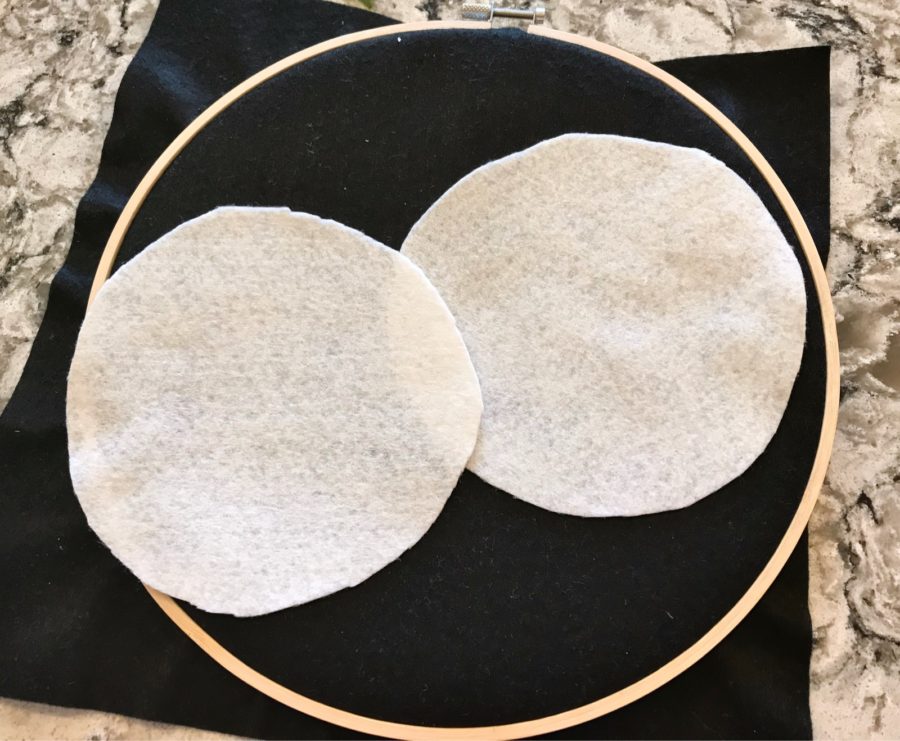
For the rosettes, I started by cutting out a 6-inch circle from the white felt. (Two are shown, but only one is needed per flower.)
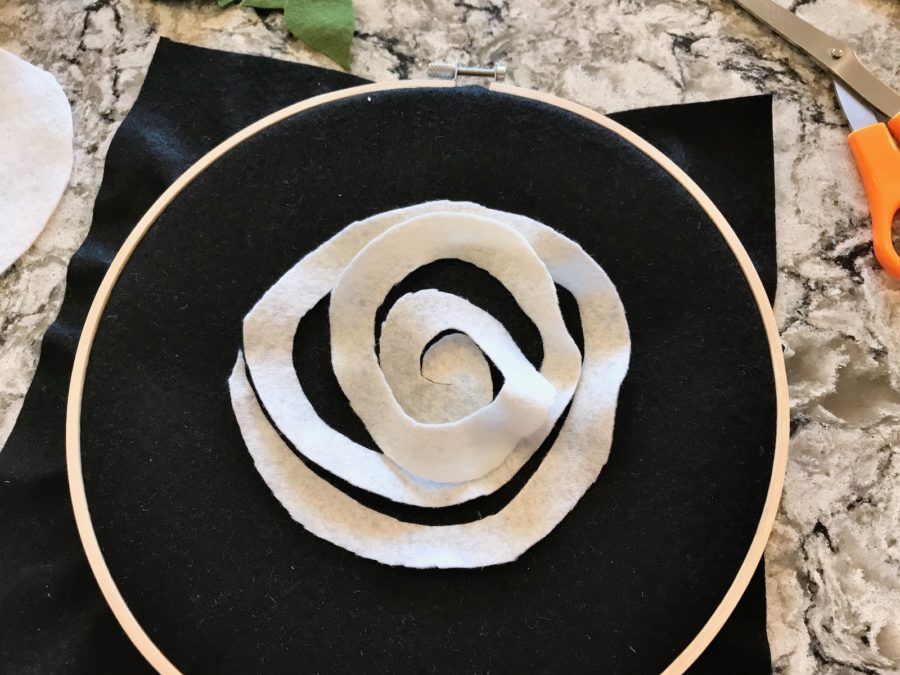
Next, I cut the circle into a spiral as shown above.
I forgot to snap a photo, but the rosette was created by rolling up the felt much like the mum. I started at the outer end and simply rolled it up until the flower was formed.
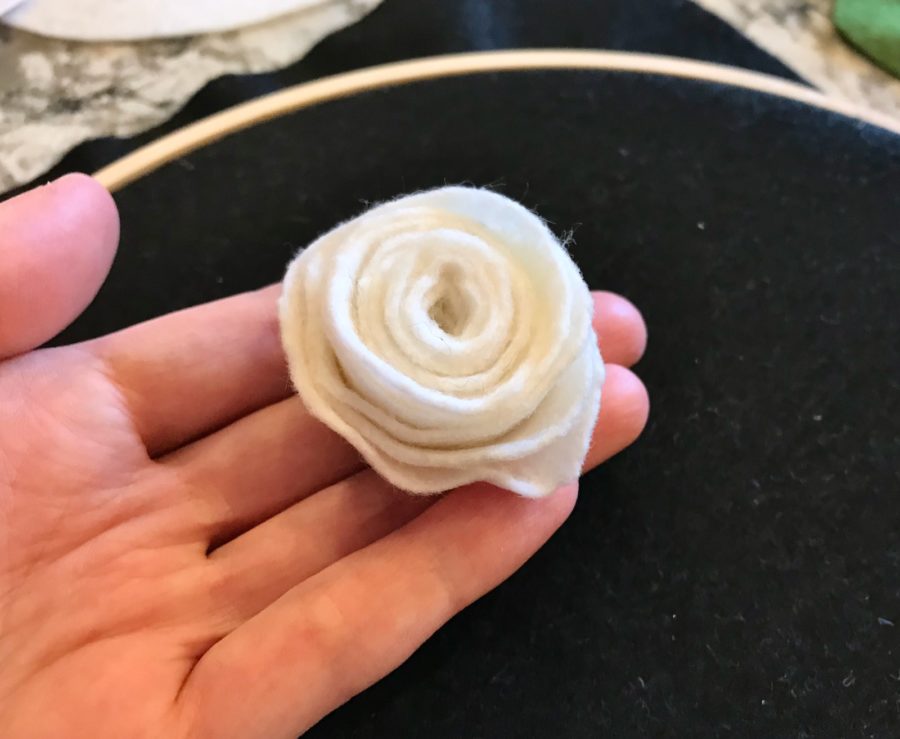
So cute! — The “layers” of the rosette were easily secured by gluing the center of the spiral (end of the rolled part) to its bottom.
Wavy Rosette:
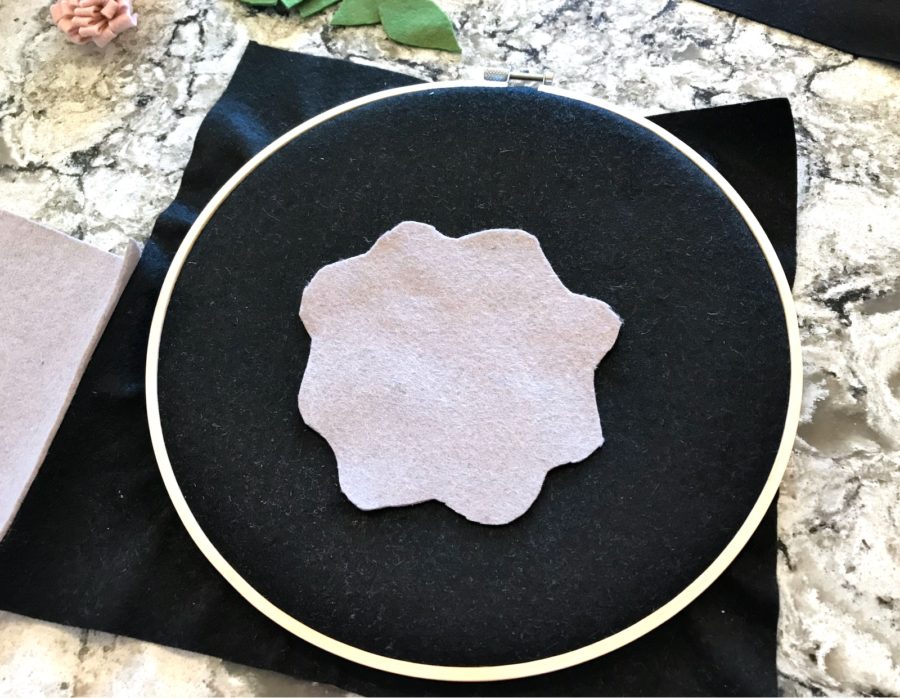
The wavy rosette was created exactly like the “regular” rosette, except that the circle took on a more wavy appearance along the edges.
I forgot to snap a pic here too, but the wavy circle was also cut into a (wavy) spiral and rolled up like the first rosette.
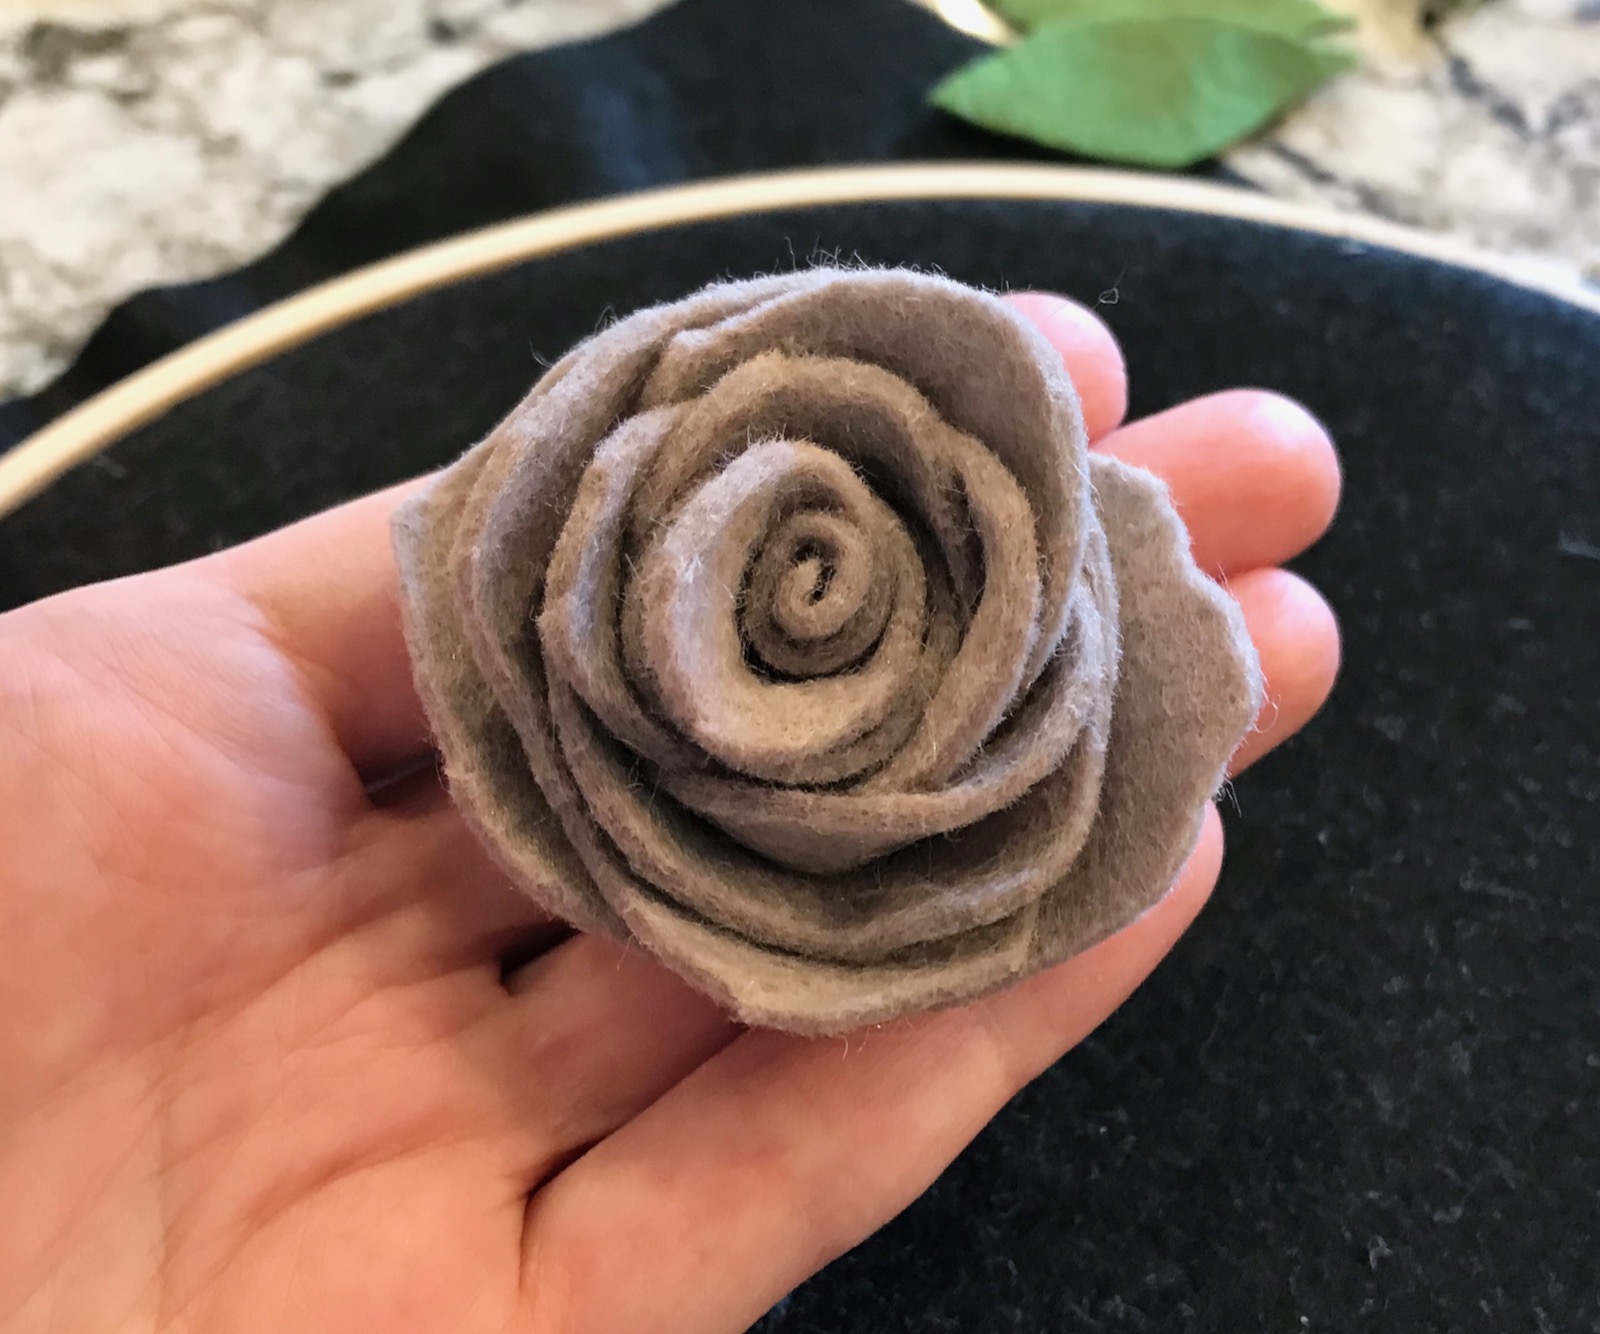
How sweet is that?! 😀
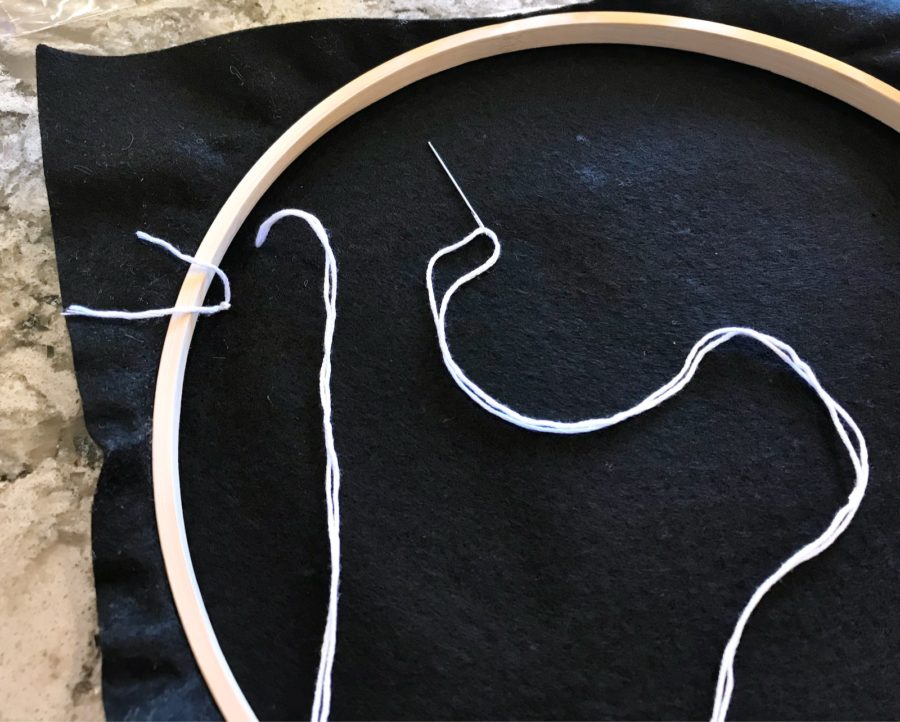
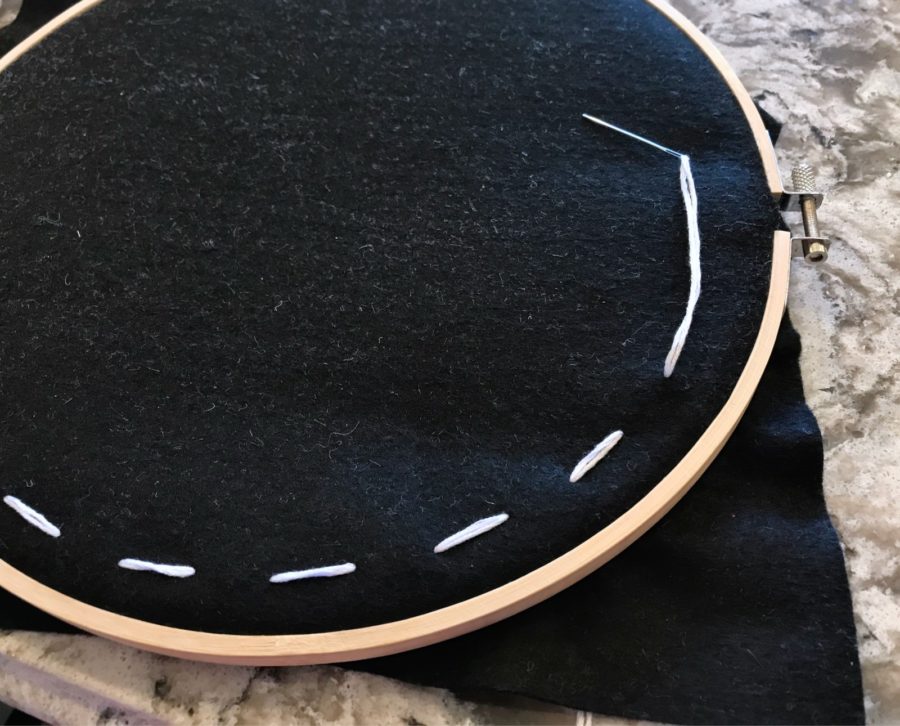
Once I had made enough flowers, I went back and stitched the lines along the hoop using the white embroidery thread.
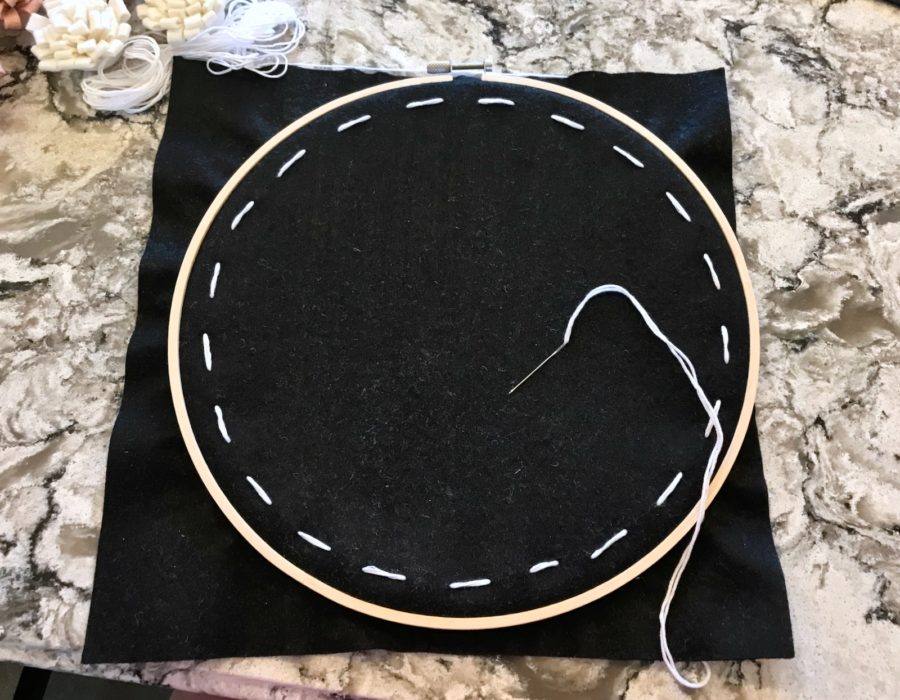
I also could have opted to stitch some sort of greeting, but I wanted to keep it simple. 😉
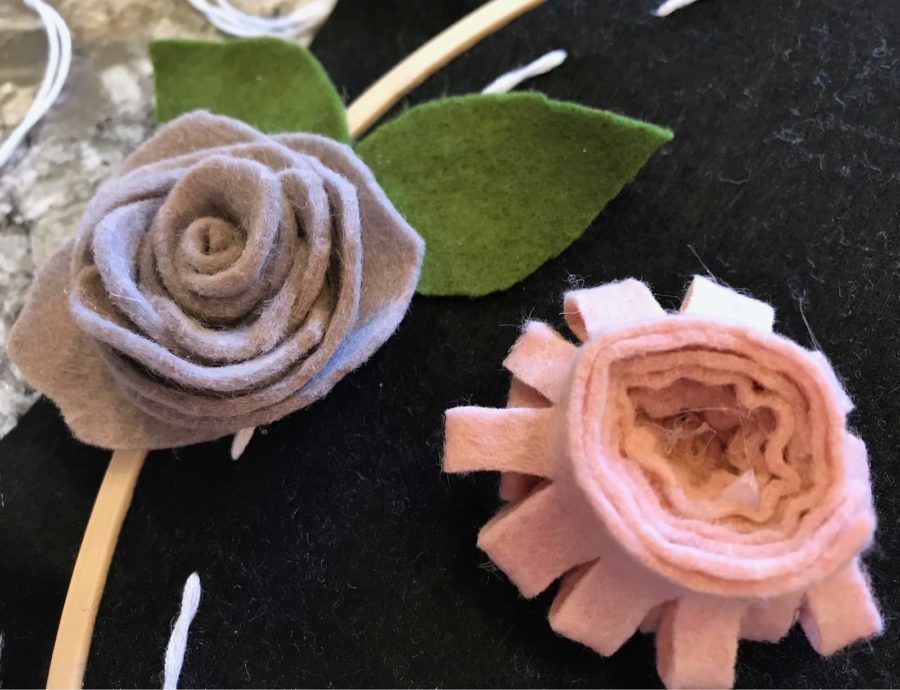
Next came the fun part. — Gluing on the flowers!
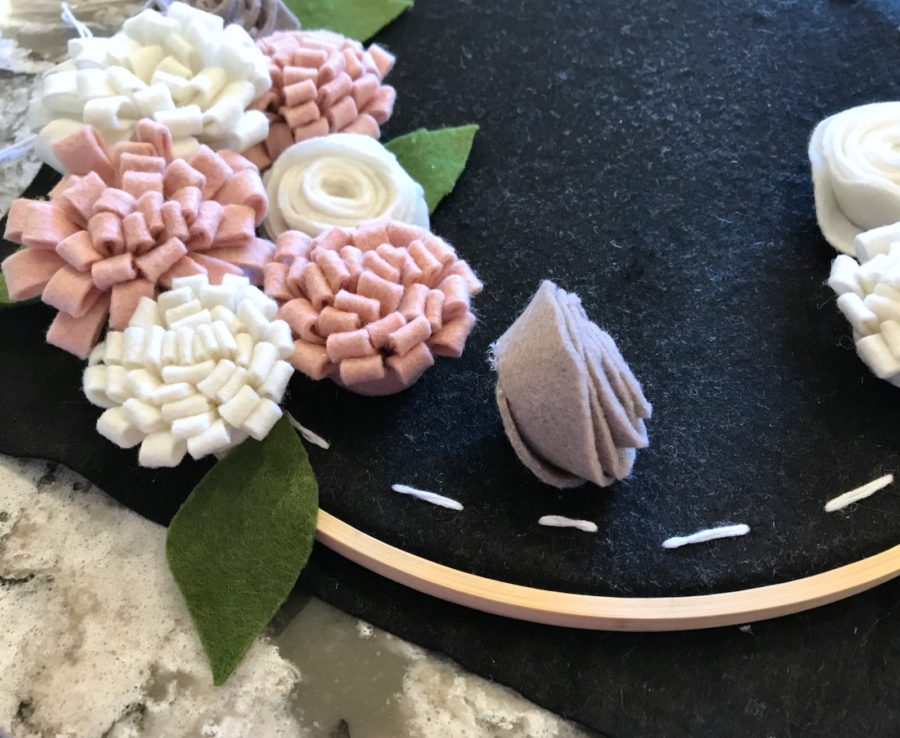
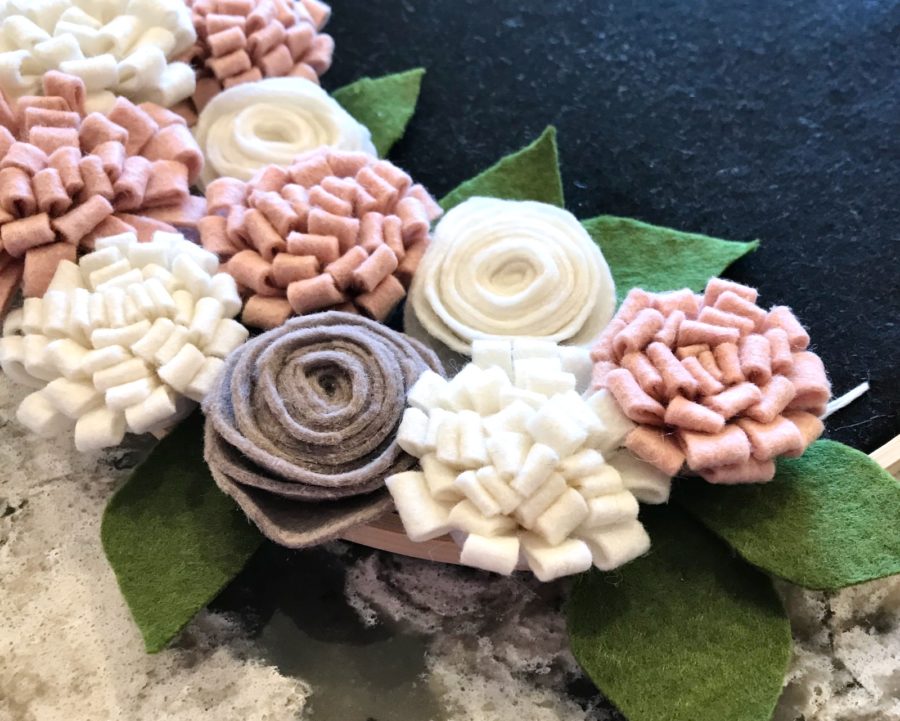
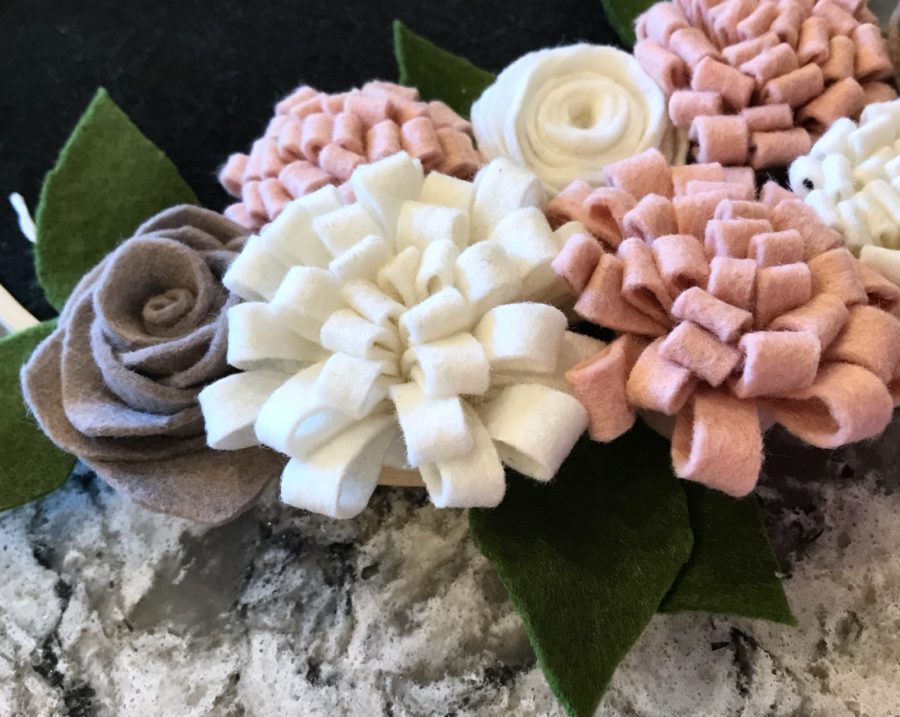
I arranged things as I went, stopping to glue each one in place.
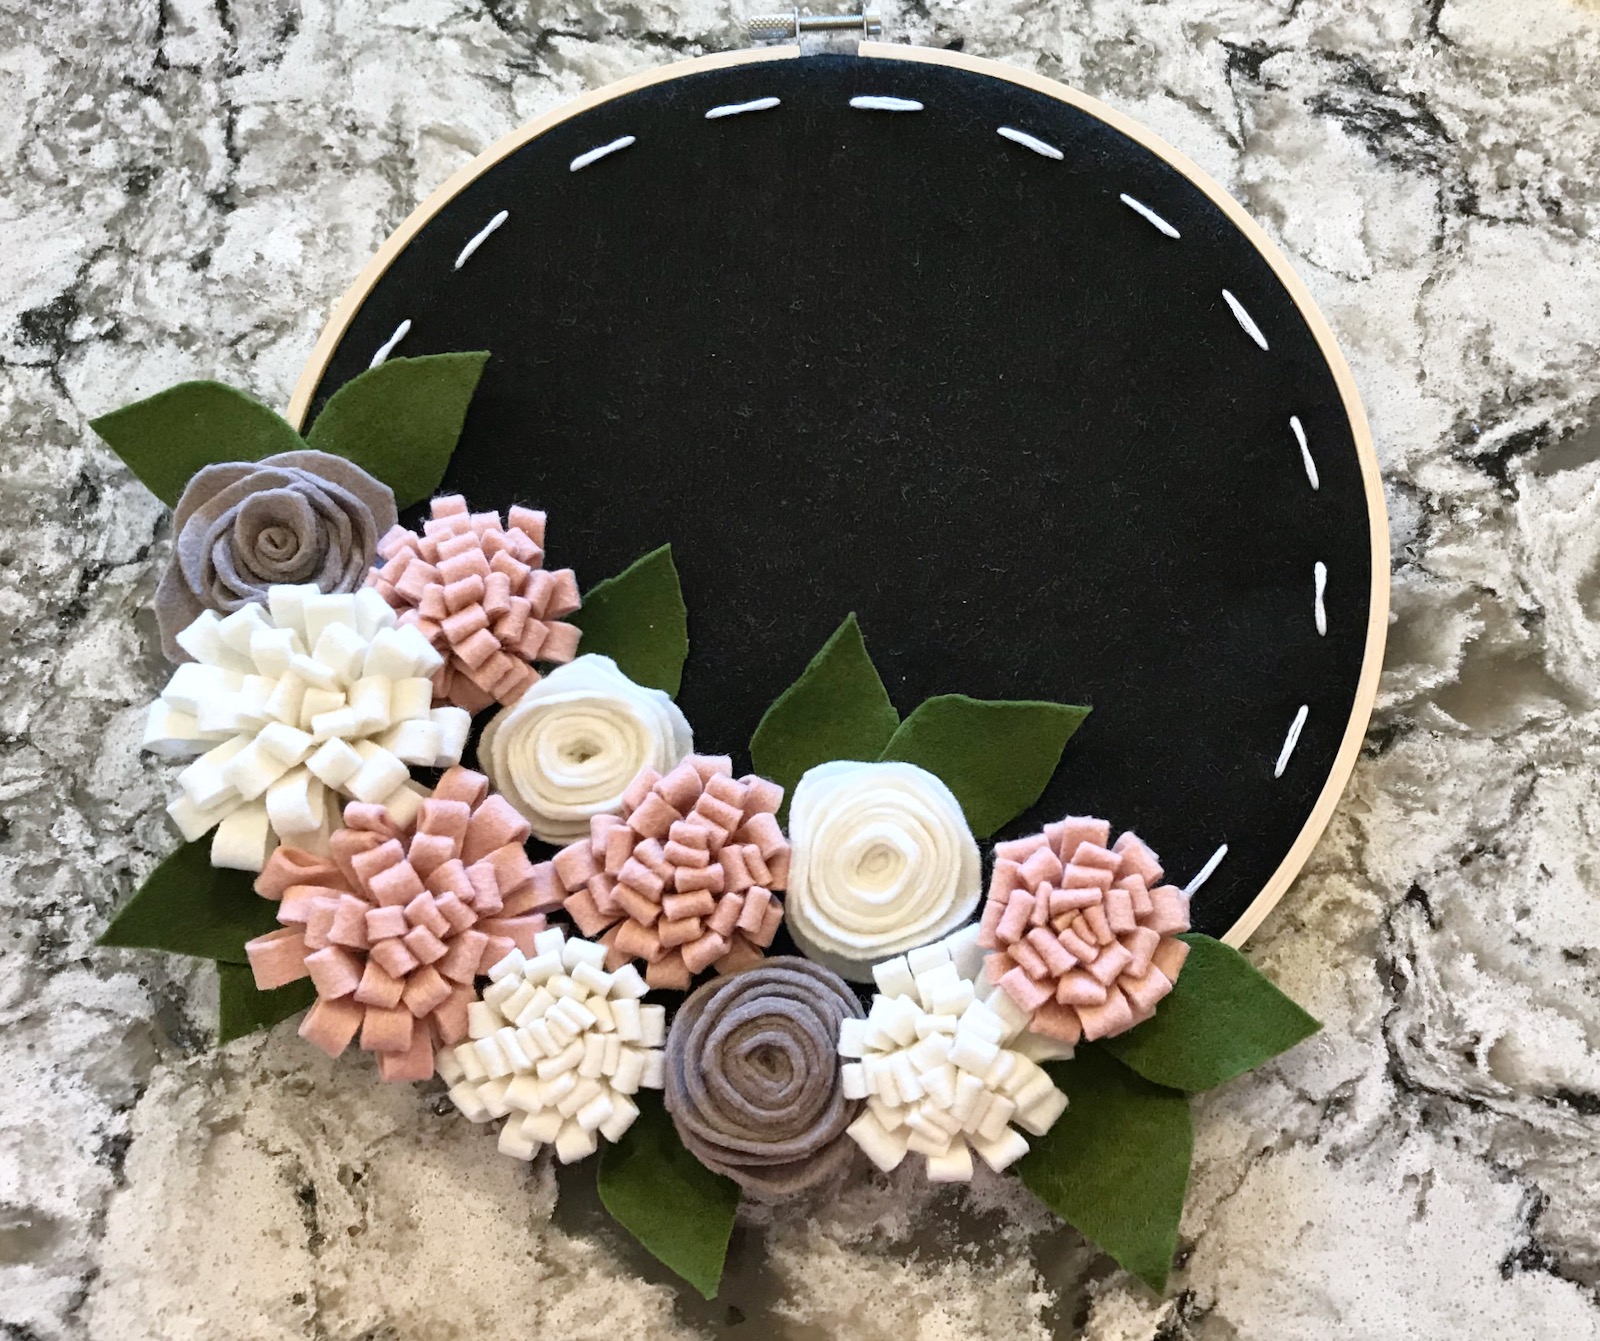
And here’s the end result! — It turned out SO much better than I expected. 😀 It’s not perfect, but I was very skeptical that I could make it look anything like the photo on the instruction booklet. That said, I totally surprised myself. 😉
Although I originally doubted my ability to complete it, I was pleasantly surprised by how well I did with this Annie’s Farmhouse Style Kit Club project. — It looked SO much more intimidating than it actually was. The flowers were relatively simple to create and turned out really pretty. This is definitely a project I’ll be repeating with my kiddos at some point. 😀 — Remember, for a limited time you can save 50% on your first month with coupon code “SHARE50“!

Leave a Reply