Annie’s Farmhouse Style Kit Club is a crafting subscription box that sends a new stylish and affordable farmhouse craft kit to your door every month.
Each kit will include all of the crafting materials you’ll need, along with easy, step-by-step instructions to complete the project. — Just use your own basic tools, like a glue gun and scissors, and start creating. From the family room to the kitchen table, holiday decorations to gift ideas, every project brings fresh farmhouse character into your space…and reflects your love for all things handmade.
Disclosure: Box was received for review purposes. Post may contain affiliate links.
Subscriptions are $19.99/month, but for a limited time you can save 75% on your first month with coupon code “SHARE75“!
Let’s see what’s in my Annie’s Farmhouse Style Kit Club shipment!
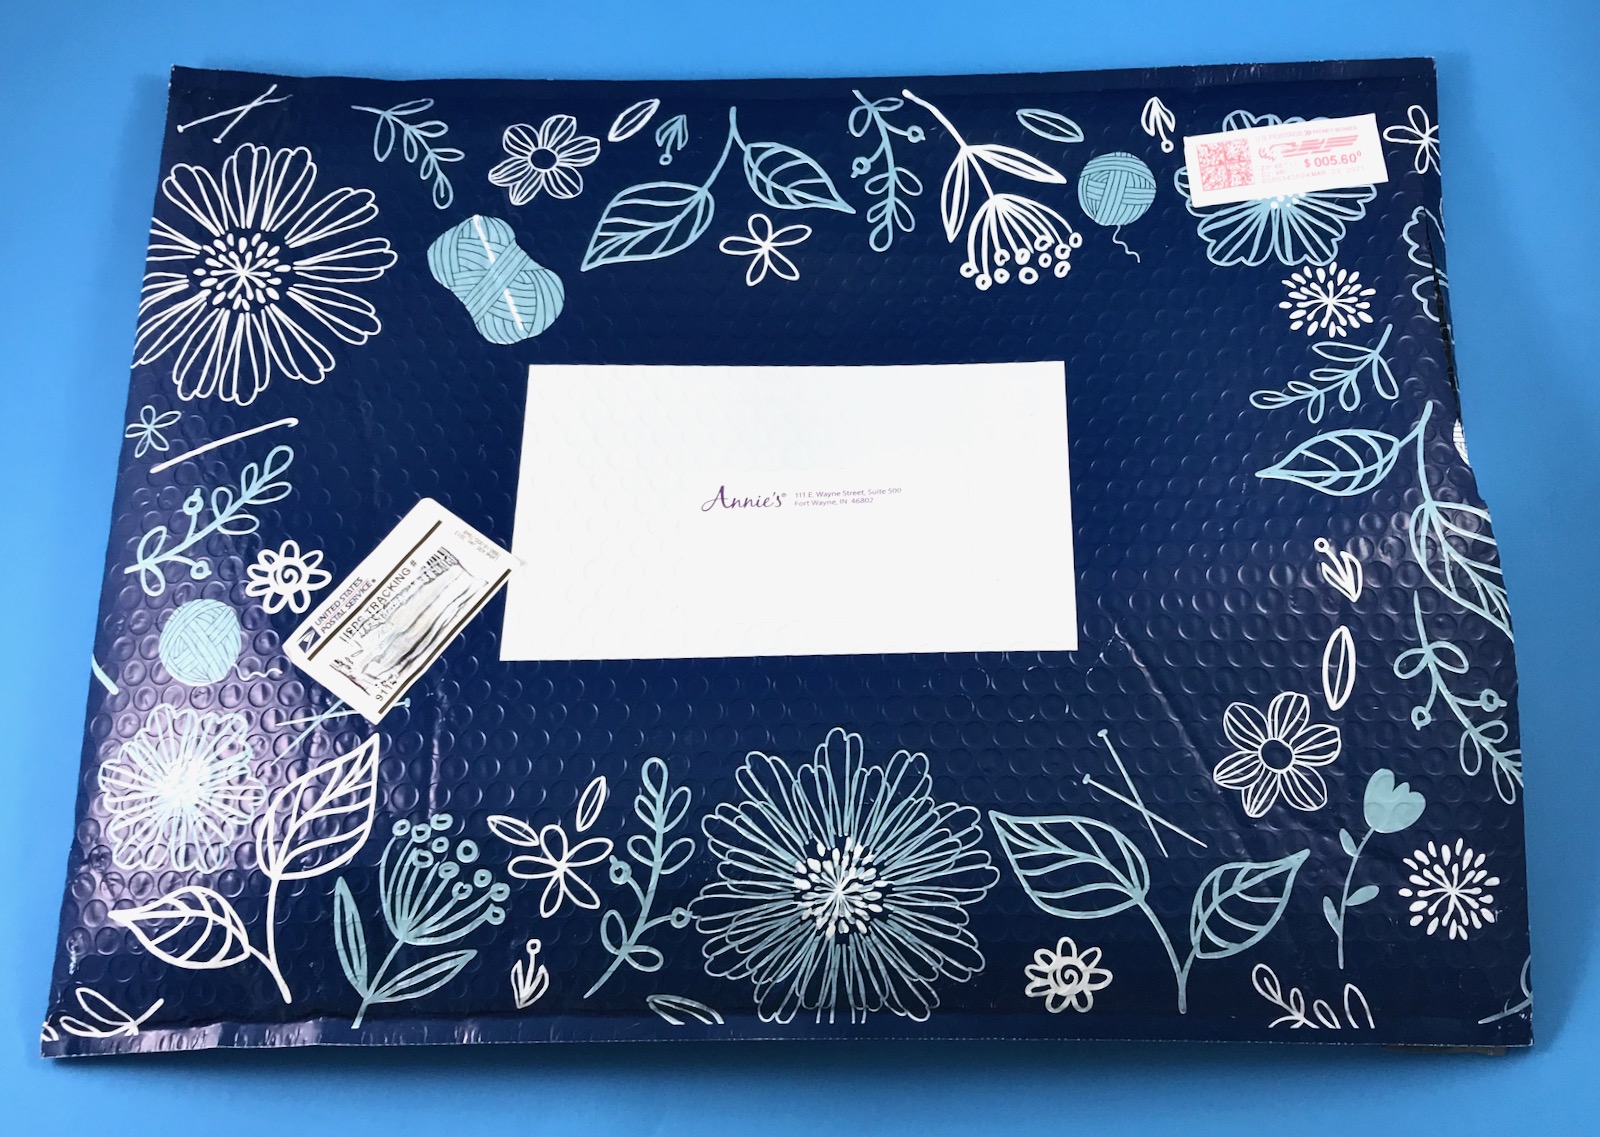
The kit was shipped in a padded envelope with a blue and white floral design.
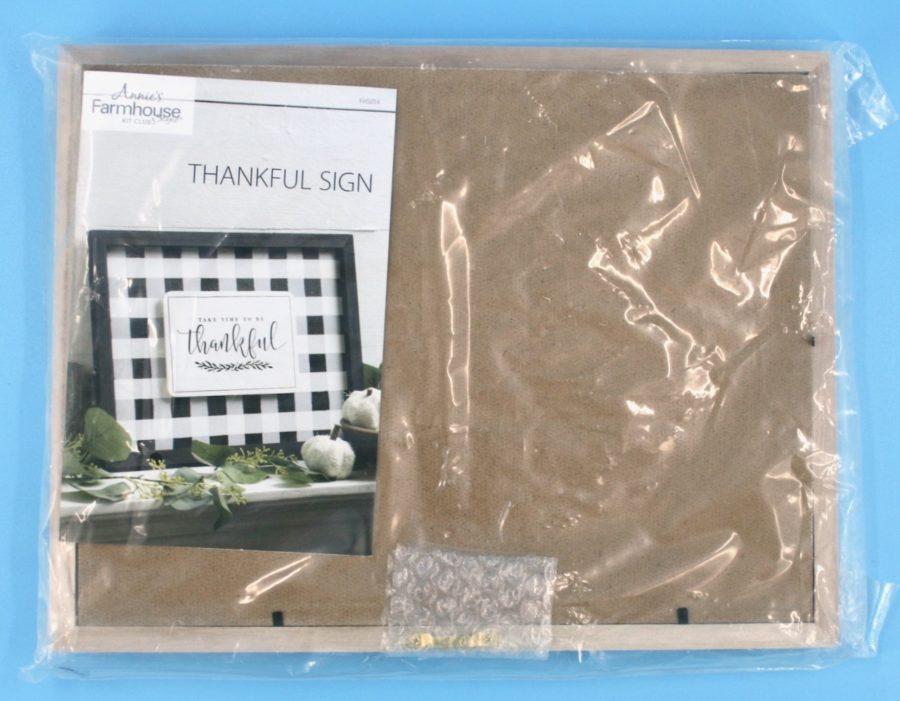
The contents of the envelope! — This month’s project was “Thankful Sign“.
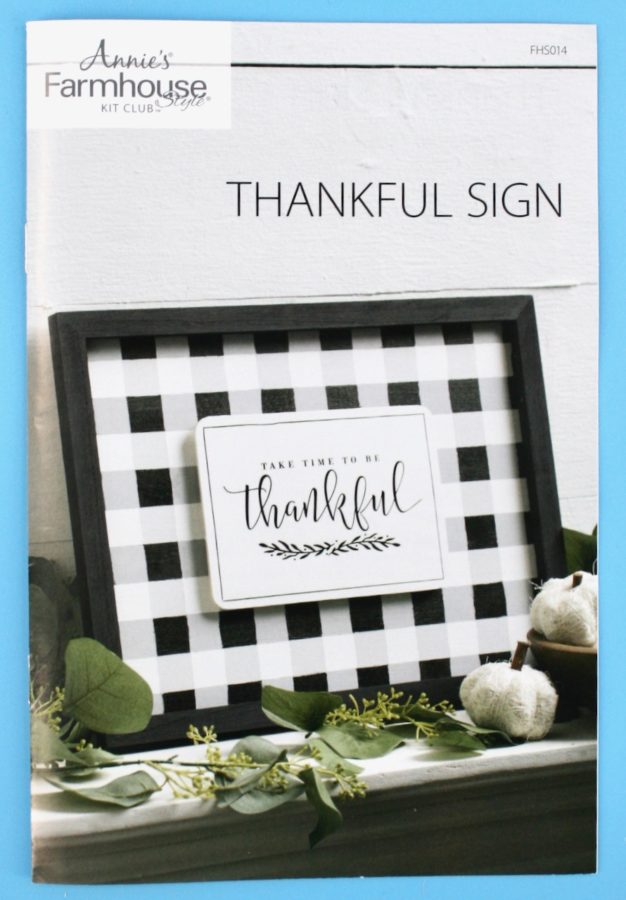
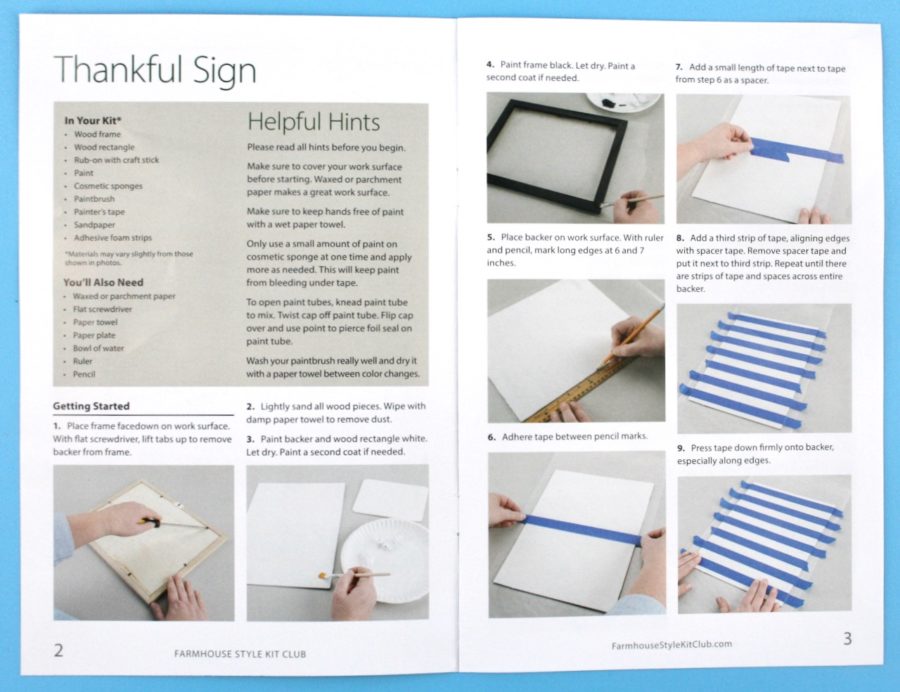
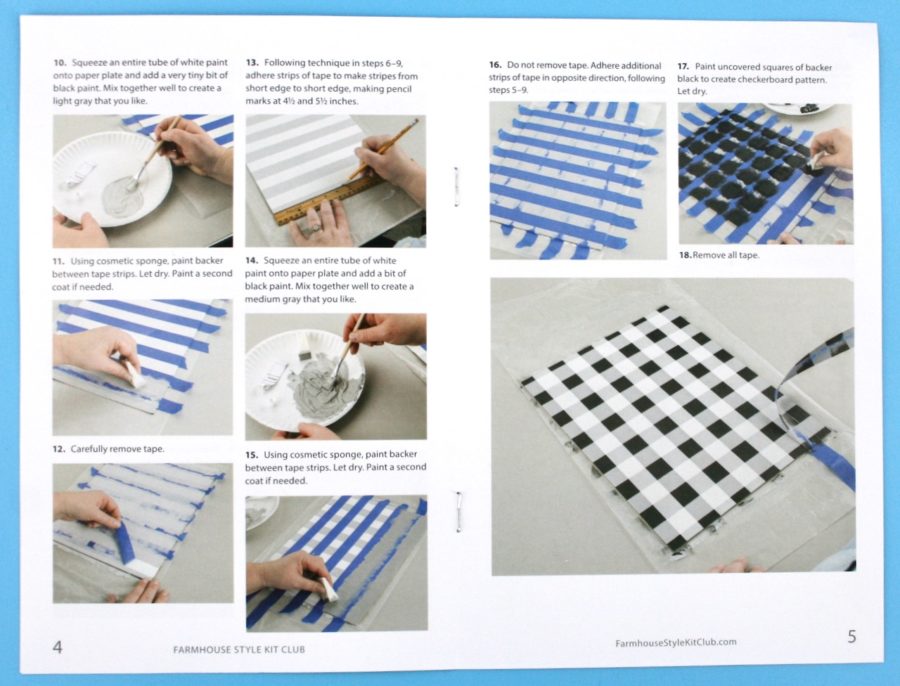
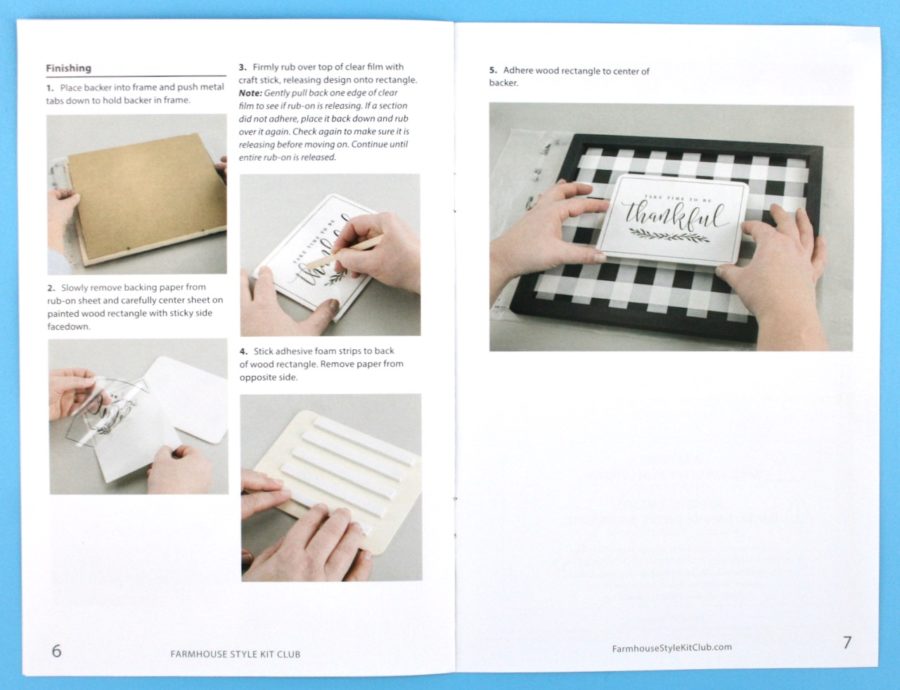
A full color insert provided step-by-step instructions with helpful hints and photos to go along with each step.
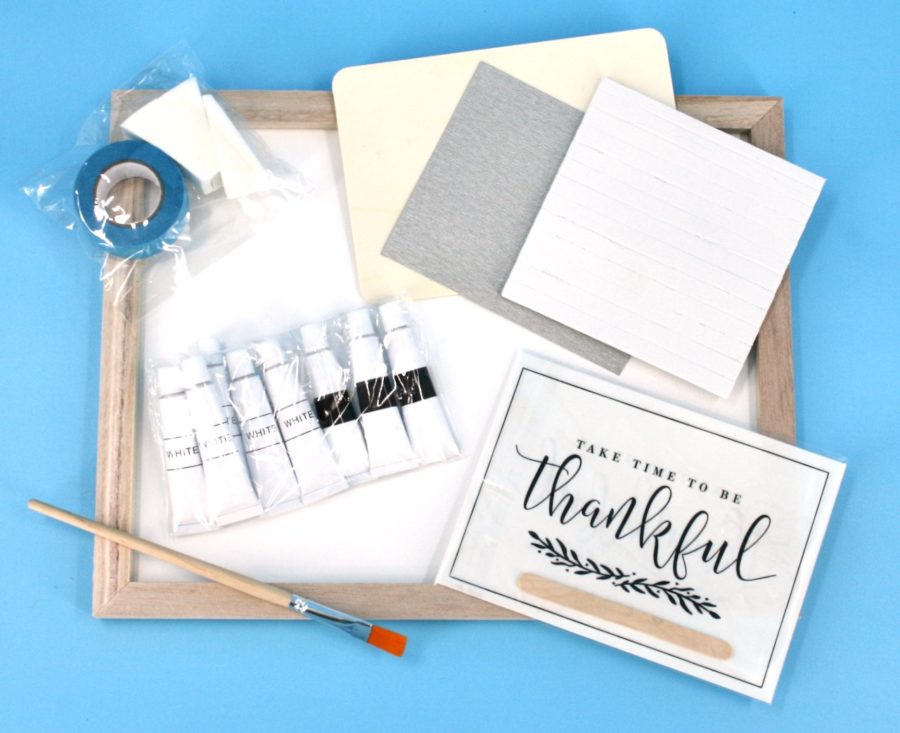
Supplies included: a wood frame, wood rectangle, rub-on decal with craft stick, black & white paint tubes, cosmetic sponges, a paintbrush, roll of painter’s tape, sandpaper, and adhesive foam strips.
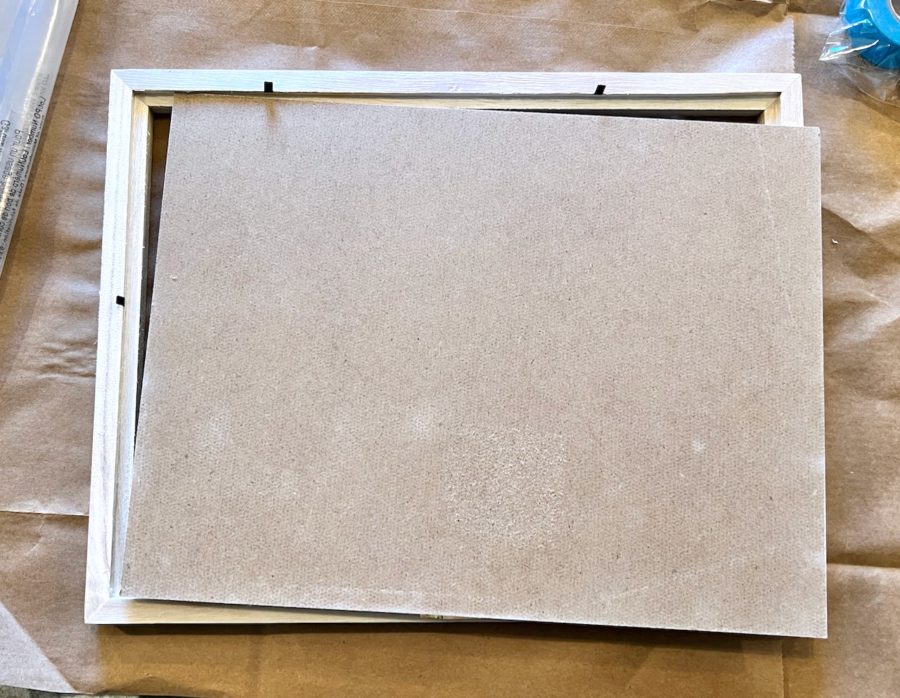
To begin, I first needed to remove the backer piece from the frame by lifting the metal tabs.
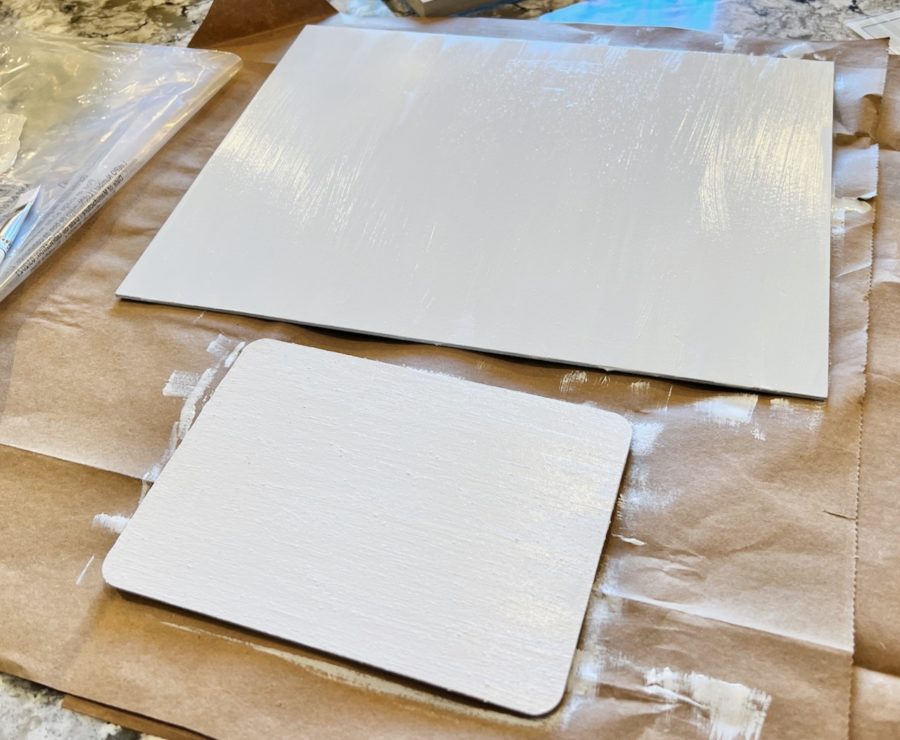
I then painted both the backer and smaller wood rectangle piece with white paint.
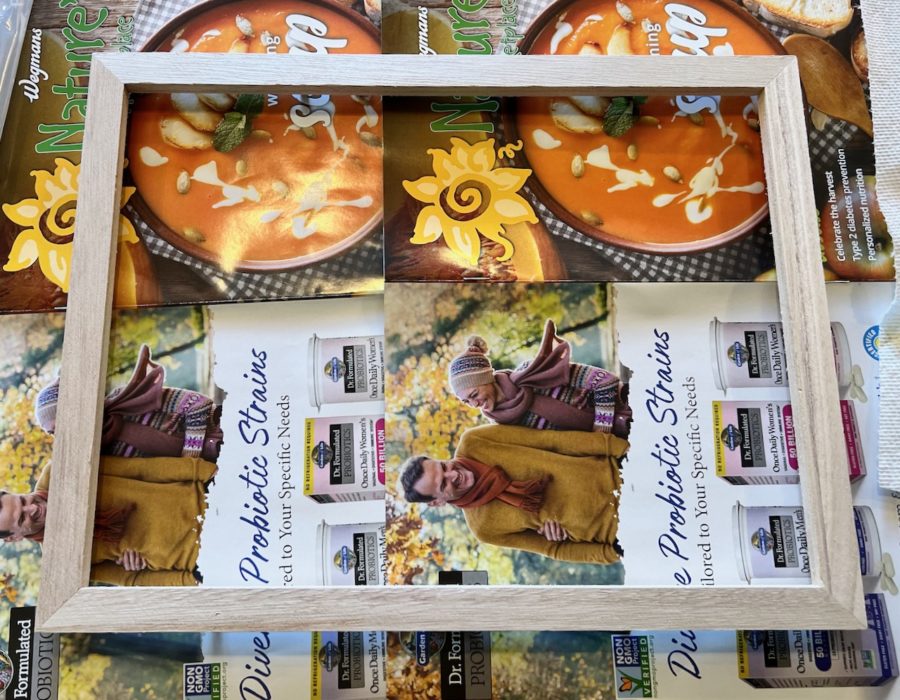
While the other pieces dried, I grabbed the wood frame…
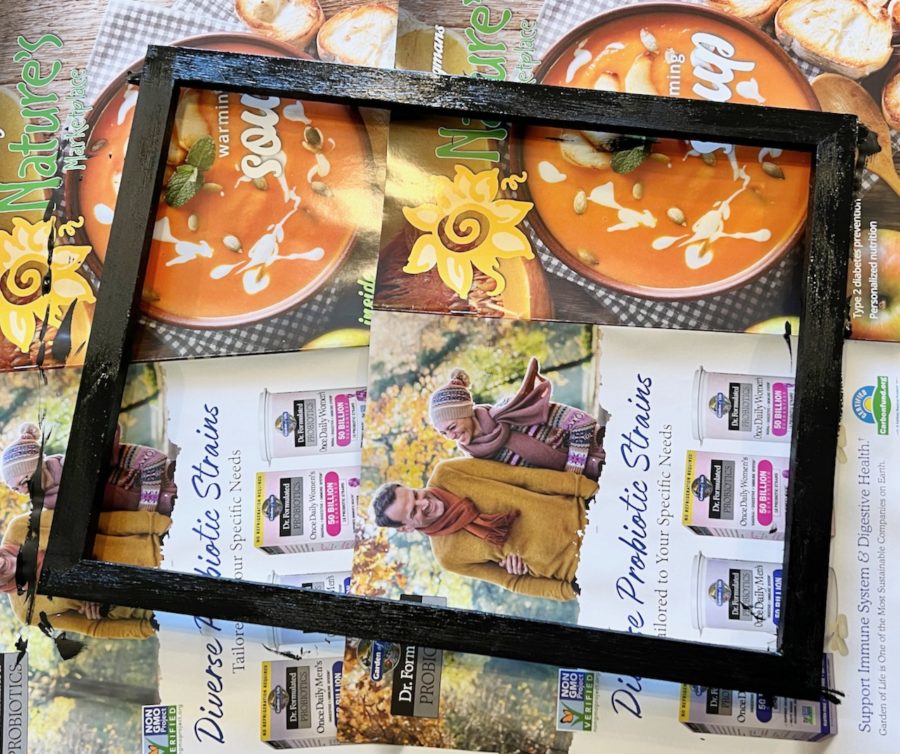
… and painted it black.
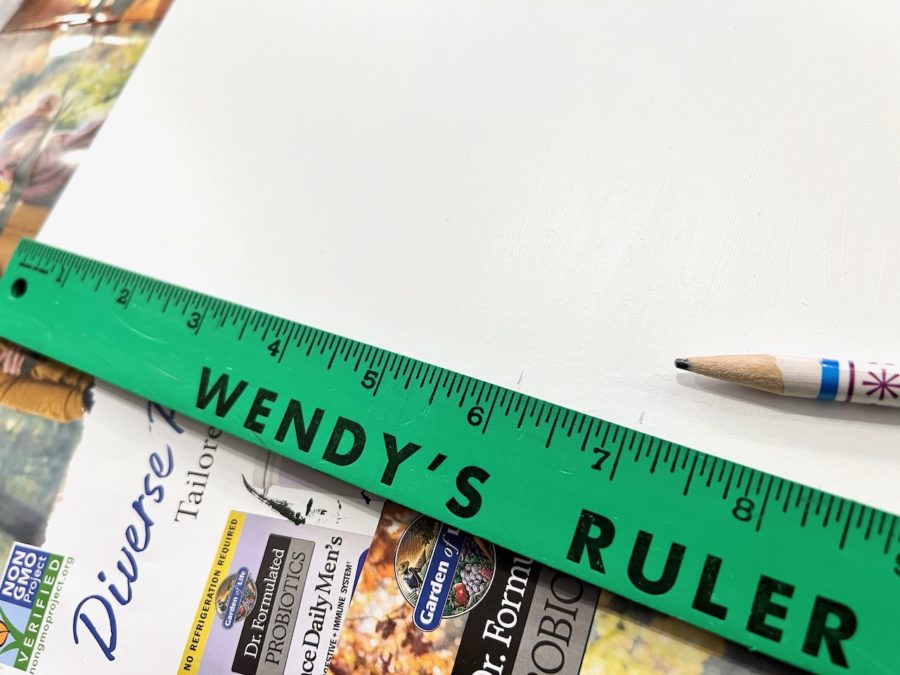
Once the backer was fully dry, I made two markings along its edge to determine where the first strip of tape would go.
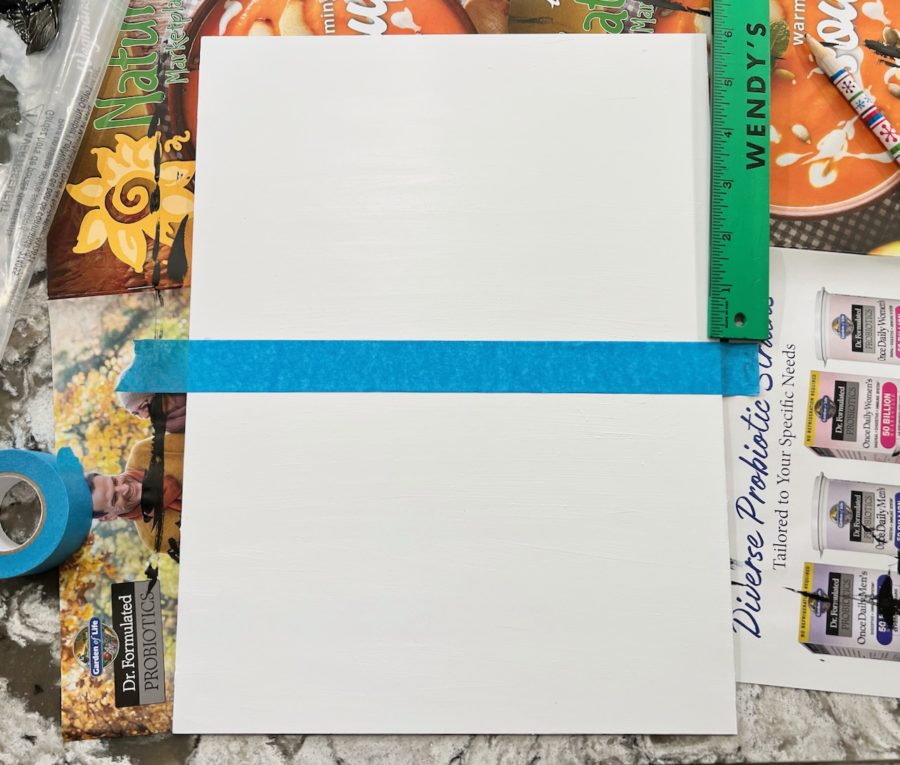
I placed the first strip between the two markings and continued the spacing over the whole backer.
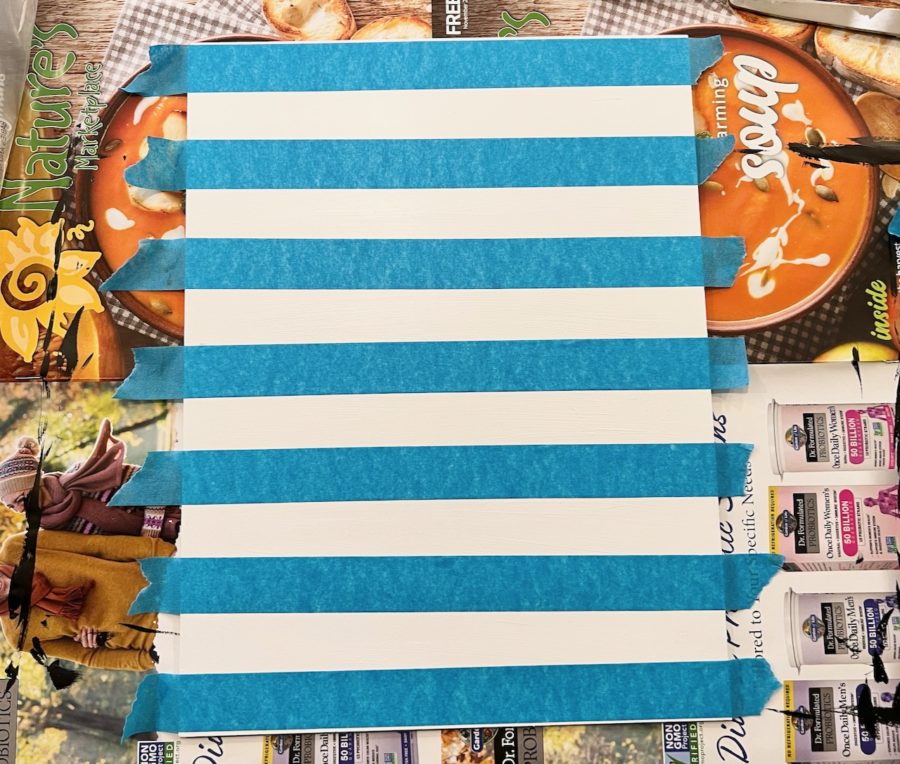
Once fully taped, it was time to add the first layer of paint.
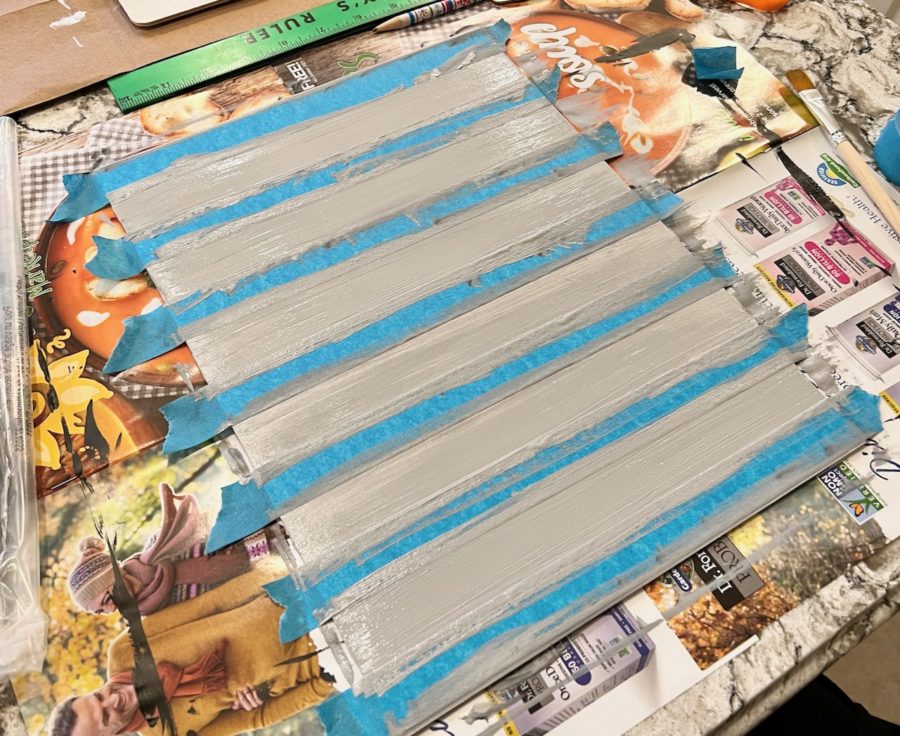
This was actually supposed to be a LIGHT gray, but I went a little too heavy with the black. (Oops!)
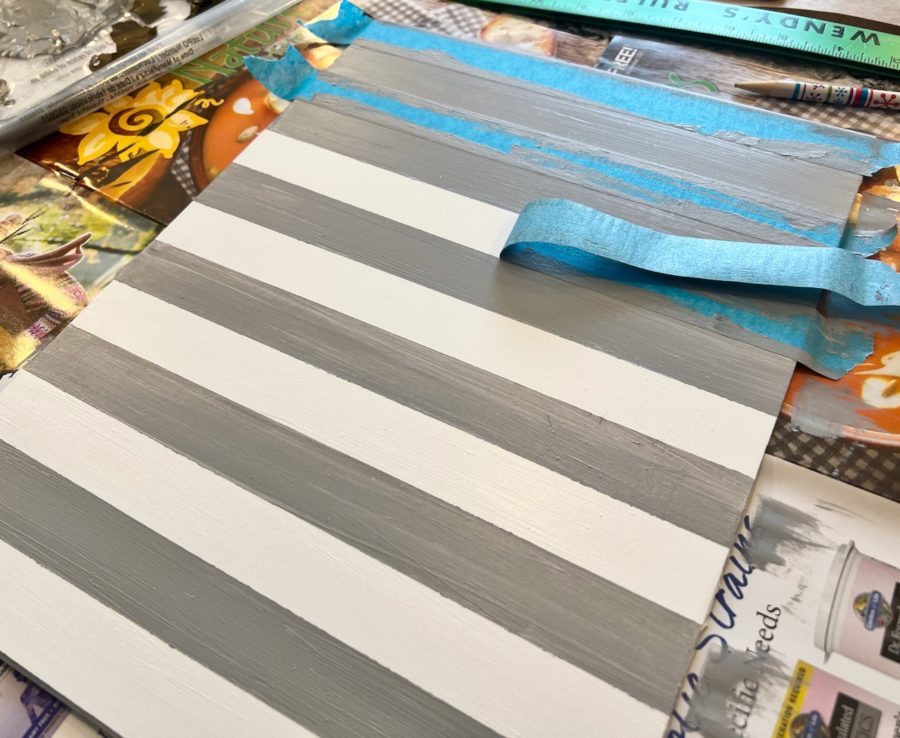
Once the first gray application was dry, I peeled off the tape to reveal the stripes.
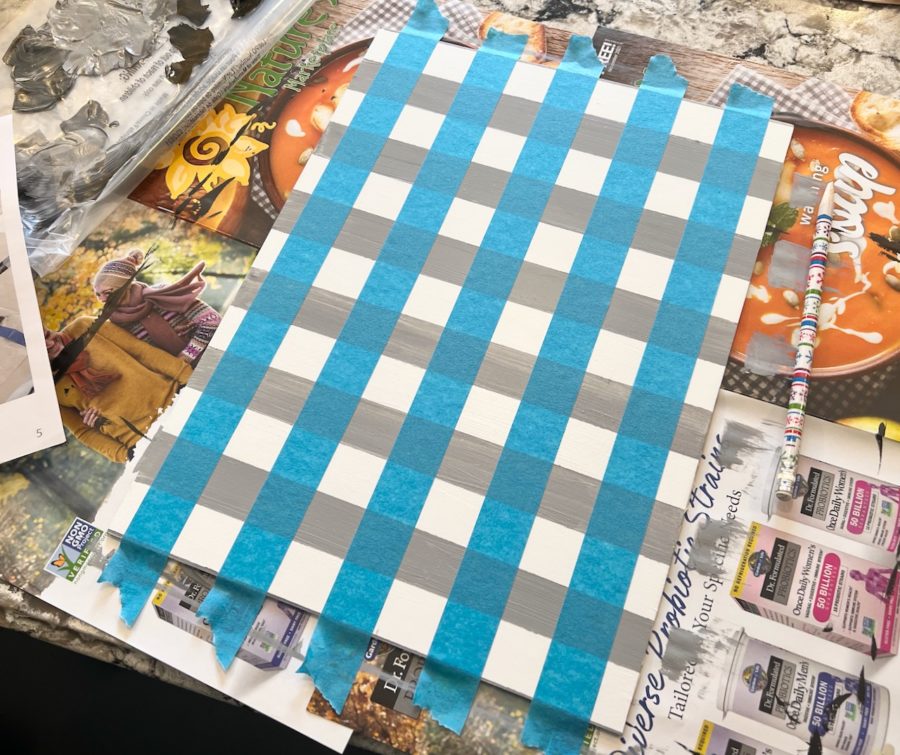
I then needed to add another row of tape vertically, over the existing stripes.
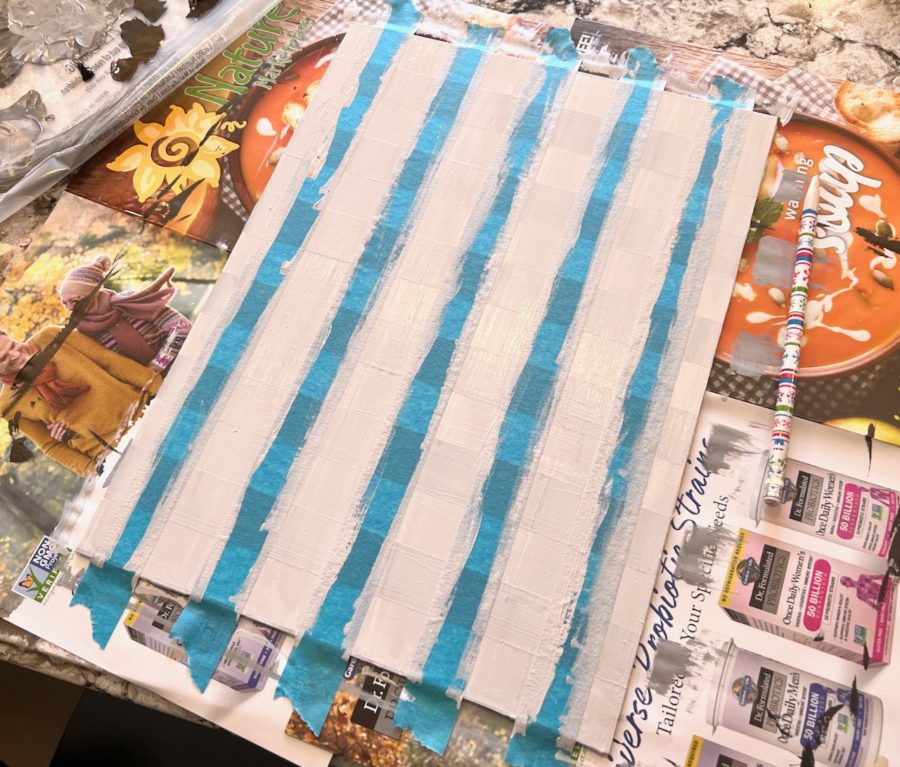
This was supposed to be a medium gray, but I intentionally went lighter due to going too dark with the first one.
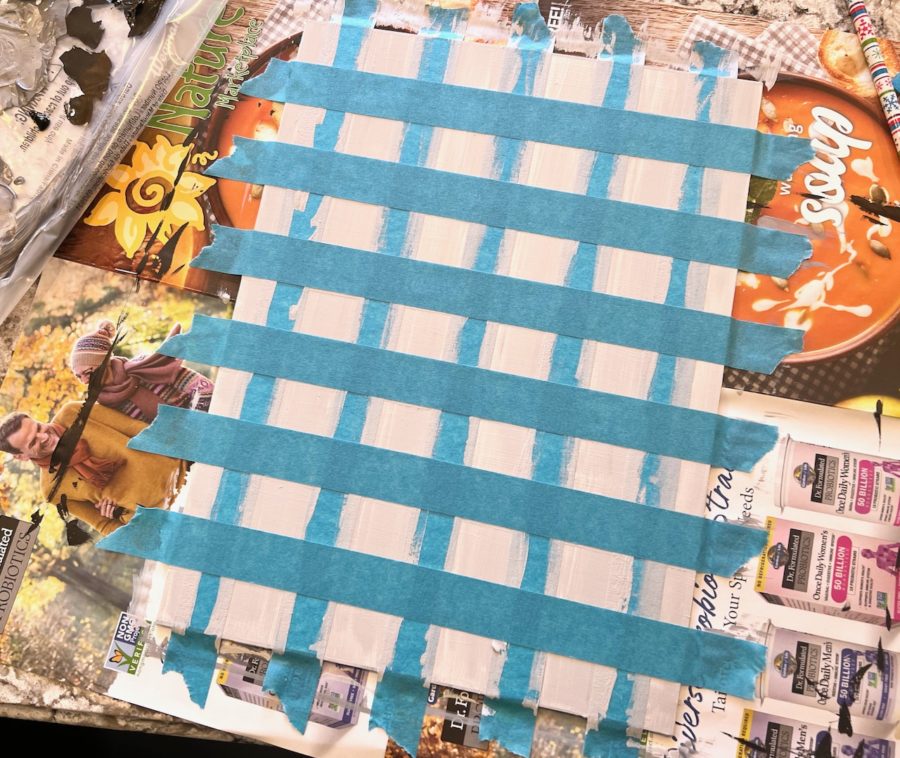
Once the second gray layer was fully dried, I added the final row of horizontal tape — while leaving the vertical row in place.
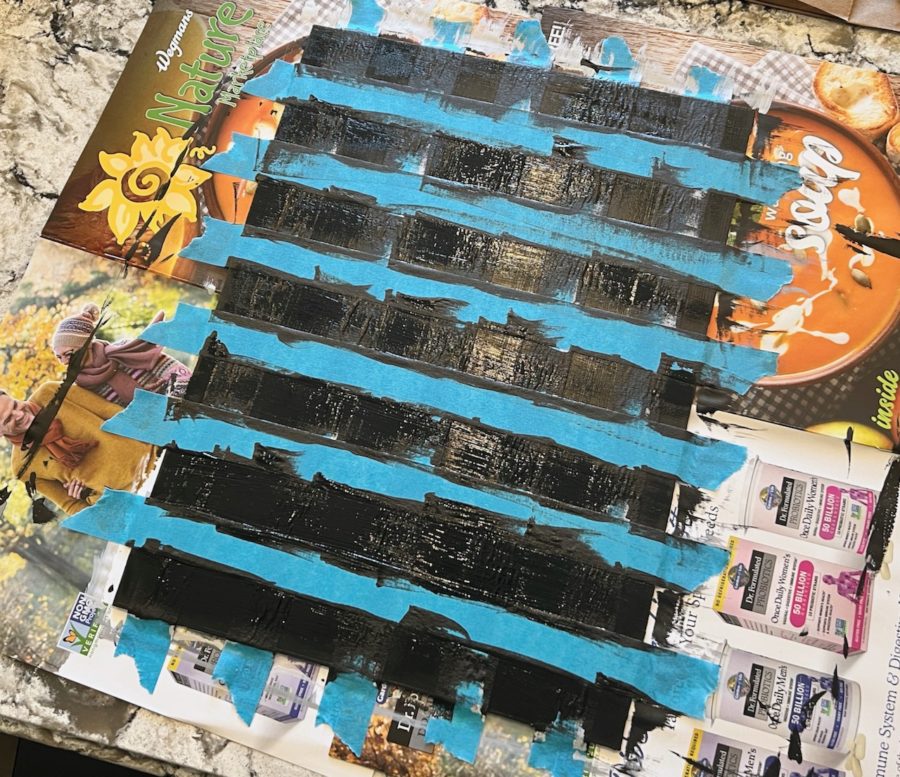
The final layer was then applied using black paint.
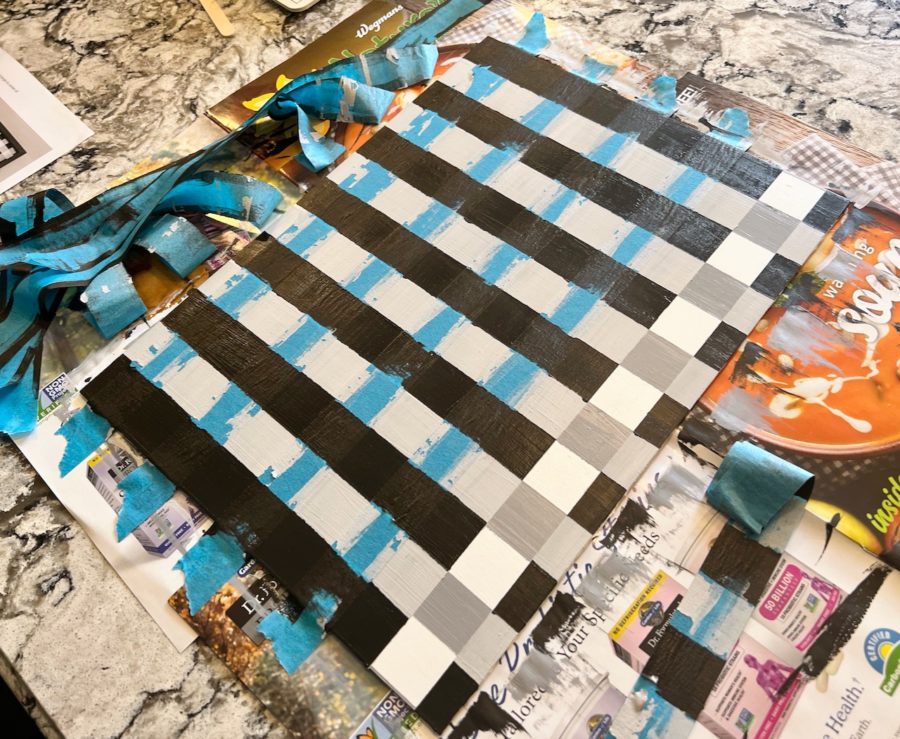
After allowing it to dry for the final time, I removed all of the remaining tape to reveal the checkerboard pattern below.
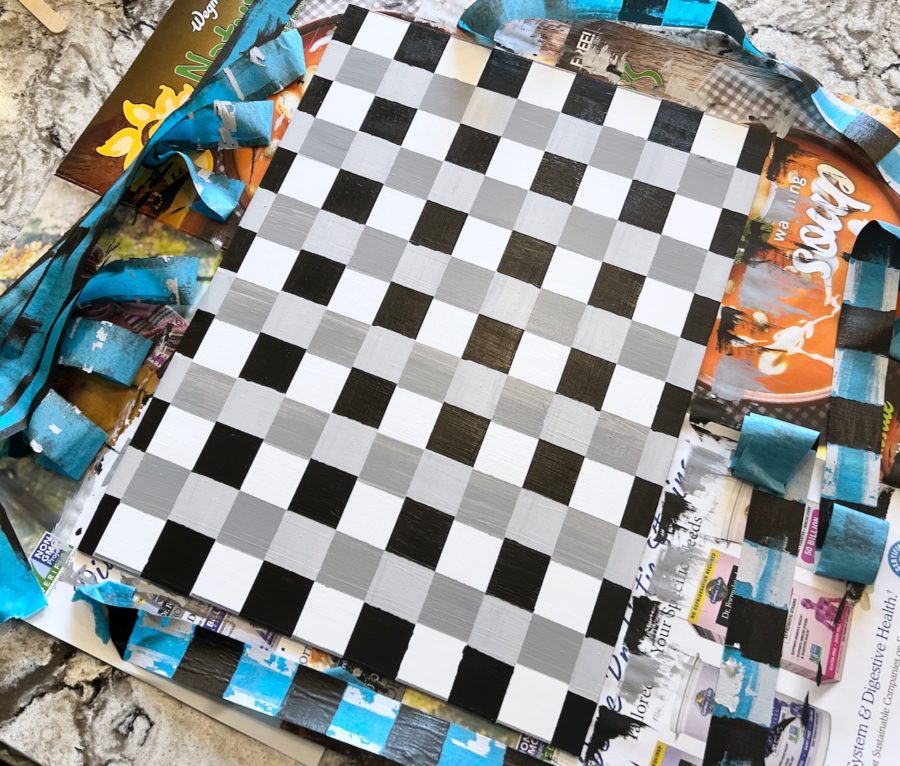
Ta-da!
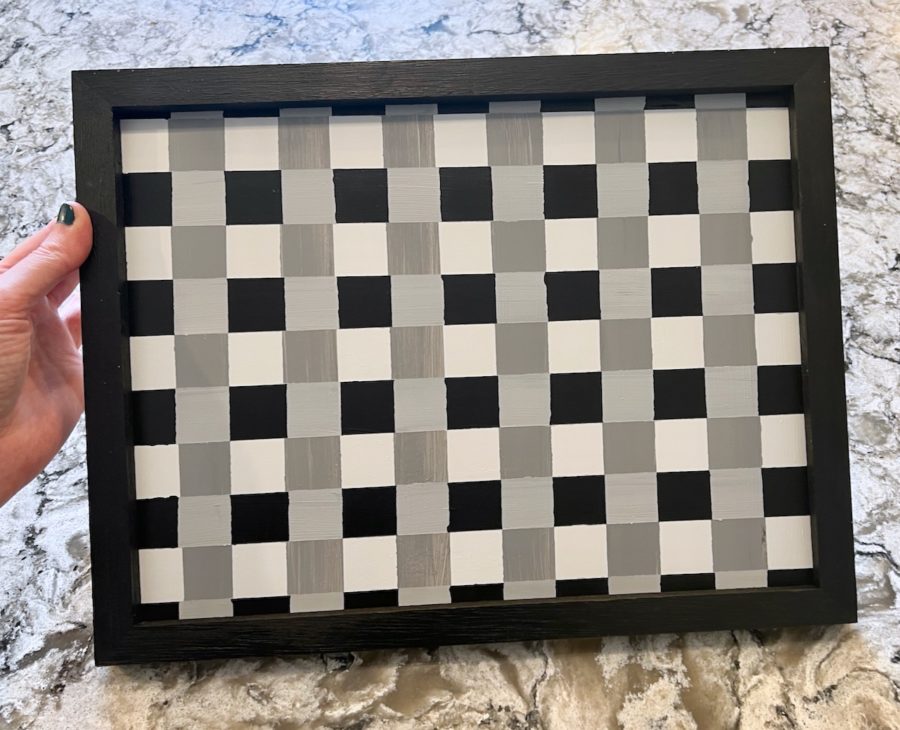
I then secured it inside of the wooden frame and moved onto the final step…
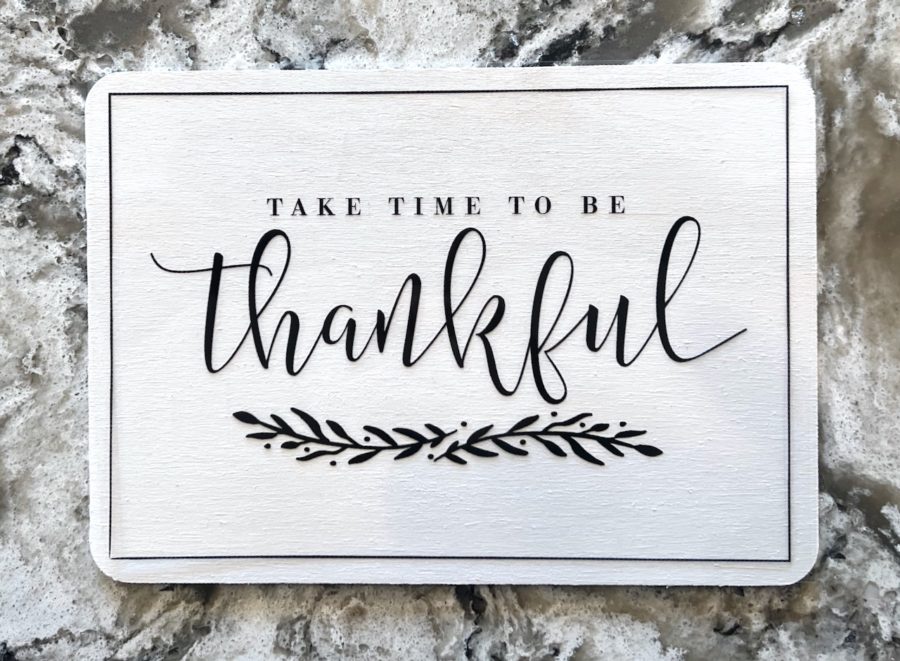
I slowly removed the backing from the “thankful” decal and carefully placed it on the painted white rectangle piece.
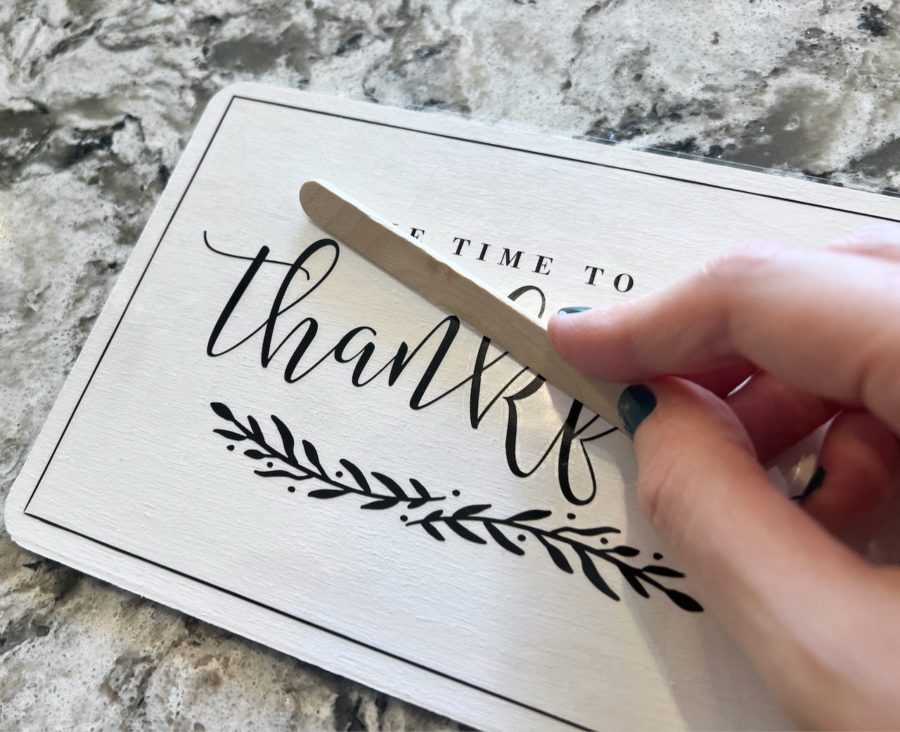
In order for the decal to properly adhere to the wood, it needed to be VERY firmly rubbed with the provided craft stick.
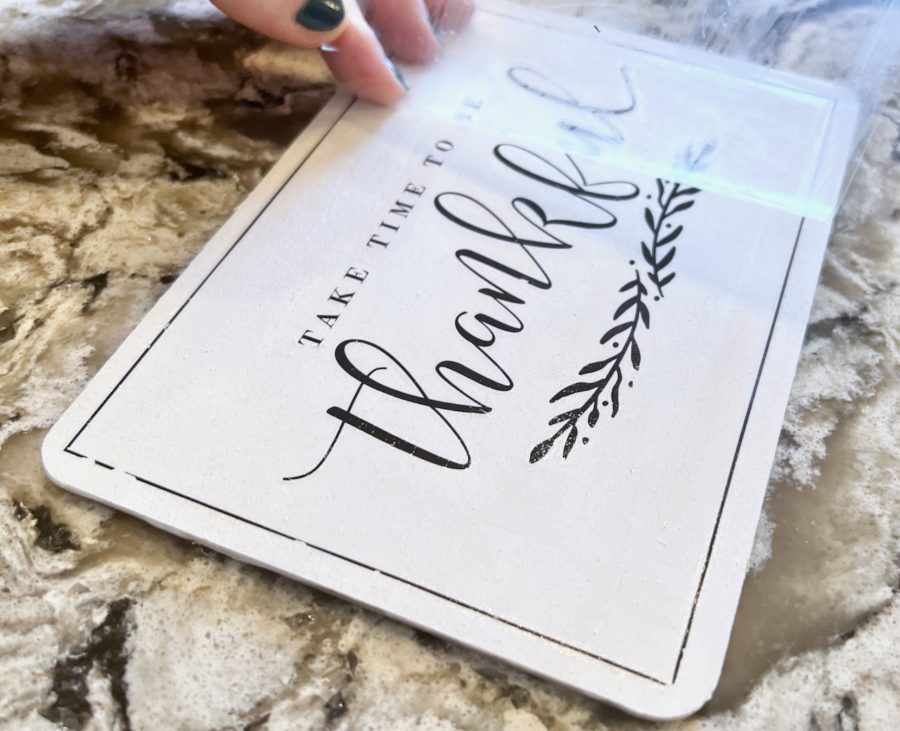
The process was a little trickier than I was expecting, but thankfully I only “lost” a few small parts of the design as I removed the film.
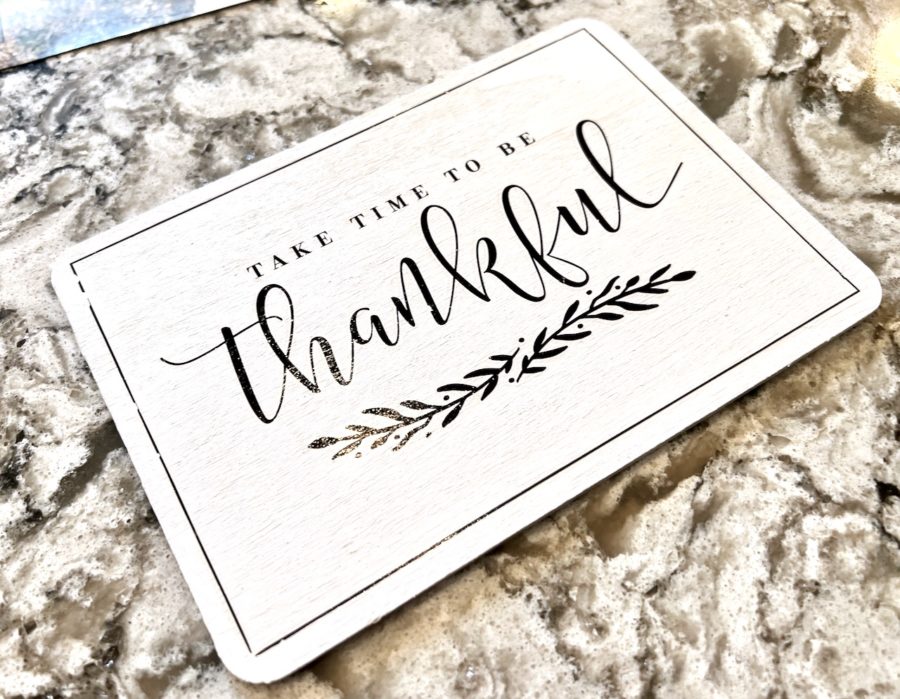
Not too noticeable!
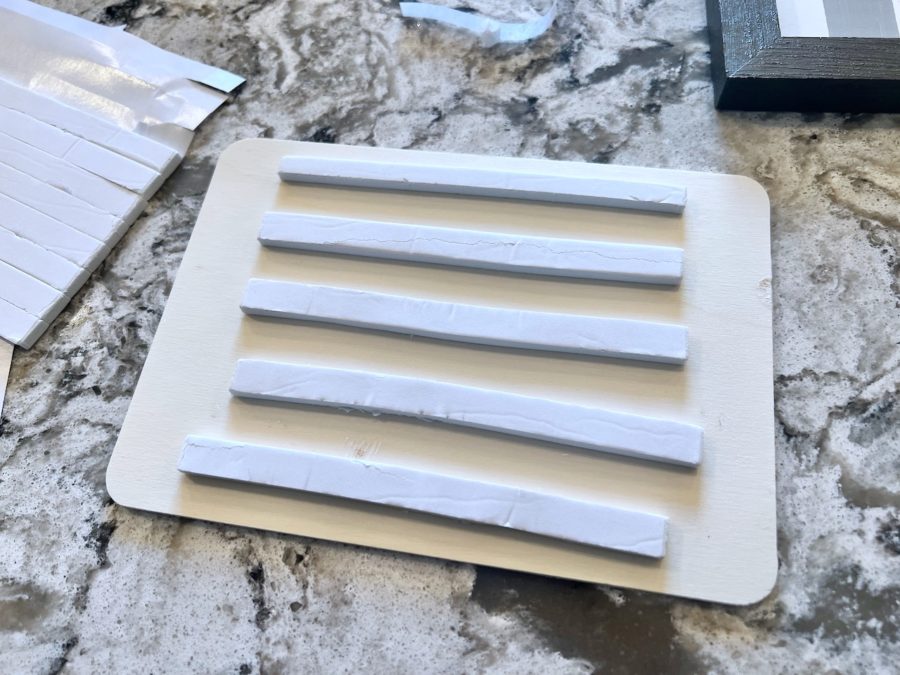
The final step was to stick a few rows of adhesive strips to the back of the rectangle and attach it to the framed backer.
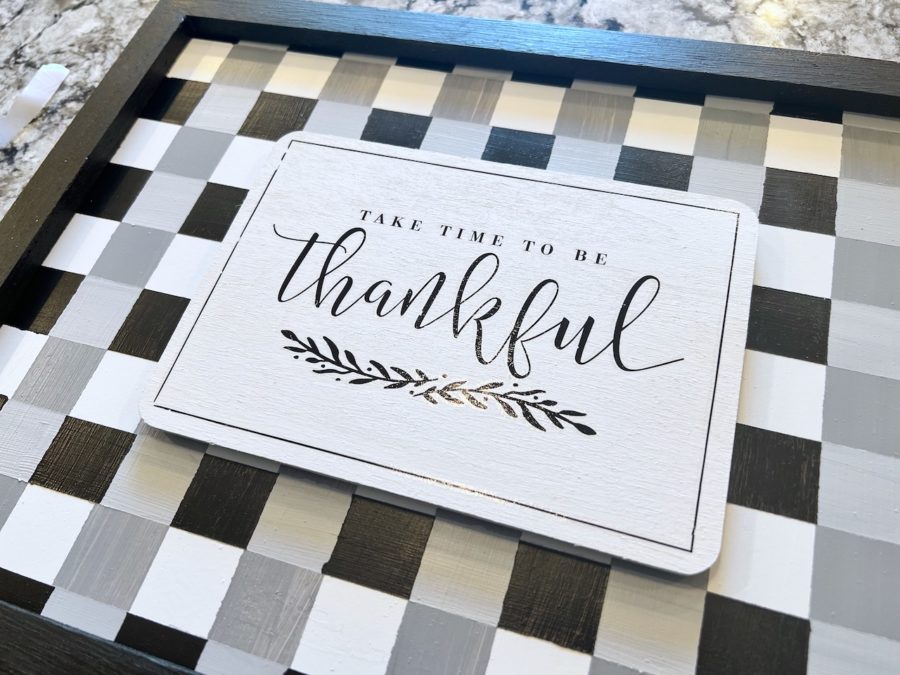
All done!
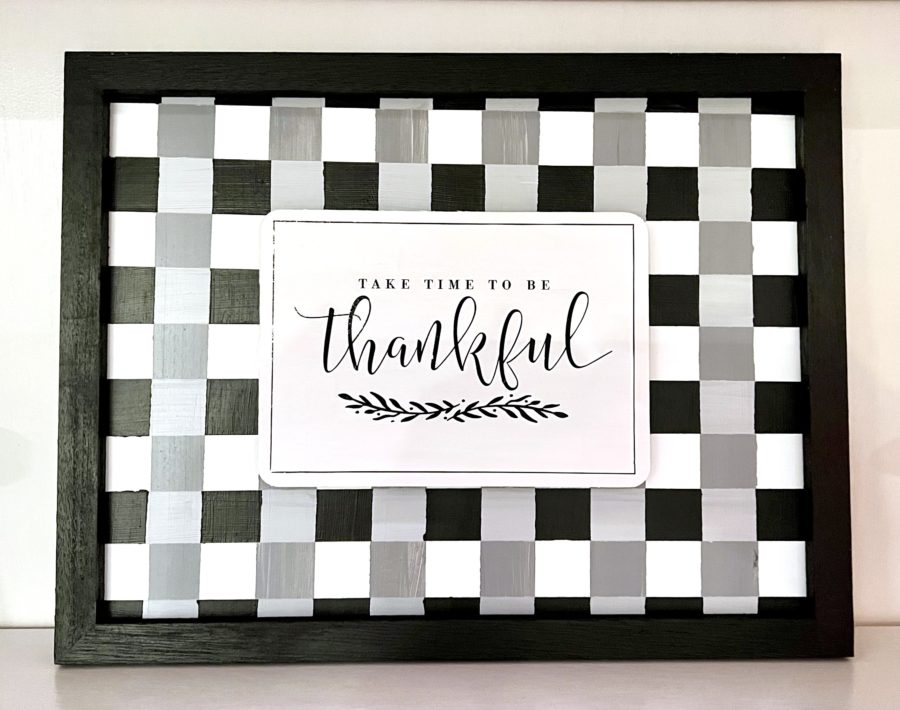
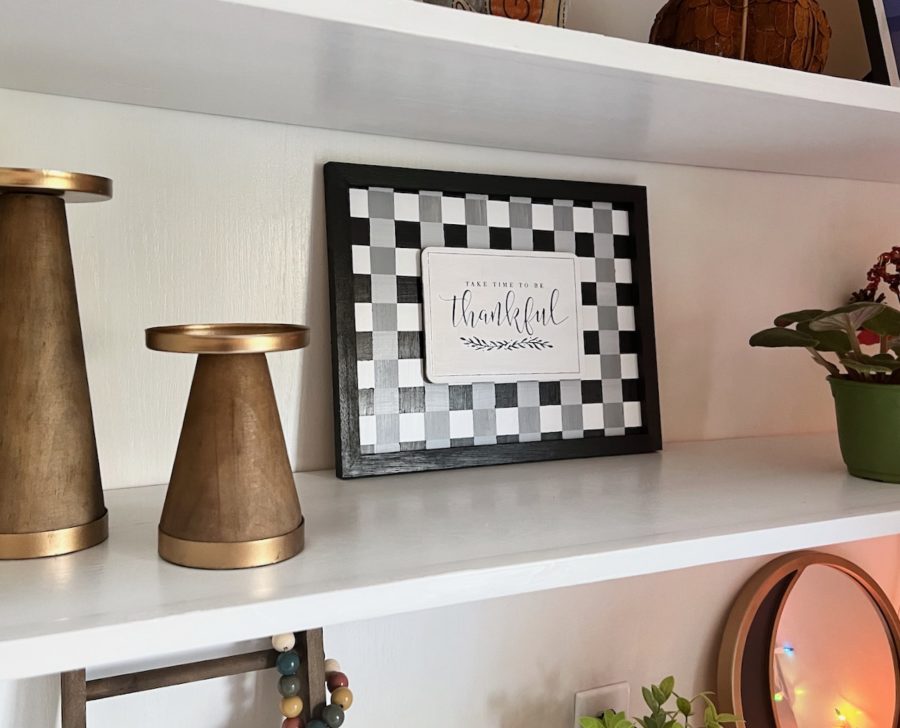
It didn’t turn out perfect, but once I placed it on a shelf surrounded by other decor pieces the minor flaws were a lot less noticeable (especially from further away). 😉
Once again, I enjoyed how Annie’s Farmhouse Style Kit Club nudged me out of my comfort zone and got me to throw myself into a project that I normally wouldn’t attempt on my own. The instructions were easy to follow and for the most part I was pleased with the result. — Experienced crafter I am not. 😉 — Remember, for a limited time you can save 75% on your first month with coupon code “SHARE75“! Note: If a different coupon code shows up at checkout, simply hit the “remove” button and replace with SHARE75.

Leave a Reply