Craftique is a new monthly subscription box that sends you a DIY project utilizing antique or vintage items.
Each box will include everything you’ll need to create a one of a kind project. You’ll receive printed instructions, hand picked antique/vintage items, and all of the supplies necessary to put them together. The projects will be easy enough for beginners, yet still enjoyable for experienced crafters.
Subscriptions are $25/month, or less with multi-month commitments. Shipping is free within the US. — For a limited time, you can save 10% on your first box with coupon code “New10“.
Let’s see what’s in the May 2016 Craftique box!
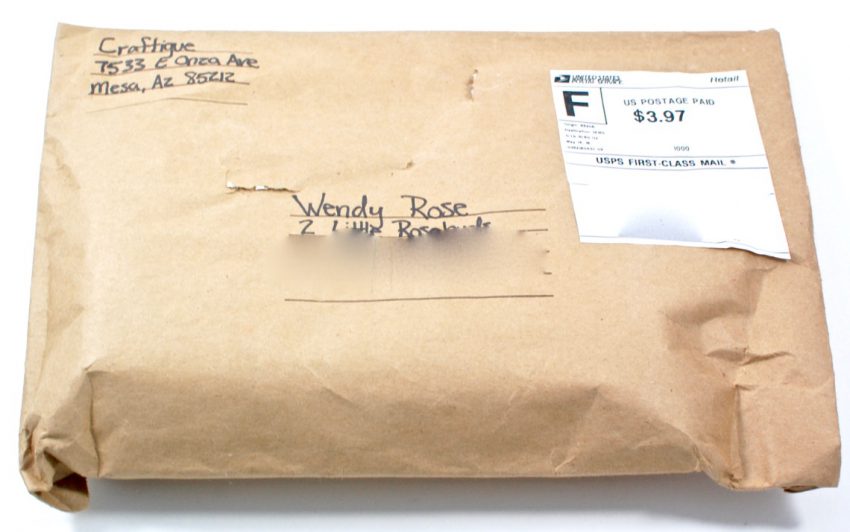
Everything was shipped in a padded kraft paper envelope via First Class Mail.
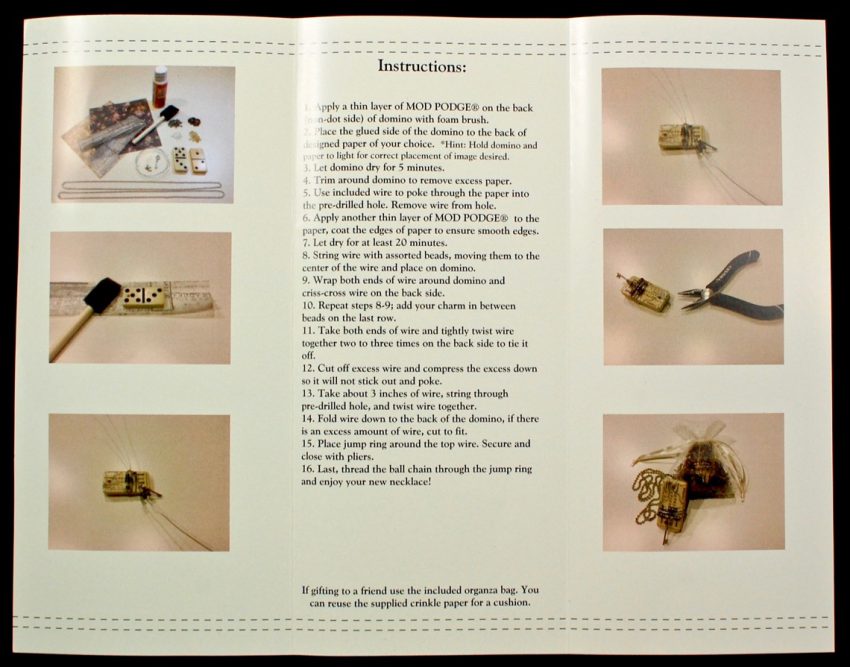
A tri-fold brochure included step-by-step instructions and photos for making this month’s project — Altered Domino Necklaces. (There were enough supplies to make 2 different necklaces.)
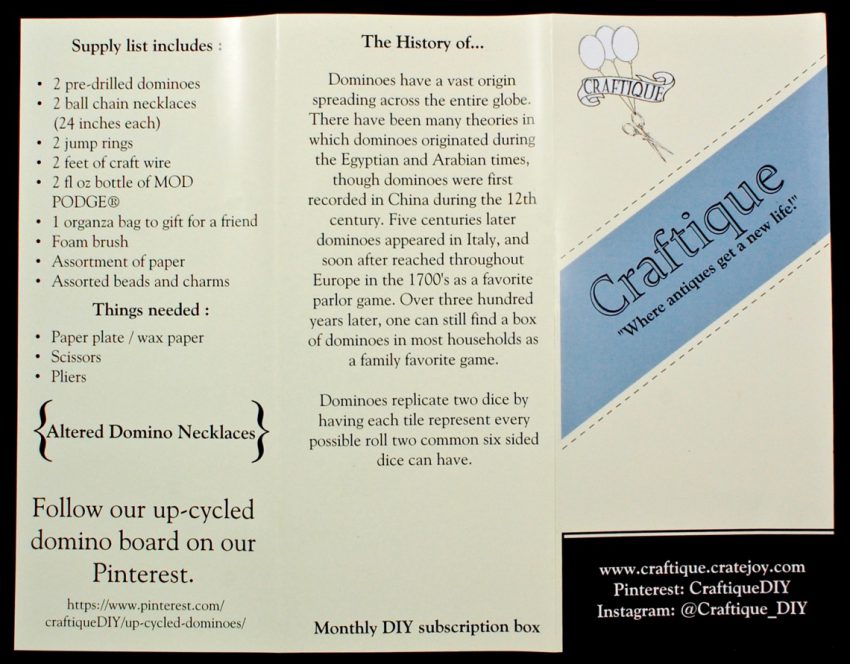
There was also a list of all the included materials (plus some items you’ll need to supply) and a brief history of dominoes.
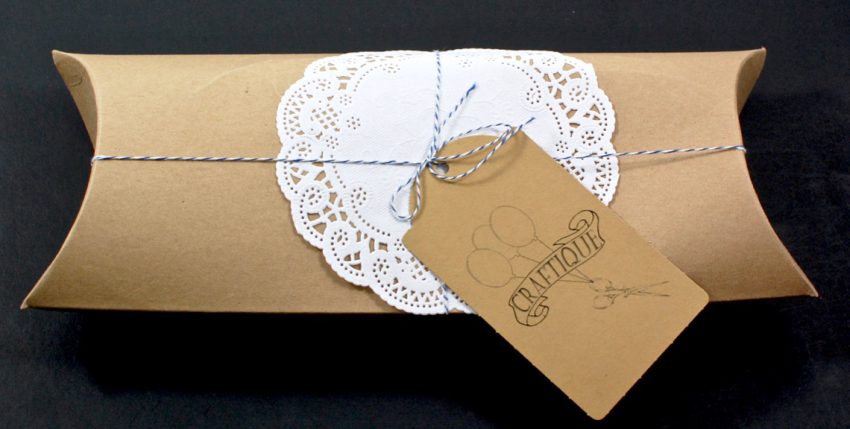
All of the supplies were tucked into a paper package/pouch tied with string and decorated with a doily.
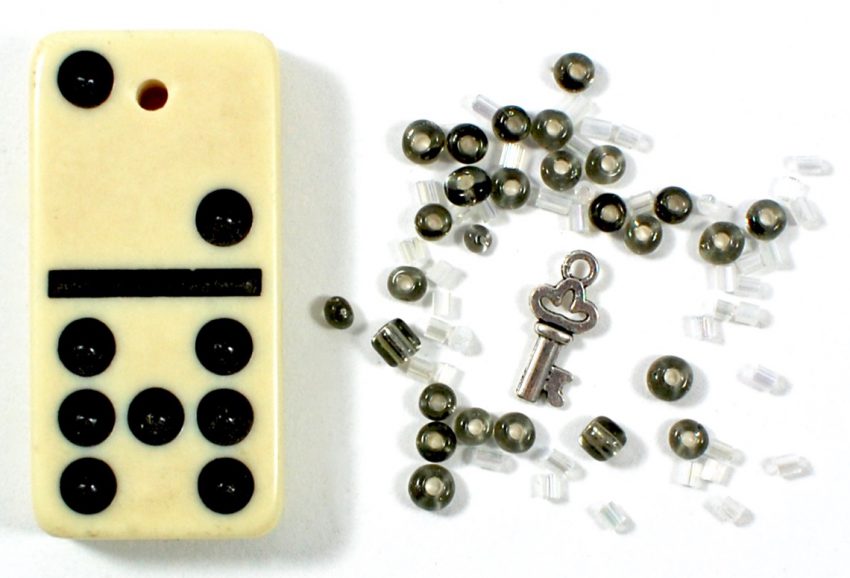
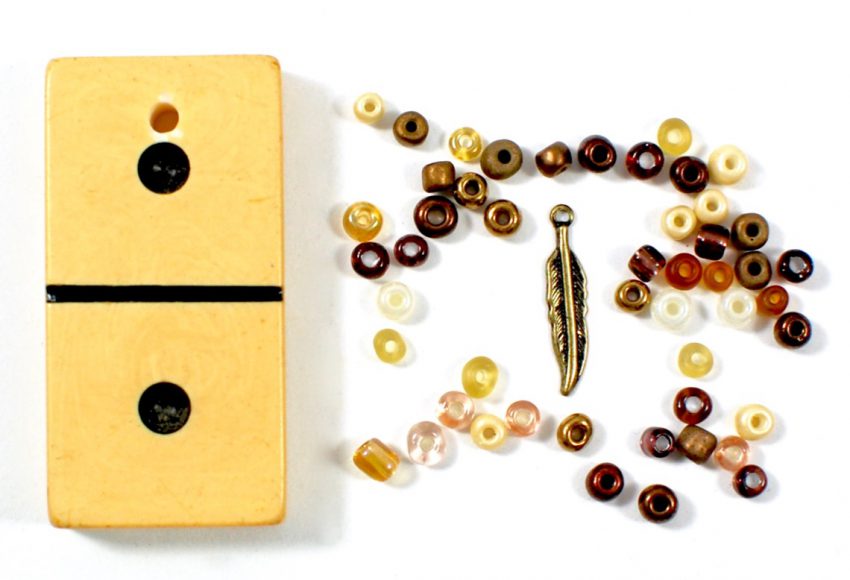
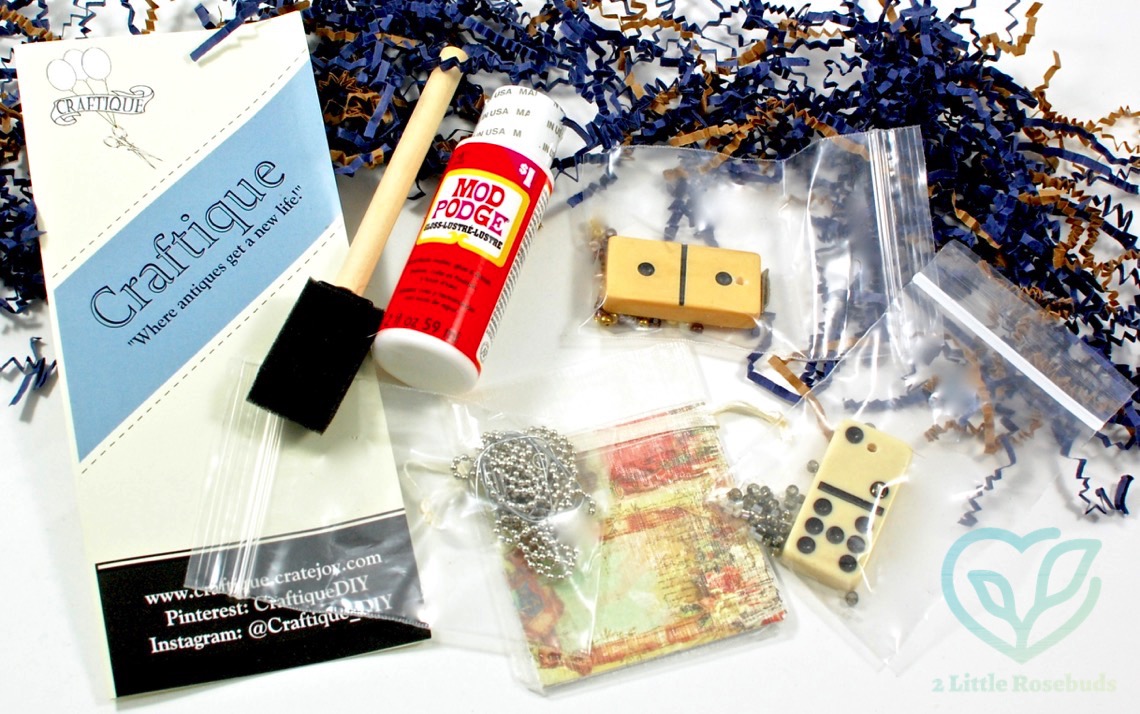
Pre-Drilled Vintage Dominoes – A vintage domino with a pre-drilled hole was to serve as the main component of each necklace.
Beads & Charms – An assortment of beads in various colors and sizes were provided to decorate the domino, along with a metal charm.
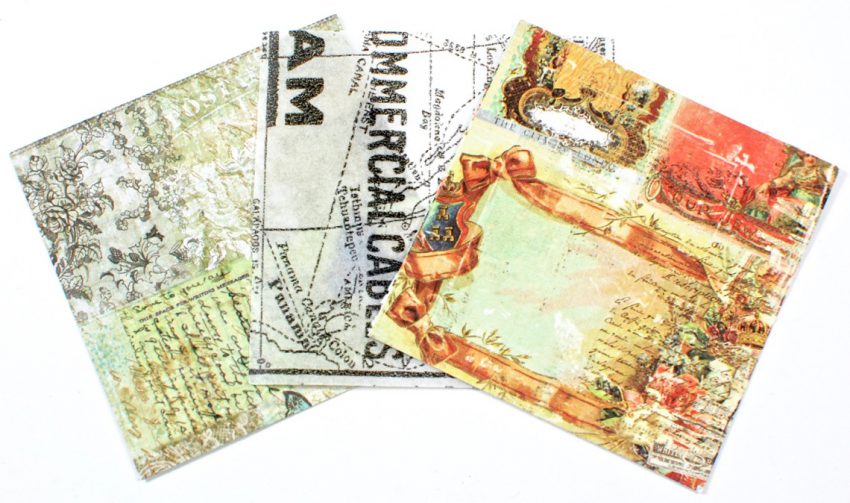
Decorative Paper – Three small pieces of paper with different designs were included to adhere to each domino. The squares were large enough to use one of them for both necklaces or use the two you like best.
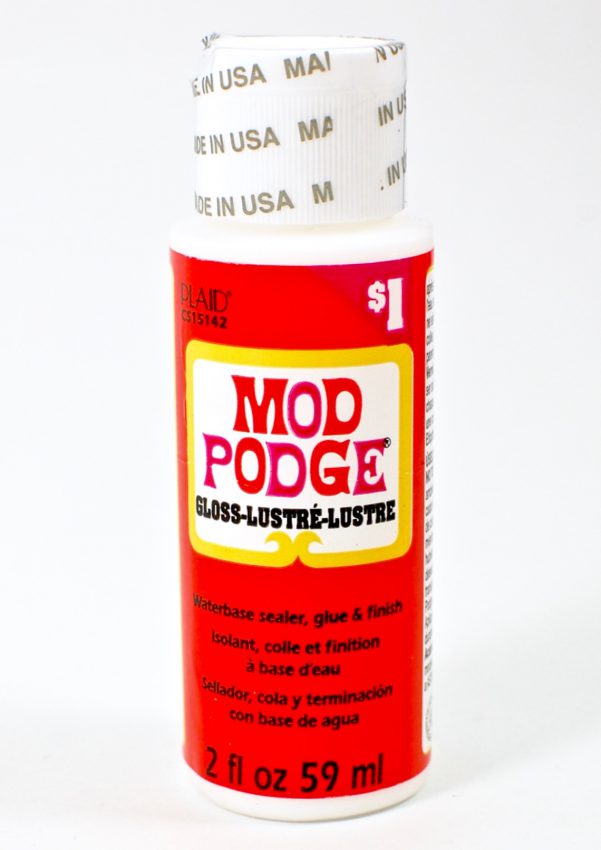
Mod Podge – A small bottle of Mod Podge and a foam brush were provided to affix the paper to the dominoes.
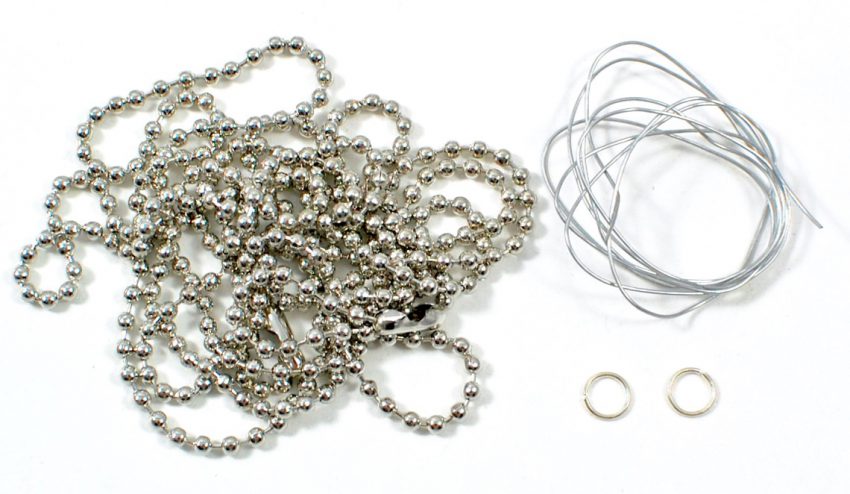
Ball Chain Necklaces, Wire, Jump Rings – Once the dominoes were decorated, a ball chain would be attached using wire and jump rings.
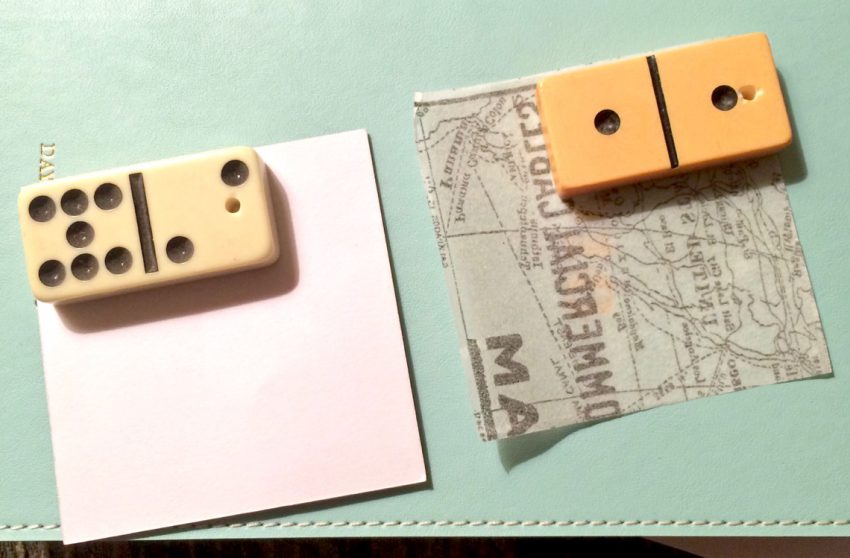
I started by coating the smooth (non-dot) side of the dominoes with Mod Podge and adhering them to the portion of the papers that I wanted to use for the design.
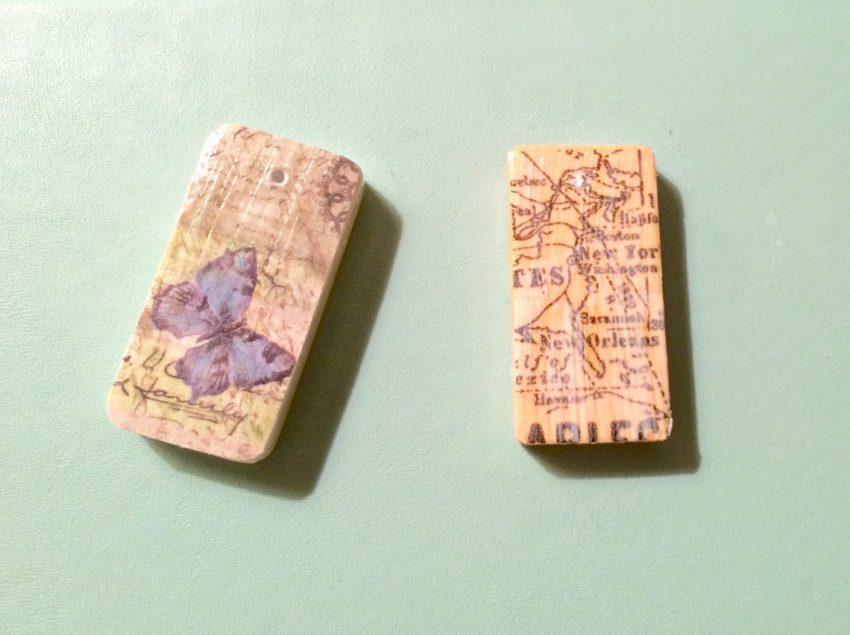
Once dry, I cut the excess paper around each domino and applied another coat of Mod Podge to seal it. I also poked wire through the paper via the pre-drilled hole so it would still be visible.
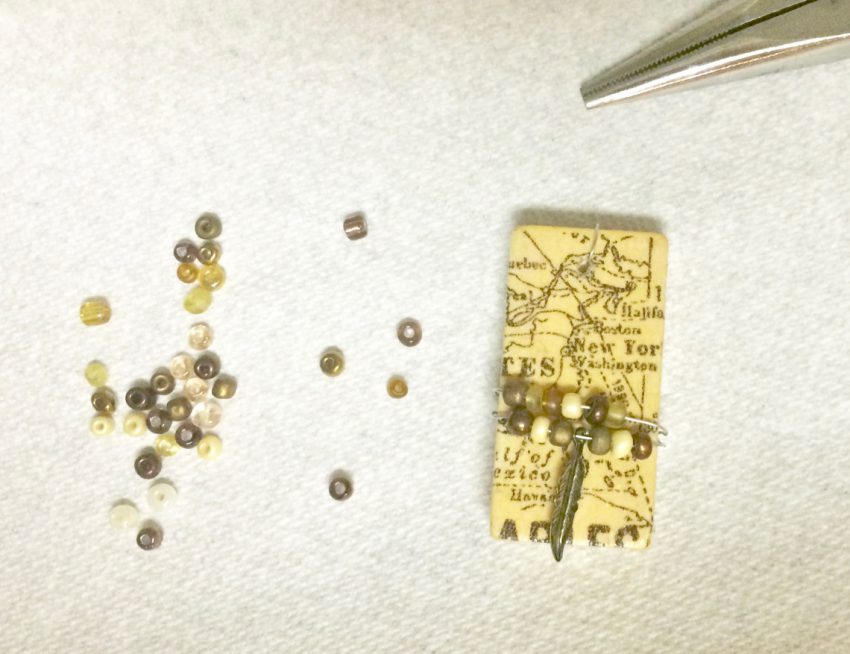
Next, I poured out the beads onto a paper towel and strung them through the wire and wrapped it around the domino.
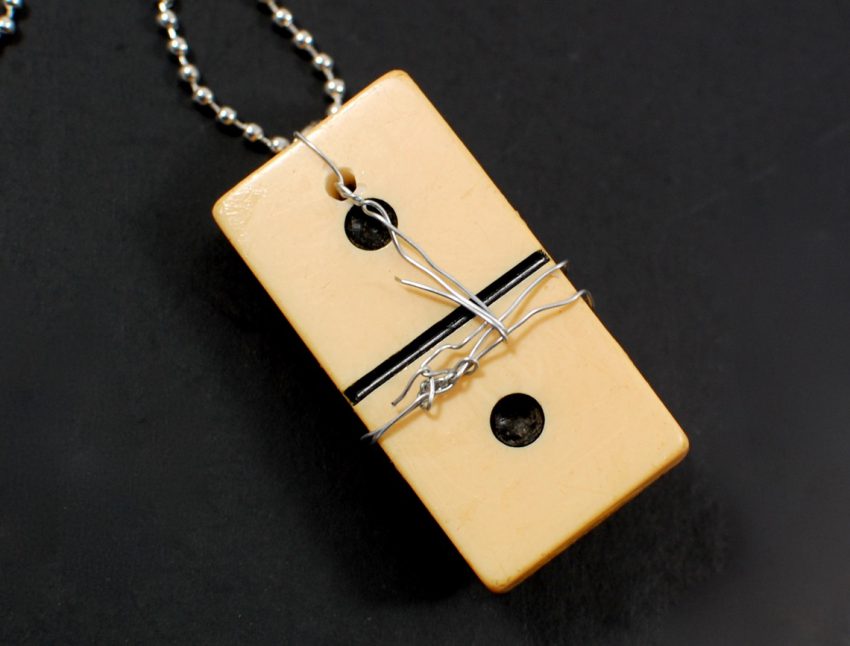
A smaller piece of wire was strung through the hole and twisted around the larger wire to hold the jump ring & ball chain. I couldn’t figure out a good way of flattening(?) the wire to the back, which was kind of frustrating. I’m not sure I’d want to wear a necklace that could so easily scratch my skin or snag my clothes. :/
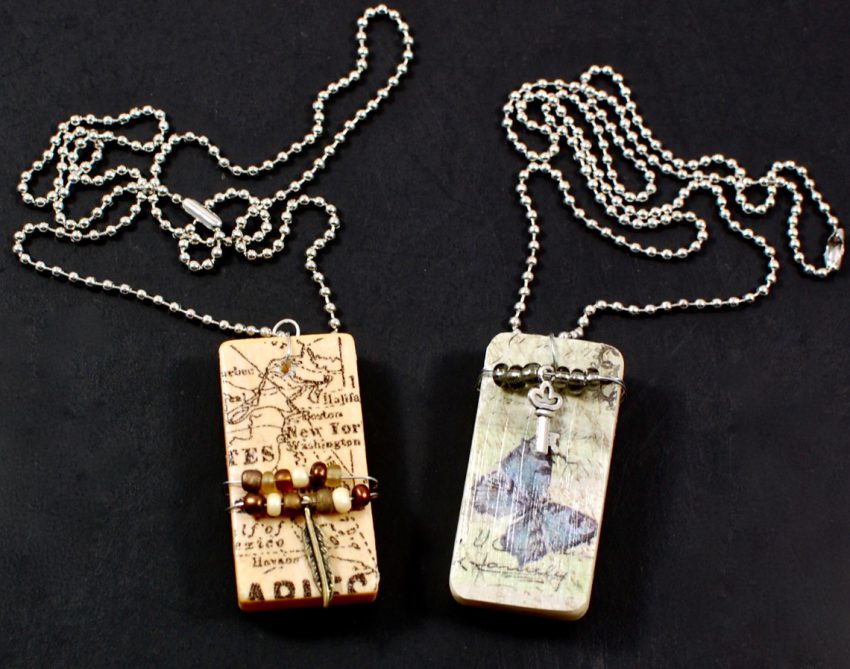
Here are the completed pieces.
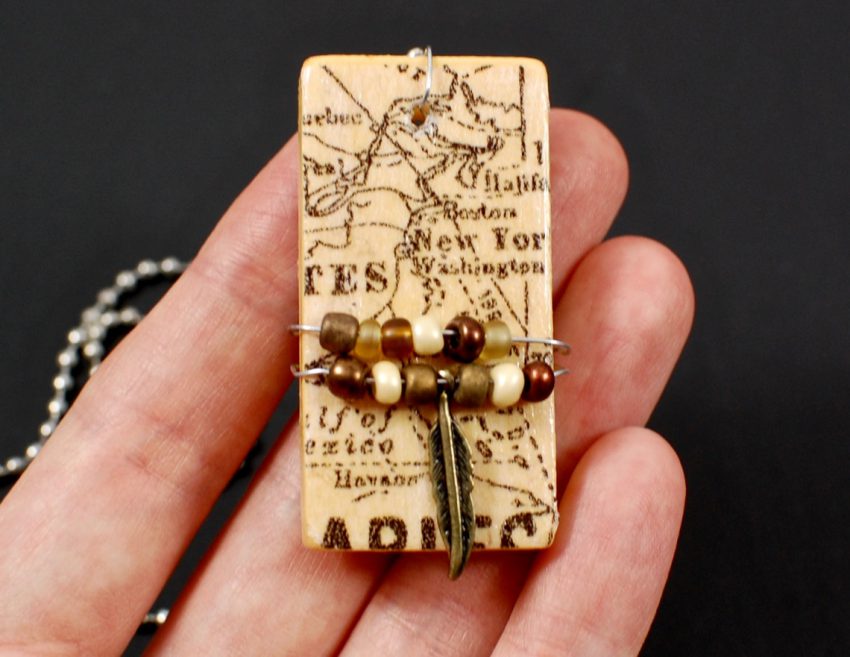
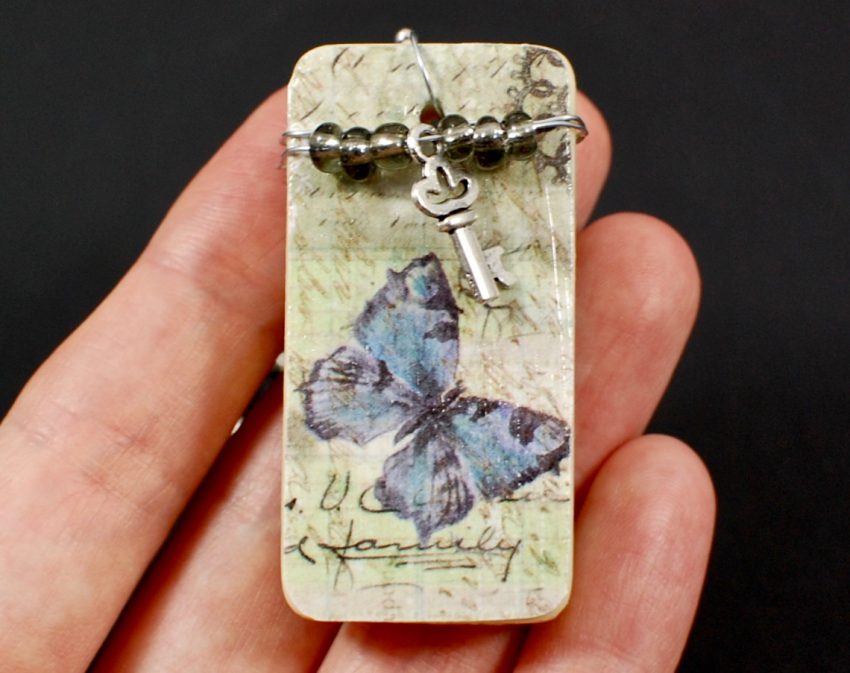
I absolutely love the concept of crafting with vintage/antique items, however I think Craftique could have offered a more universally appealing first project. While I do enjoy necklaces, I’m — like most people — rather picky about the ones I choose to wear. This particular design isn’t my style at all, which made it a little less enjoyable to make since I knew I wouldn’t ever wear it. Also, I had a bit of trouble understanding some of the steps included (wrapping/securing the wires) and the photos were hard to make out when it came to figuring out the whole wire situation. All of that said, I’m still curious to see what future projects they come up with. They definitely have potential to be a fun subscription. — Remember, for a limited time, you can save 10% on your first box with coupon code “New10“.
[text-blocks id=”7911″ plain=”1”]

You could probably use them as a light pull or fan pull (if you have a ceiling fan). Or you can add them to a vase or something. Very cute, but I agree the exposed wire is kind of weird.
Good idea! I was trying to think of some alternative uses too. I even considered using them as not-so-festive X-mas ornaments. Ha!