Girls Can! Crate is a monthly subscription box that inspires girls ages 5-10 to believe they can be and do anything by introducing them to fearless women who made the world better.
Each box will include a 20-page activity book telling the featured woman’s unique story (as well as games, experiments, & more), 2-3 hands-on STEAM (science, technology, engineering, art, and math) activities related to her field, a creative play prop, a featured character trait that helped her succeed and 2-3 practical tips for parents to easily foster that trait, and more. The boxes are designed to encourage a love for STEAM, to foster creativity, curiosity, and support literacy development. With every box purchased, Girls Can! Crate donates 10% of the proceeds to nonprofit organizations working to empower women and girls.
Disclosure: I received this box for review purposes. I was not compensated in any way. All opinions are my own. Post may contain affiliate and/or referral links.
Subscriptions are $29.95/month or less with multi-month commitments. Shipping is free within the US. — For a limited time, you can save 20% on your first month with coupon code “WELCOME20“!
Let’s see what’s in my August 2020 Girls Can! Crate!
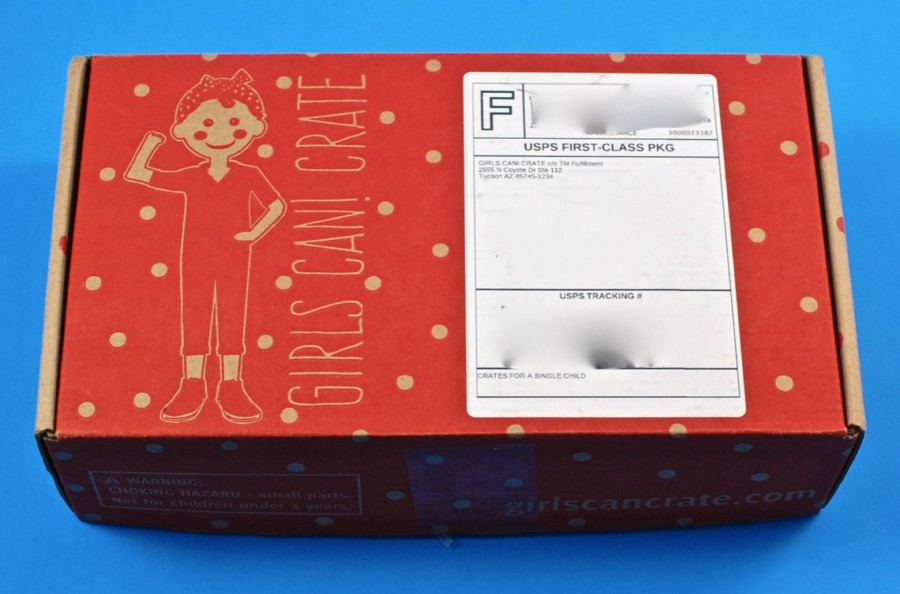
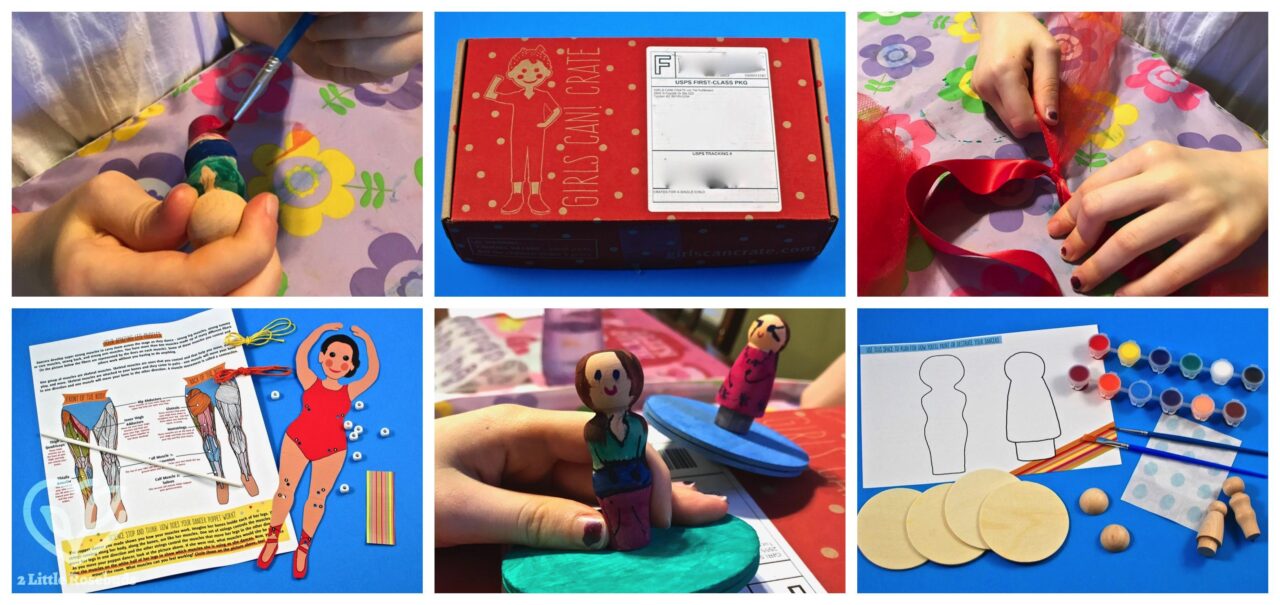
Everything was shipped in a bright red box with the Girls Can! Crate logo on top.
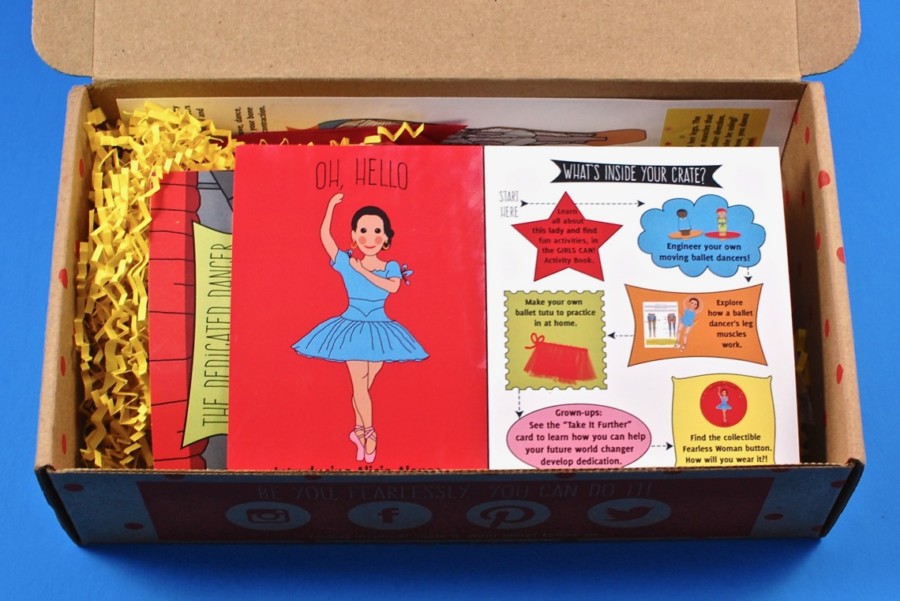
A peek inside!
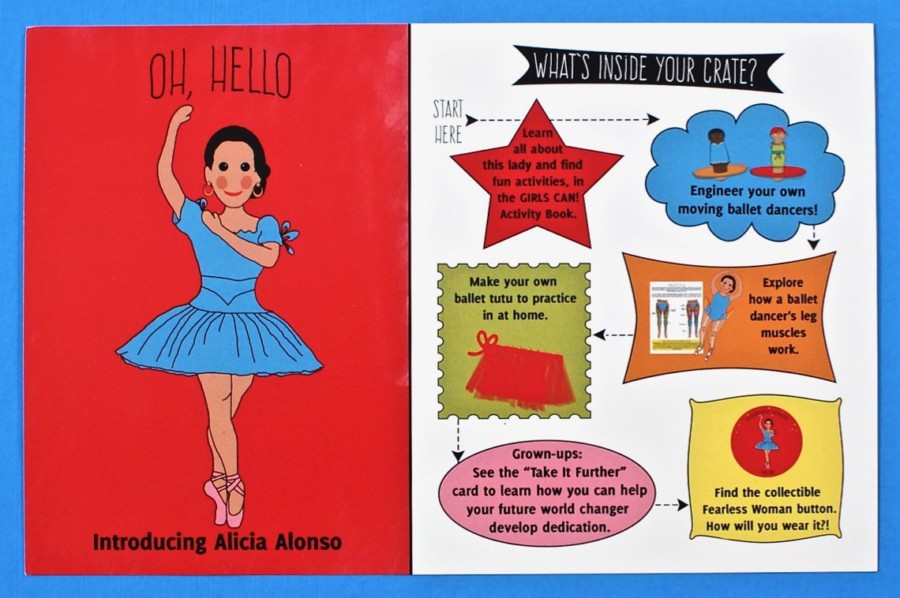
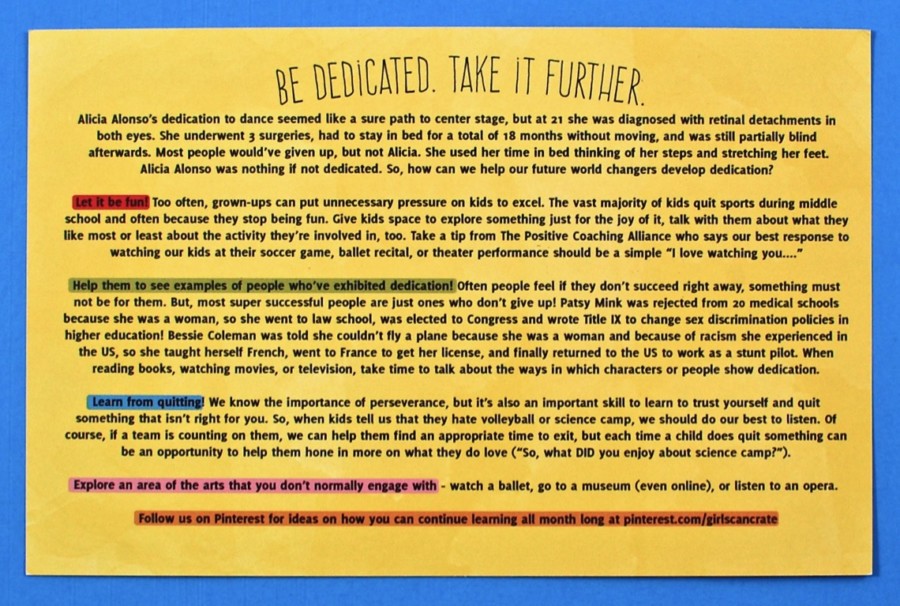
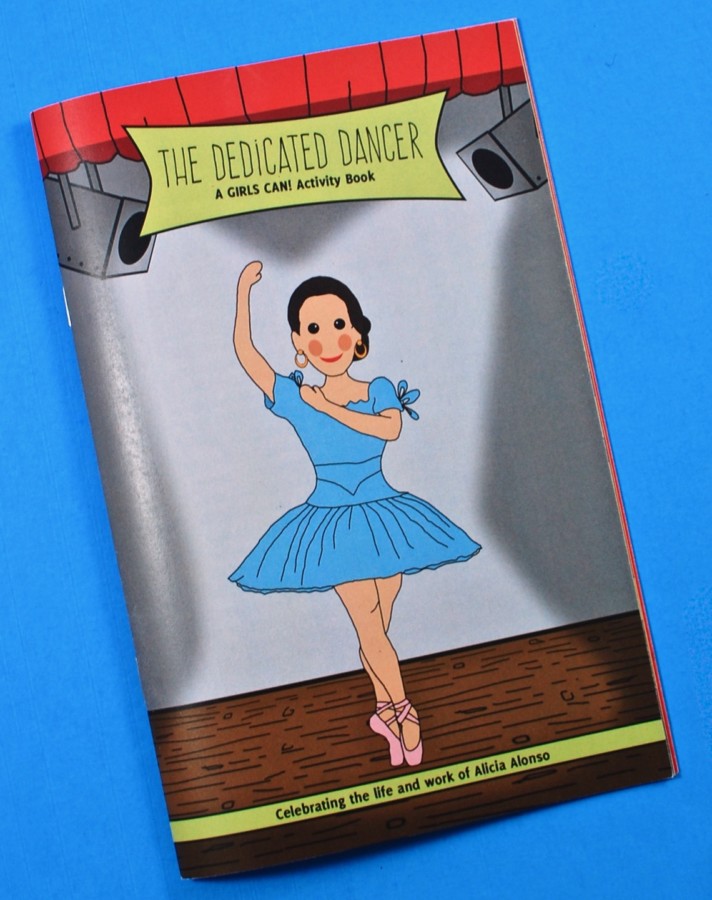
August’s featured “fearless woman” was Alicia Alonso — the famous dancer who despite becoming partially blind, didn’t give up her passion and continued to perform. An information card listed all of the activities in the crate and the order in which they should be completed. The reverse side included tips for parents to encourage their girls to be just as determined as Alicia.
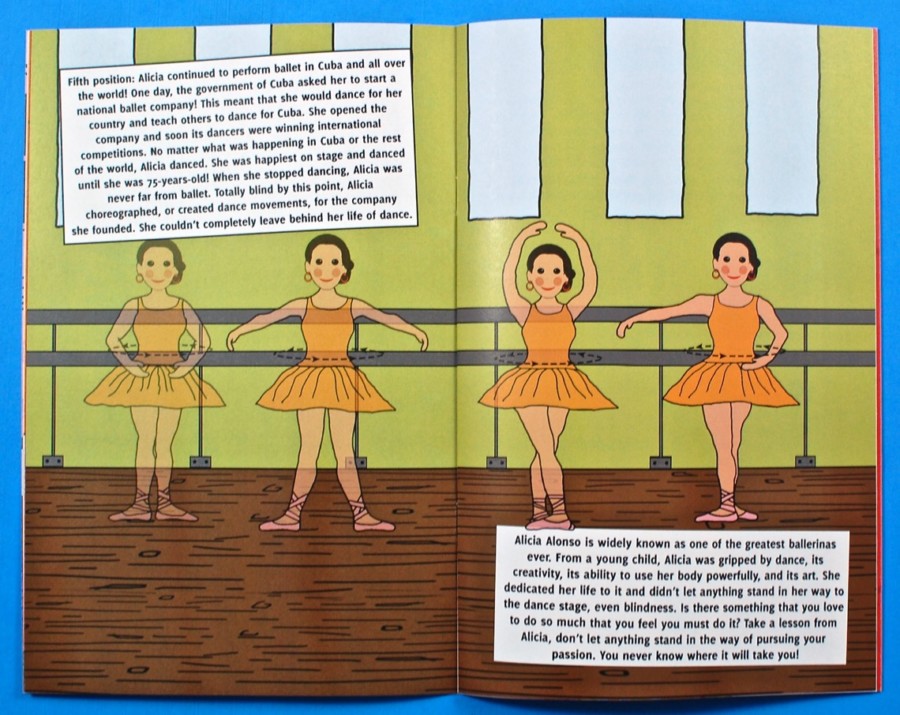
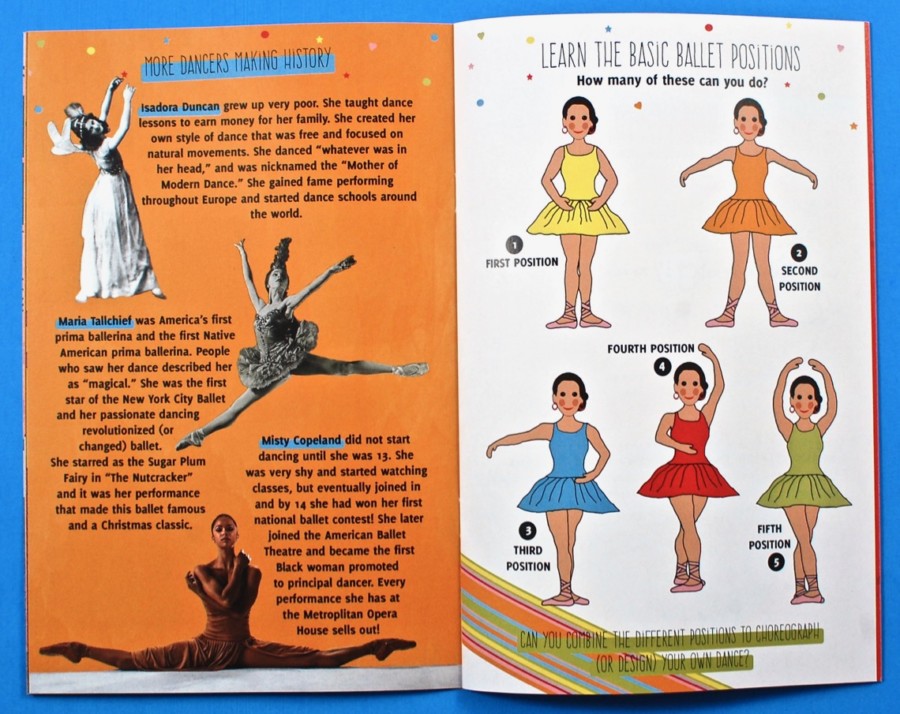
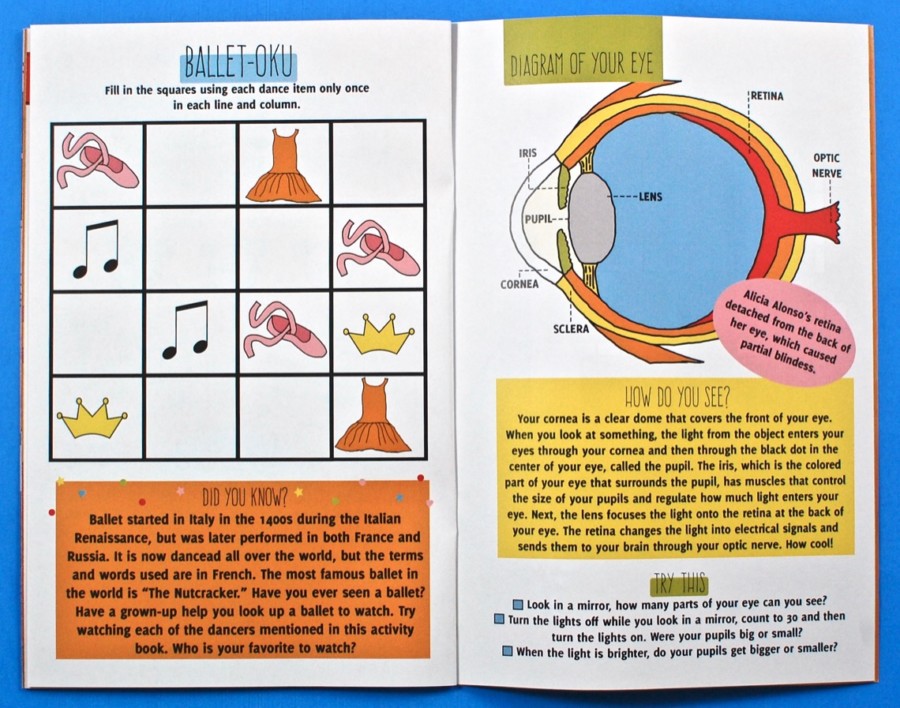
Activity Book
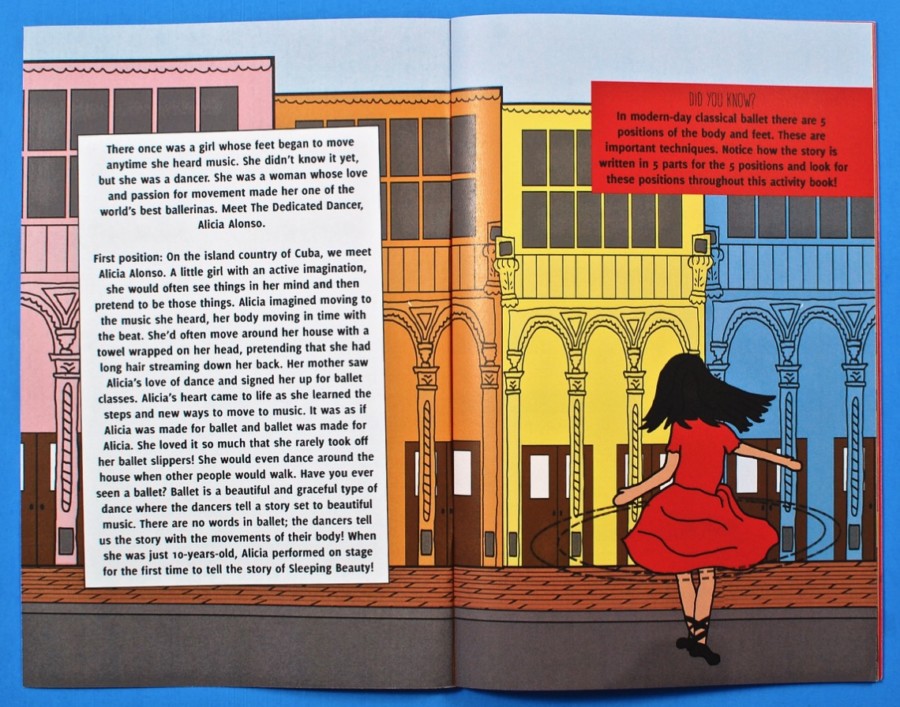
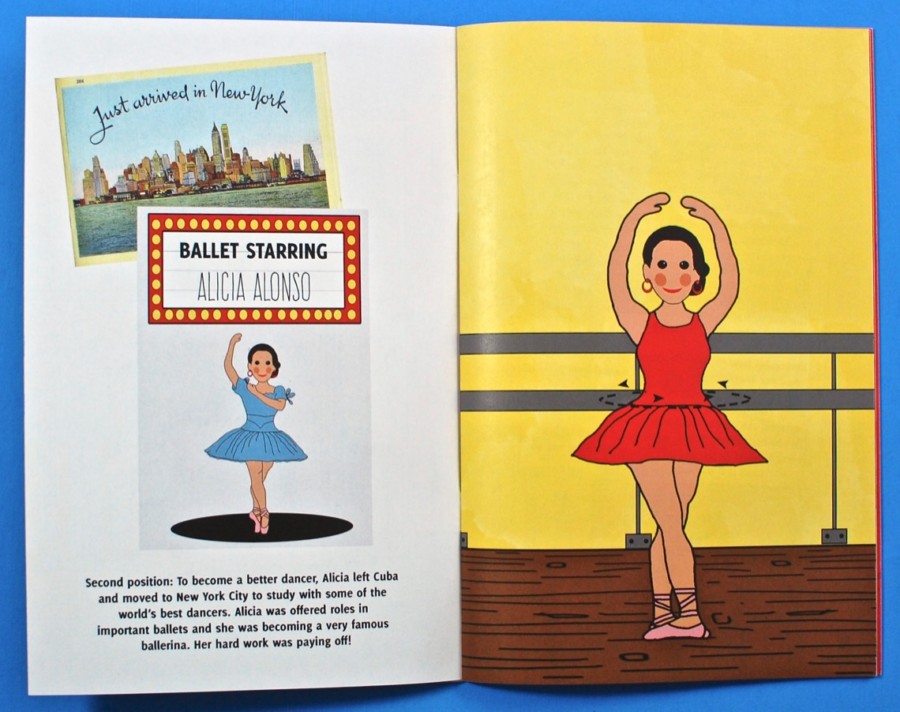
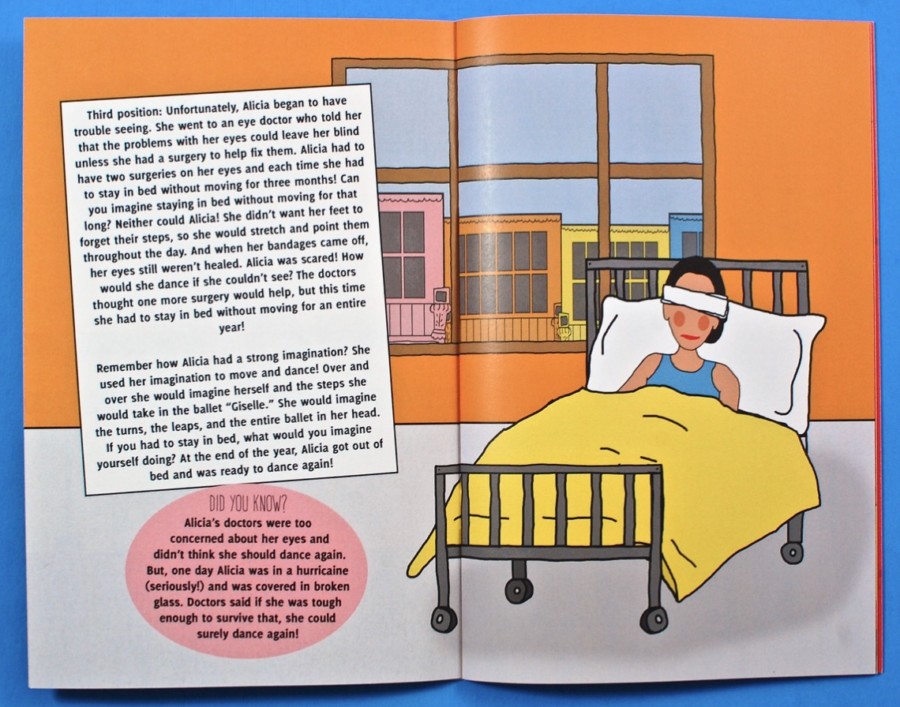
A 20-page, full color activity book included the story of Alicia Alonso and how she had to overcome many obstacles — including multiple eye surgeries — on her path to becoming a famous (partially blind!) dancer. It also included puzzles, games, experiments, and more. All of the activity instructions were printed in the booklet as well.
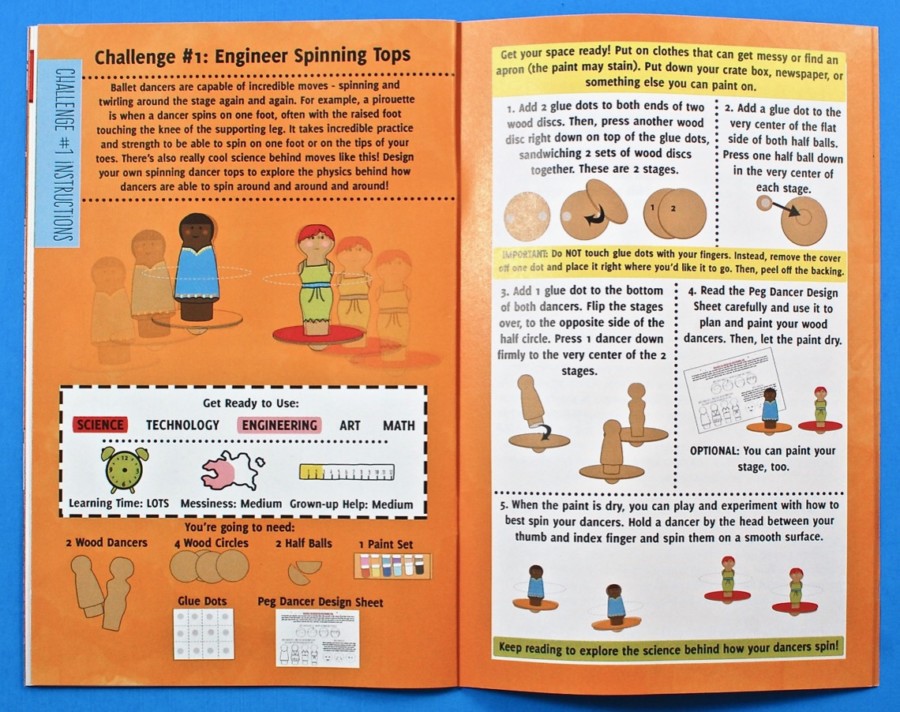
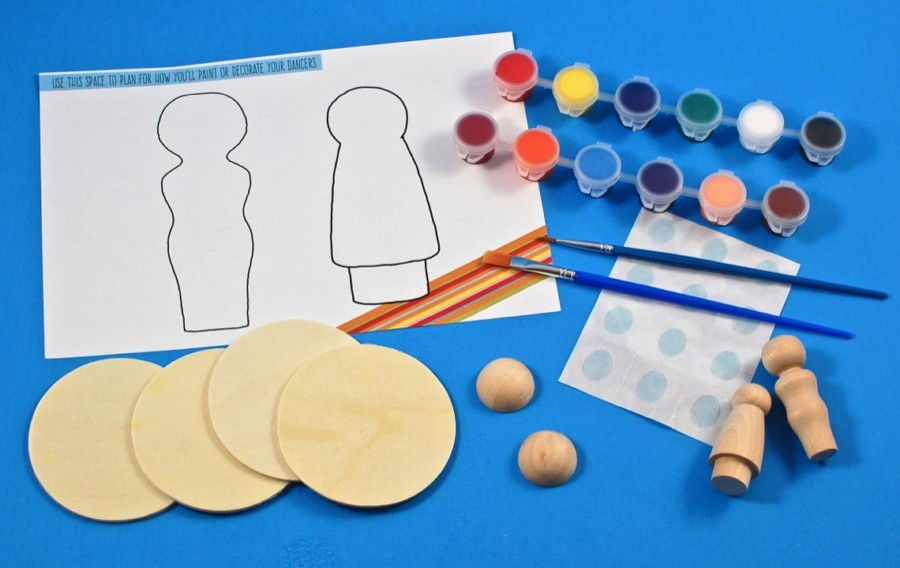
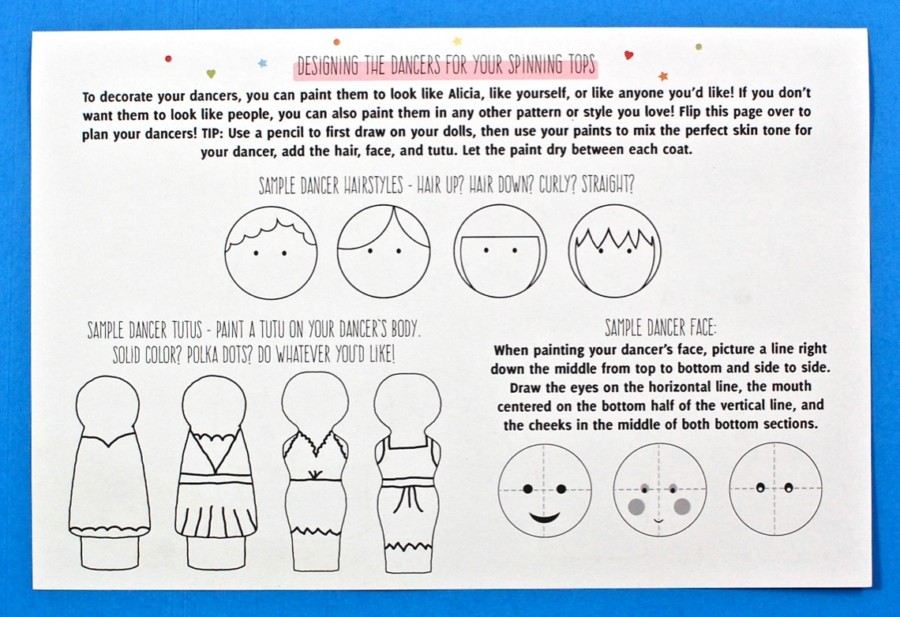
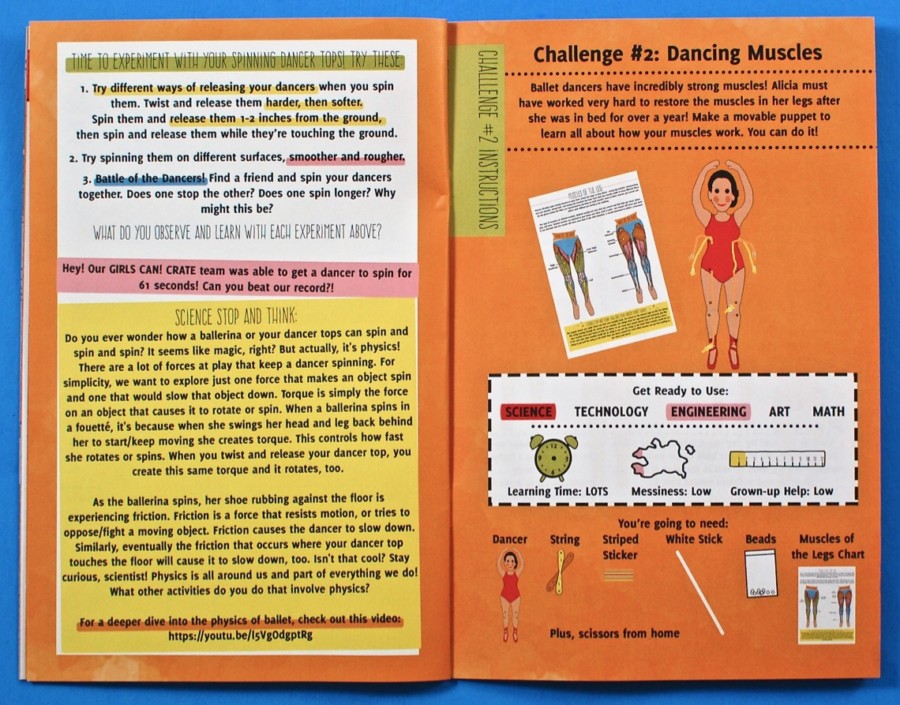
Challenge #1: Engineer Spinning Tops
The first activity had us building and decorating wooden spinning dancers. Materials included 2 wood dancers, 4 wood circles, 2 half balls, 1 paint set, 2 brushes, glue dots, and a peg dancer design sheet.
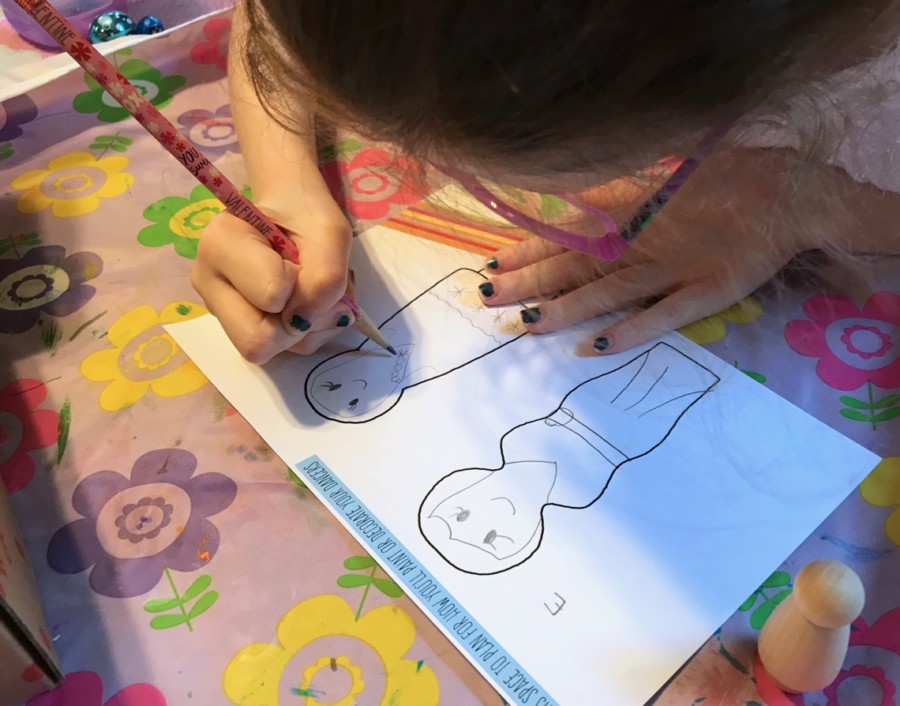
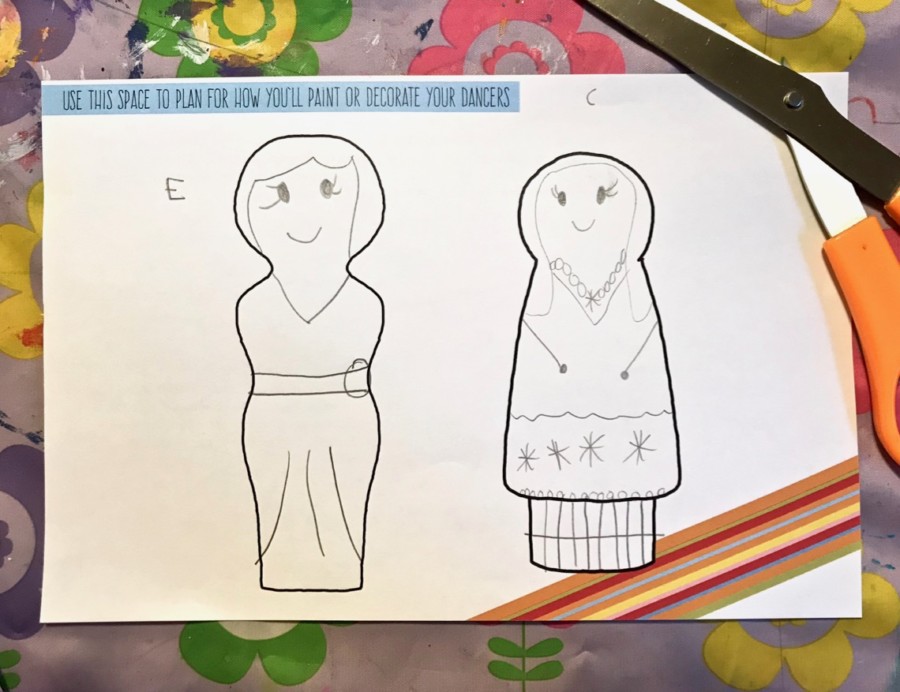
First, the girls each picked one of the peg shapes and used the design sheet to plan how they were going to decorate them.
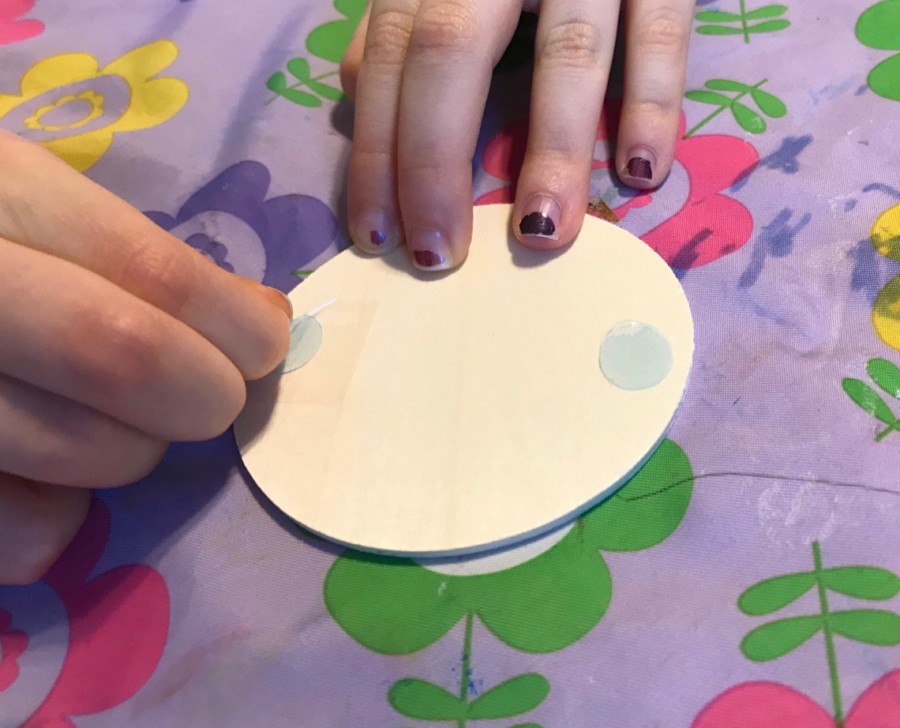
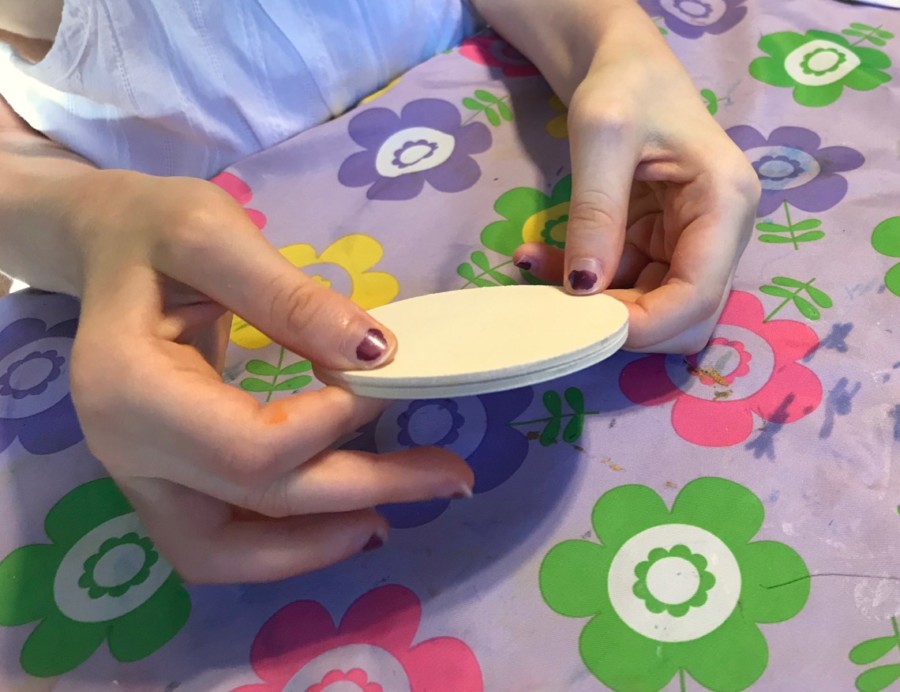
Next, the doll’s “stages” were assembled by sandwiching glue dots between two of the wooden circles.
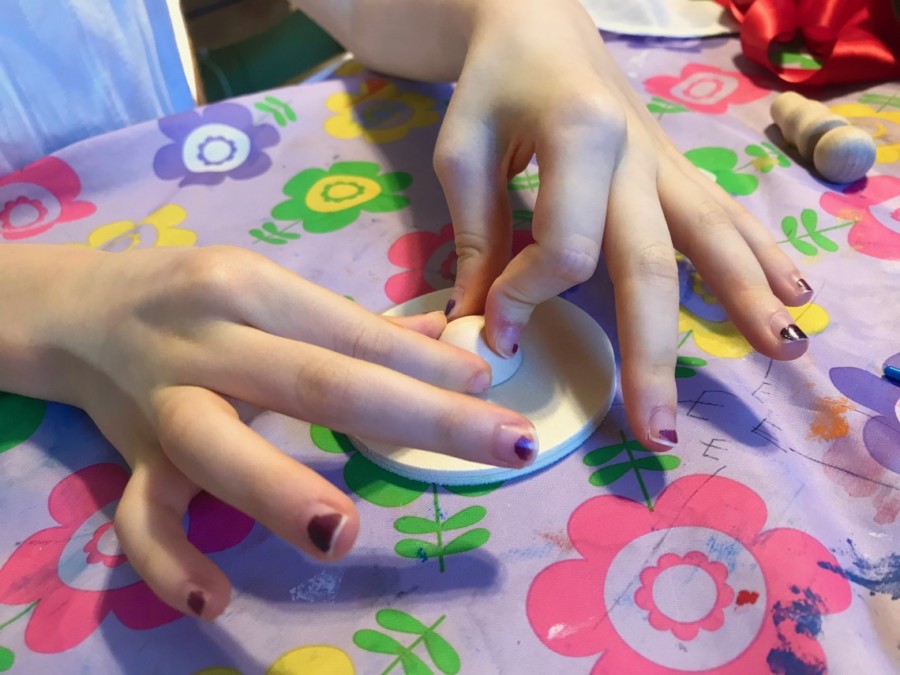
A “half ball” was then secured to the middle of one side with a glue dot.
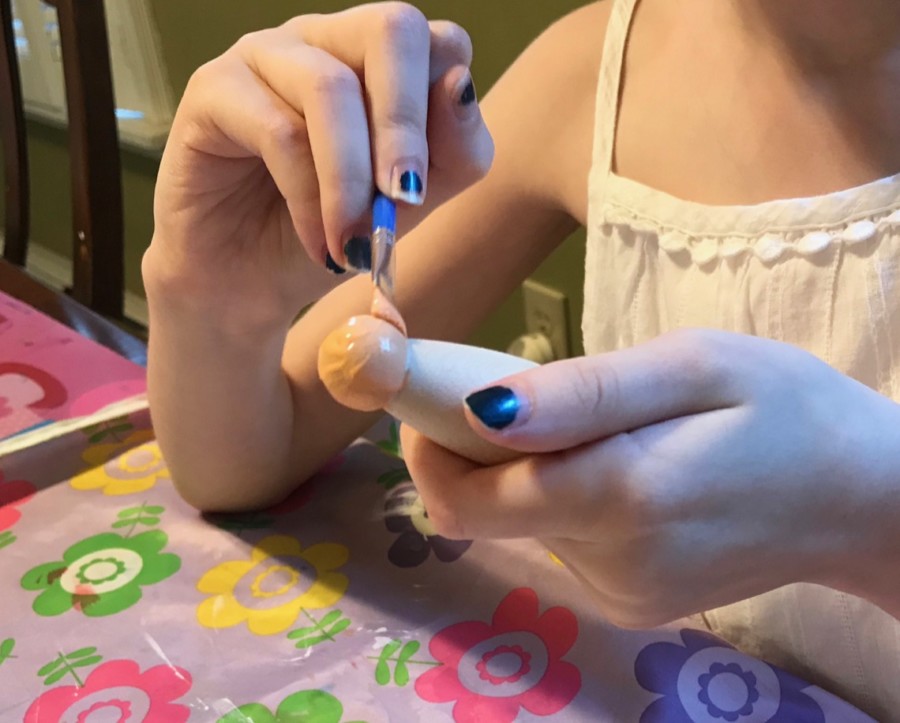
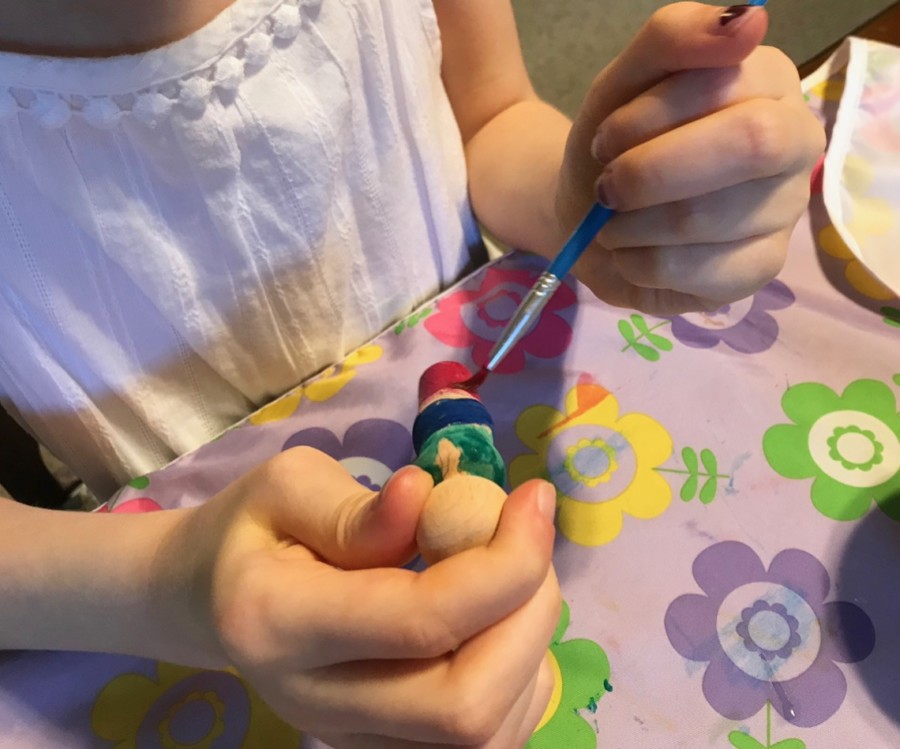
Time to paint! — The girls were both excited to decorate their wooden dolls.
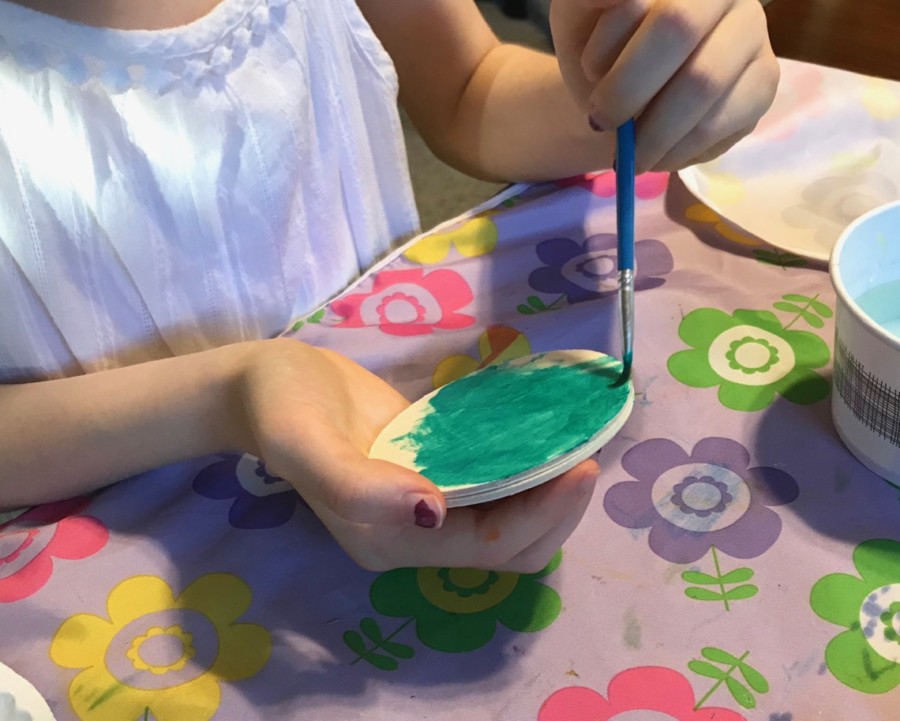
Painting the stage was optional, but they both wanted to give them some color.
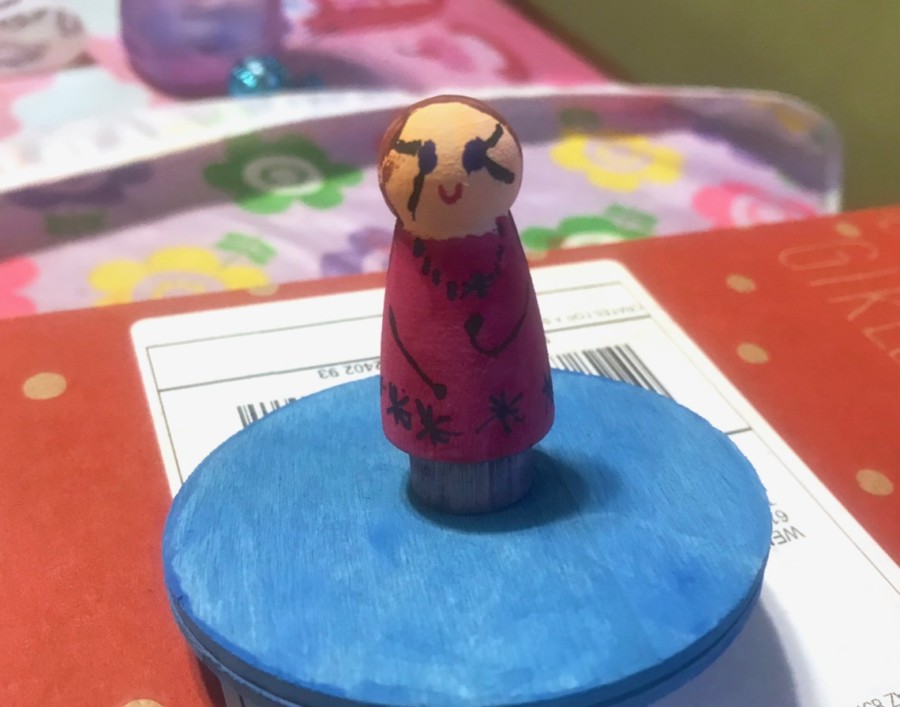
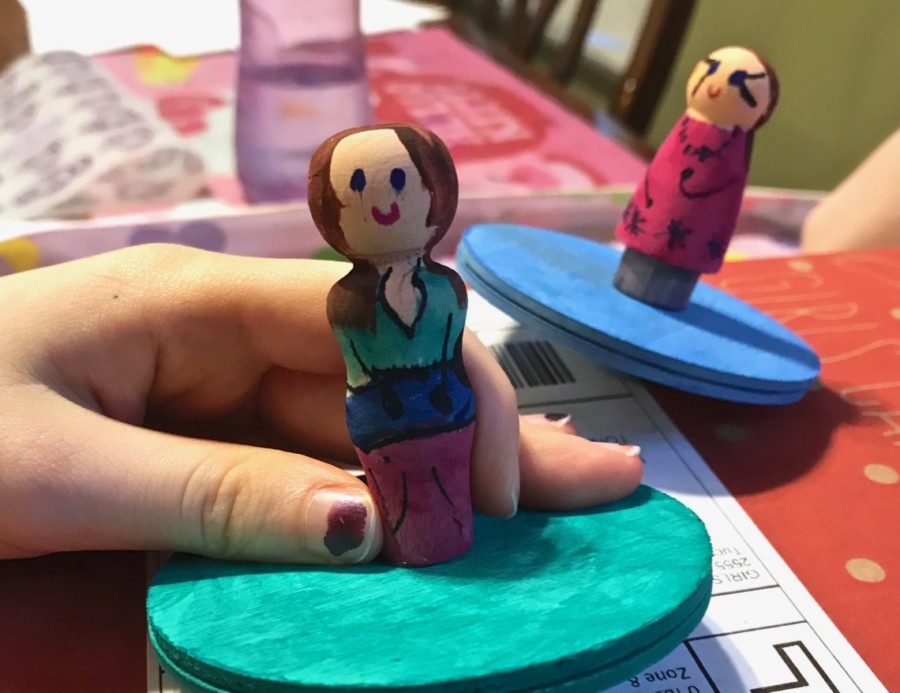
Once the dolls were painted/dry, they were attached to each stage with a single glue dot. — The girls loved how cute they turned out!
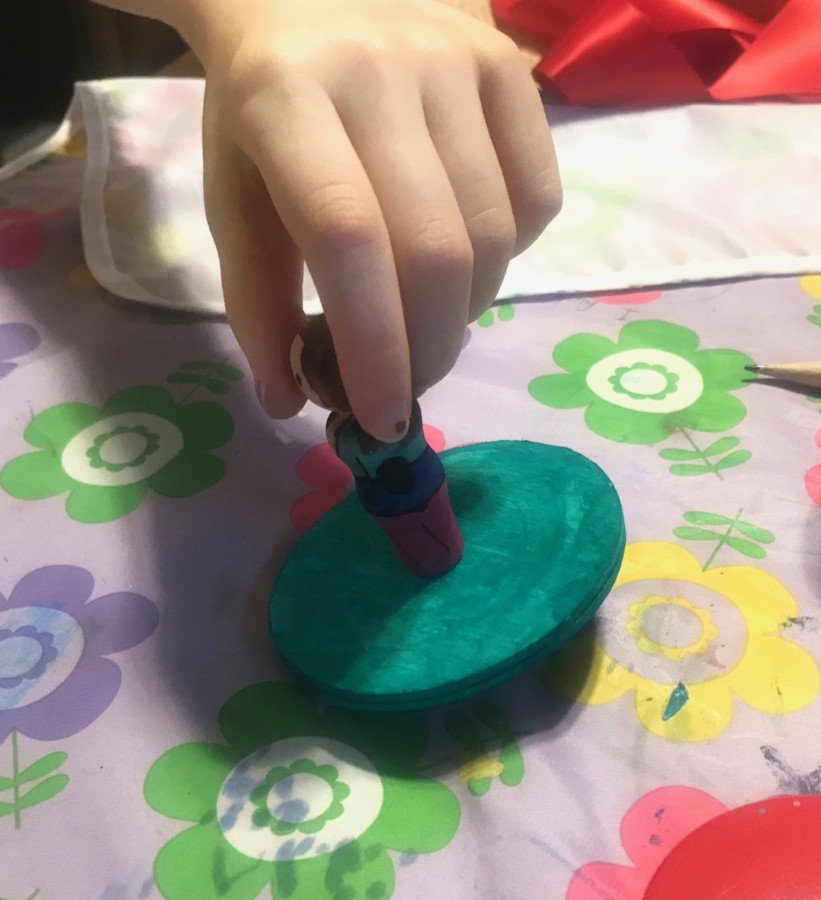
Finally, it was time to make our dancers spin! — It took a little practice, but they eventually got the hang of it. 🙂
Challenge #2: Dancing Muscles
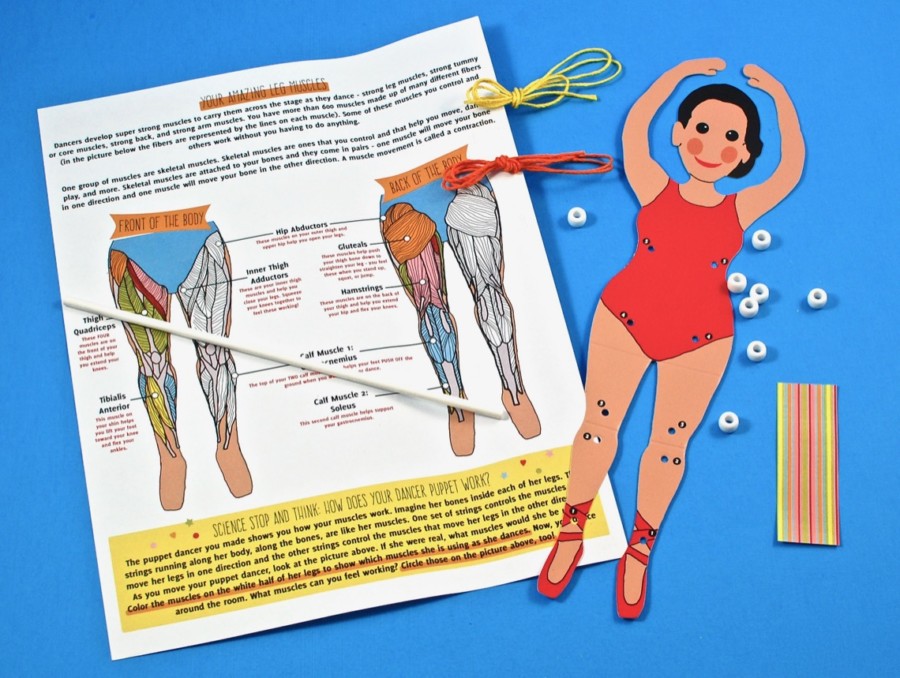
The second activity was to make a movable puppet to show how our muscles work. Materials included a dancer figure, string, beads, a striped sticker, a white stick, and a muscles of the legs chart.
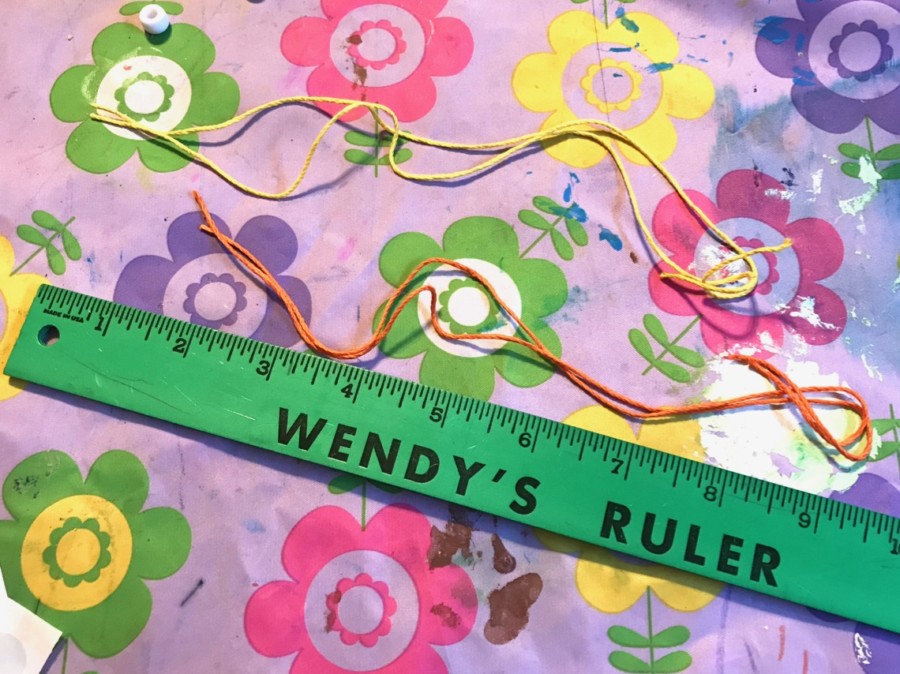
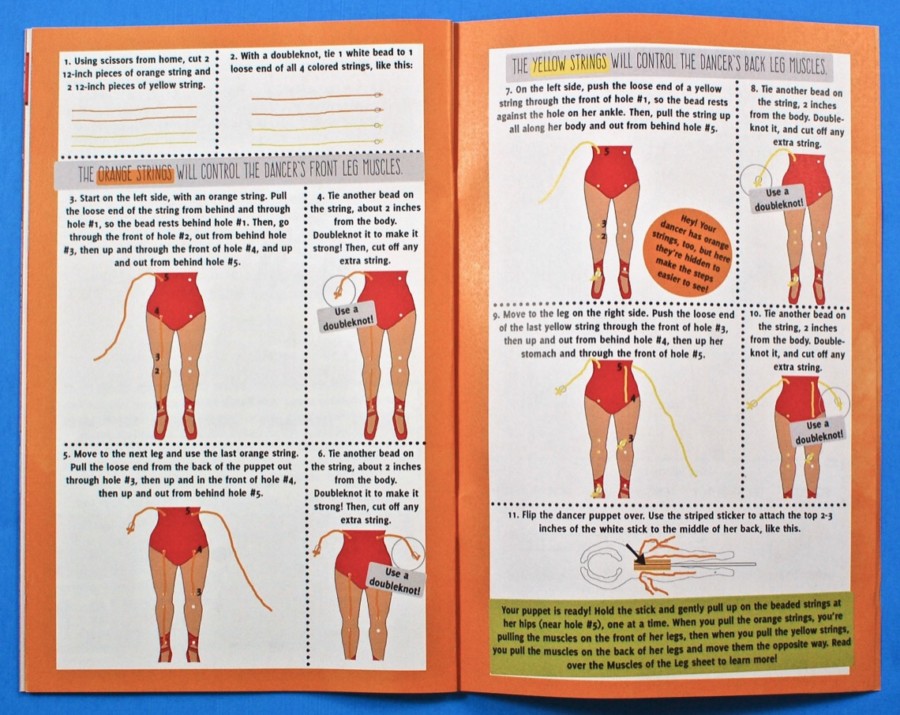
To start, we had to measure and cut both the yellow and orange strings into 2 12-inch pieces (4 pieces total).
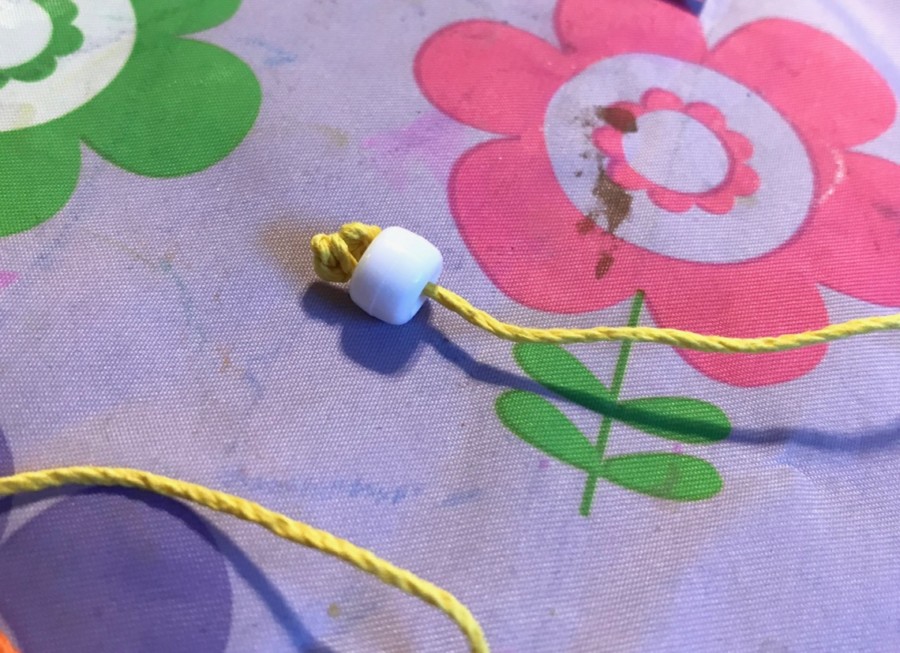
Next, we strung one bead onto each piece of string and secured it in place with a double (well, triple) knot.
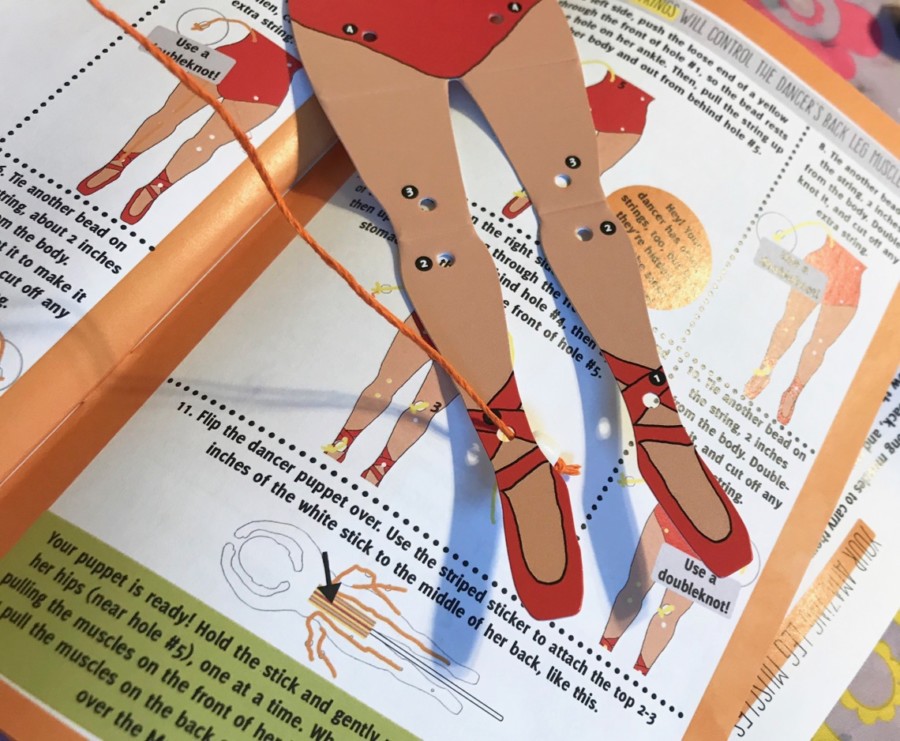
Starting with the orange strings — which will control the dancer’s front leg muscles — we weaved them through the holes as instructed in the activity book.
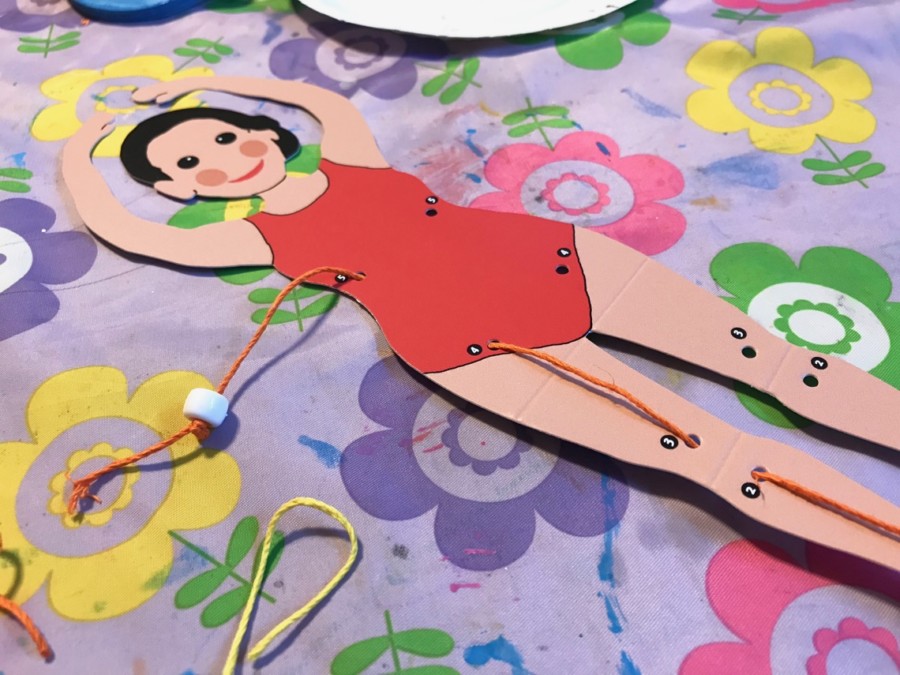
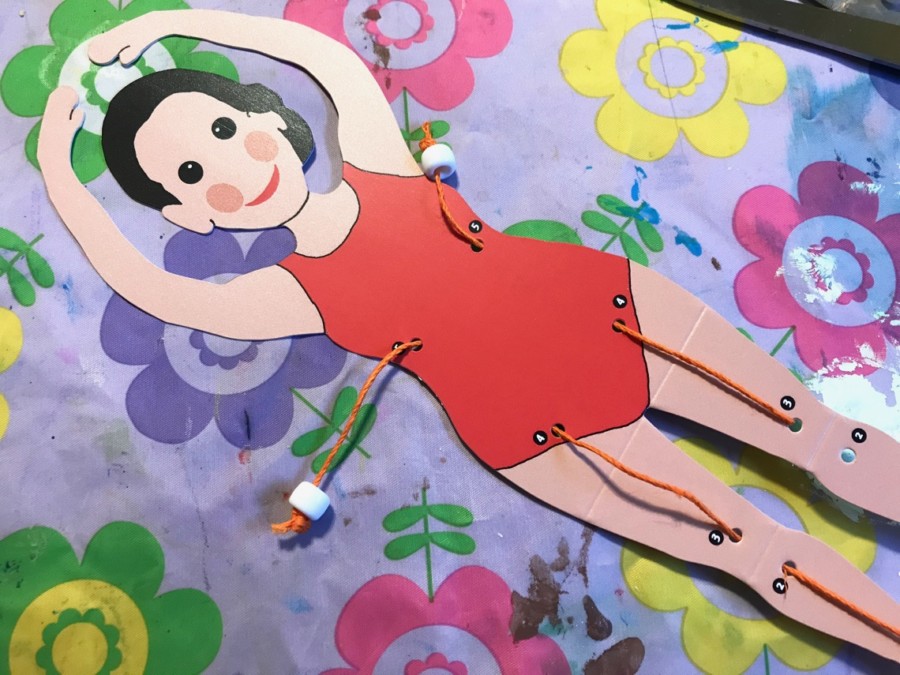
Once the strings were through the final hole we were to tie another bead at the end, again secured with a triple knot.
We then repeated the process with the yellow strings, which were to represent the dancer’s back leg muscles.
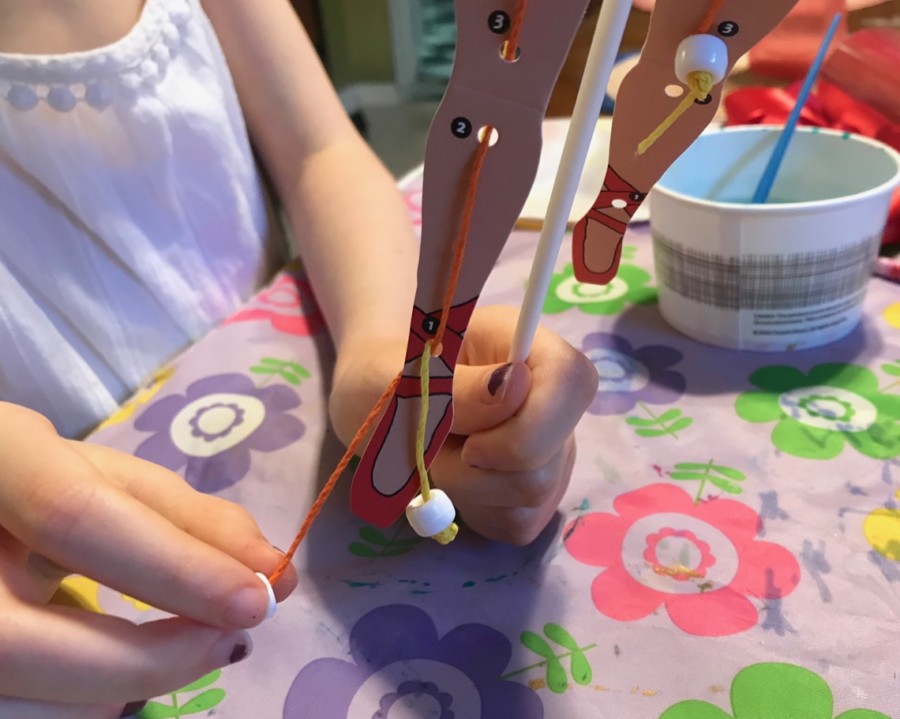
After attaching the white stick to the back of the puppet with the included sticker, our puppet was ready to dance! — We were pulling the wrong strings at first (the leg muscles move when you pull up on the strings at the top), but we successfully made her dance after re-reading the instructions. 😉

Challenge #3: Make Your Own Tutu
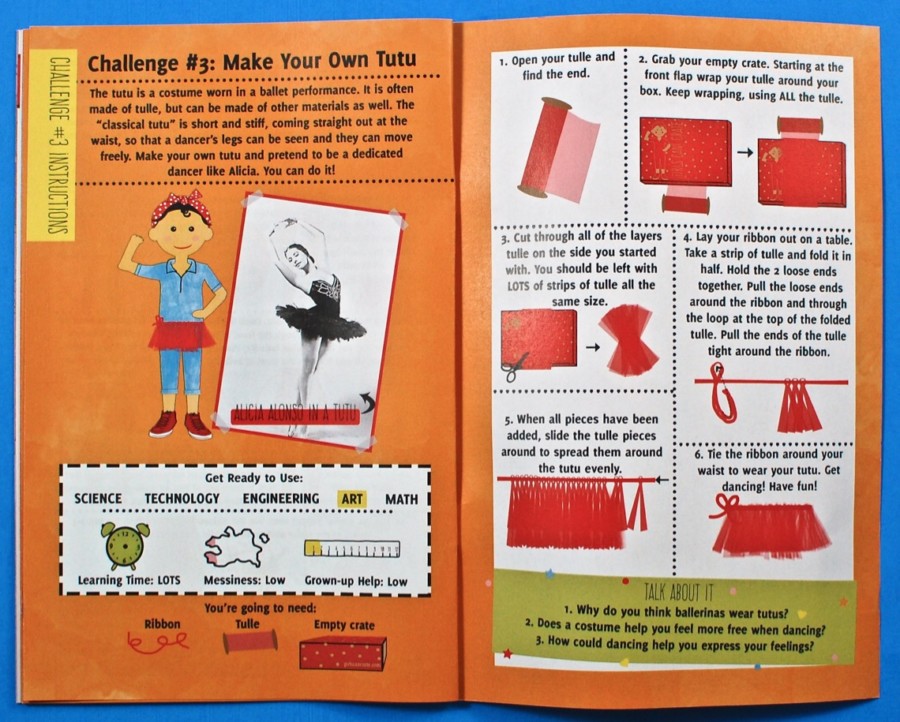
The third activity had us making our own tutu so we can dance like Alicia. Materials included a long red ribbon and a roll of red tulle.
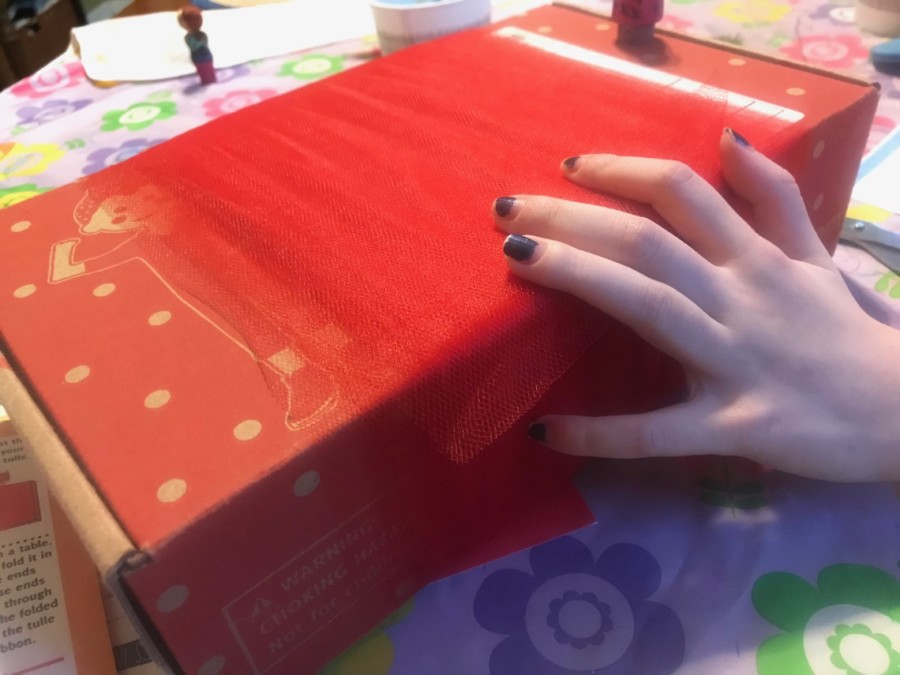
To begin, we needed to wrap the entire roll of tulle around the empty Girls Can! Crate box. Once wrapped, we had to cut through all of the layers so that we were left with many strips of the same length.
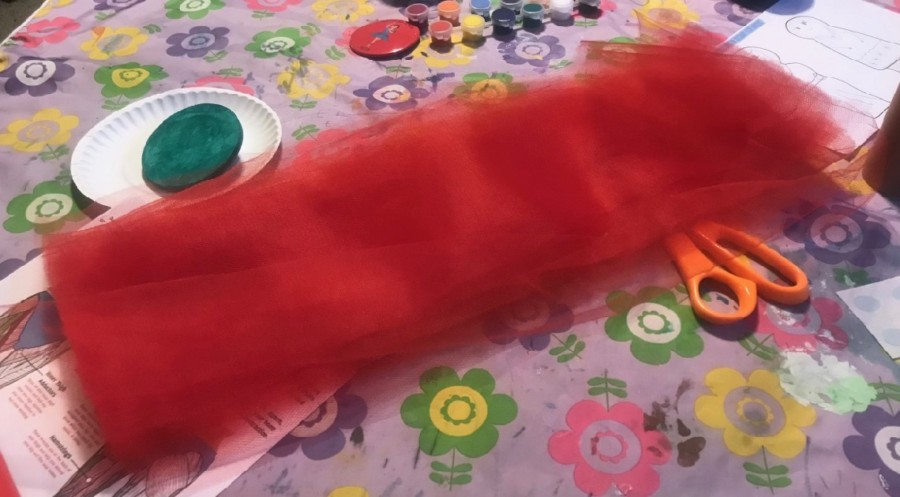
Big pile of tulle strips!
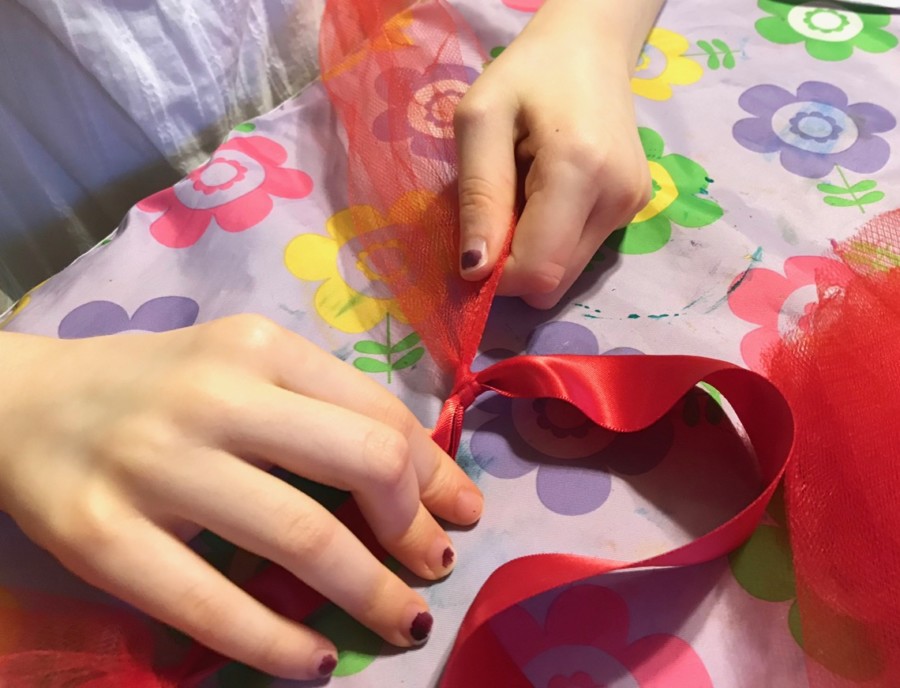
We then spread the ribbon across the table and began attaching the strips of tulle by folding each piece in half and pulling the loose ends around the ribbon and through the loop, pulling tightly.
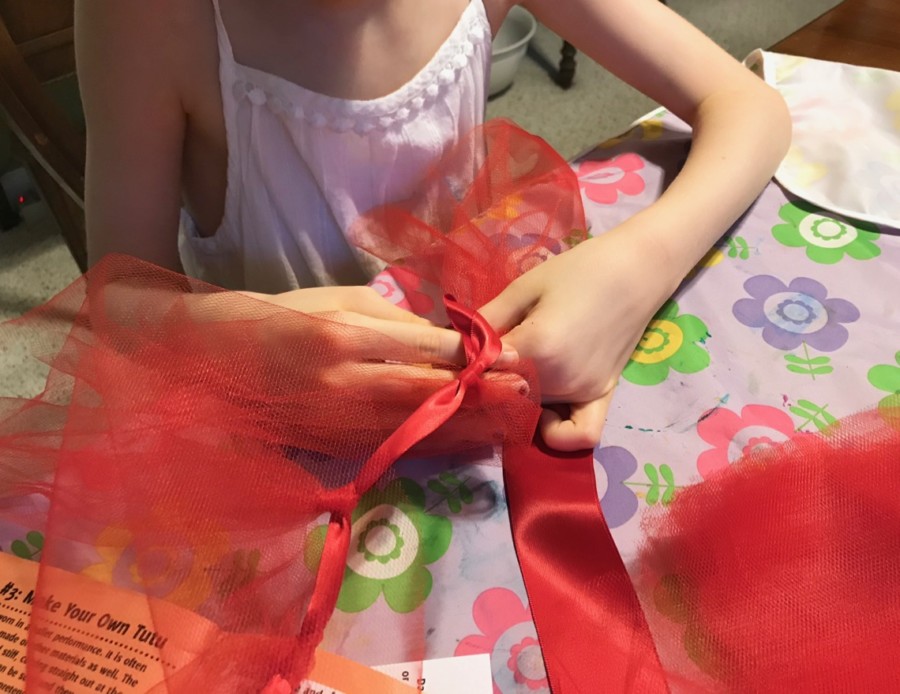
We repeated the process until all of the tulle was used up and the tutu was complete.
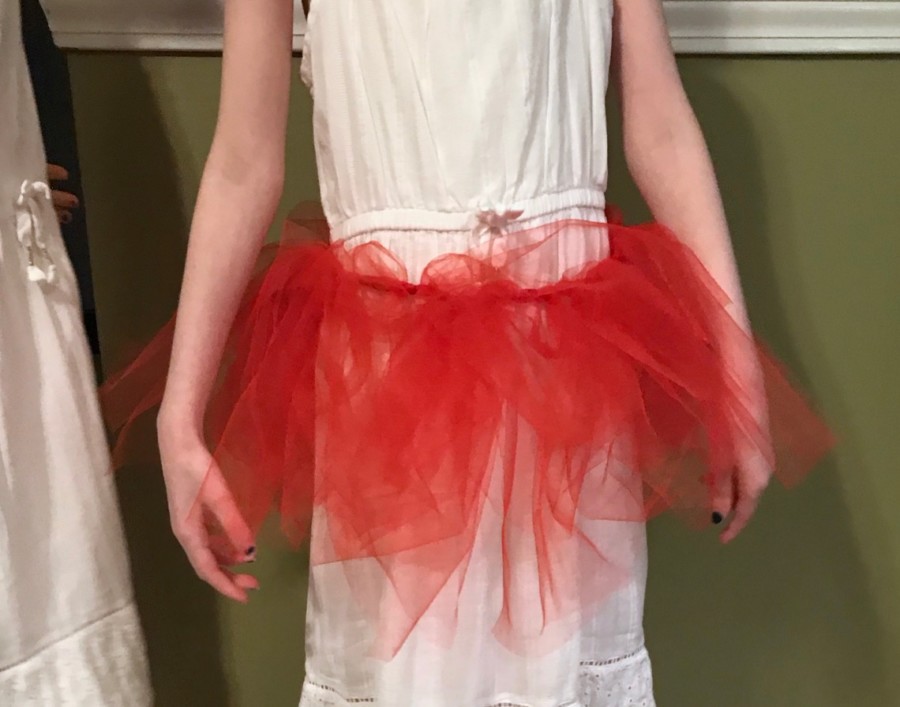
The girls were excited to try it on, though a long white maxi dress probably wasn’t the best thing to model it over. 😉
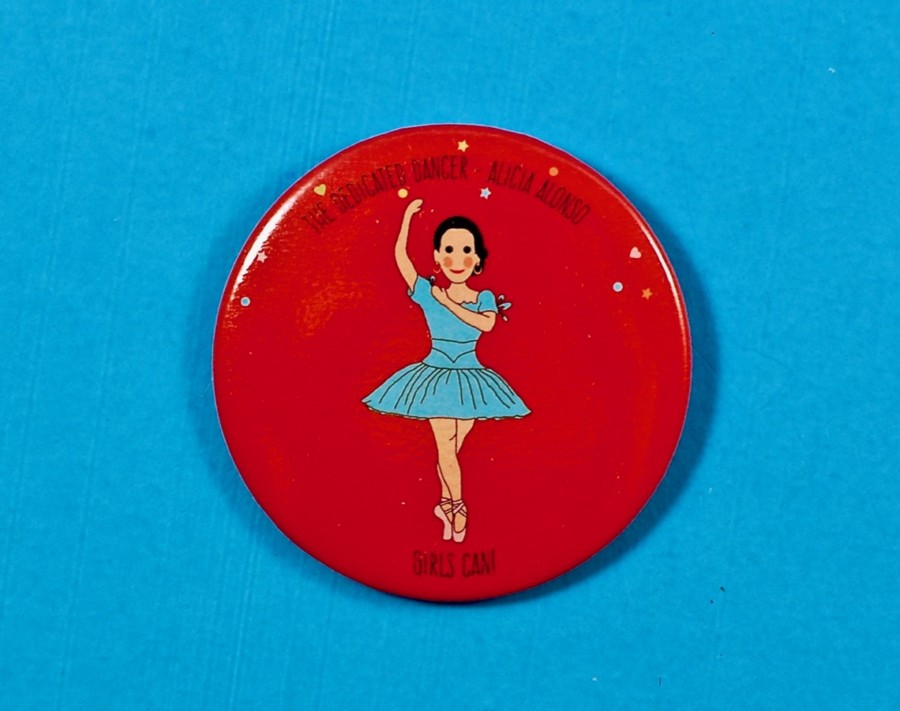
Once all of the activities were complete, we had officially earned our Alicia Alonso collectible button.
The girls and I both had a lot of fun with August’s Girls Can! Crate! We enjoyed learning all about Alicia Alonso and completing the dance-inspired activities. The wooden spinning dolls were a huge hit with the girls! 🙂 — Remember for a limited time, you can save 20% on your first month with coupon code “WELCOME20“!


Leave a Reply