Kid Wonder is a monthly subscription box for children (ages 3 to 6) that encourages them to learn through play.
Each box will consist of 5 individual activity kits that are all centered around a specific theme. It will also include an educational booklet based on that theme, along with a dress up costume and all of the materials needed to complete each craft/activity. Every theme is approved by an advisory board of parents, grandparents, care providers, and educators interested in encouraging play-based learning, and quality family time. Note: Boxes for older kids are coming soon!
[text-blocks id=”7911″ plain=”1″]
Subscriptions are $24.95/month or less with multi-month subscriptions. Shipping is $5. — For a limited time, you can save 30% on your first box with coupon code “CRATEJOY30“!
Let’s see what’s in the July 2018 Kid Wonder box!
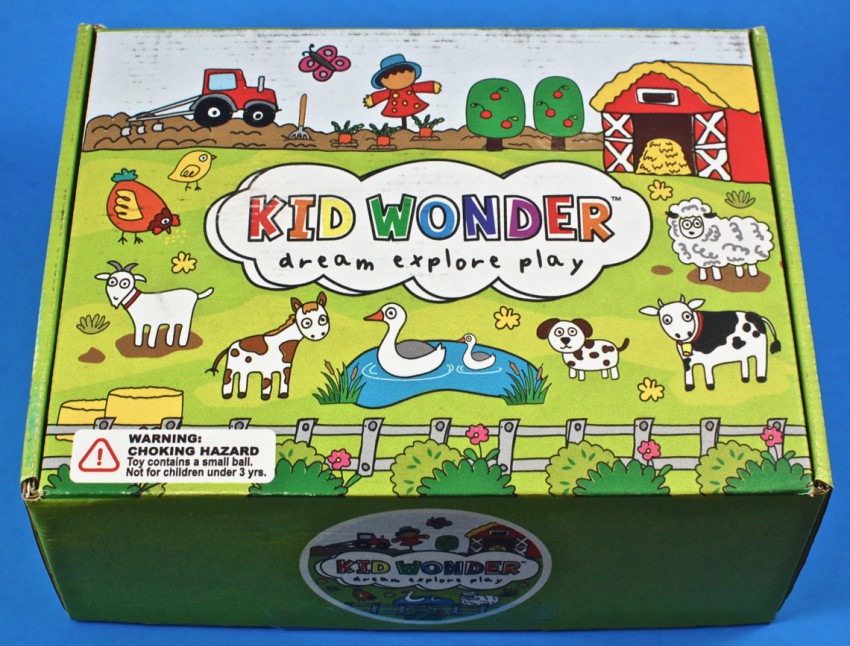
Everything was shipped in a colorful box that matched July’s theme — “Fun at the Farm”!
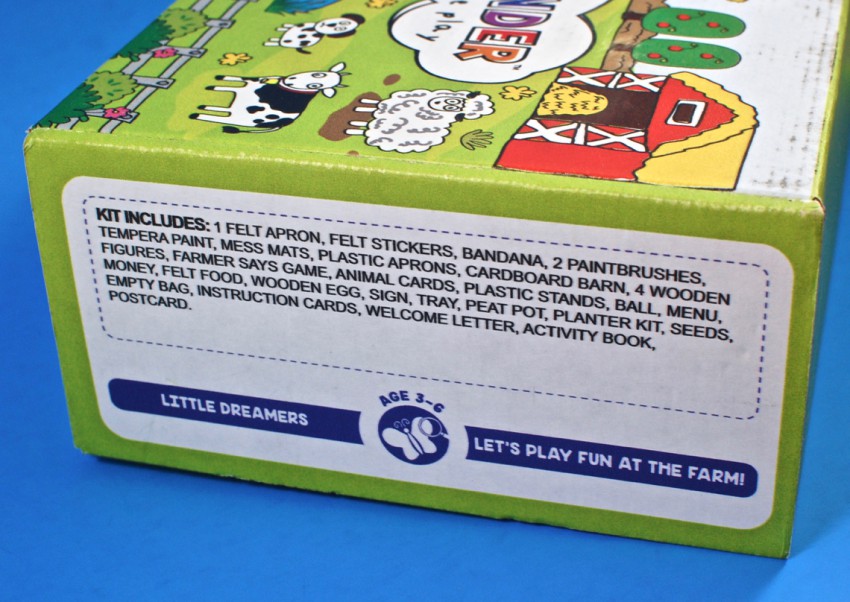
The side of the box listed its full contents.
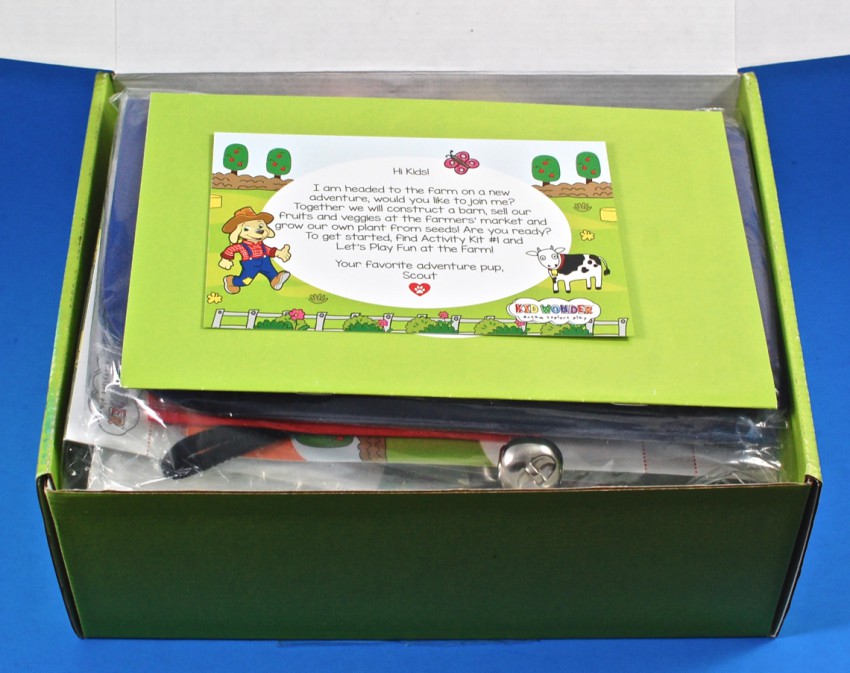
A peek inside! — It was packed FULL of activities.
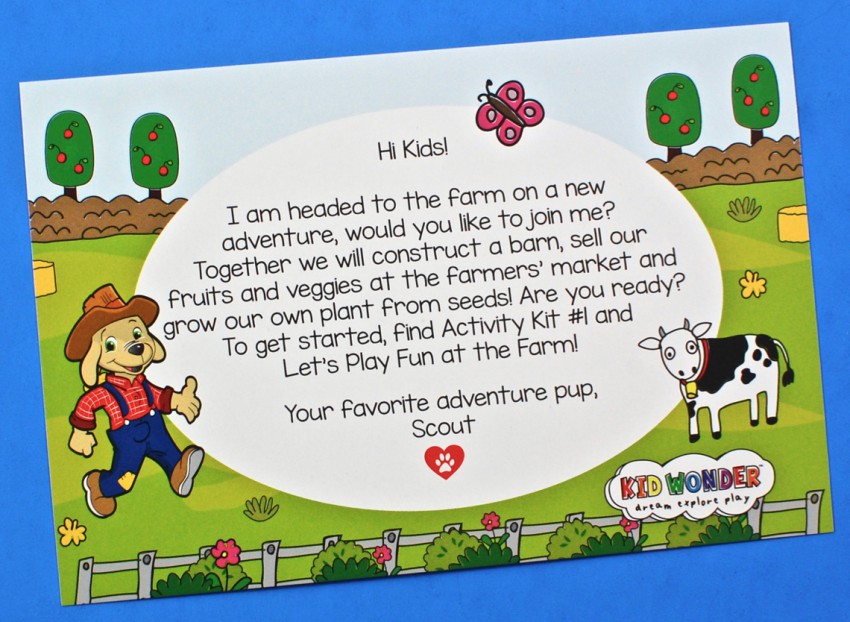
On top was a welcome note from the Kid Wonder mascot pup, Scout.
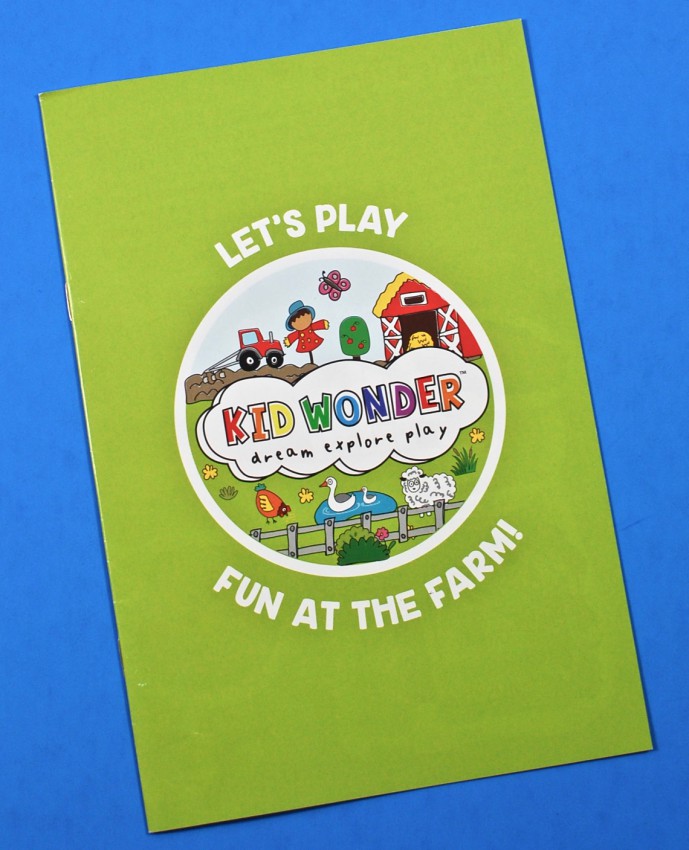
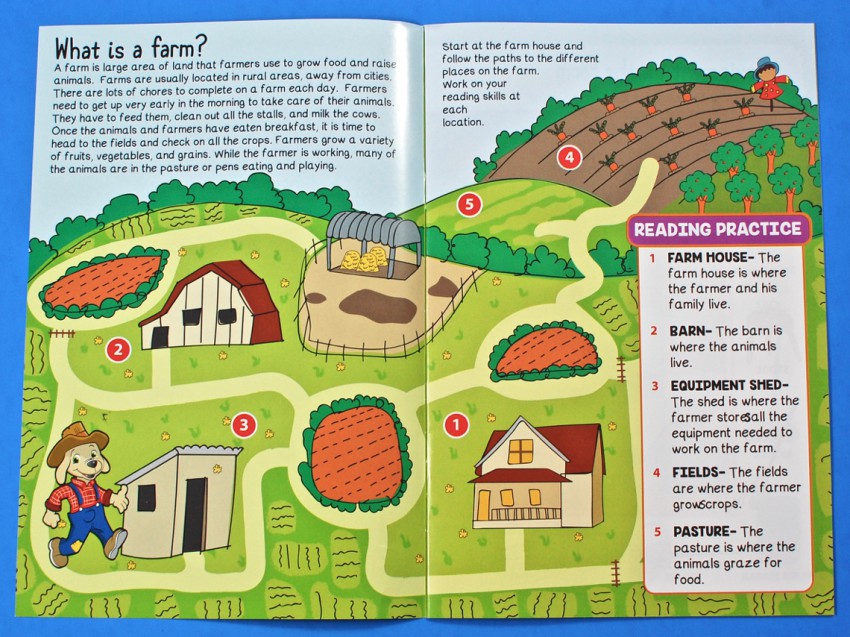
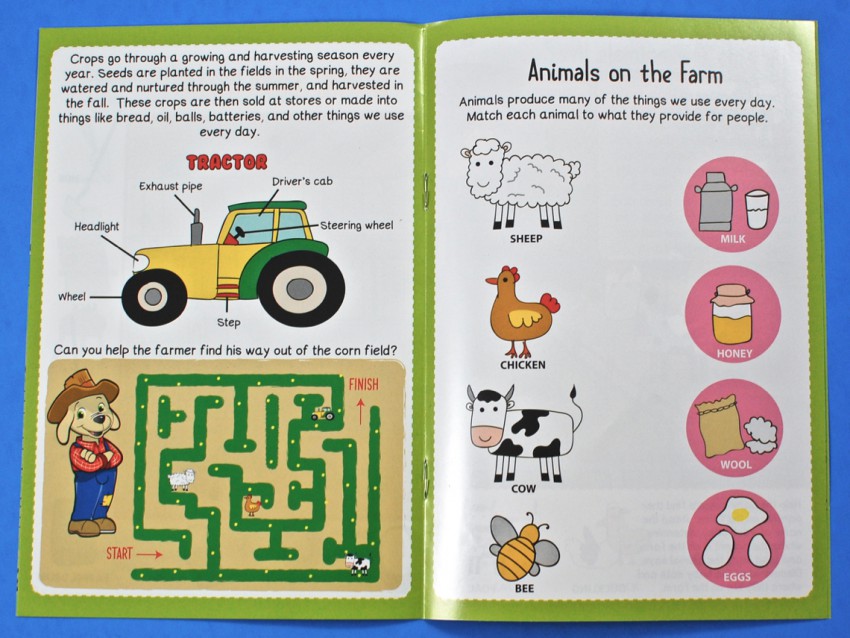
Activity Book
A full color activity book featured fun facts about farms, games, reading practice, and more. A great introduction to the theme!
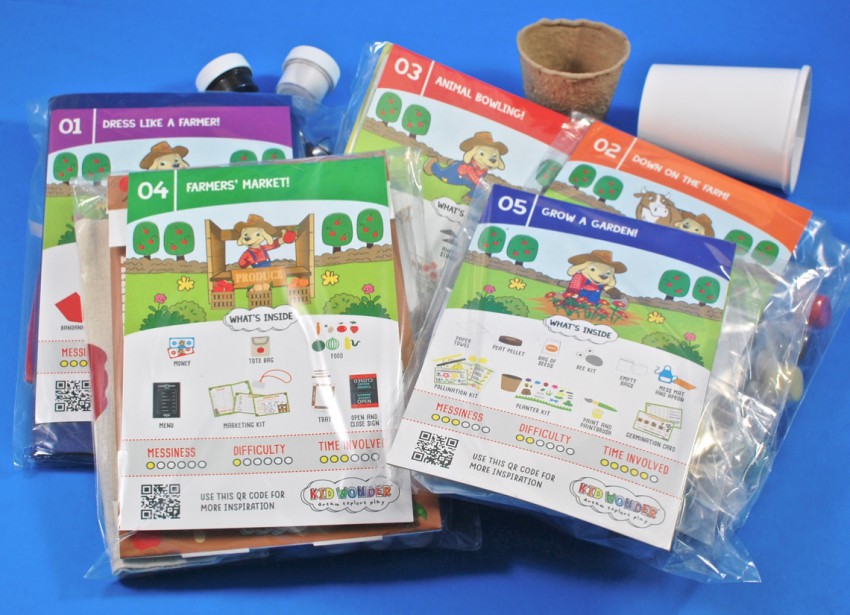
All of the activity kits were divided up into their own bags with instruction cards and materials tucked inside each one.
Kit 1: Dress like a Farmer!
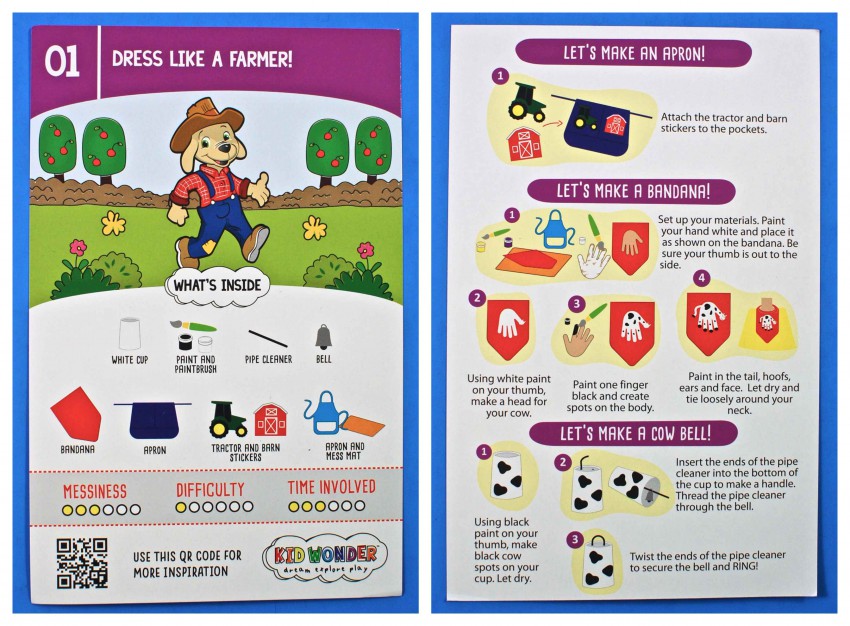
Each kit came with a 2-sided instruction card with step-by-step directions for every activity. The first kit included activities to help your child look like a real farmer.
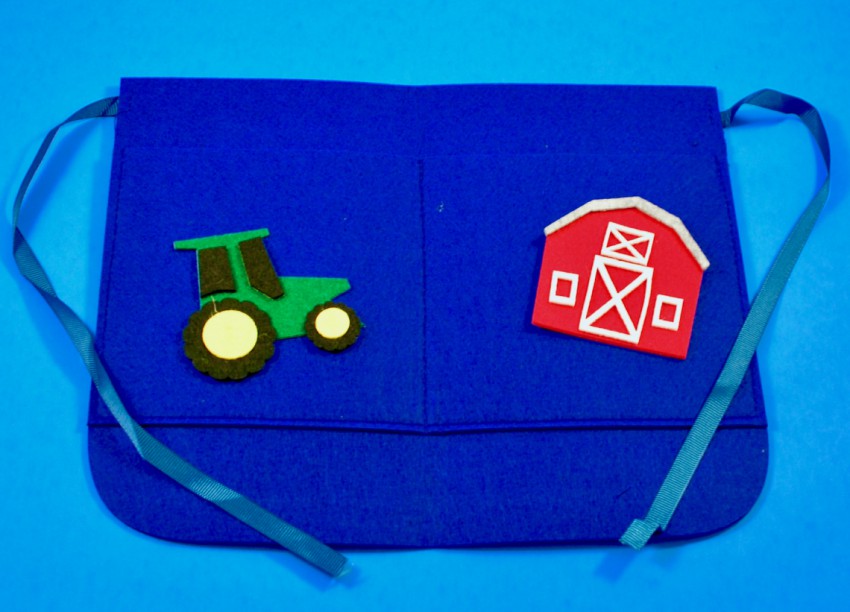
Let’s Make an Apron!
The first activity was pretty straightforward. — Simply decorate the blue apron using the enclosed felt tractor and barn stickers. Easy!
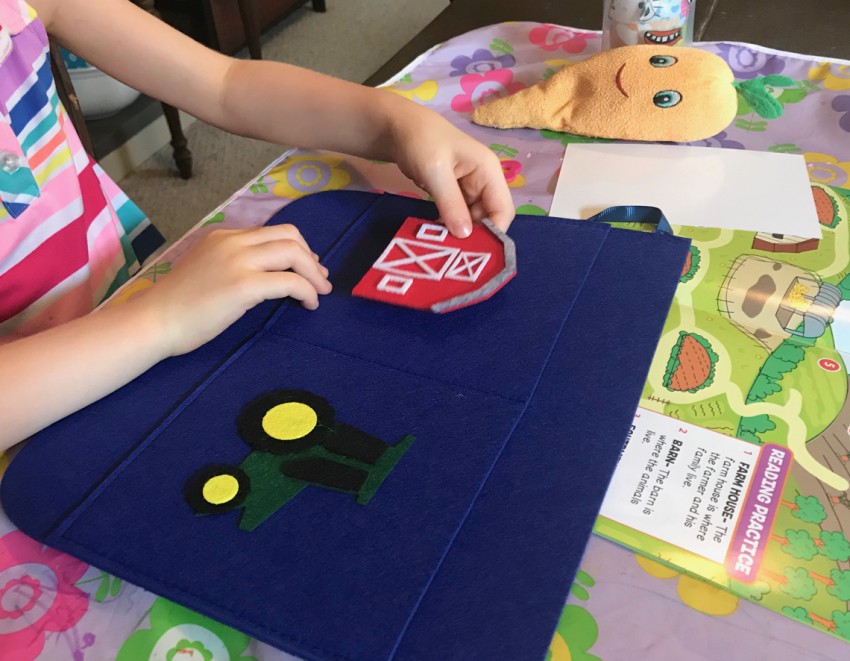
The girls each chose their own sticker to apply.
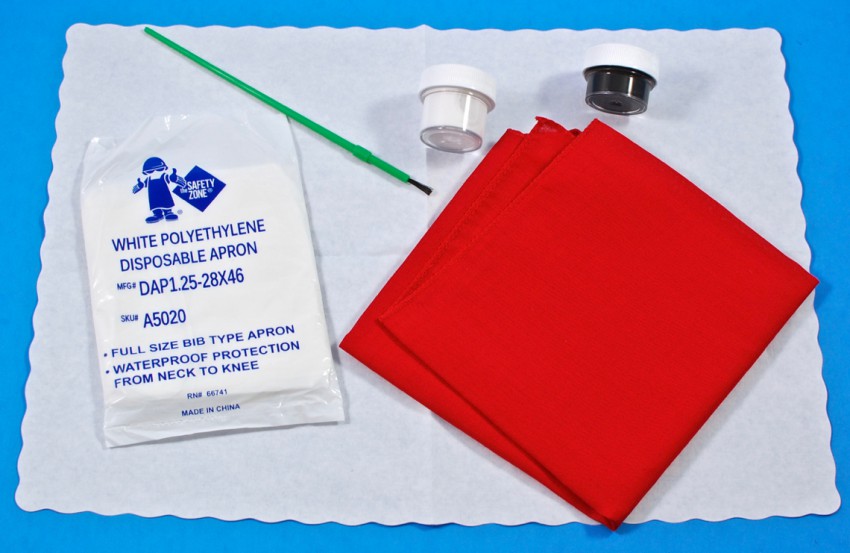
Let’s Make a Bandana!
Using the white paint provided, your child was to paint their hand and make a handprint on the red bandana as shown on the instruction card. The print was to be turned into a cow using additional white and black paint. Once dried, your child could wear the bandana loosely around their neck.
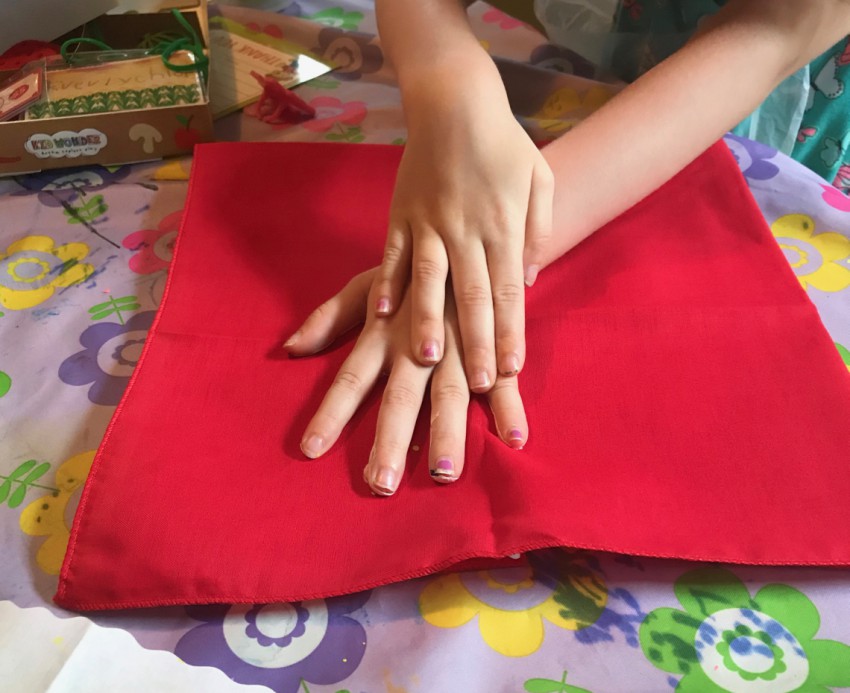
Printing in progress…
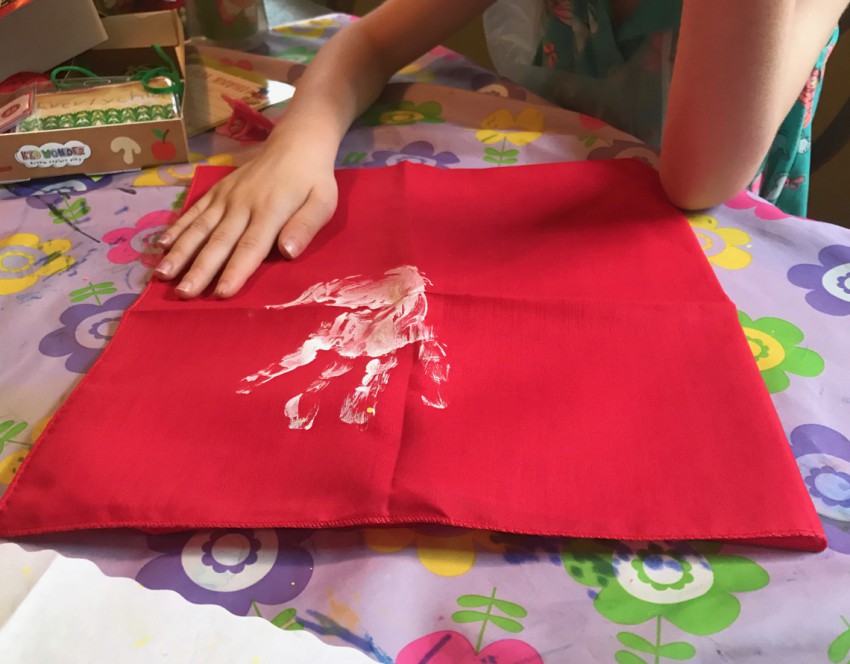
Print complete!
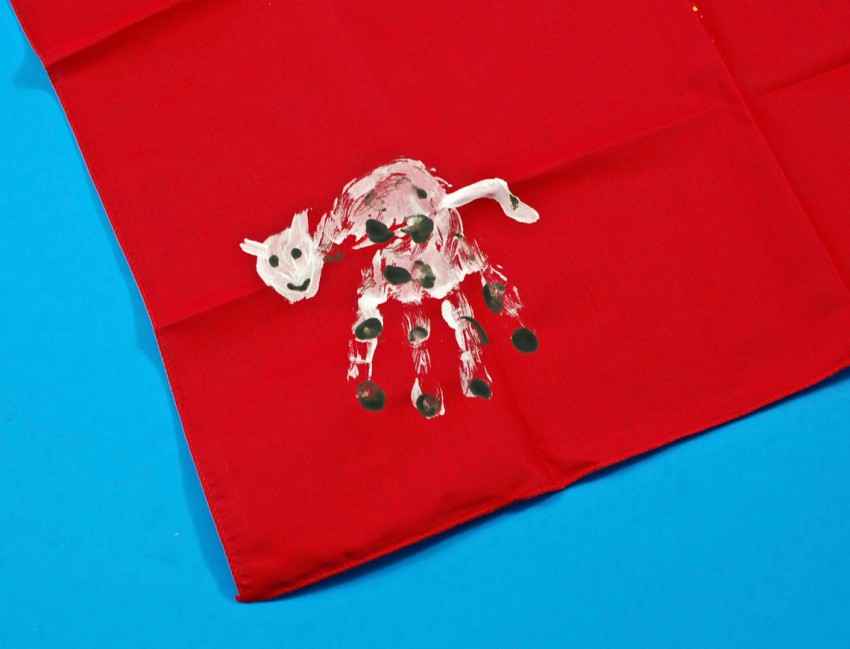
Our finished… cow? Ha!
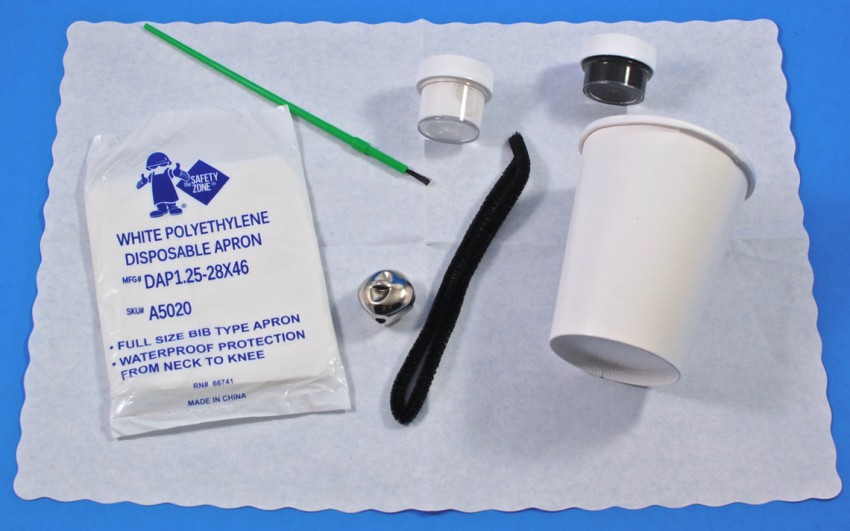
Let’s Make a Cow Bell!
This activity involved giving the white cup black “spots” to resemble a cow and attaching the bell to the inside using pipecleaner (which would also serve as a handle).
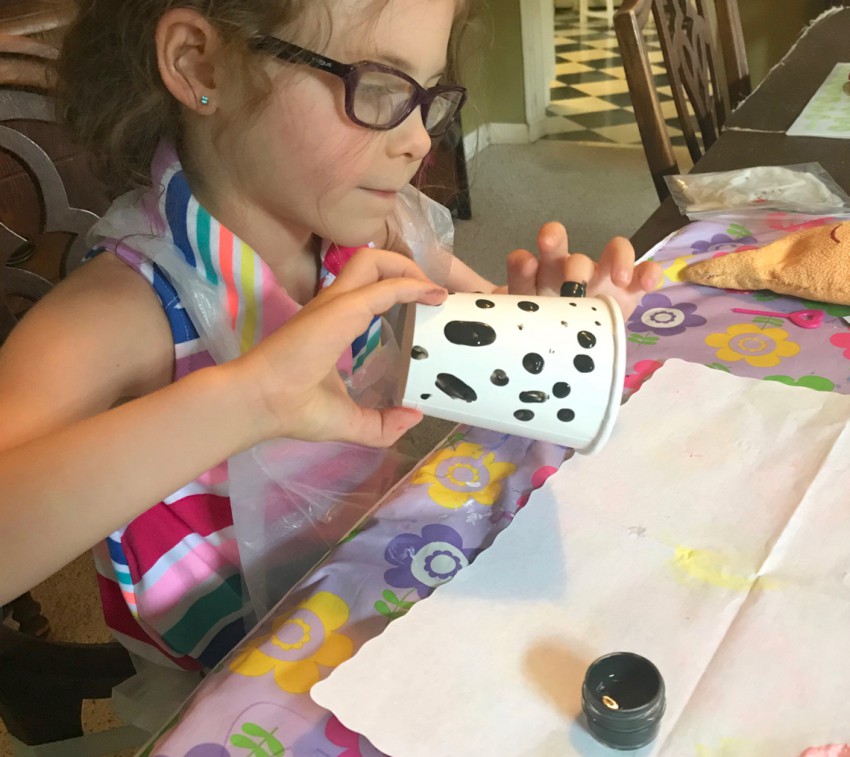
Carefully adding the spots.
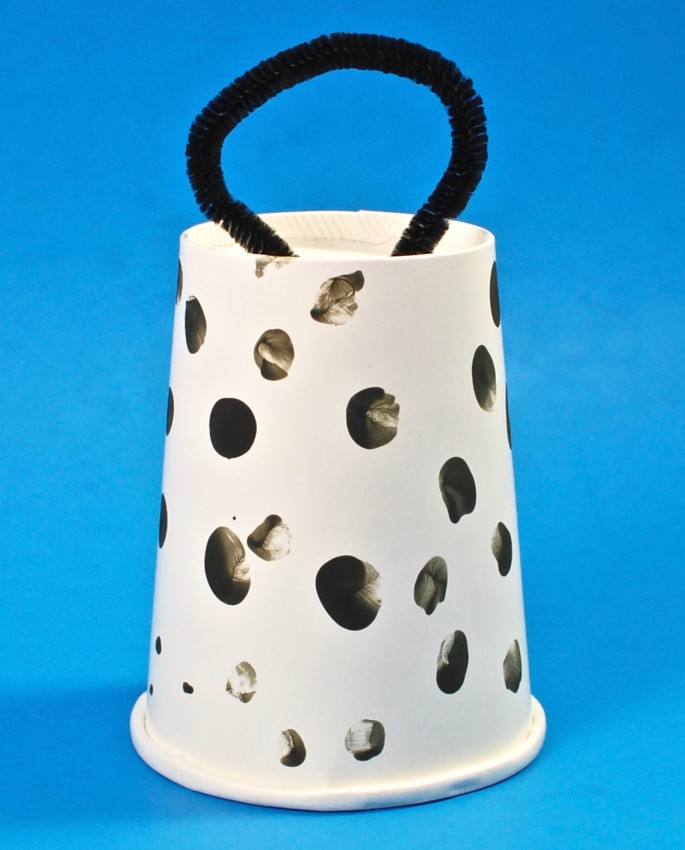
All done! — It actually worked quite well. I also appreciated that the cup had pre-cut slits on the bottom for easy pipecleaner insertion. 🙂
Kit 2: Down on the Farm!
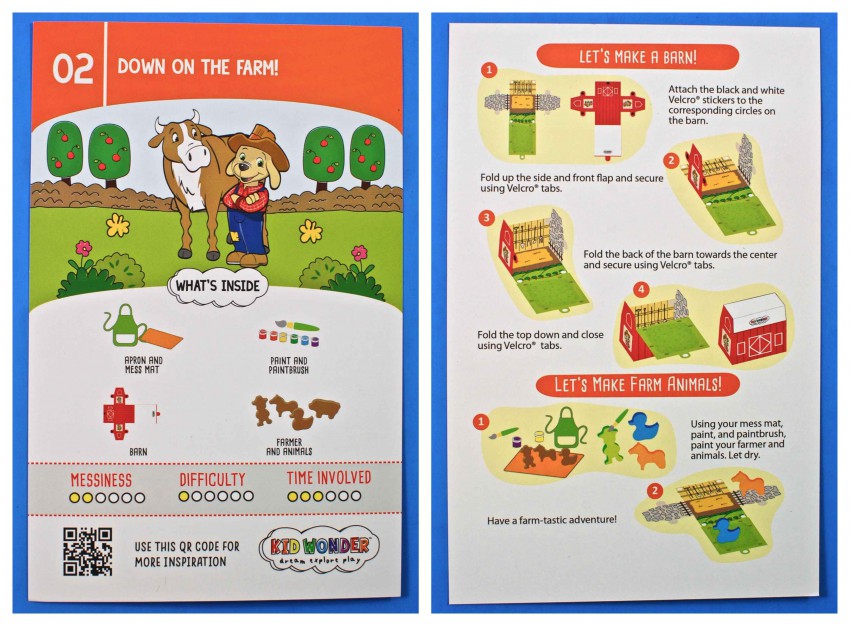
The second kit had us building a paper barn and painting wooden animals.
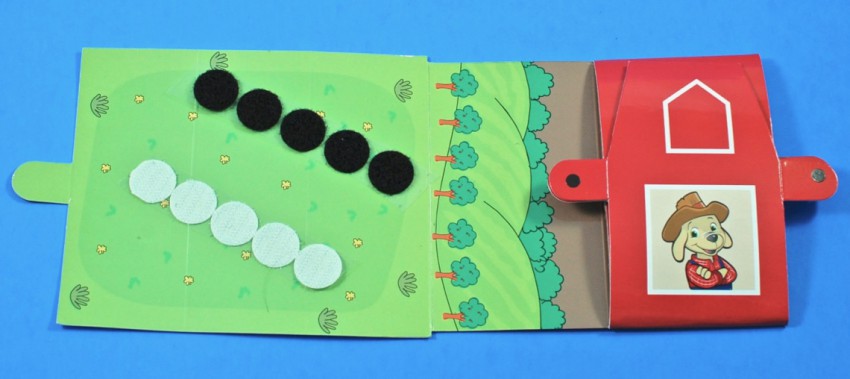
Let’s Make a Barn!
Using the set of Velcro tabs, you were to follow the instructions provided to build your very own cardboard barn.
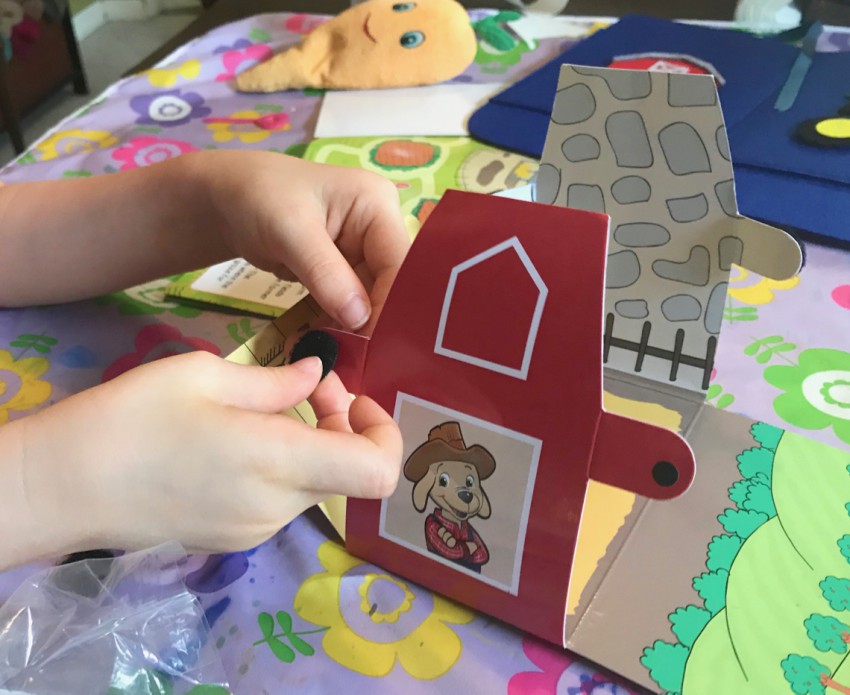
Attaching the Velcro… (Completed photos below.)
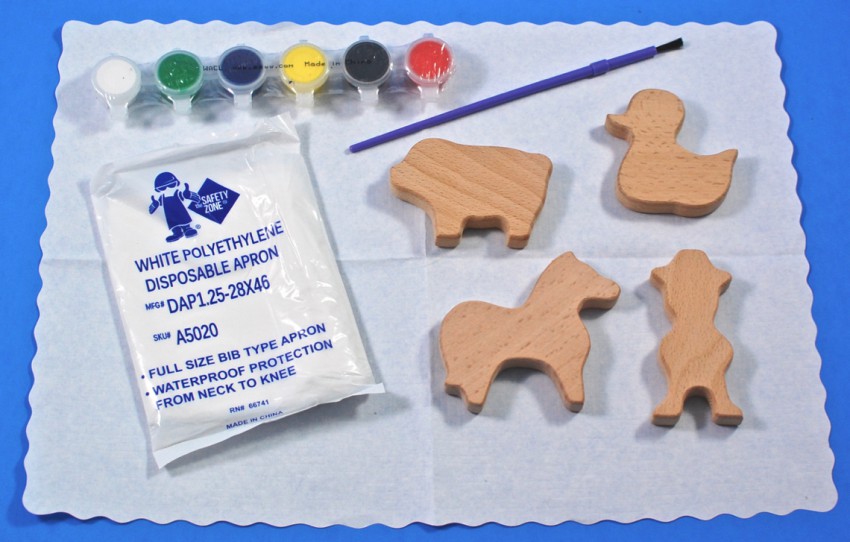
Let’s Make Farm Animals!
What fun is an empty barn? To fill it, four wooden animal figures were included for your child to decorate as they wish using the set of paints. We received a pig, a duck, a horse, and a farmer.
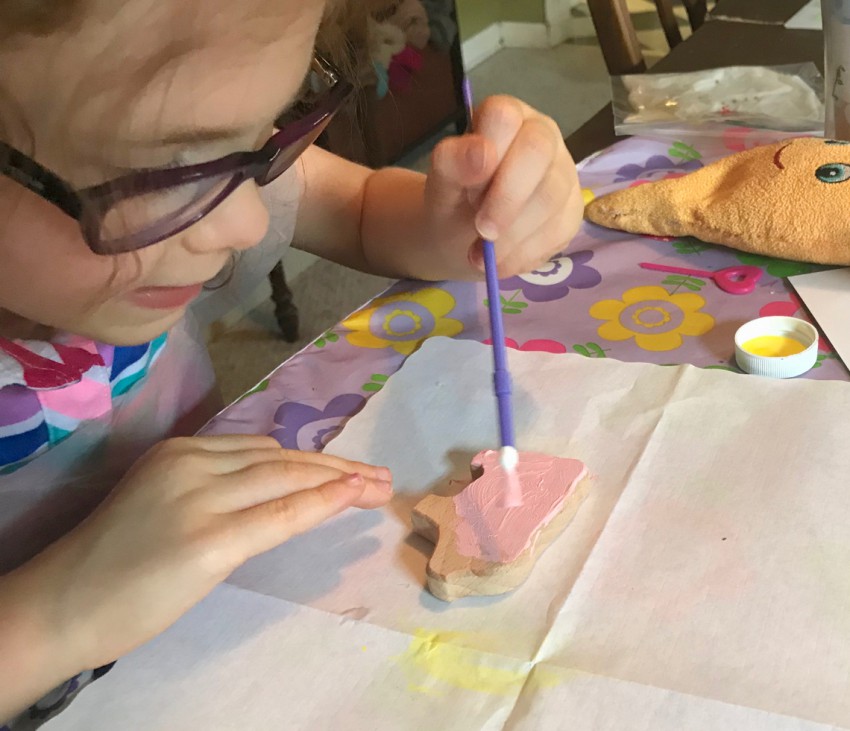
Painting the piggy.
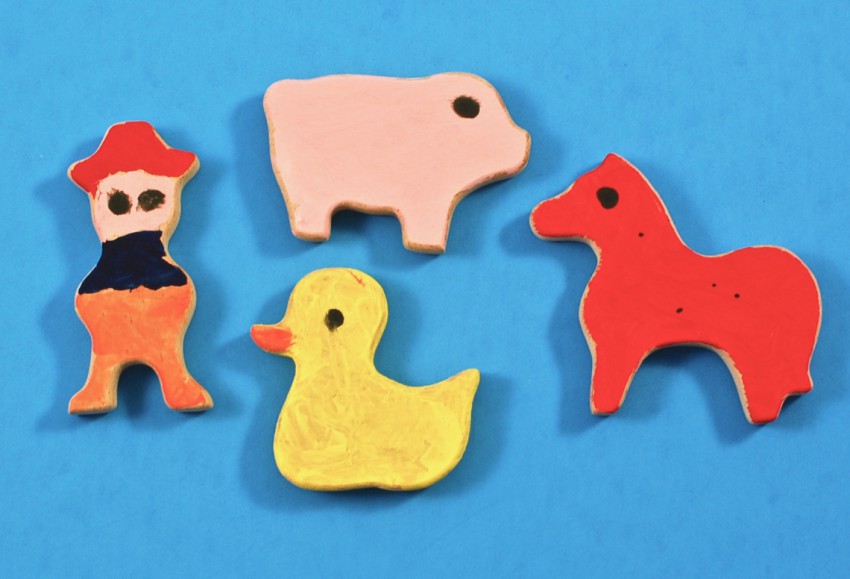
Our little farm crew!
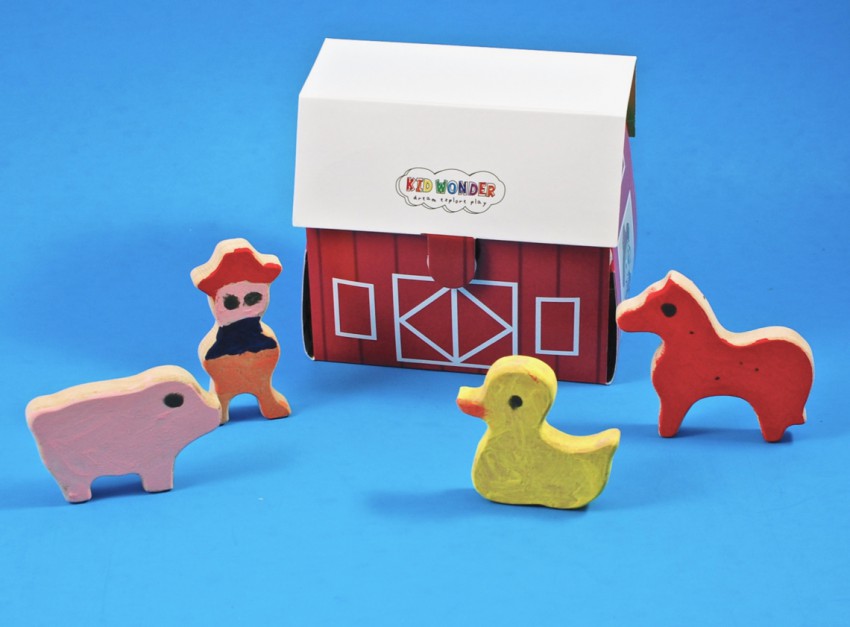
Our crew enjoying their lil’ barn.
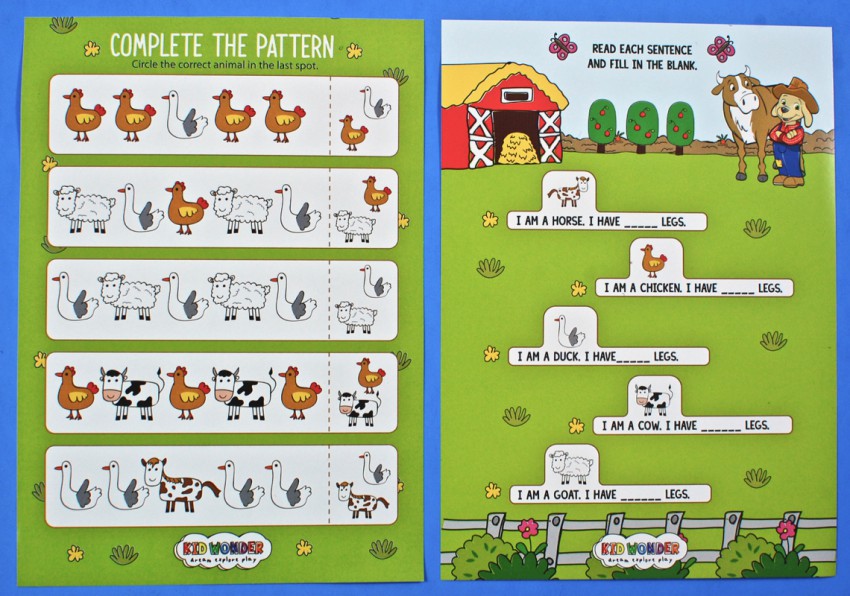
Two additional activity sheets were also included.
Kit 3: Animal Bowling!
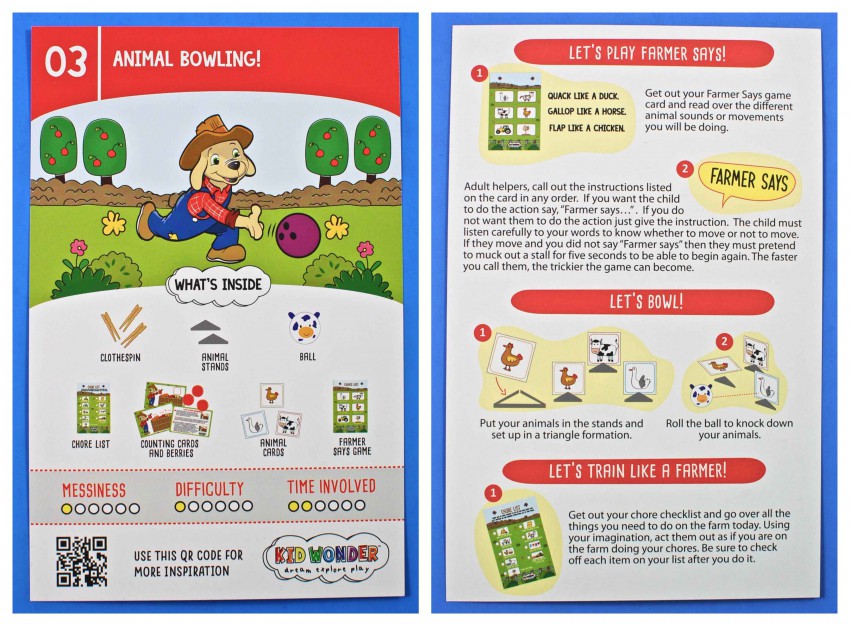
The third kit included a bowling activity as well as a couple other farm-themed games.
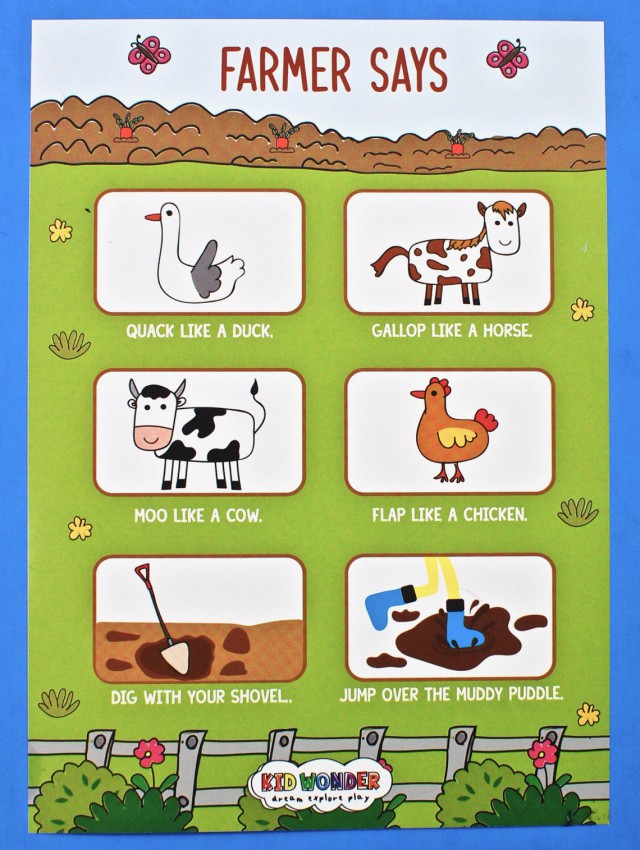
Let’s Play Farmer Says!
This game was to be played like “Simon Says”, with one player giving instructions to do each of the actions listed on the card above. If the action is done without “Farmer Says” being said, the player has to pretend to muck out a stall for 5 seconds before moving on.
Let’s Bowl!
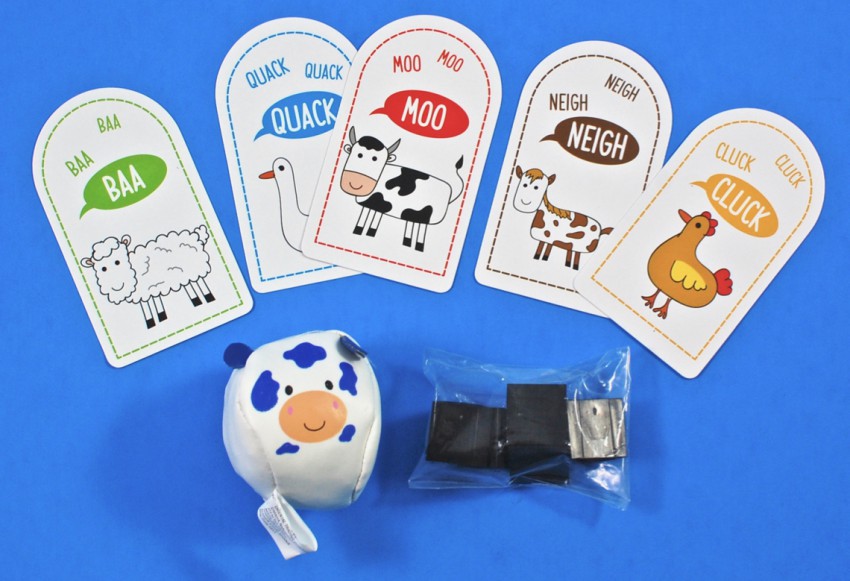
To play this bowling game, you simply needed to set up all the animal cards using the plastic stands, place them in a triangular formation, and use the “cow ball” to knock them down.
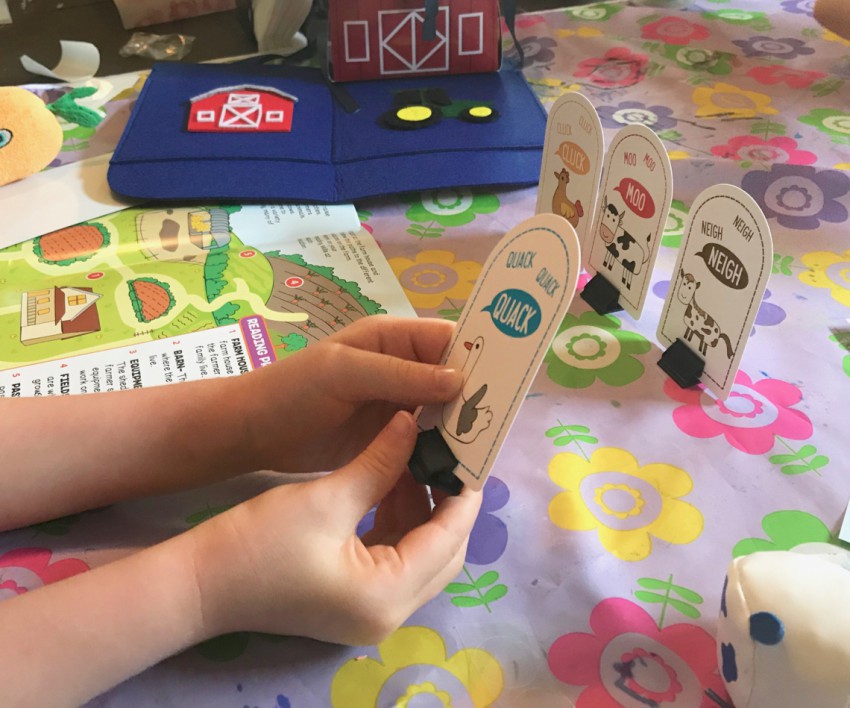
Setting up the “pins”. (Tip: Playing this game on a table isn’t advised unless you don’t mind picking the ball off the floor 3598 times. 😉 )
Let’s Train Like a Farmer!
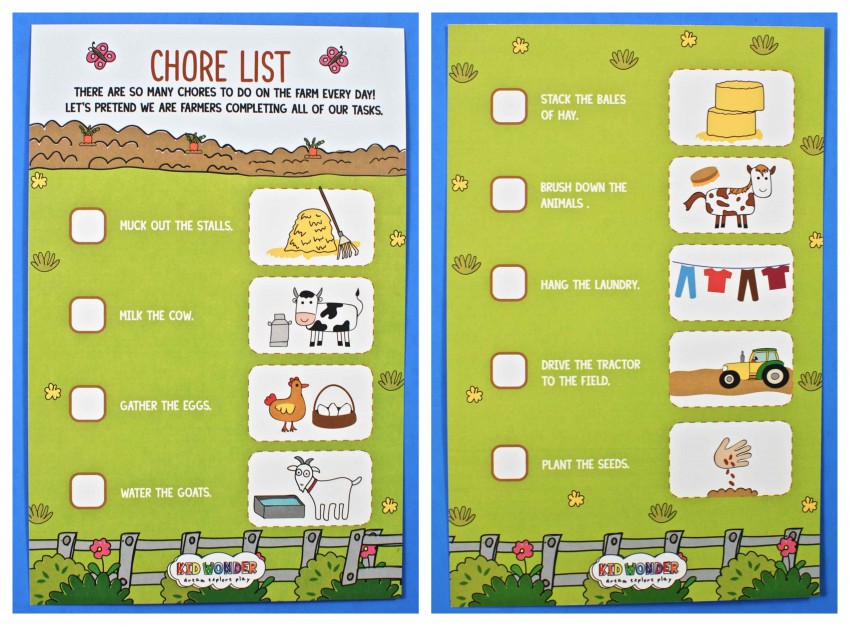
Using the chore checklist above, your child could pretend to act out each activity like a real farmer — checking off each chore as they go.
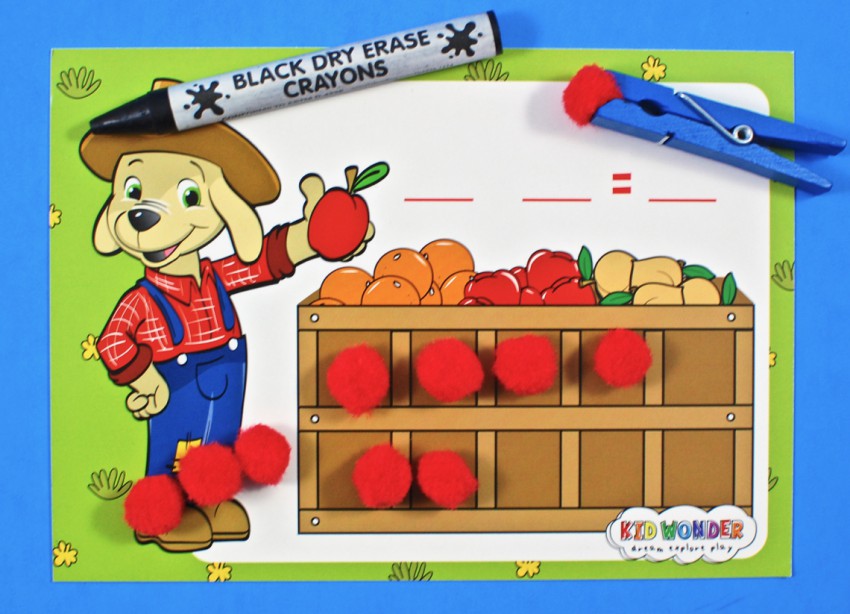
Let’s Pick Berries!
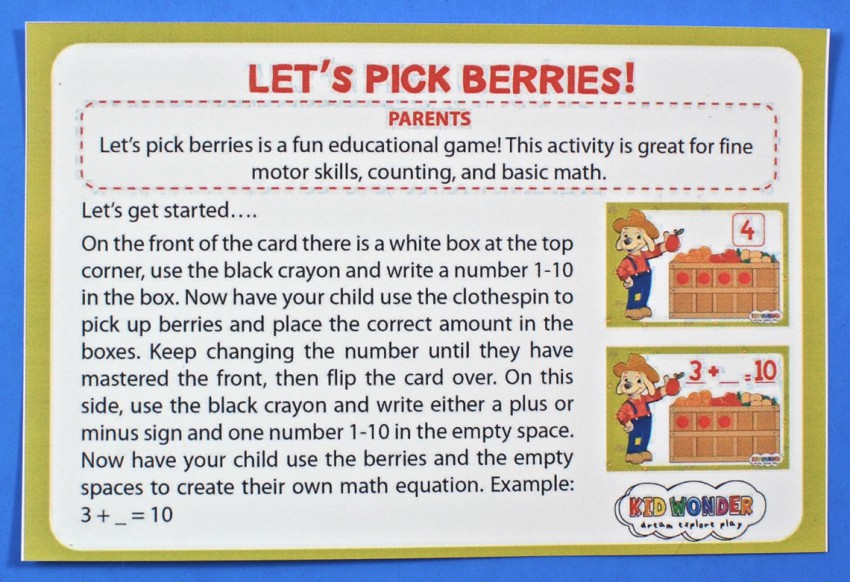
An additional game (not on the info card) was also included to help your child practice their math skills using pom-pom “cherries” and a dry erase crayon.
Kit 4: Farmer’s Market!
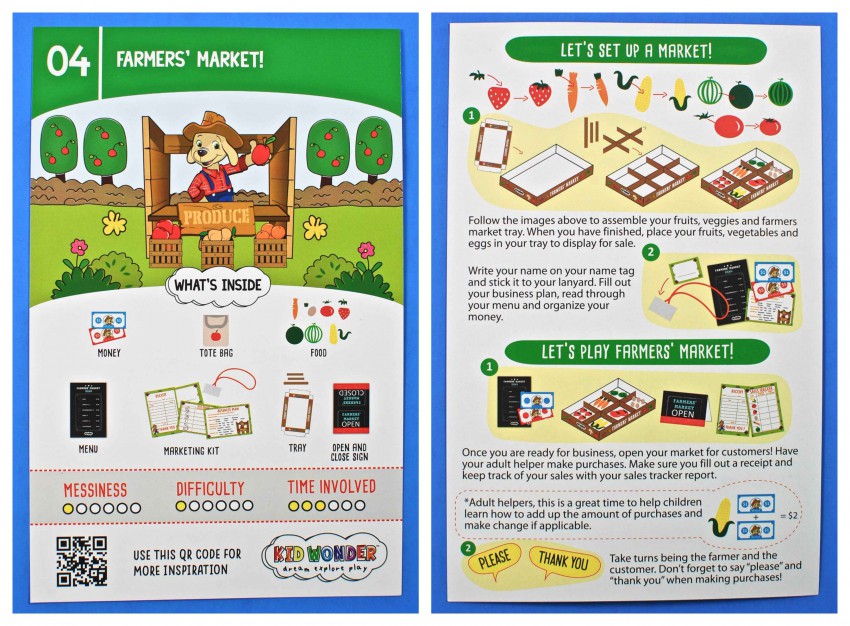
The fourth kit allowed your child to set up, organize, and pretend to run their own little farmer’s market.
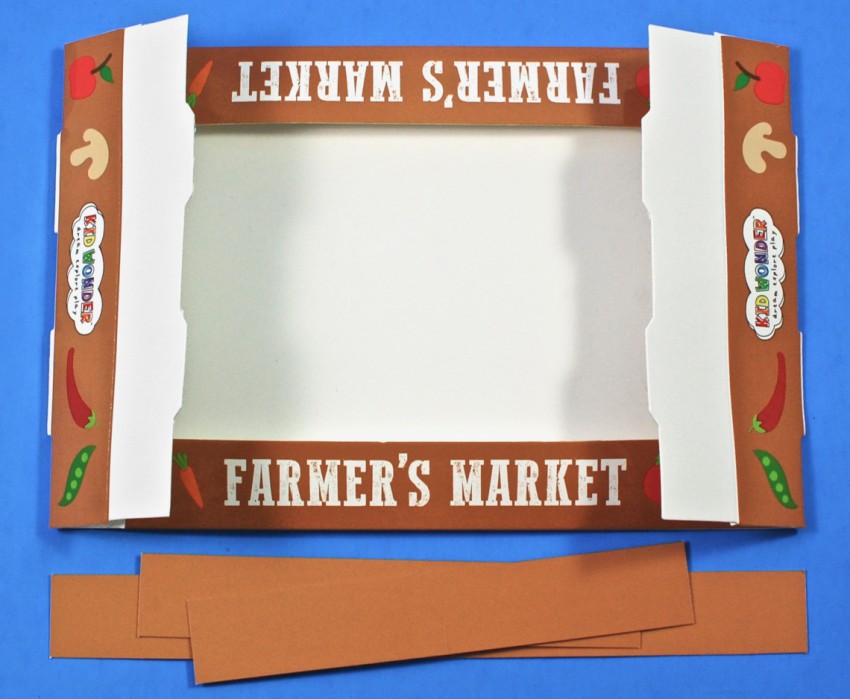
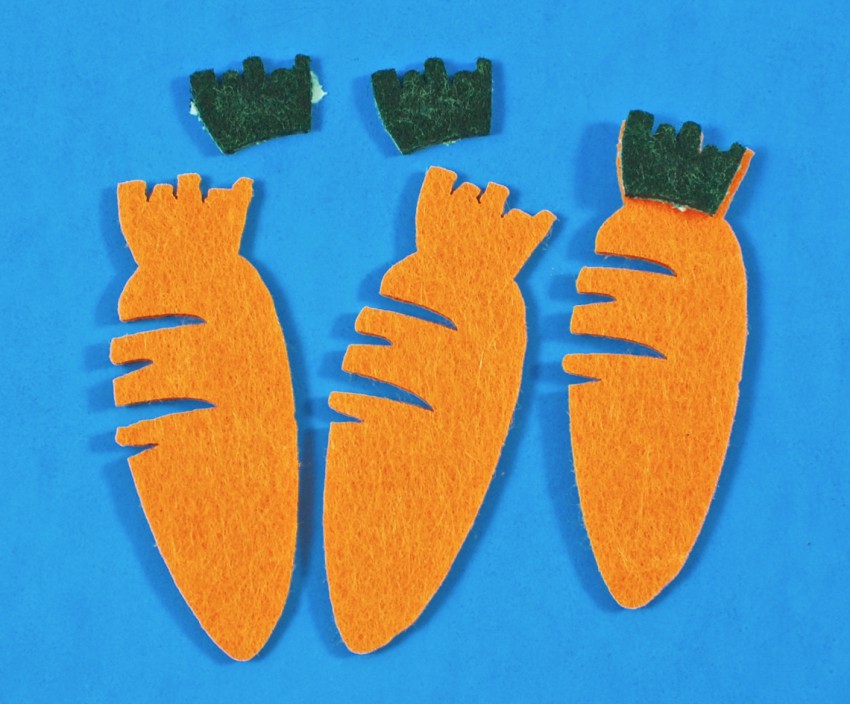
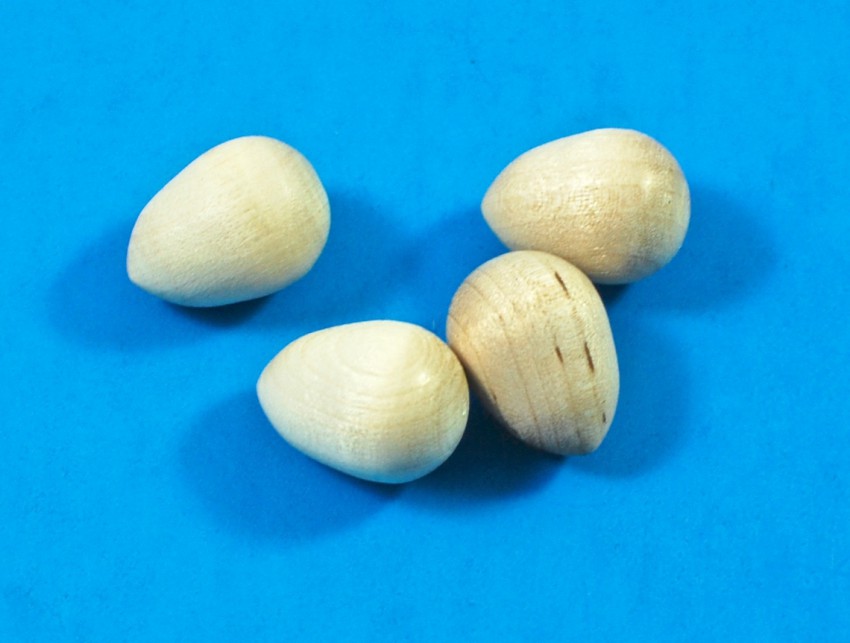
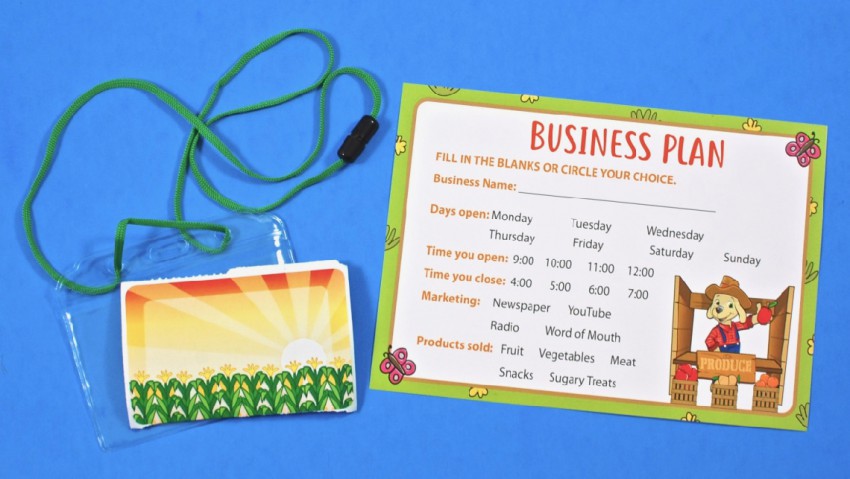
Let’s Set Up Market!
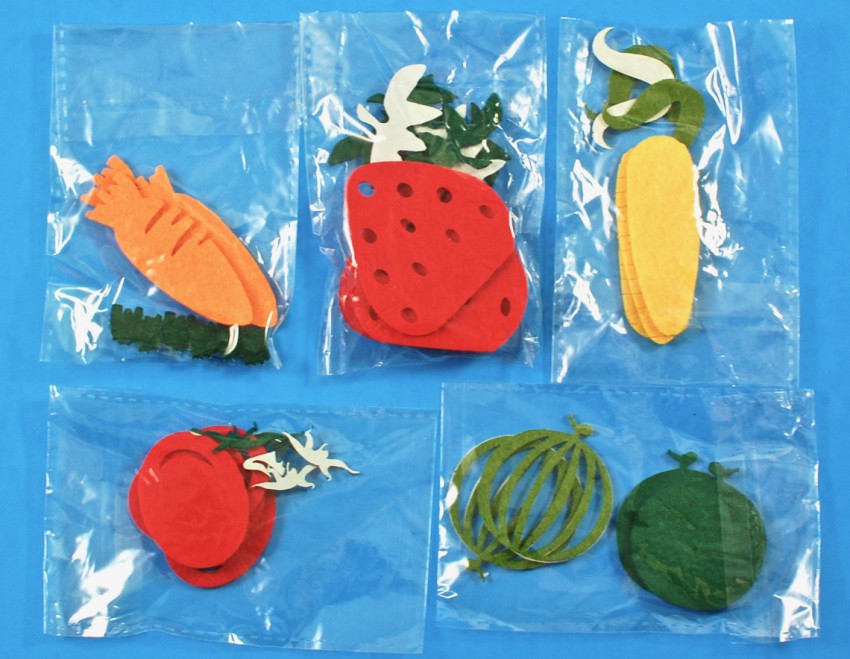
This activity included plenty of materials for setting up your market: A cardboard produce tray to assemble, felt veggies with stems to attach, tiny wooden eggs, a lanyard to personalize, and even a business plan.
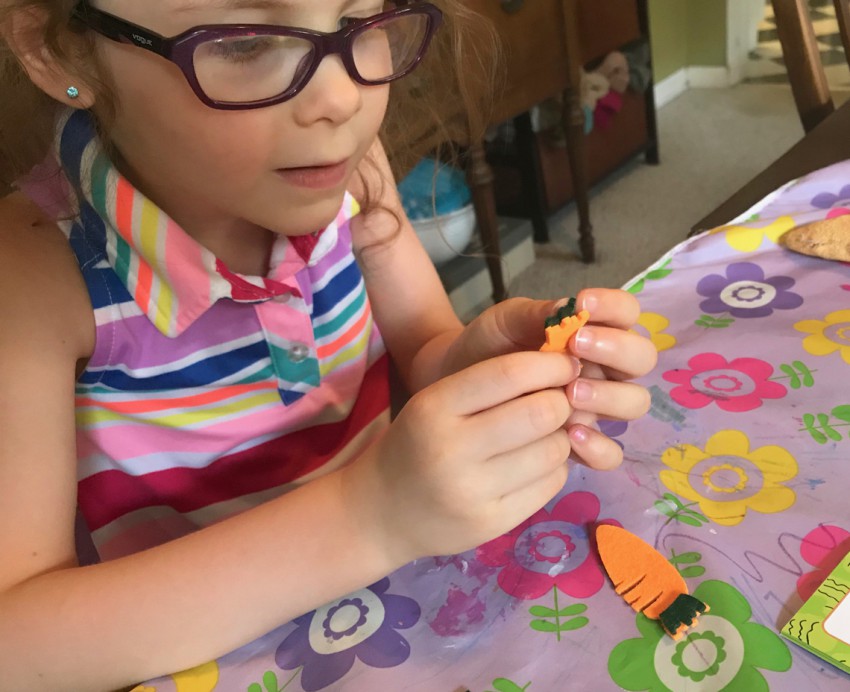
My kiddo has been OBSESSED with carrots for about 3 years now, so she was super excited to see her “friends” included in the box. (You can see the stuffed carrot — a carnival prize — that started it all in some of the photos above. He’s very filthy and incredibly loved. 😀 )
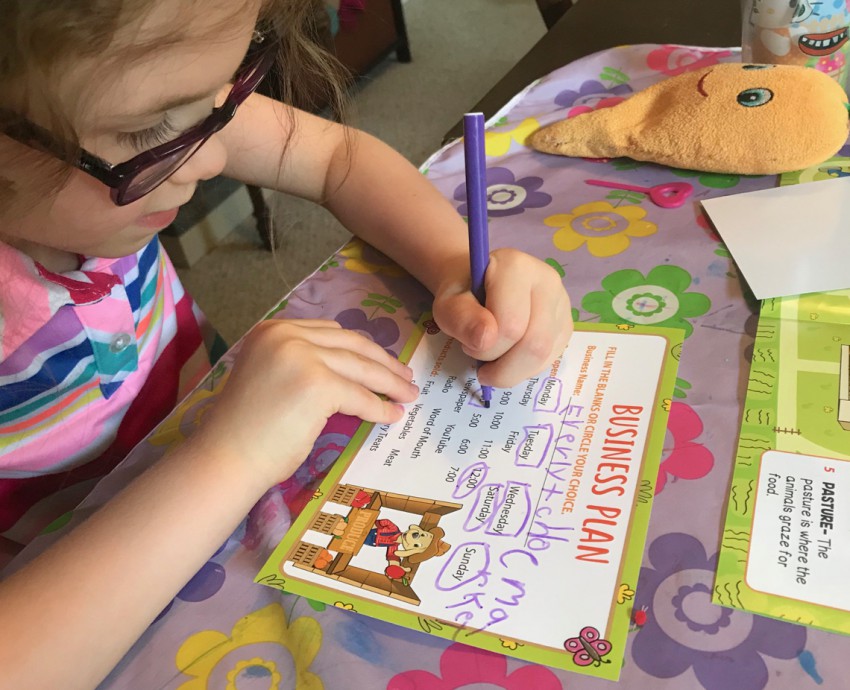
Writing up her business plan. She’s only selling fruit and snacks — NOT vegetables because she doesn’t want anyone to buy her carrots. Haha!
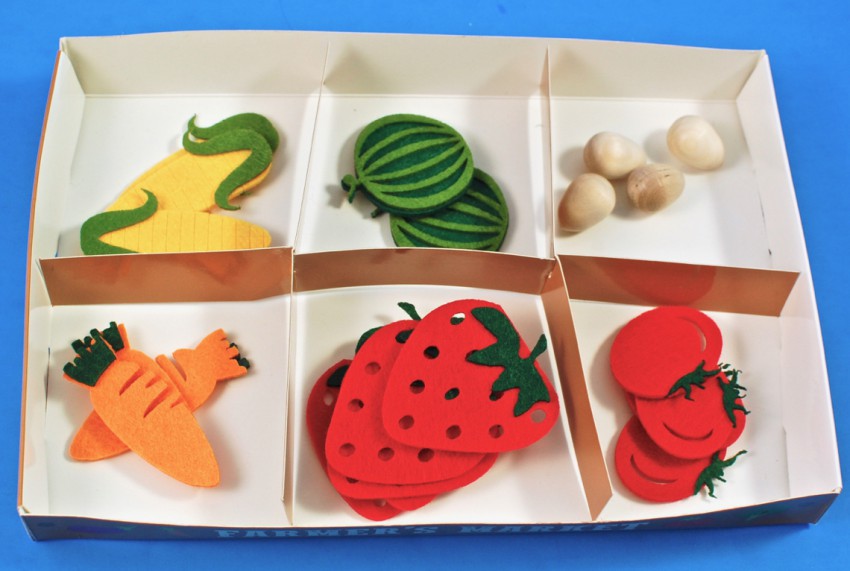
The completed felt fruits & veggies.
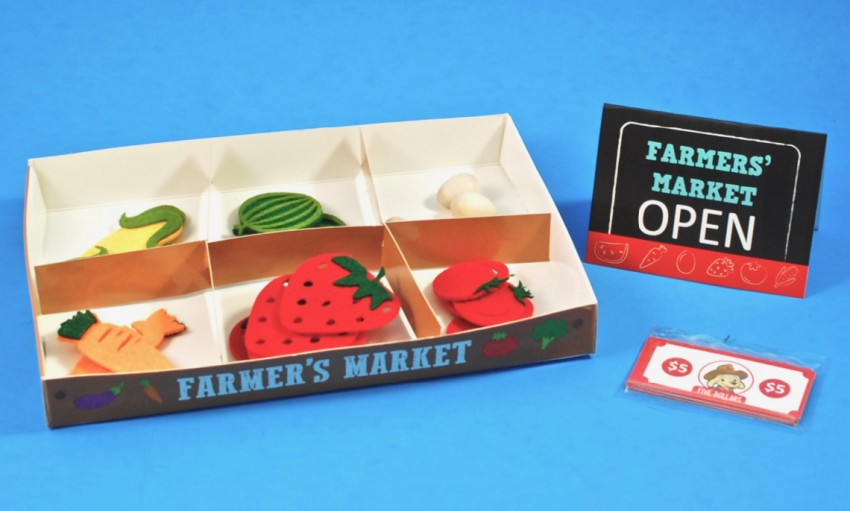
So cute!
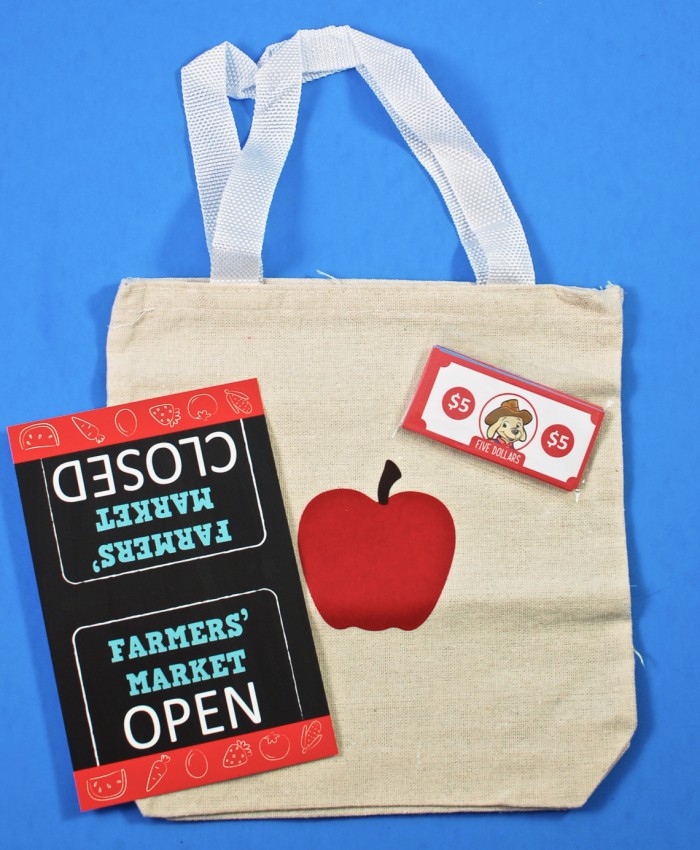
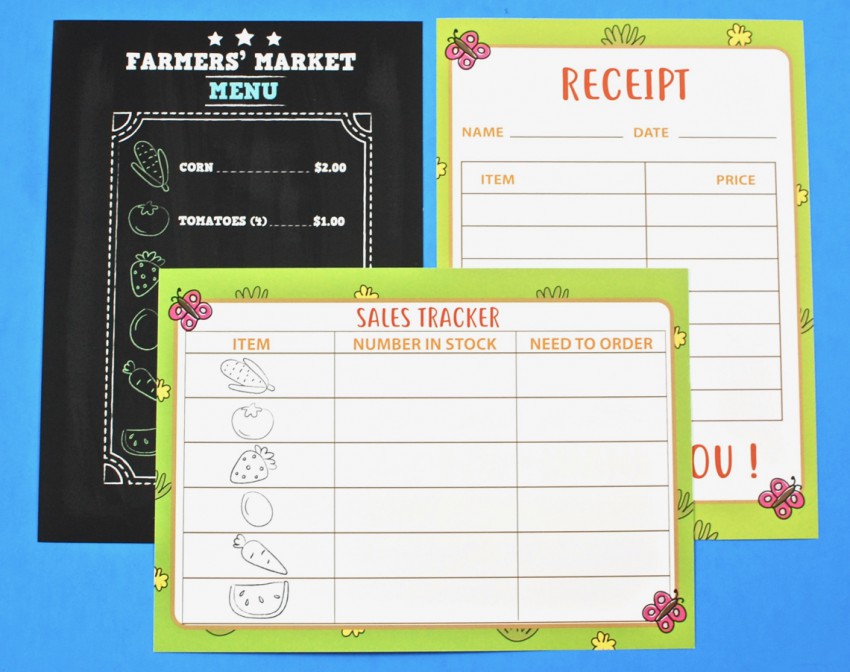
Let’s Play Farmer’s Market!
Once the market is set up, your child can begin “selling” their goods using the menu & pretend money. They can also provide receipts to customers and keep track of all their sales. An open/closed sign and adorable tote bag were also included. 🙂
Kit 5: Grow a Garden!
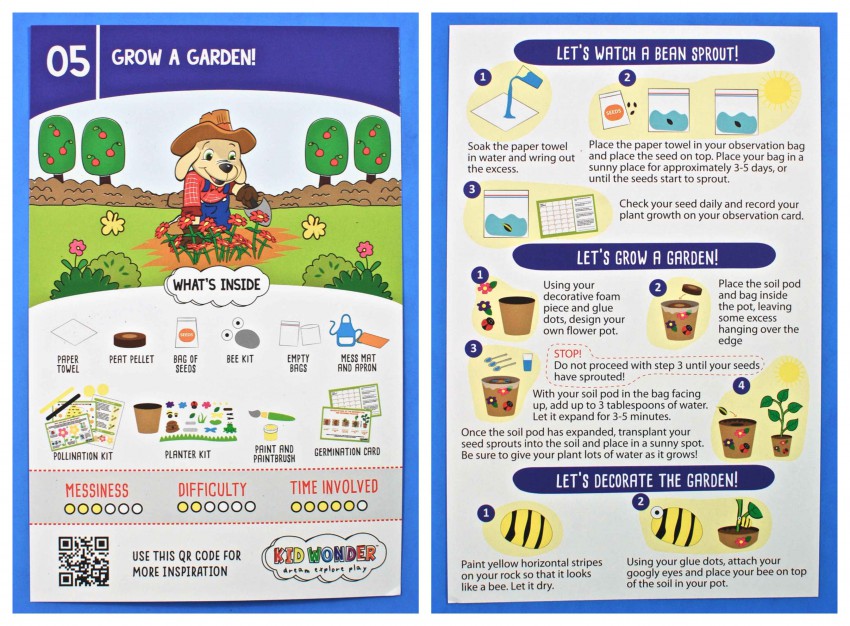
The final kit allowed your child to grow and decorate their own mini garden.
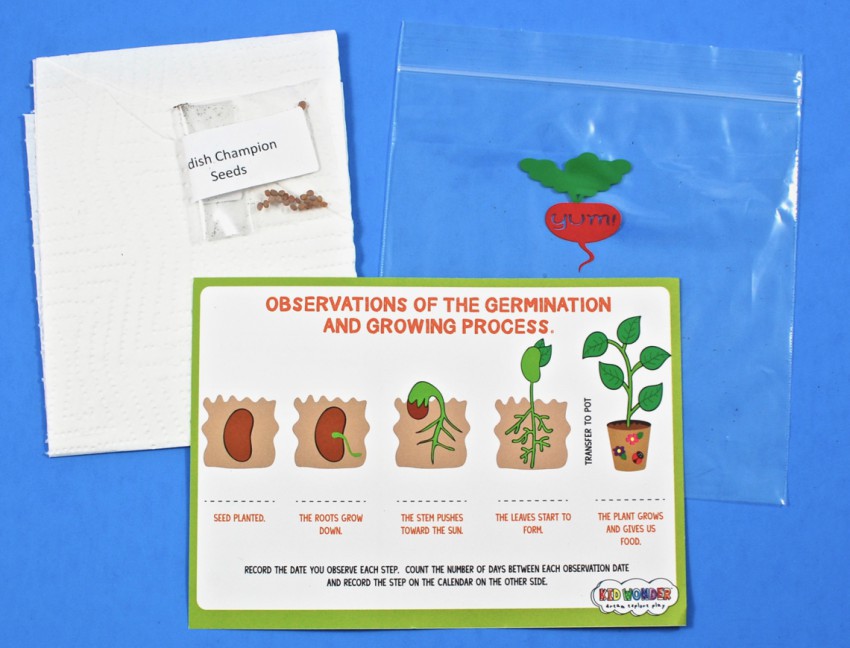
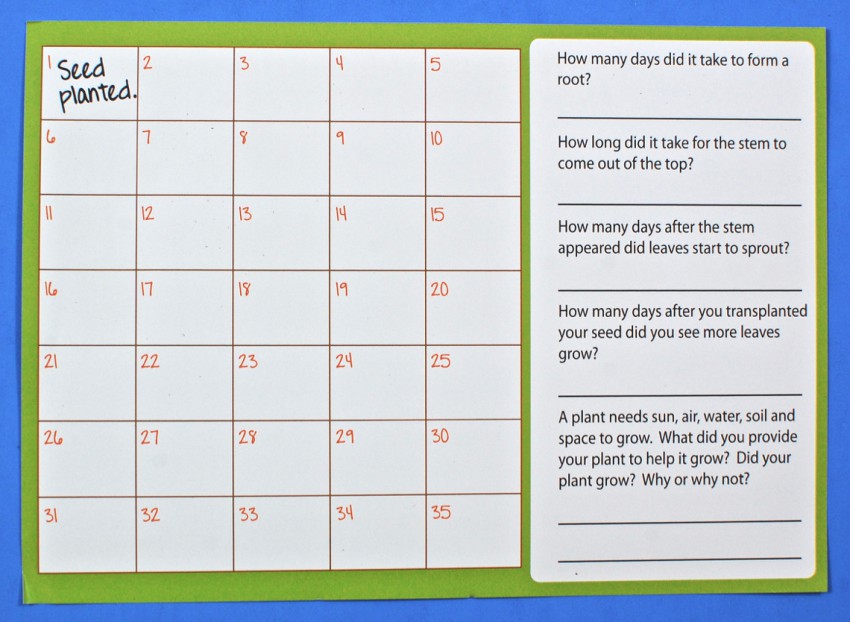
Let’s Watch a Bean Sprout!
The first step was to germinate a radish seed using the materials provided above. An observation sheet was included to follow the growth progress of your plant.
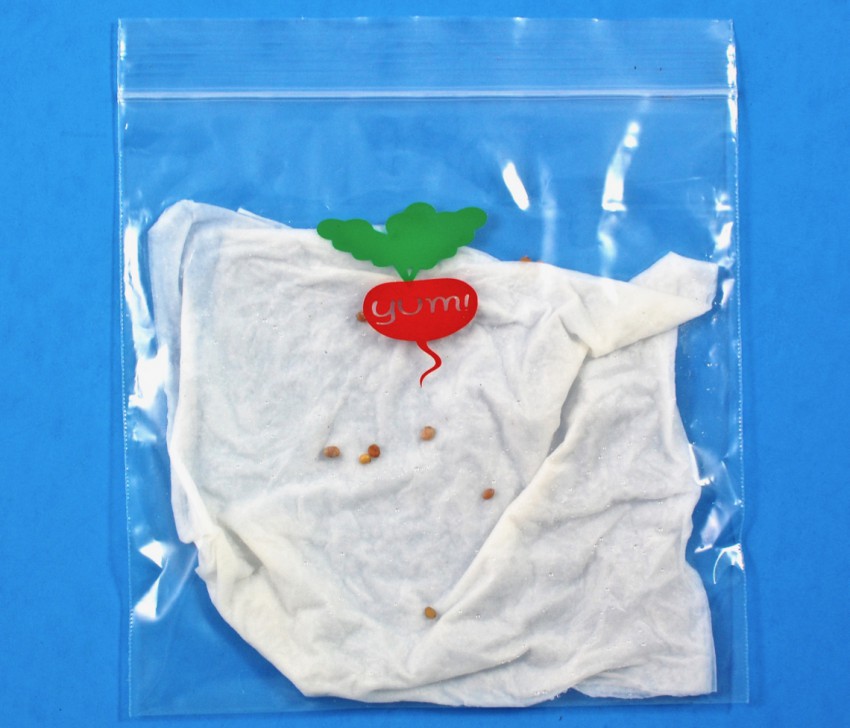
I didn’t take a photo of the “process” since it was so simple, but here’s a look at our seeds in the observation bag.
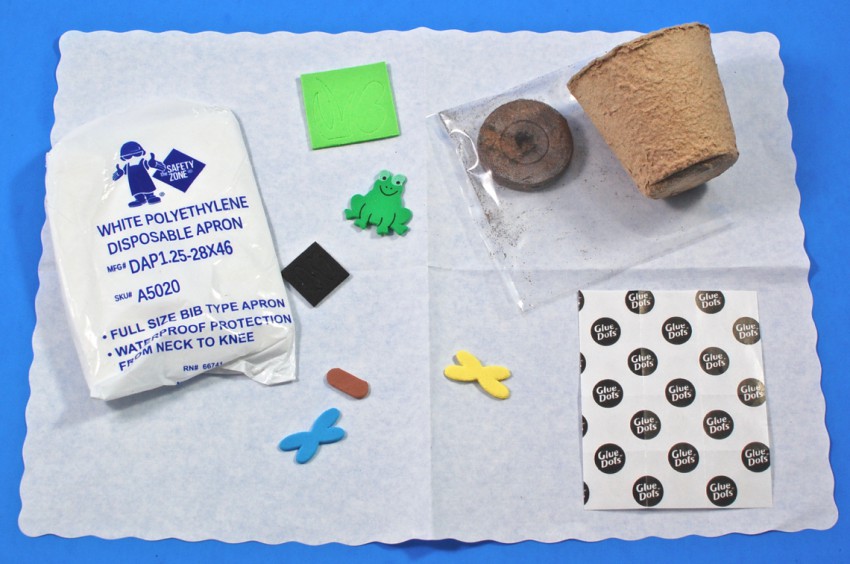
Let’s Grow a Garden!
Using the colorful foam shapes and glue dots, your child could decorate the tiny flower pot as they wish. Once the seeds have germinated (3-5 days), they could be planted in the pot using the provided peat pellet.
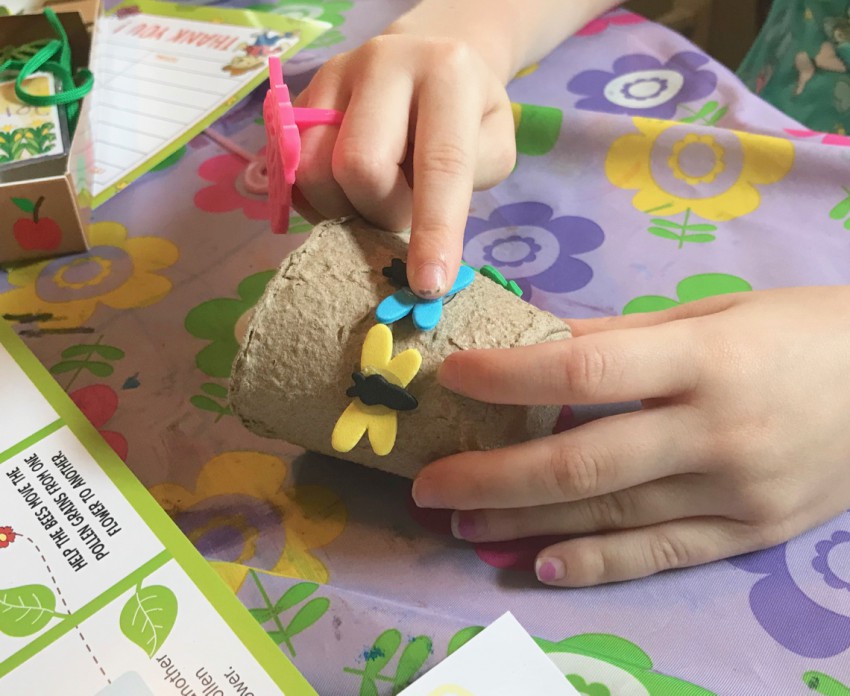
Decorating the pot.
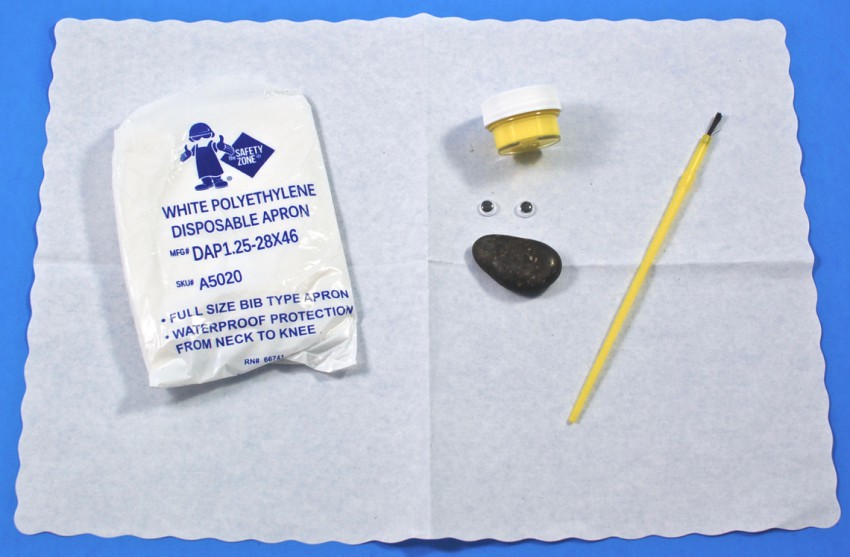
Let’s Decorate the Garden!
Using a small rock and yellow paint, your child could make a little bee friend for their garden. Once dried, two googly eyes could be added with glue dots.
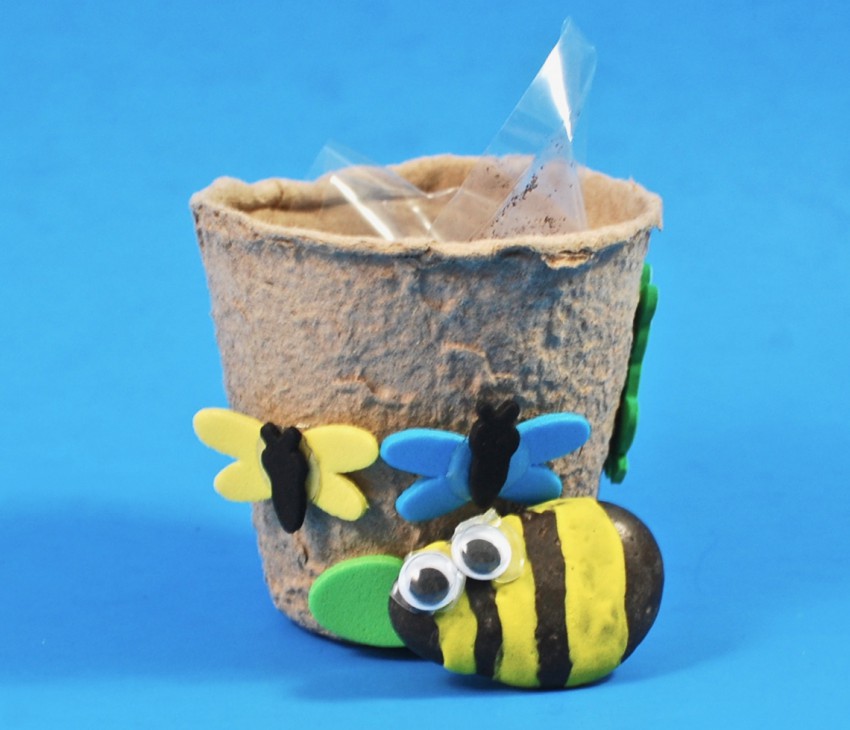
I didn’t snap a photo of the rock painting, but here are the finished flower pot & bee. 🙂
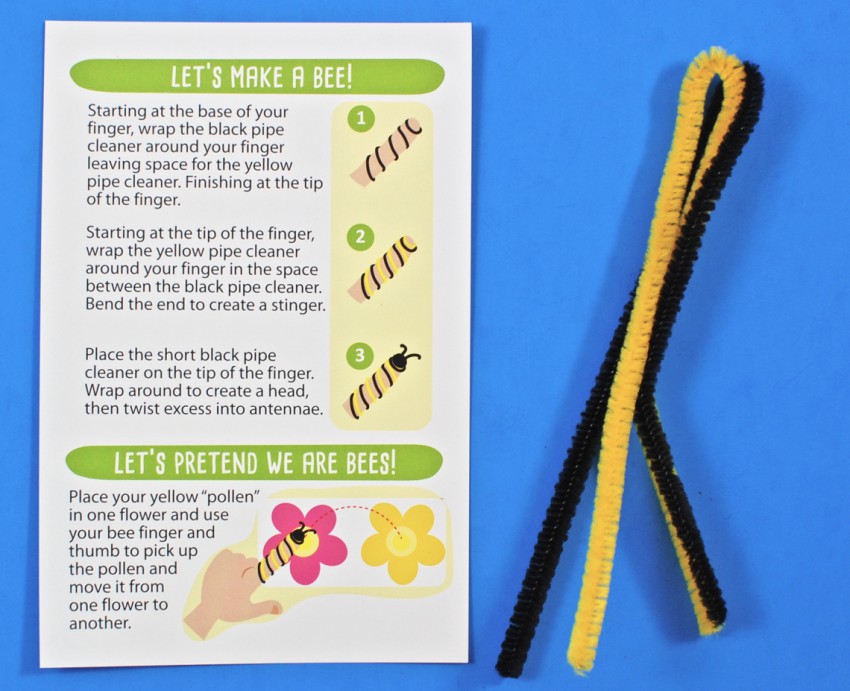
Let’s Make a Bee!
Using black and yellow pipecleaners, your child could turn one of their fingers into a bee!
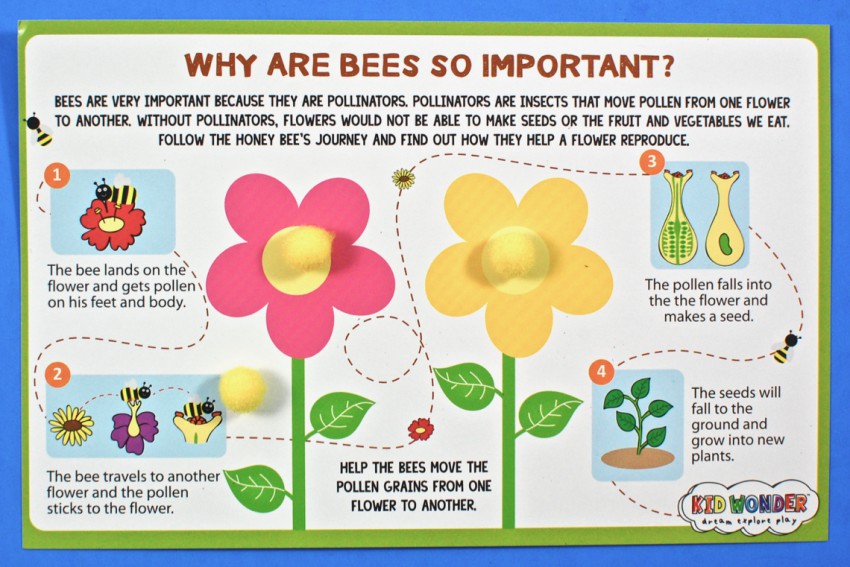
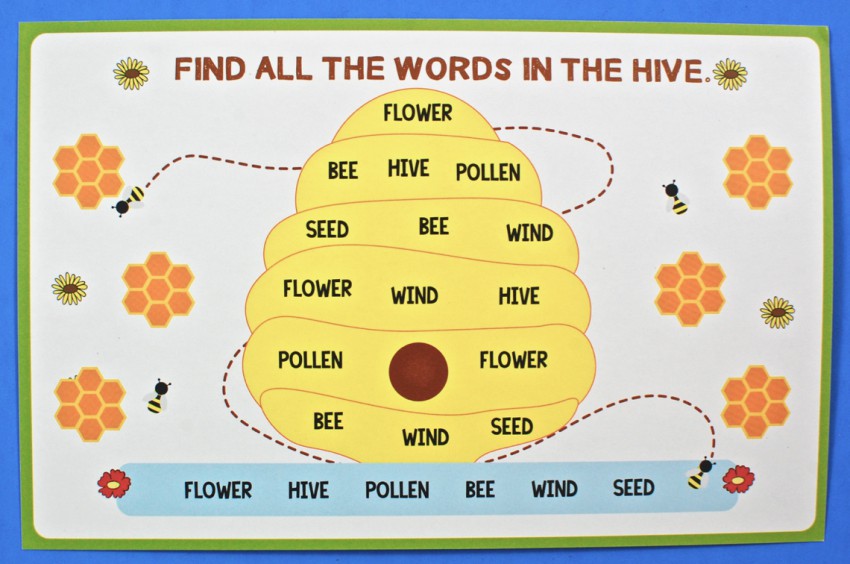
Let’s Pretend We Are Bees!
Once the “bee finger” has been created, your child can use it to pollinate the flowers on the card above.
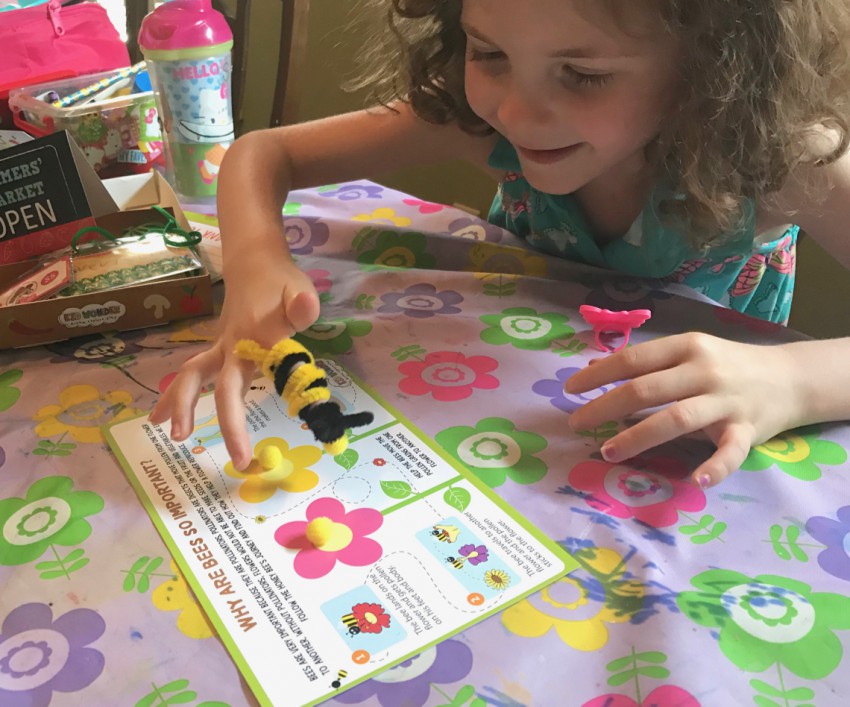
The girls were cracking up at how the pollen was actually sticking to the bee.
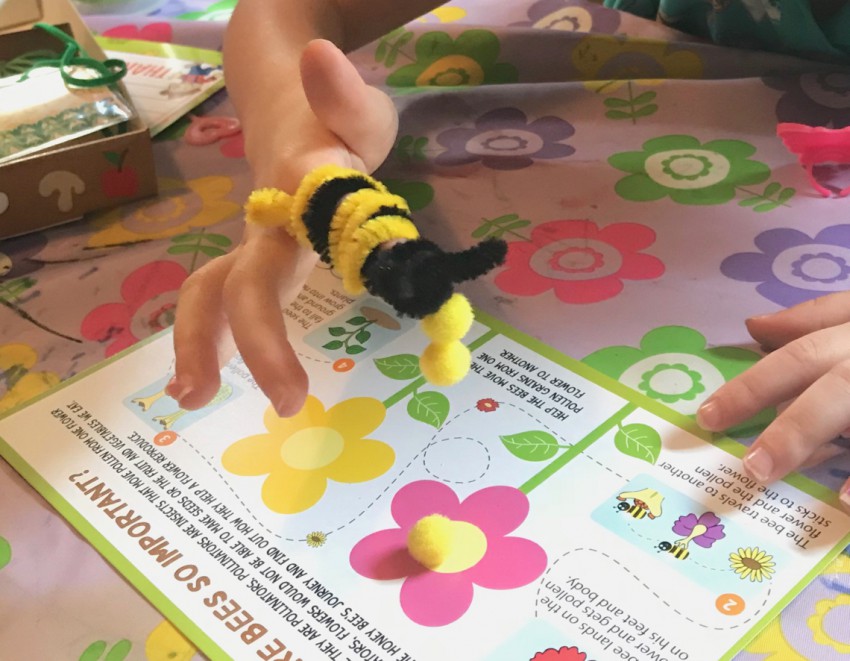
Moving two pollen pom-poms at once! Super bee! 😉
As you can see, July’s Kid Wonder box was absolutely loaded with activities! All of the crafts were straightforward and easy for my girls to do with just a little help from me. I love how Kid Wonder included ALL of the materials needed — right down to plastic aprons to protect clothes and paper placemats to keep the table clean. The activities kept us busy for a good chunk of the afternoon and most of the completed projects can be enjoyed indefinitely for pretend play. Such a great box! 😀 Spoiler Alert: Next month’s theme is “Pirates and Mermaids”! — Remember, for a limited time you can save 30% on your first box with coupon code “CRATEJOY30“!

Leave a Reply