Time for another KiwiCo Chemistry Crate review!
If you haven’t heard, KiwiCo has just released a new line of Chemistry Crates that explore the amazing science behind chemical reactions. There are currently 3 different crates available: Fire Lab (reviewed here), Vortex Lab, and Glow Lab. Each crate comes complete with all of the materials needed, easy to follow step-by-step instructions, and explanations as to how each of the experiments work. The crates are designed for ages 14 and up, as they include “big kid” materials like chemicals and fire-making components.
[text-blocks id=”7911″ plain=”1″]
You can purchase each of the crates individually, or buy all 3 for $109.95 shipped.
This is a review of the Glow Lab Crate, which sells for $44.95.
Coupon: Save 30% on your first month’s box with coupon code “SHARE30“.
Let’s check out KiwiCo’s Glow Lab Chemistry Crate!
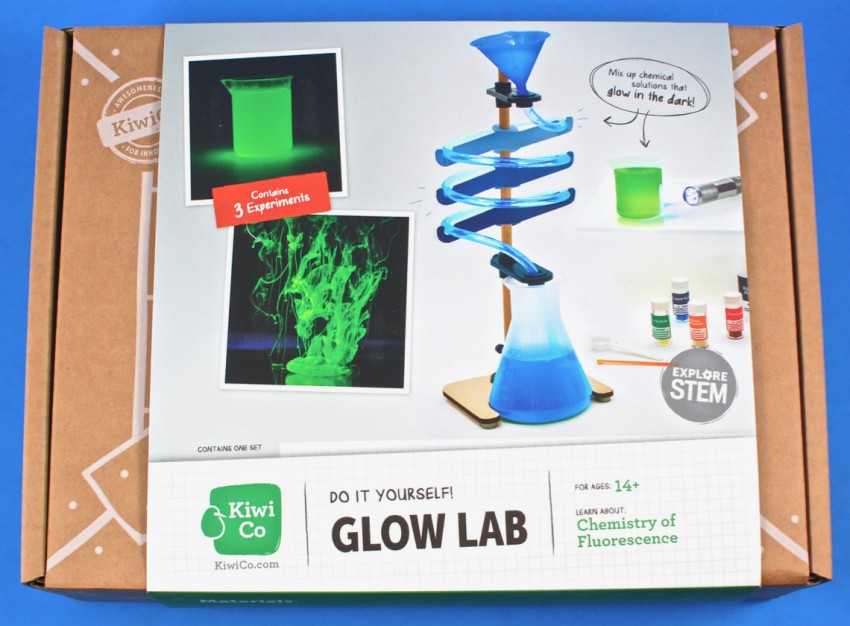
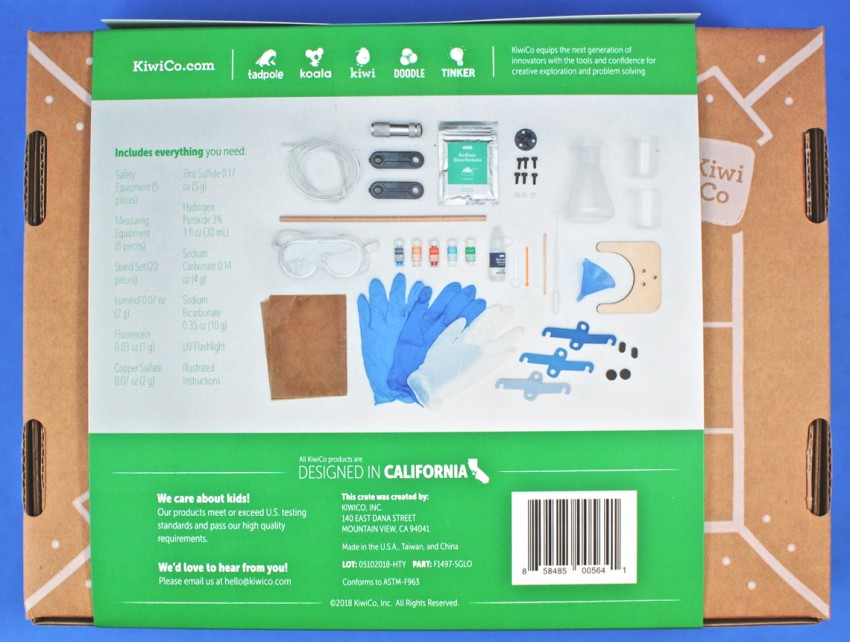
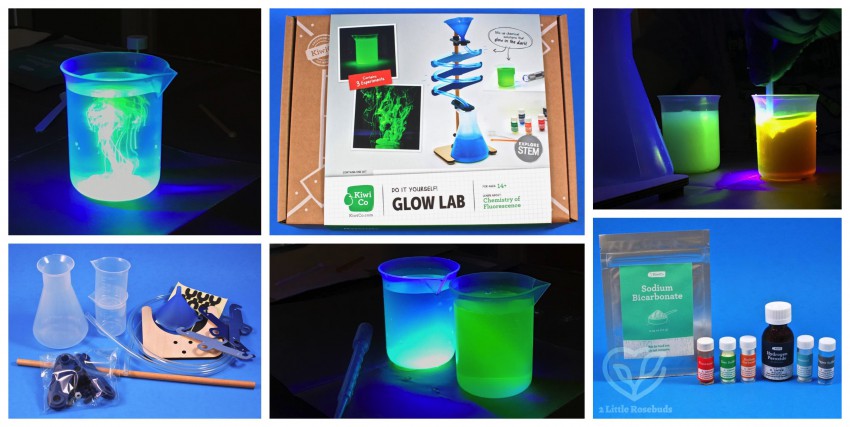
Everything was shipped in a cardboard “crate” with a full-color paper sleeve that featured photos of some of the materials & a full list of its contents.
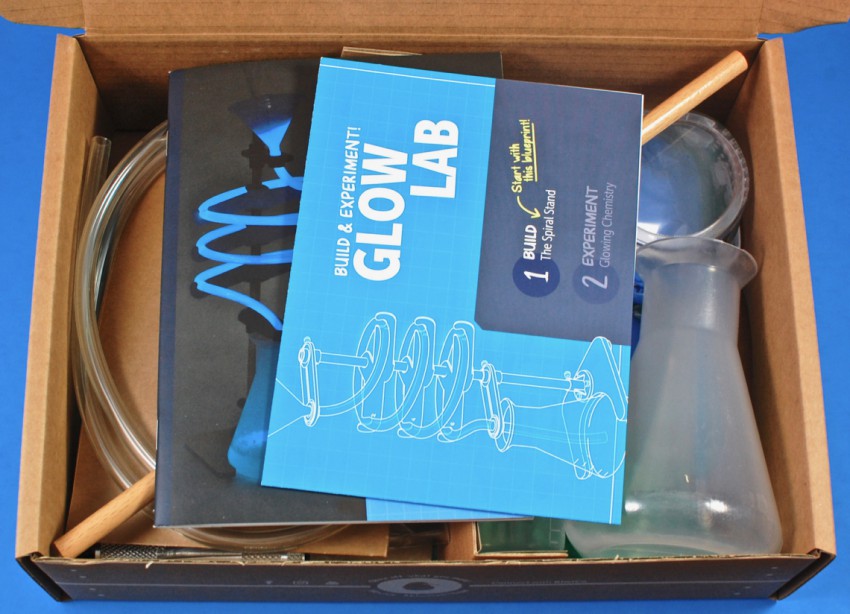
A peek inside!
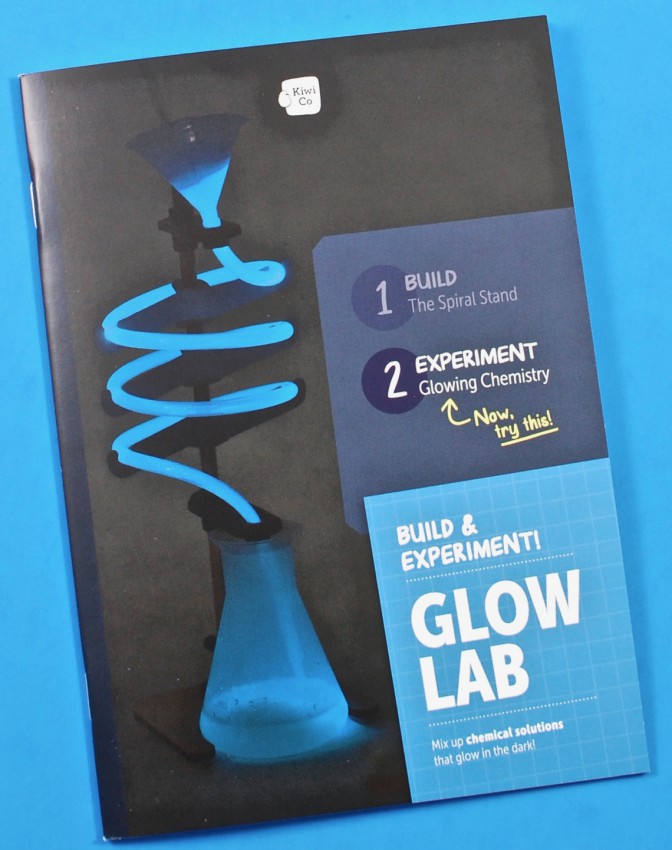
A comprehensive, 33-page booklet provided all the information and instructions needed to successfully complete all 3 experiments.
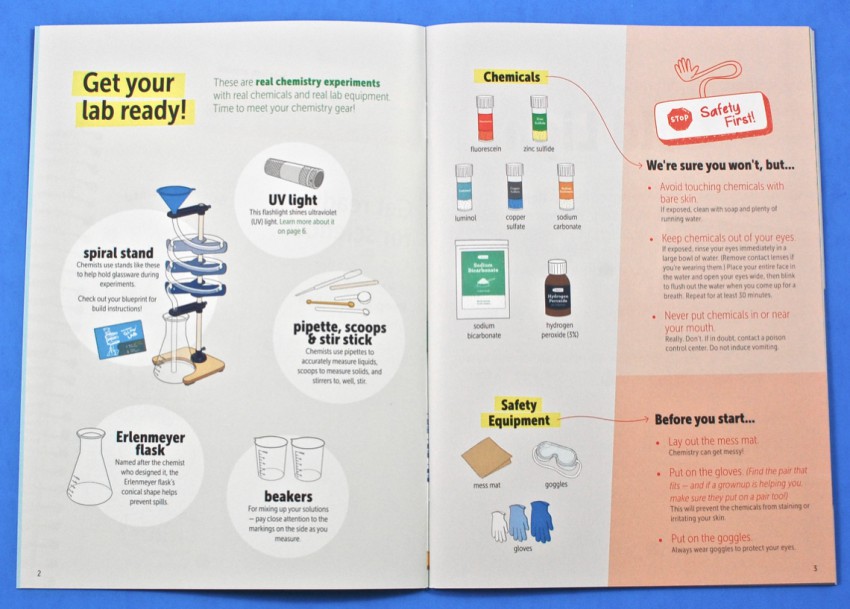
The first section explained what each of the materials would be used for and how to handle them all safely.
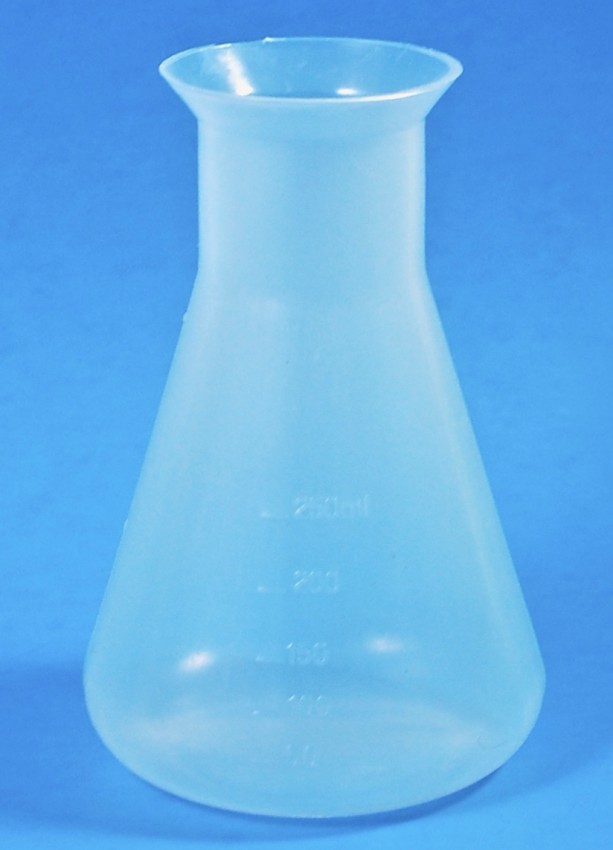
Erlenmeyer Flask
This recognizable piece of science equipment was named after the chemist who designed it. Its conical shape helps to prevent spills in the lab.
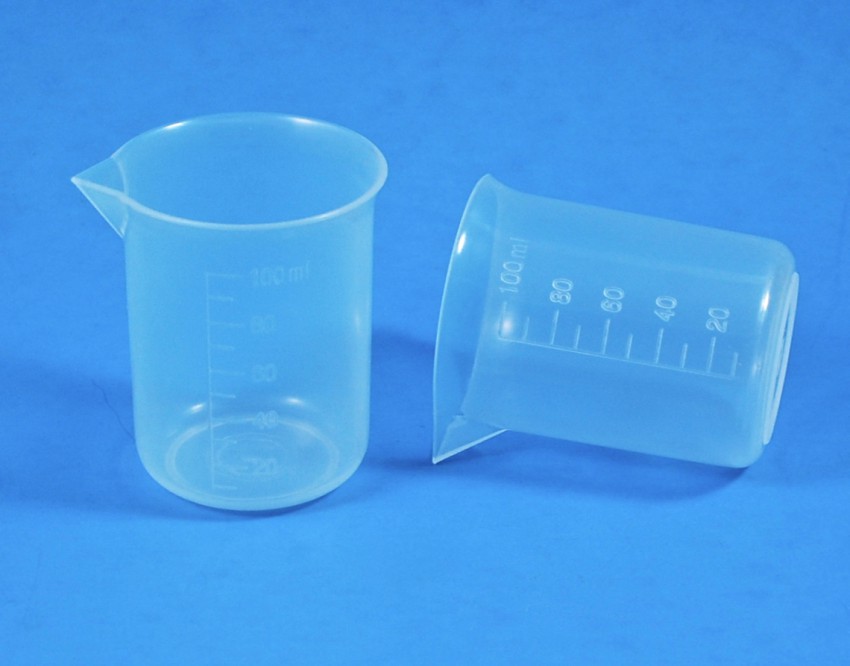
Beakers
Two small plastic beakers were provided for accurately mixing and measuring liquid solutions.
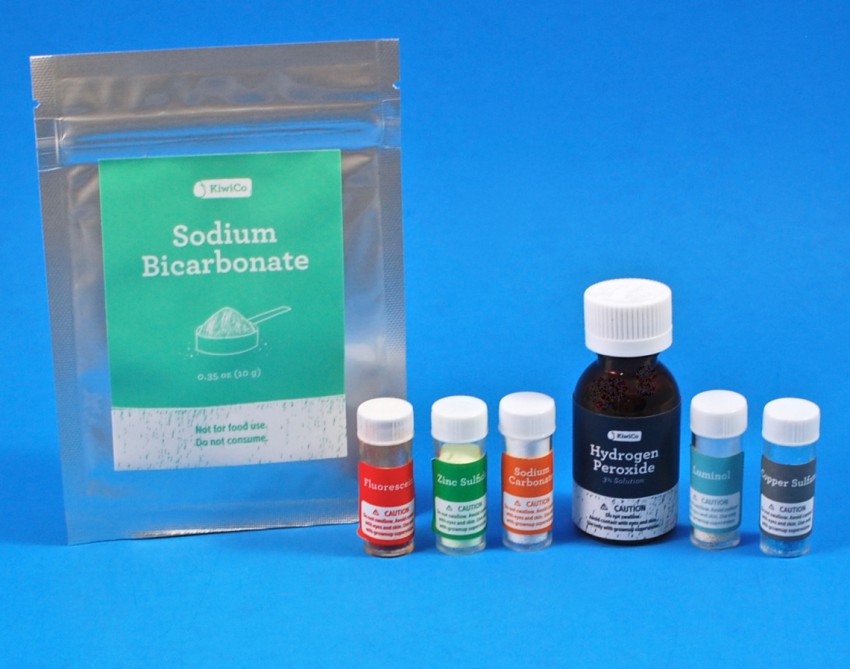
Chemicals
Some of the experiments required the use of chemicals. — Included were sodium bicarbonate, fluorescein, zinc sulfide, sodium carbonate, hydrogen peroxide, luminol, and copper sulfate.
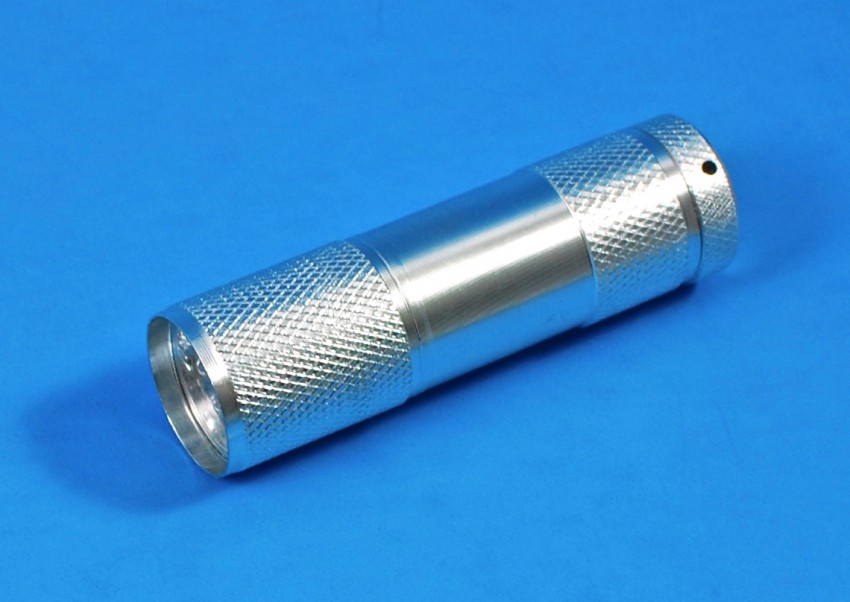
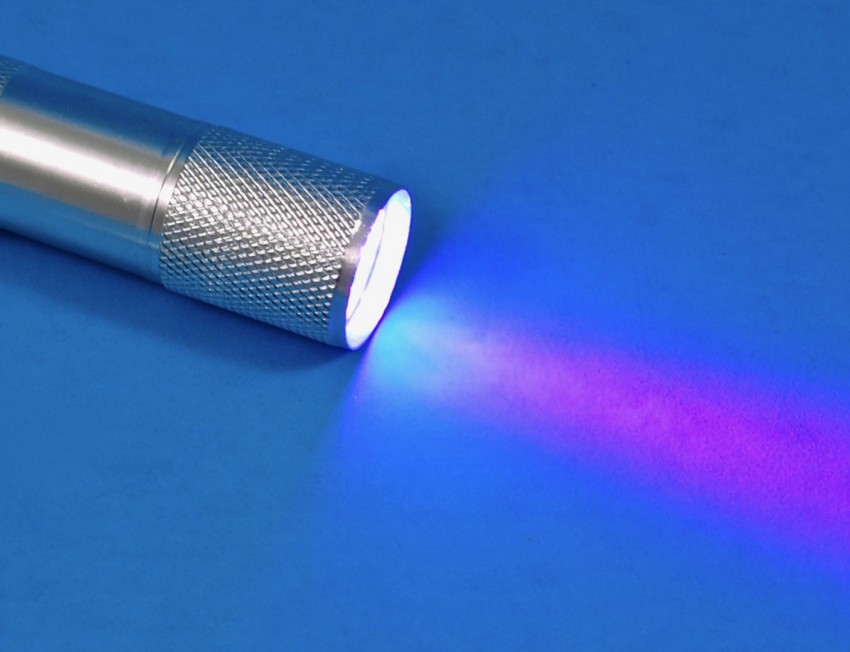
UV Light
A small flashlight that shines ultraviolet (UV) light was included to assist in the glowing.
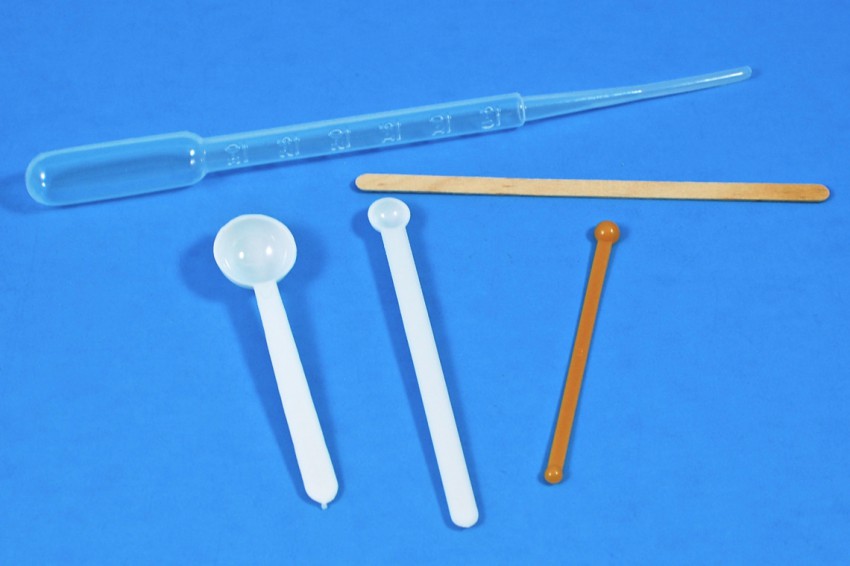
Pipettes, Scoops, Stir Stick
A pipette was provided for accurately measuring liquids, plastic scoops for measuring solids, and a wooden stir stick to… stir.
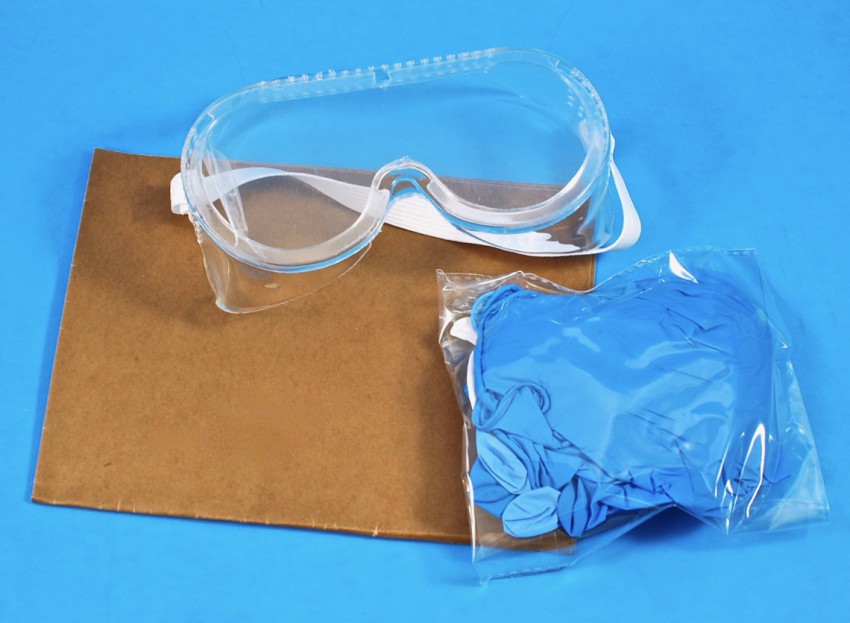
Safety Equipment
To keep your workspace (and you!) safe, the box also included a mess mat, a few pairs of different sized gloves, and safety goggles.
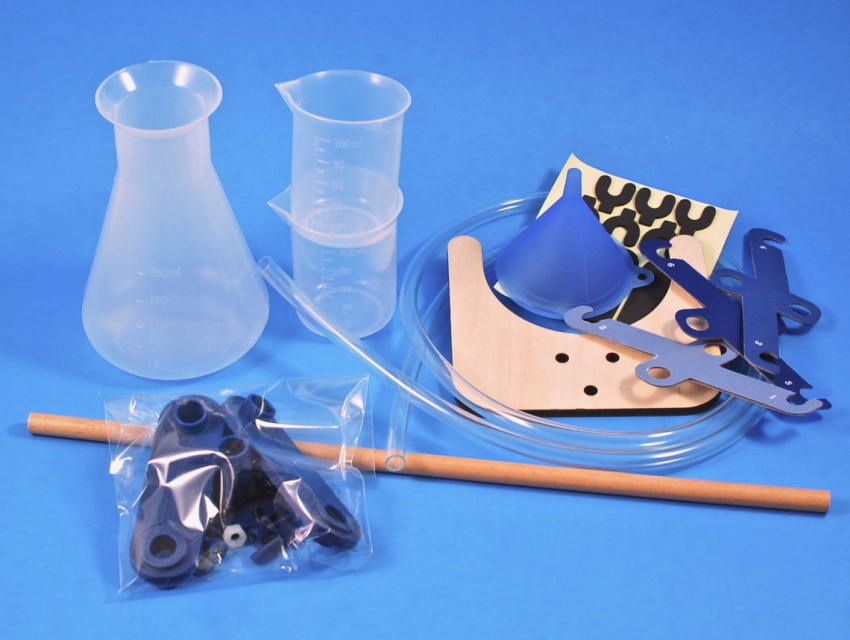
Spiral Stand
Also included were all of the pieces needed to build your own spiral stand to help hold your flask during some of the experiments.
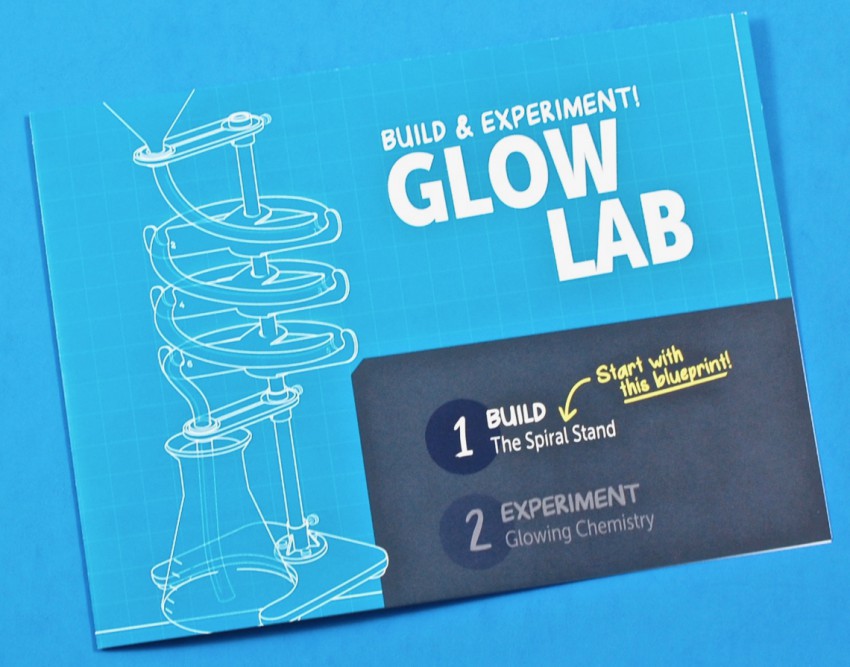
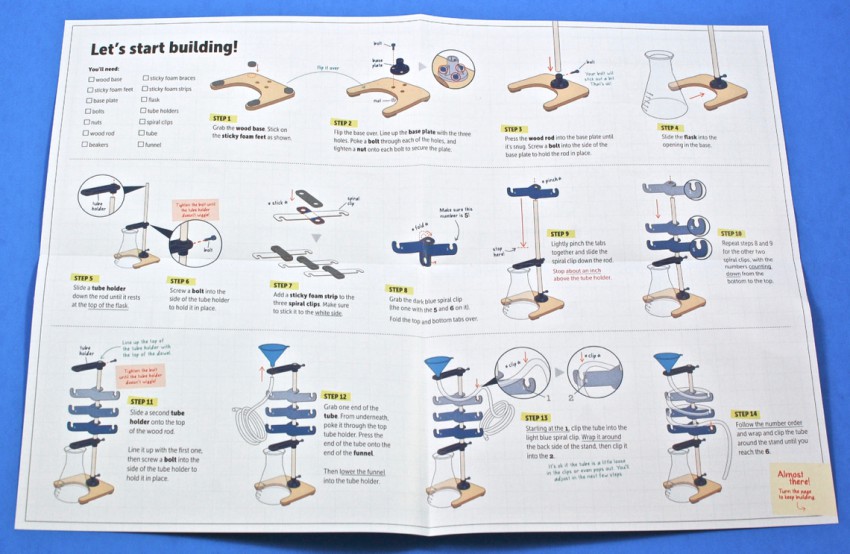
Detailed, step-by-step instructions on how to build the spiral stand were provided on a separate sheet.
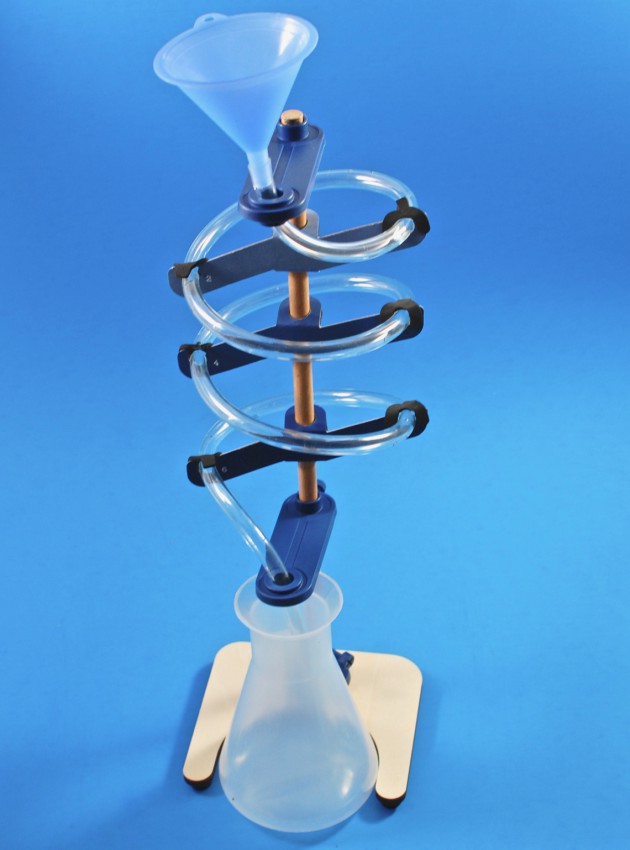
I didn’t take photos of the process, but here’s our completed stand. Impressive, right? 😉
Onto the experiments!
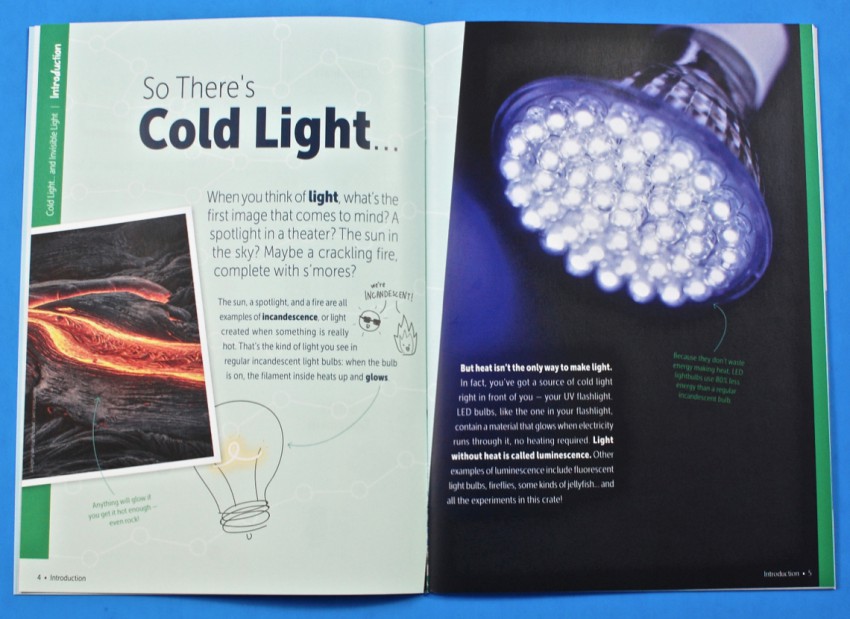
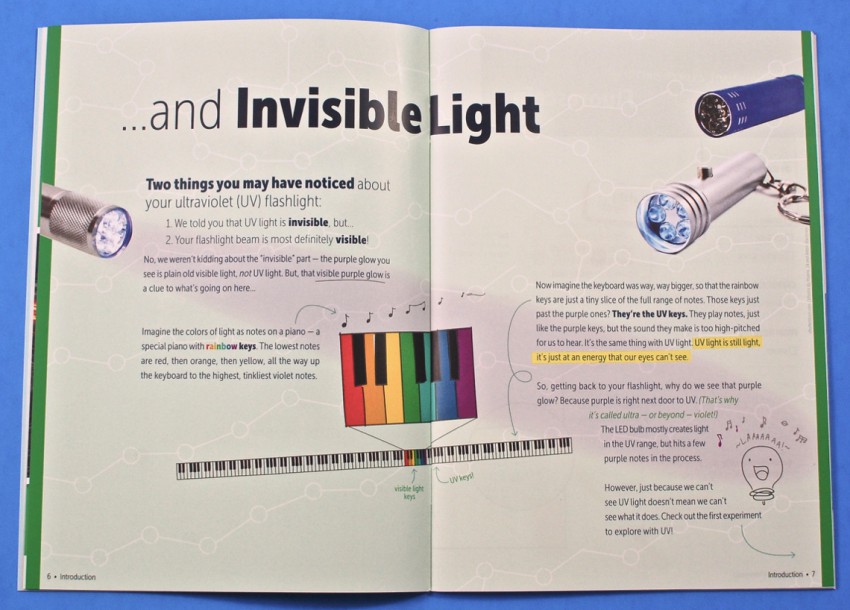
First we learned a bit about sources of cold light (such as LED bulbs, fireflies, and jellyfish) and a little primer on invisible light (ultraviolet light).
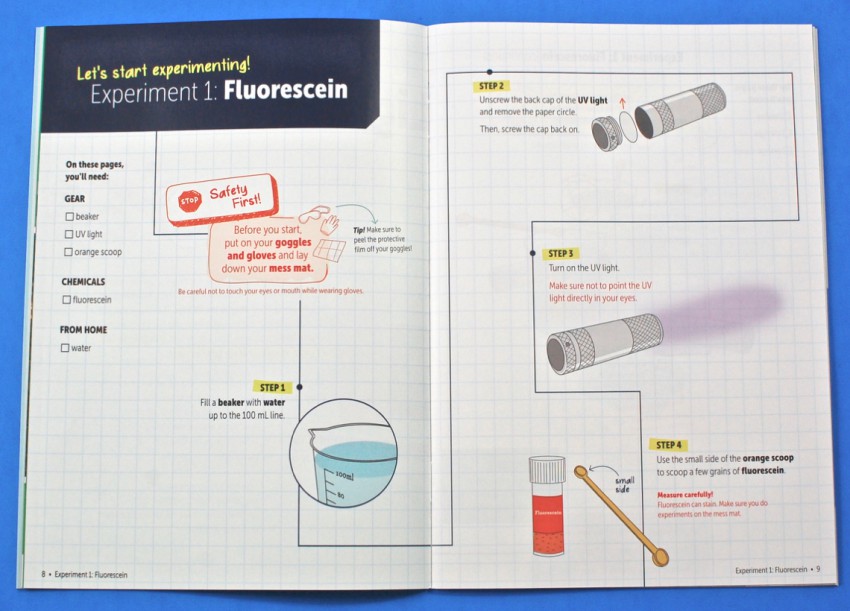
Experiment 1: Fluorescein
The first experiment involved making a fluorescein solution. First, we needed to fill a beaker with water and add a small scoop of fluorescein. We were then instructed to shut off the lights and observe the beaker by shining the UV light on it. (See below) Next, we were to mix the solution and observe it with the UV light once more.
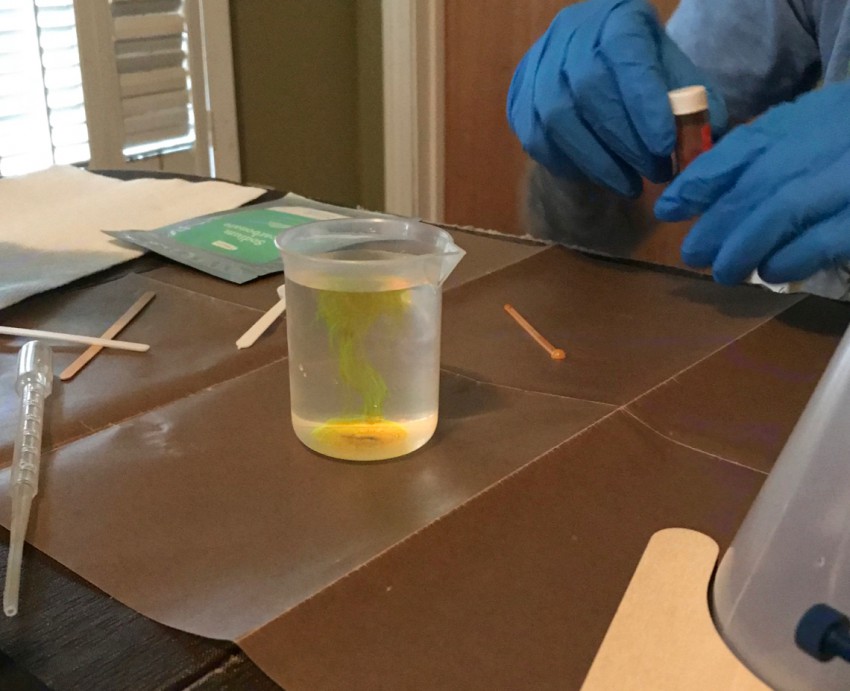
Here’s what the beaker looked like right after we added the fluorescein, while the lights were still on.
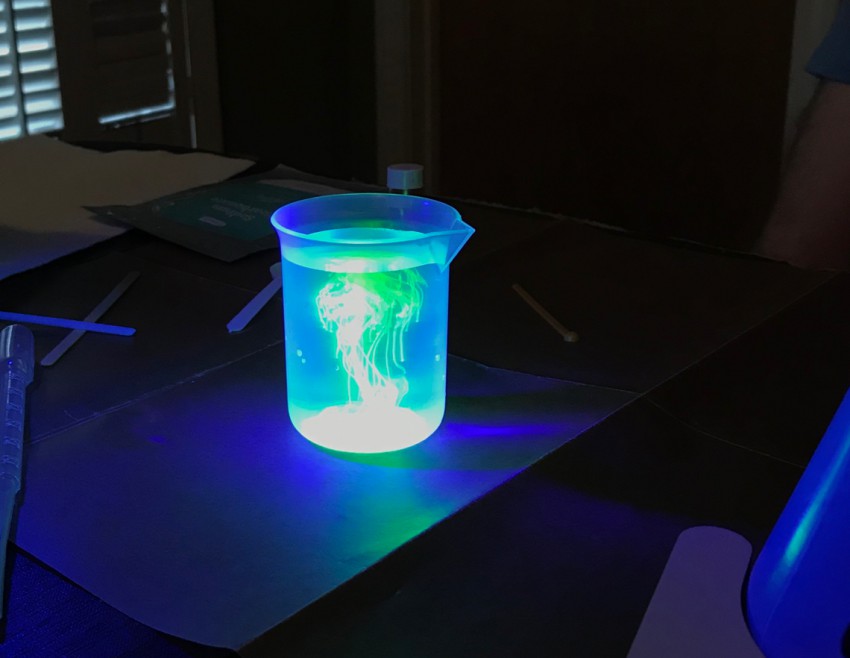
Here’s how it looked with the lights off and the UV light pointing at it. — It sort of looked like a jellyfish. So neat!
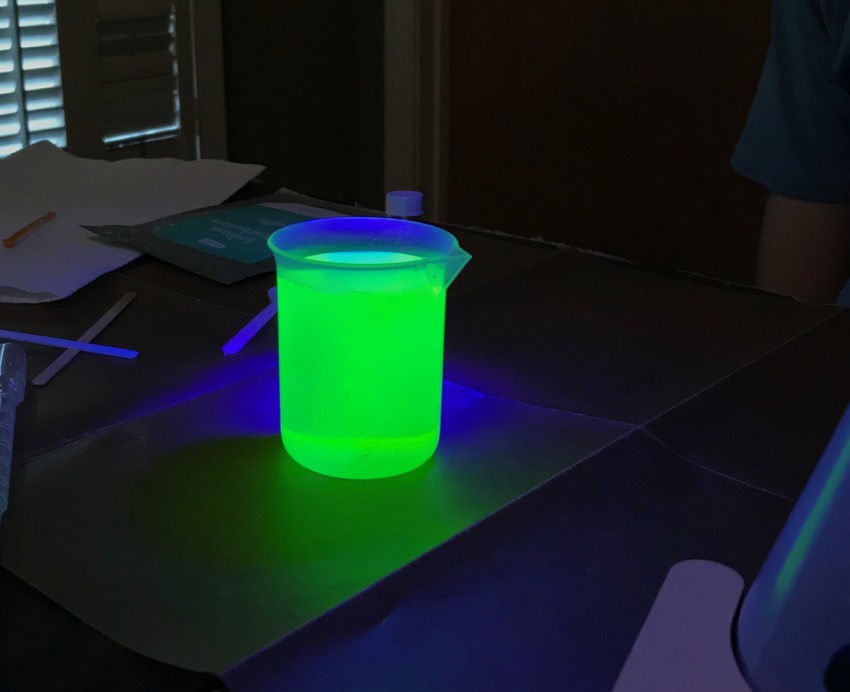
And here it is all mixed together. — We created fluorescence!
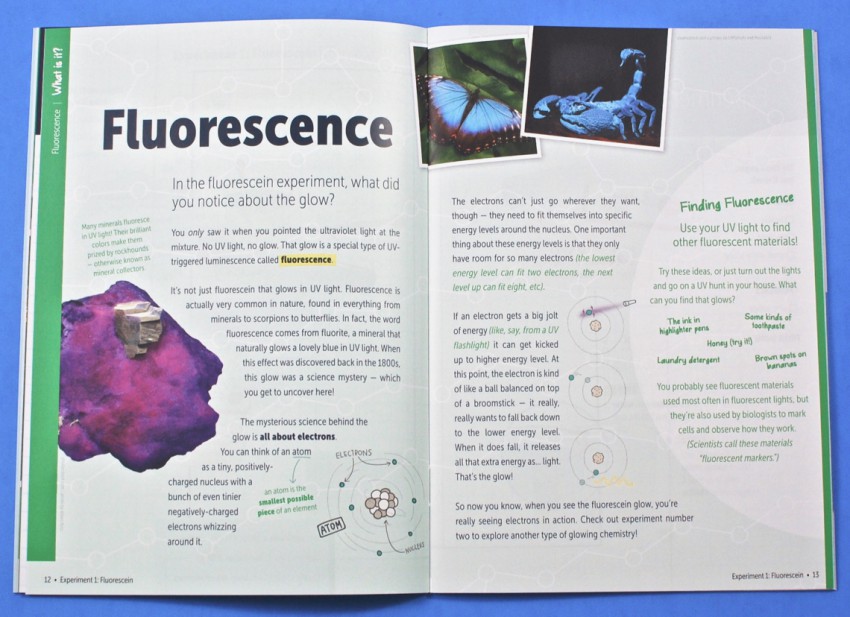
The booklet went into further detail about fluorescence and where you can find it in nature and even around the house (the brown spots on bananas can GLOW under UV light!).
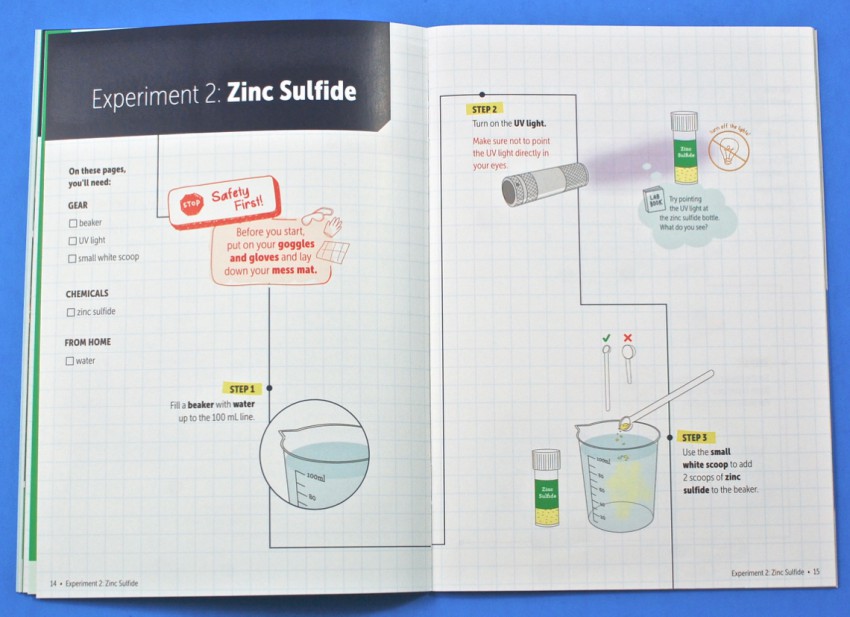
Experiment 2: Zinc Sulfide
The second experiment started much like the first one, except we were to add 2 scoops of zinc sulfide to the beaker of water. Again, we turned out the lights and shined the UV light on the beaker to see the result.
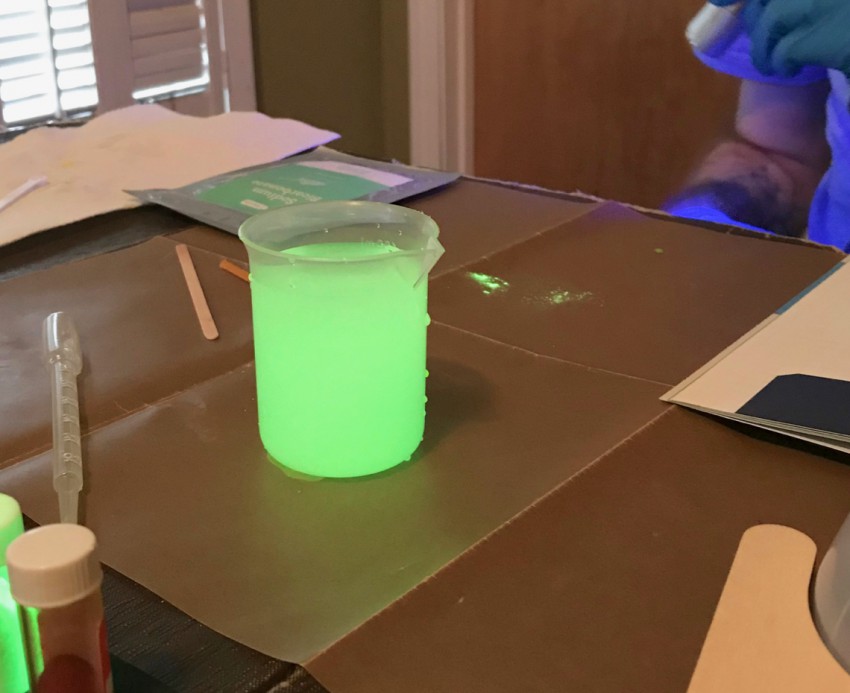
Here’s the solution before we turned off the lights. — Glowing already! (You can also see the glowing bottle of zinc sulfide to the left.)
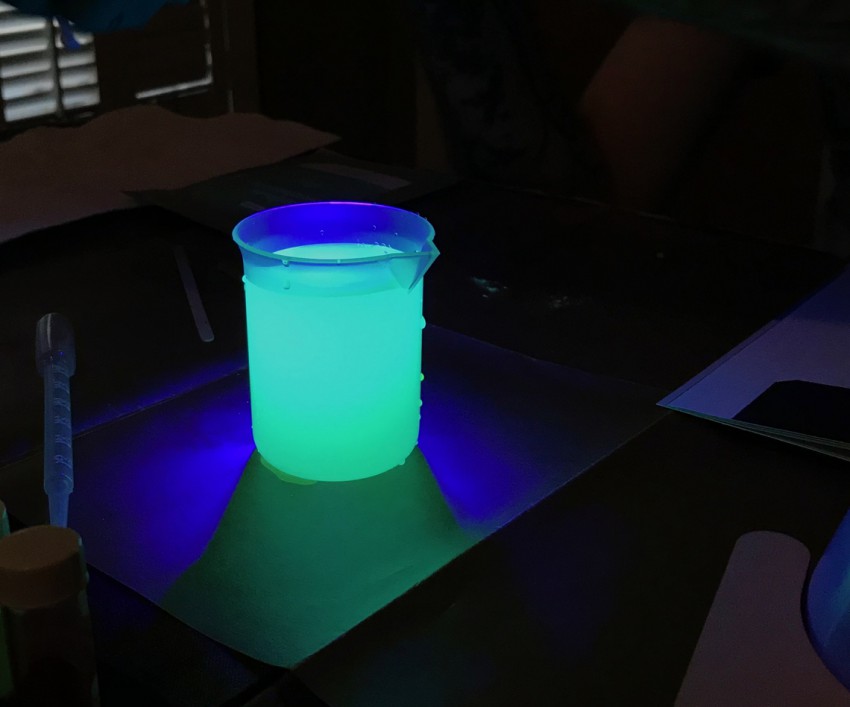
And here it is with the lights off. So bright!
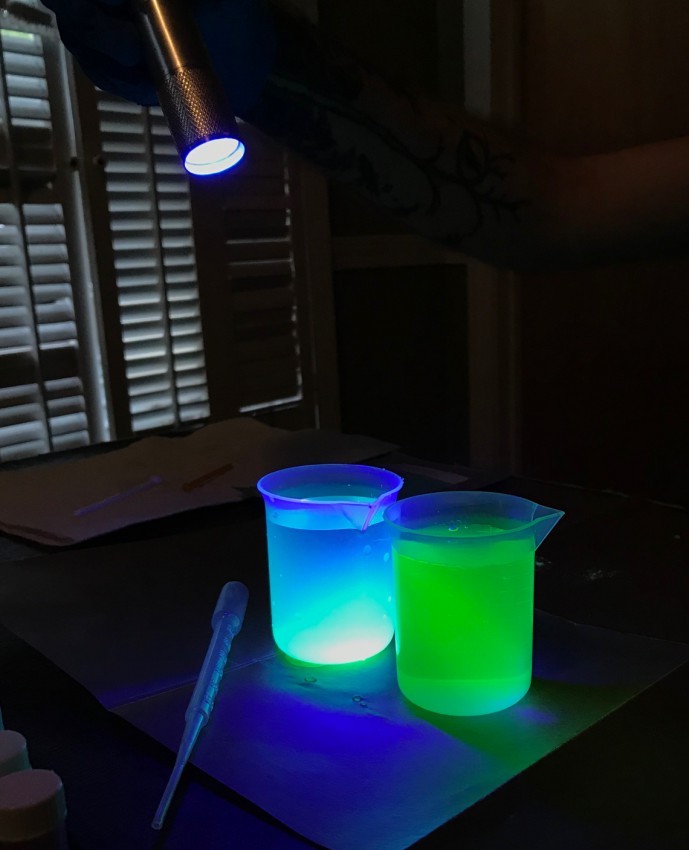
We were also instructed to compare the fluorescein solution from the first experiment with the zinc sulfide from this one.
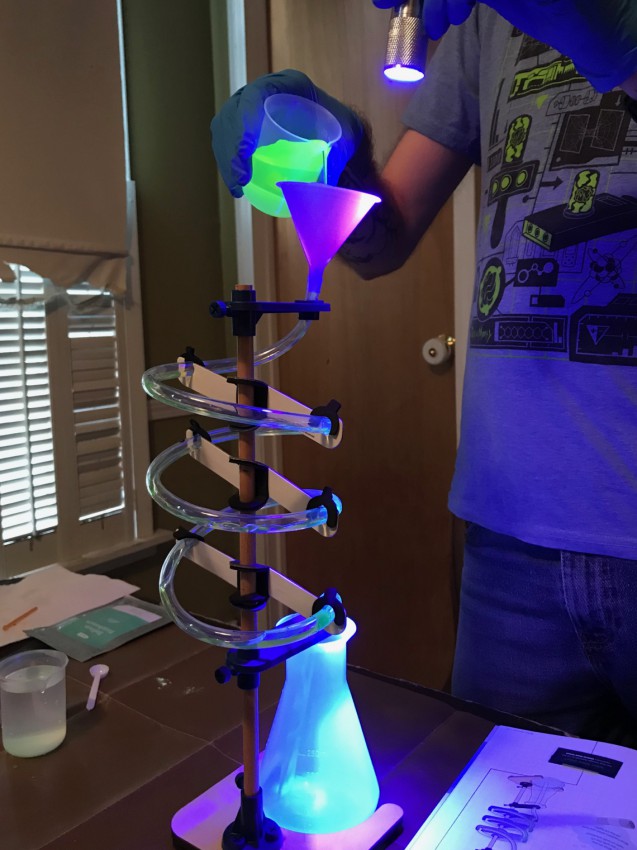
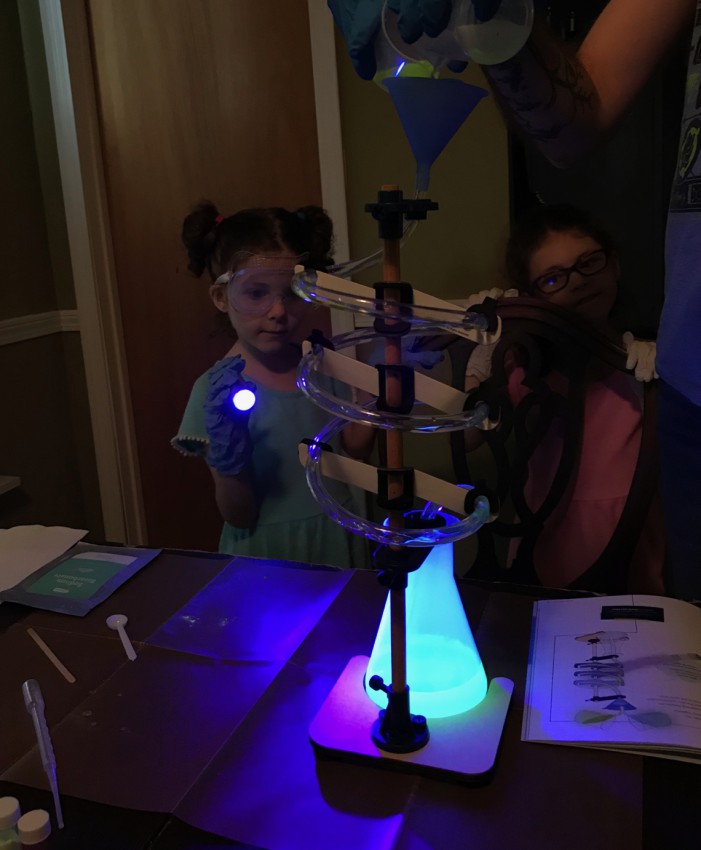
A “bonus experiment” also had us mixing half of each solution together using the spiral stand to watch the combined glow.
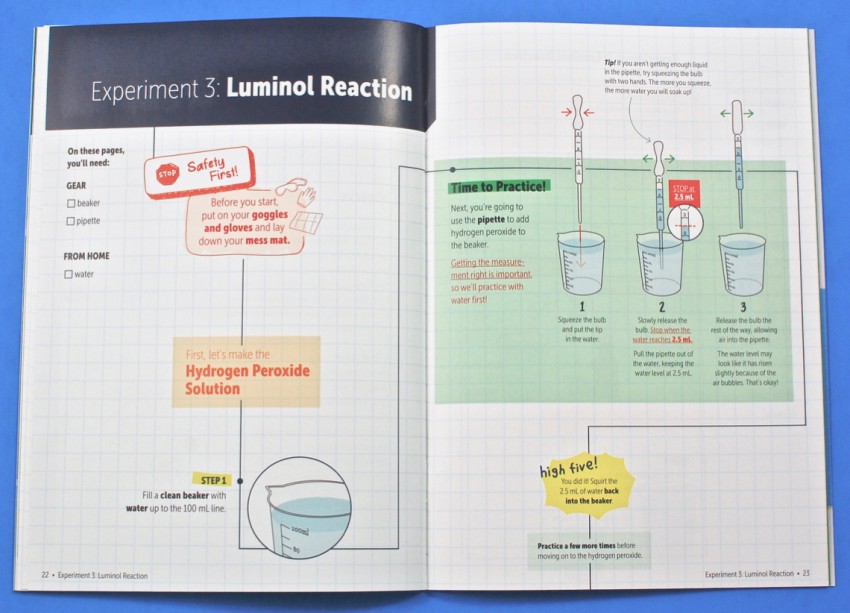
Experiment 3: Luminol Reaction
The final experiment had us make a hydrogen peroxide solution by filling a beaker with water to the 100 mL line and adding 5 mL of hydrogen peroxide. Next, we had to make a luminol solution by mixing 2 small scoops of sodium carbonate, 2 small scoops of luminol, 1 large scoop of sodium bicarbonate, and 1 large scoop of copper sulfate with a beaker of water. We were then to mix them together by slowly pouring them into the spiral stand.
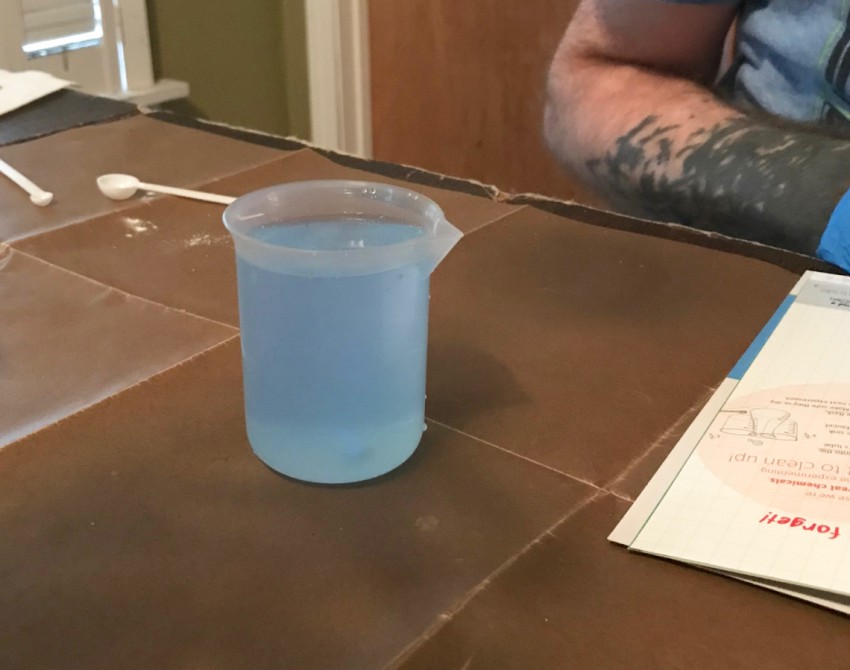
Here’s the luminol solution before turning off the lights and pouring it through the stand.
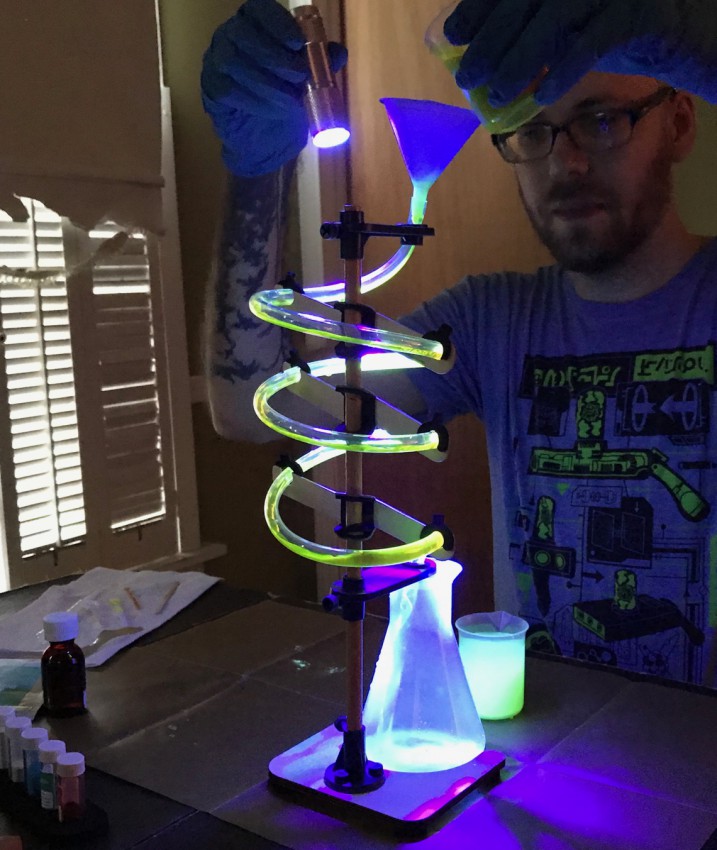
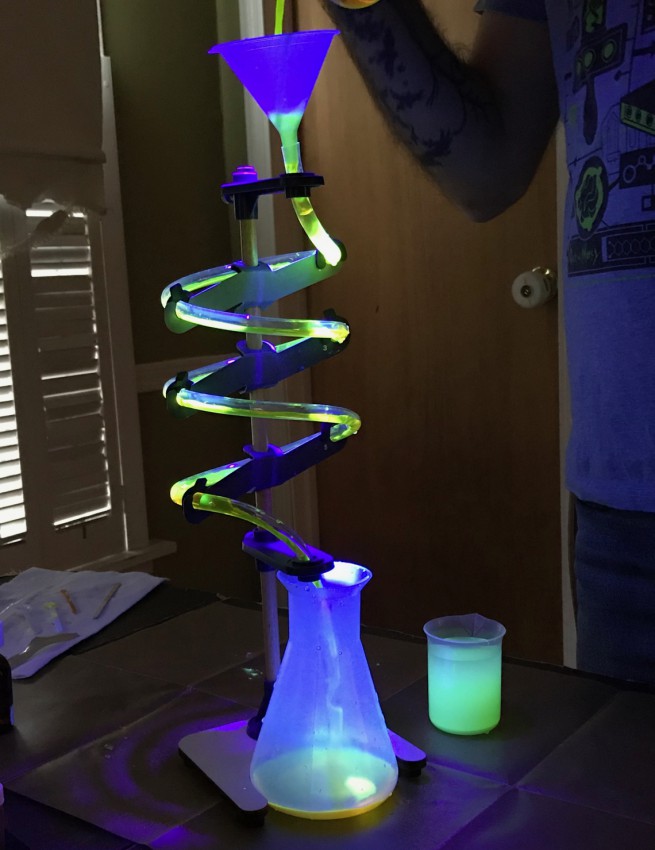
I think we may have done something wrong, because we didn’t really see much of a reaction. After reading through the instructions again, I think we were supposed to mix them both in at the same time and that’s where we went wrong. Oops! Ah well, it was still very glow-y. 😉
Although we goofed up on that final experiment, we still enjoyed all of the glow-in-the-dark fun in KiwiCo’s new Glow Lab Chemistry Crate. The experiments were all easy to follow (if you read them correctly… oops) with help from the detailed instruction booklet, which also included additional info explaining how the experiments produced the results that we witnessed. Definitely a great box for any budding scientist!


Leave a Reply