Annie’s Cardmaker Kit-of-the-Month Club is a monthly subscription that includes all the instructions and special supplies you need to make creatively-inspired cards & paper creations you can share and display.
Each kit will include new supplies, such as patterned and specialty papers, die cuts, stamps, ink pads, cardstock, envelopes, ribbons and tons of decorative accessories — enough to create 8 to 10 cards! You’ll just need access to common household items like scissors and glue to help complete your beautiful creations.
Disclosure: Box was received for review purposes. Post may contain affiliate links.
Subscriptions are $19.99/month, but for a limited time you can save 50% on your first month with coupon code “SHARE50“!
Let’s see what’s in my Annie’s Cardmaker Kit-of-the-Month Club
“Beautiful Friendship” package!
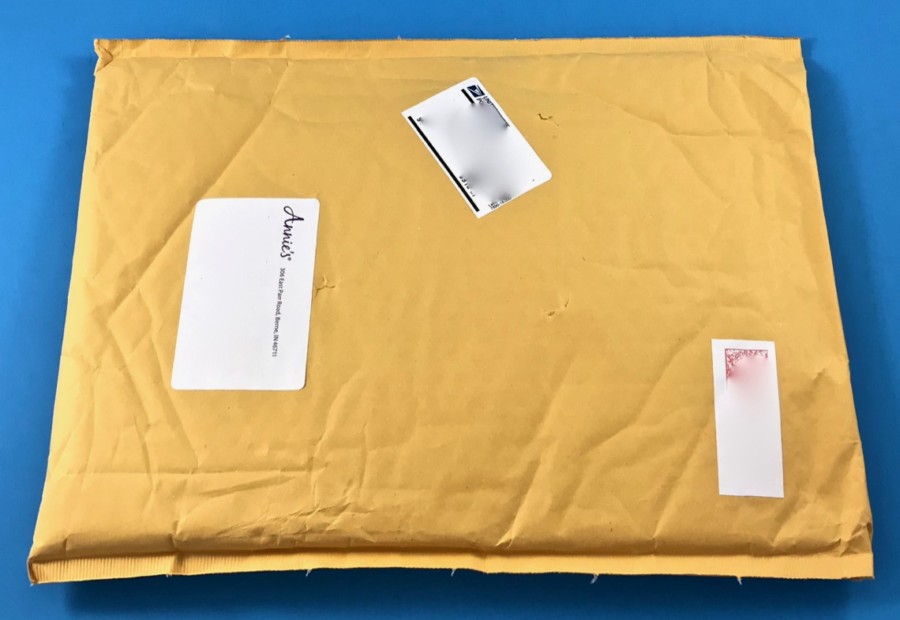
Everything was shipped in a plain padded envelope via First Class Mail.
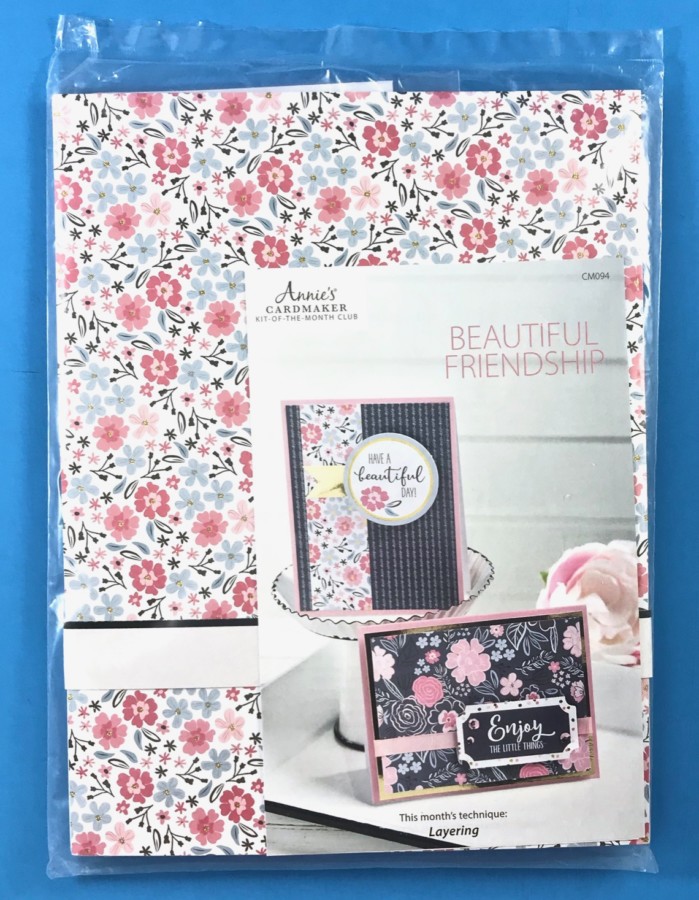
Inside, all of the supplies were tucked into a sealed plastic bag.
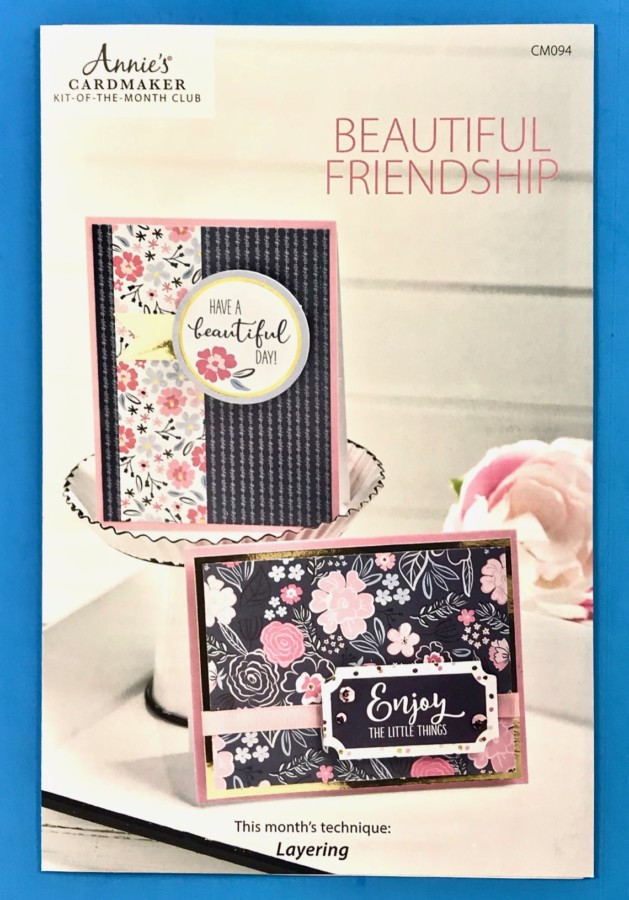
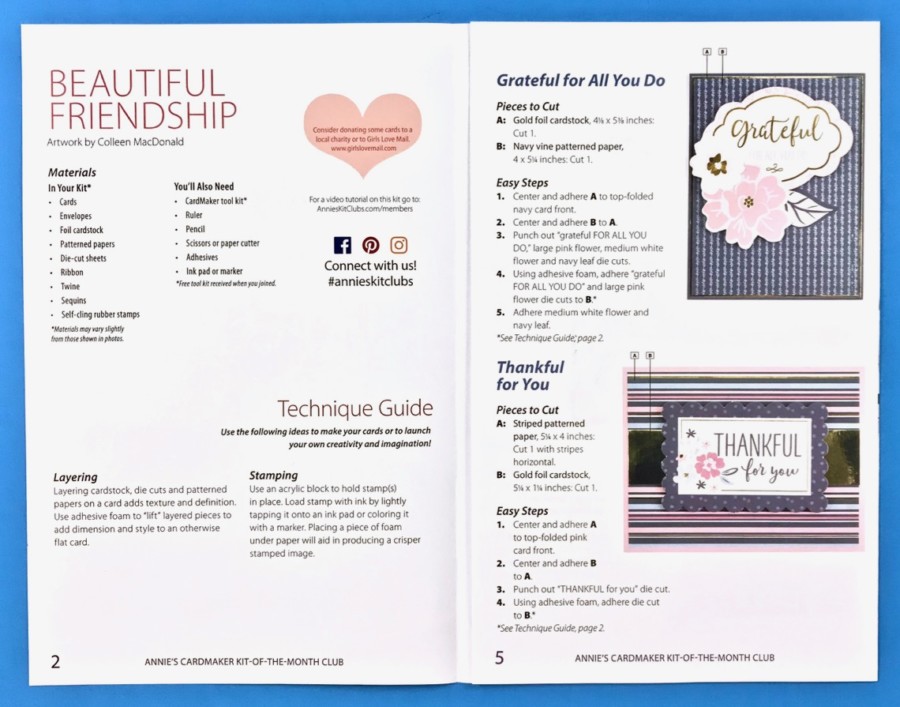
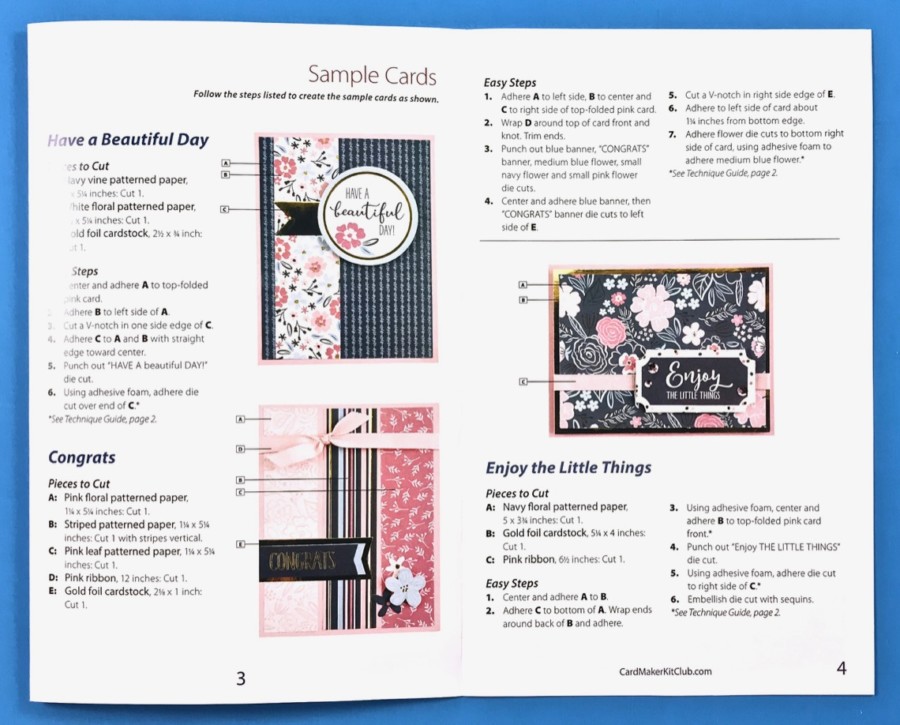
A full color insert provided step-by-step instructions for five sample cards, along with helpful hints and photos to go along with each one. — This month’s featured technique was “layering”.
The following supplies were included:
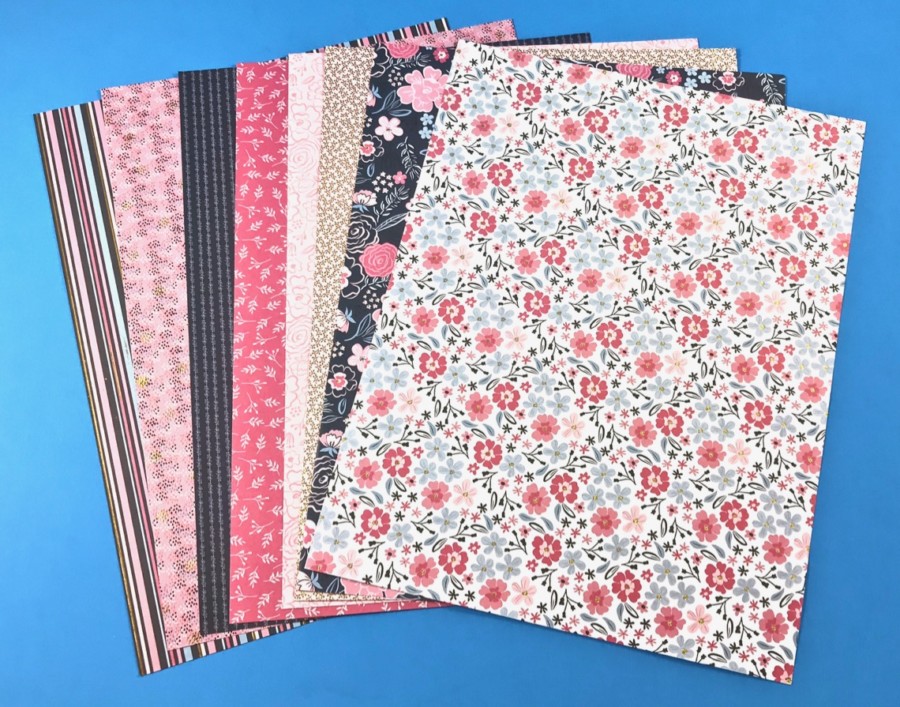
8 Sheets of Patterned Paper
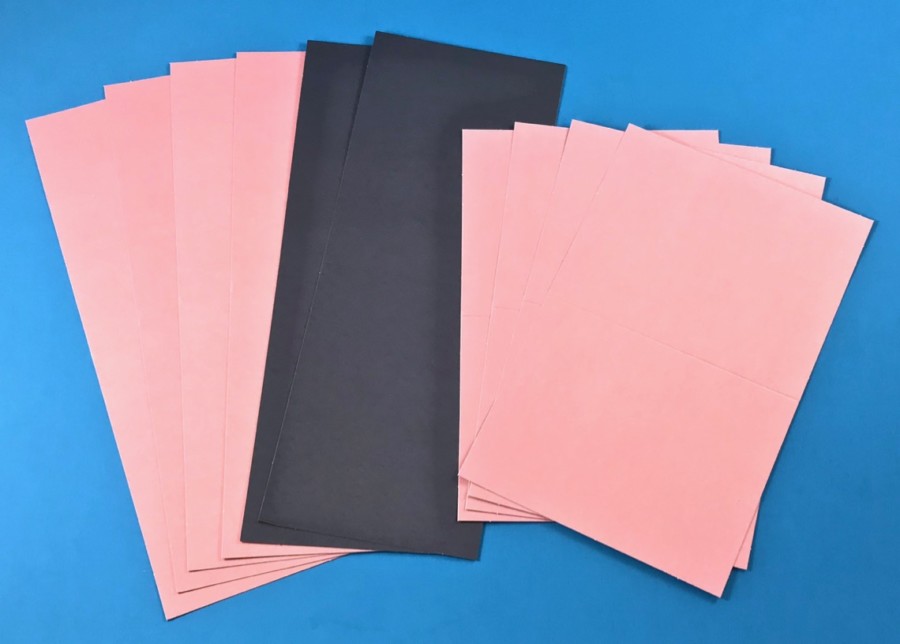
Cards/Cardstock in Pink & Navy
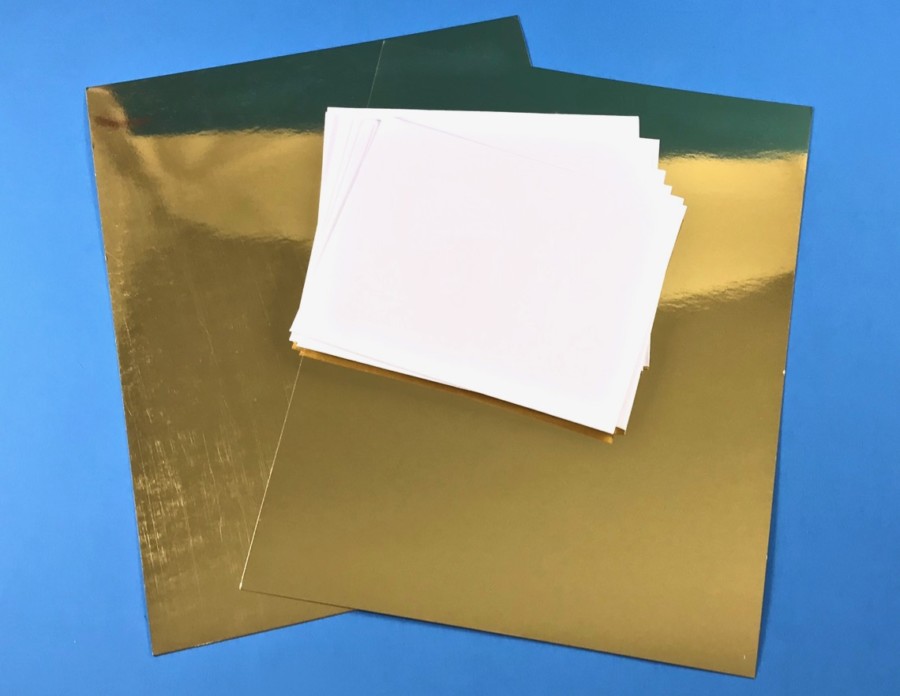
2 Sheets of Gold Foil Cardstock & 10 Envelopes
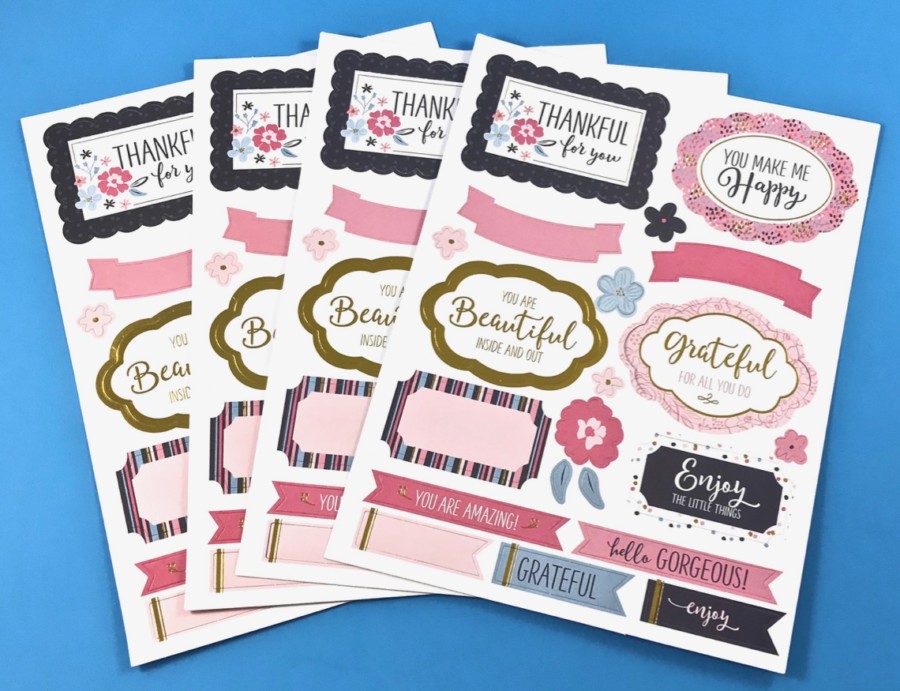
4 Die-Cut Sheets
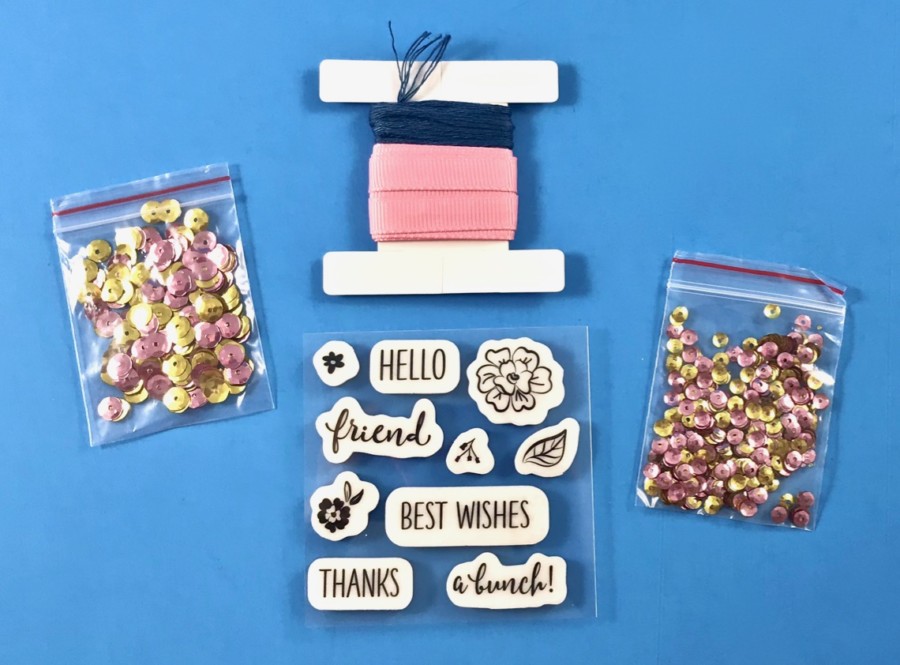
Sequins (Big & Small), Pink Ribbon, Blue Thread, Stamps
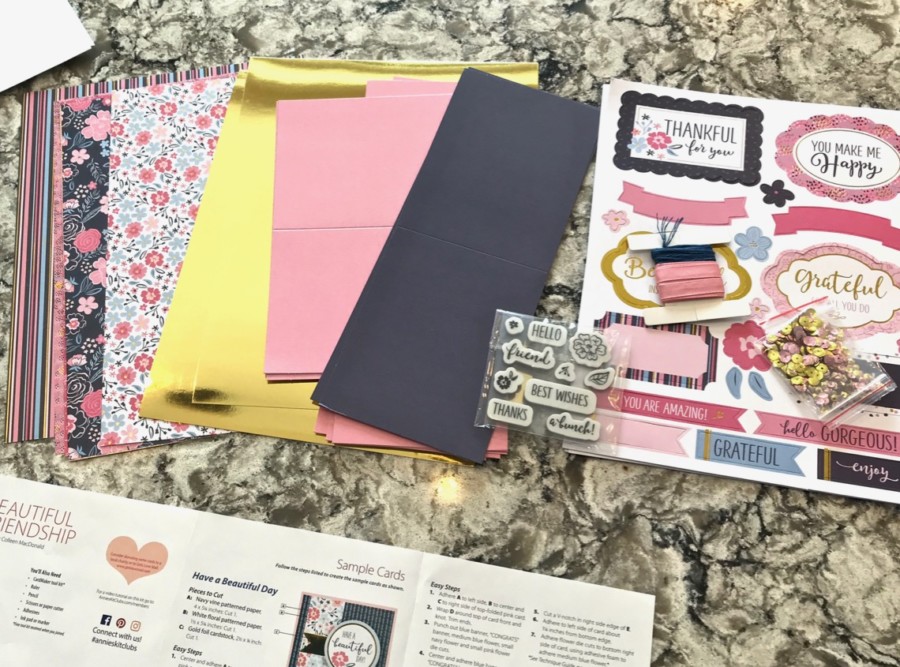
To begin, I gathered all of the supplies and laid them all out.
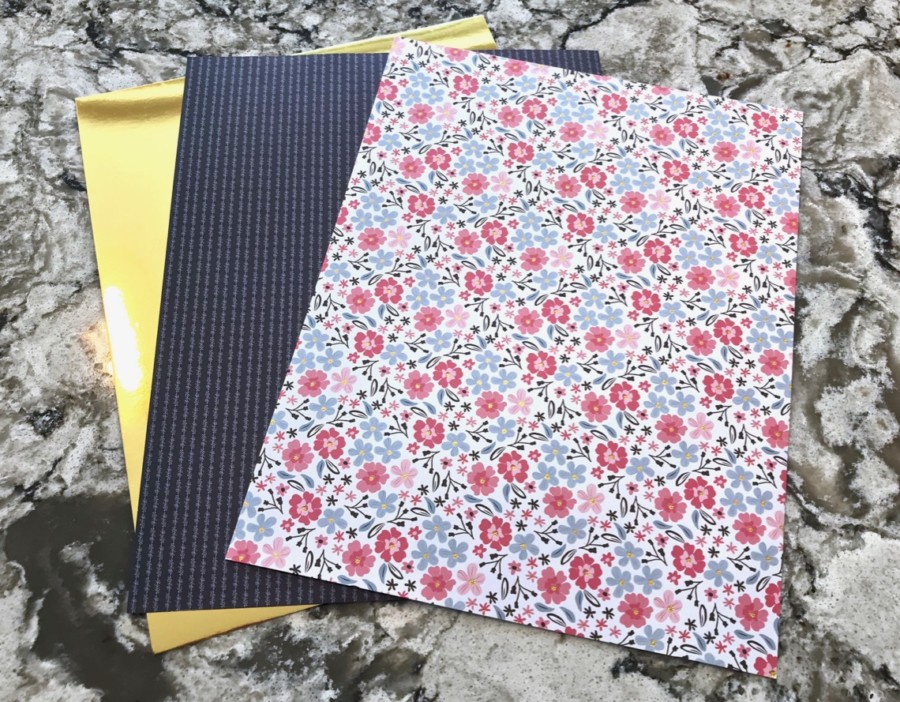
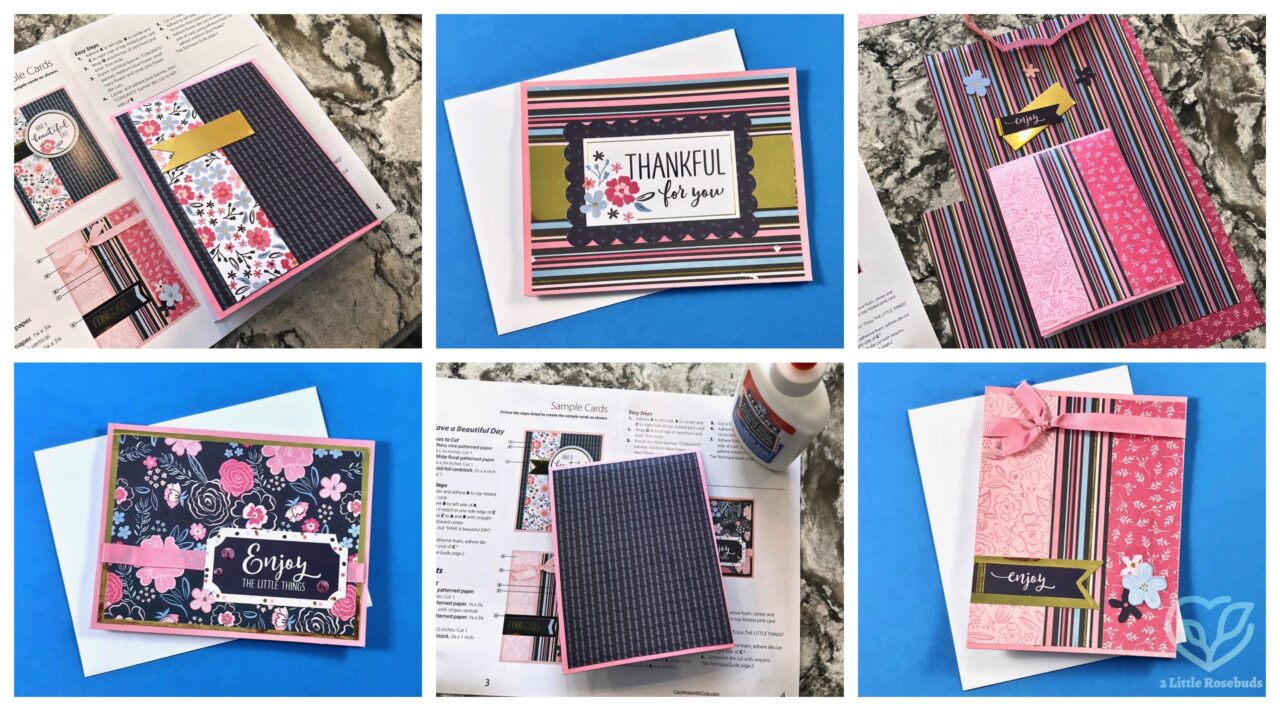
The first card required gold foil cardstock, navy paper, and white floral paper.
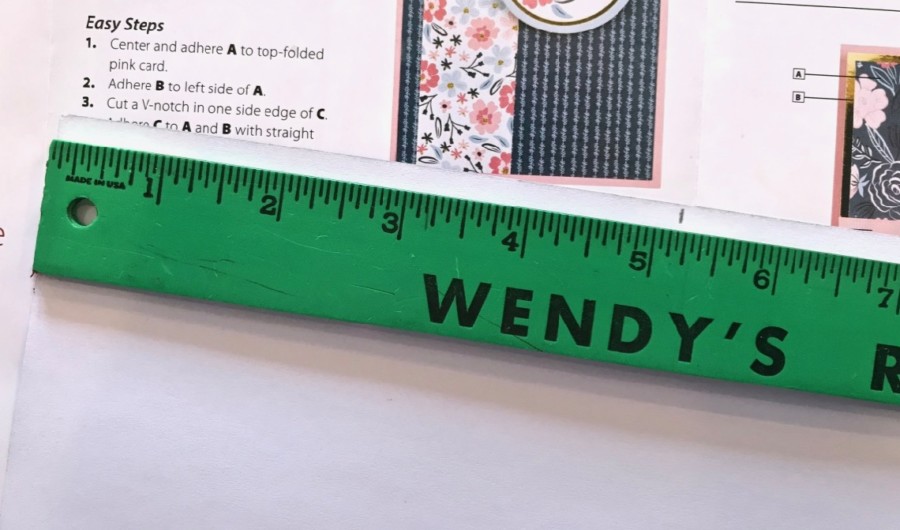
The construction of each card began by cutting the specified cardstock/paper into various sizes as indicated for each one. — This called for the assistance of my trusty childhood ruler (from way back in the mid-80’s!). 😉
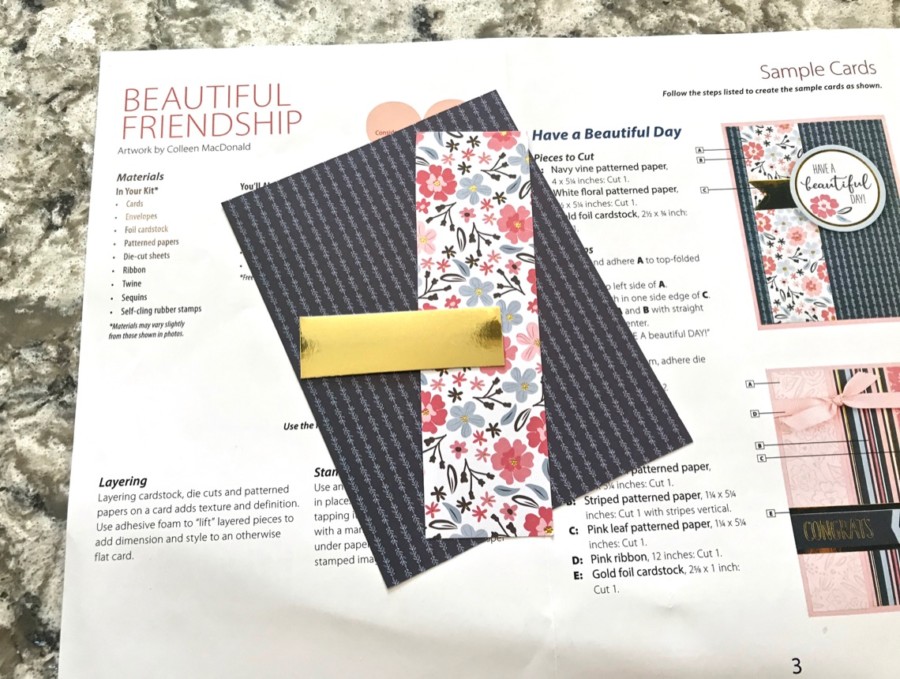
Once the needed pieces were cut, it was time to assemble.
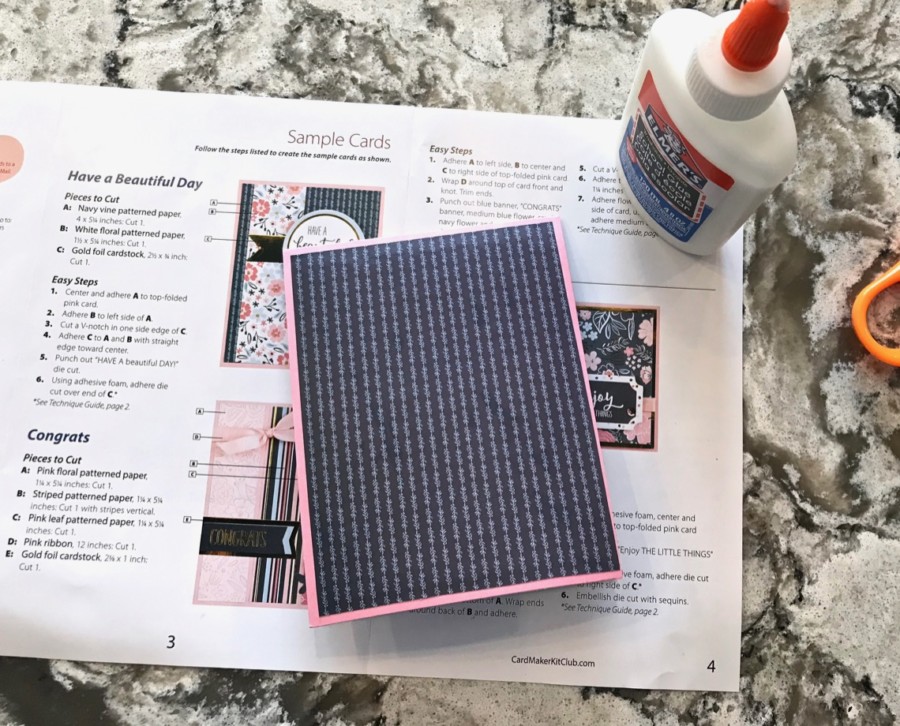
First, the larger navy piece had to be glued to one of the pre-folded pink cards (cardstock). New subscribers receive a Cardmaker Tool Kit with helpful card-making supplies, but since this was just a review kit I used what I had on hand (good ol’ Elmer’s glue).
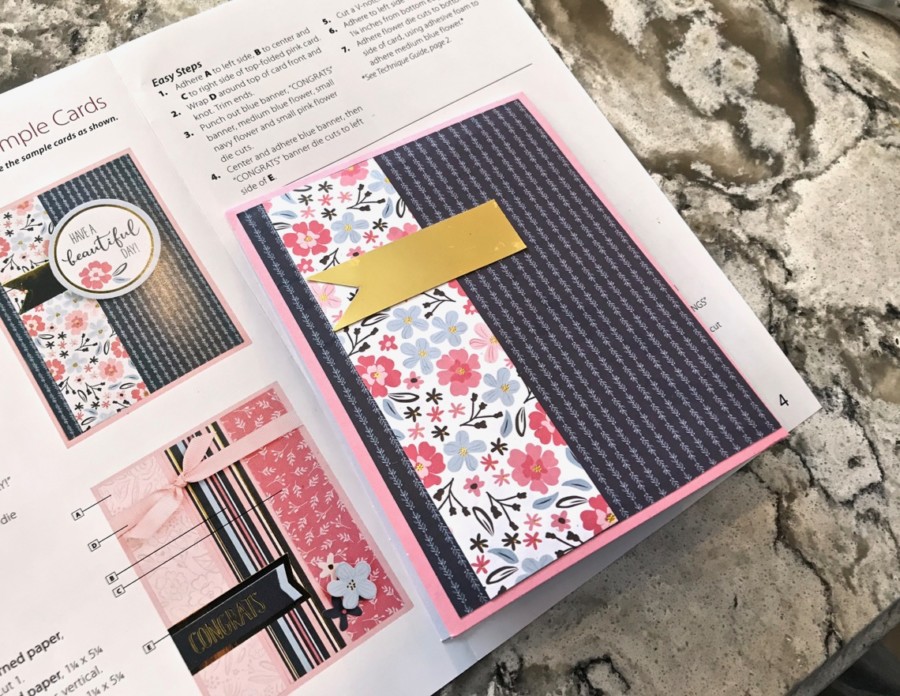
I layered on the next pieces, but then noticed that the required die-cut image wasn’t included on the sheets…
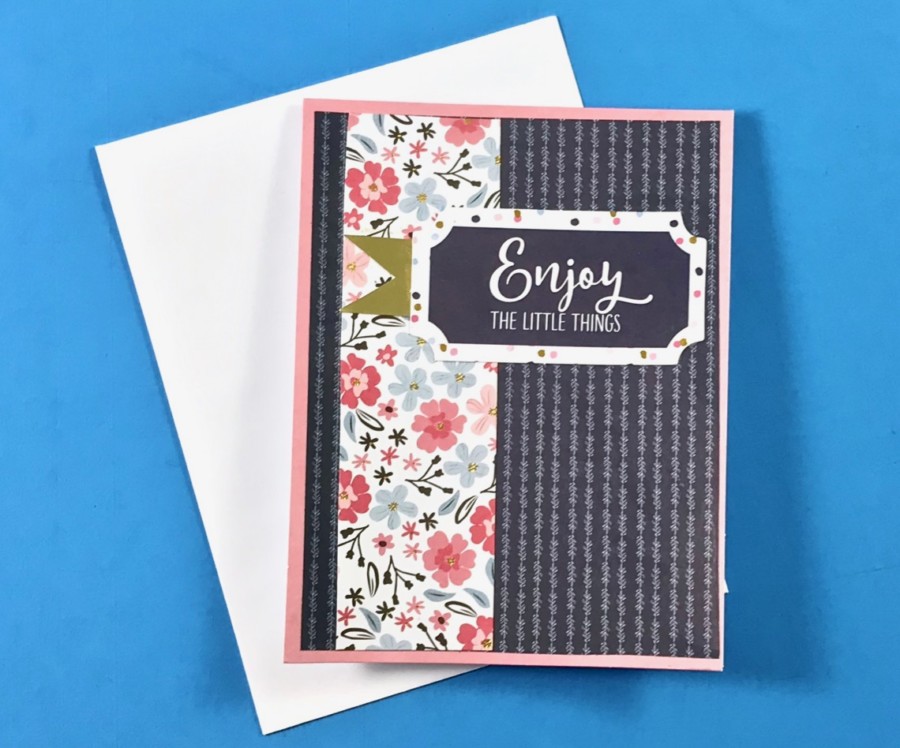
…so I improvised and used a different one. — Still turned out nice!
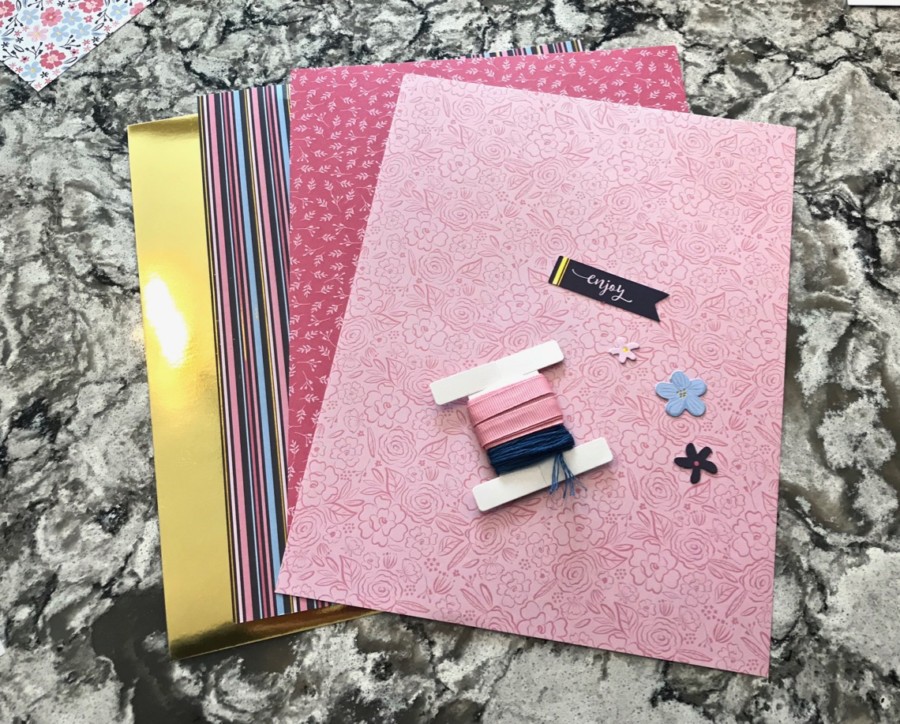
Onto card #2! — This one called for gold foil cardstock, striped paper, ink leaf paper, pink floral paper, pink ribbon, and die-cuts.
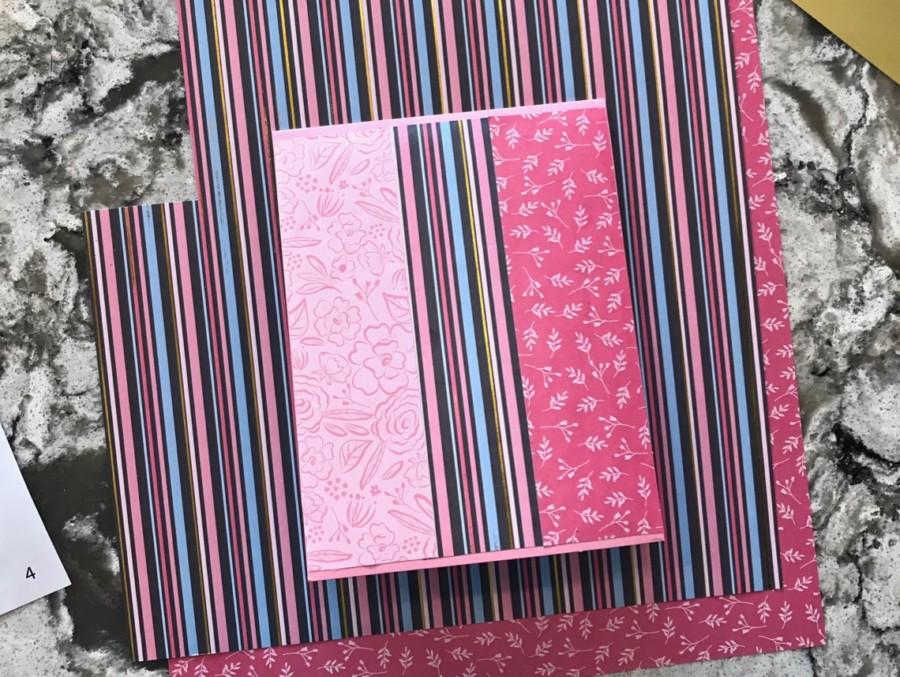
After cutting the 3 papers into 1 1/4 & 5 1/4 strips, I glued them onto the front of a pink card as shown above.
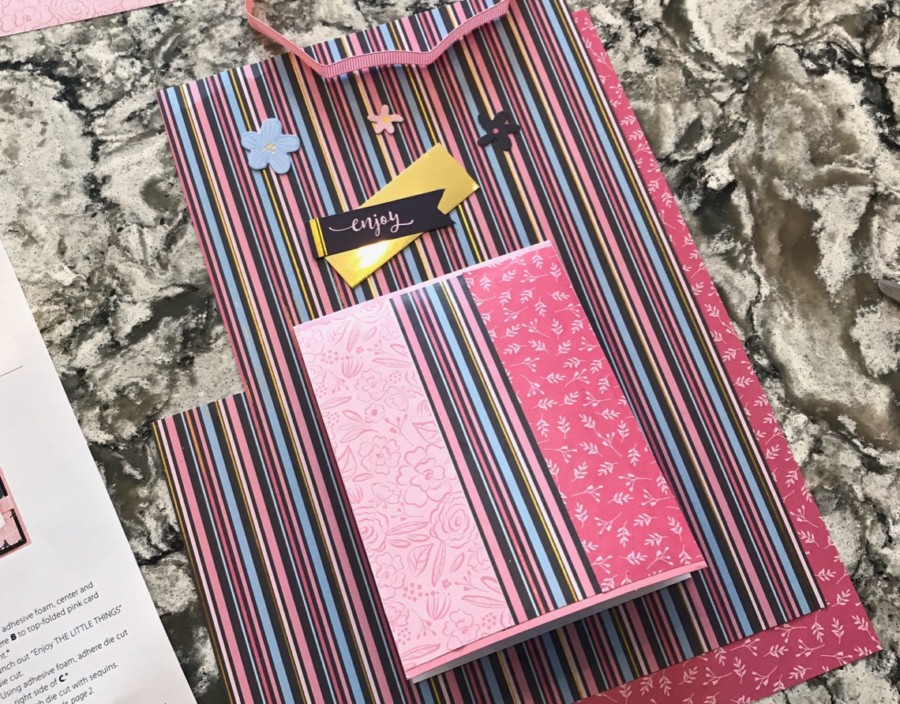
Again, the required die-cut (“Congrats”) wasn’t included, so I used a similarly sized “Enjoy” instead.
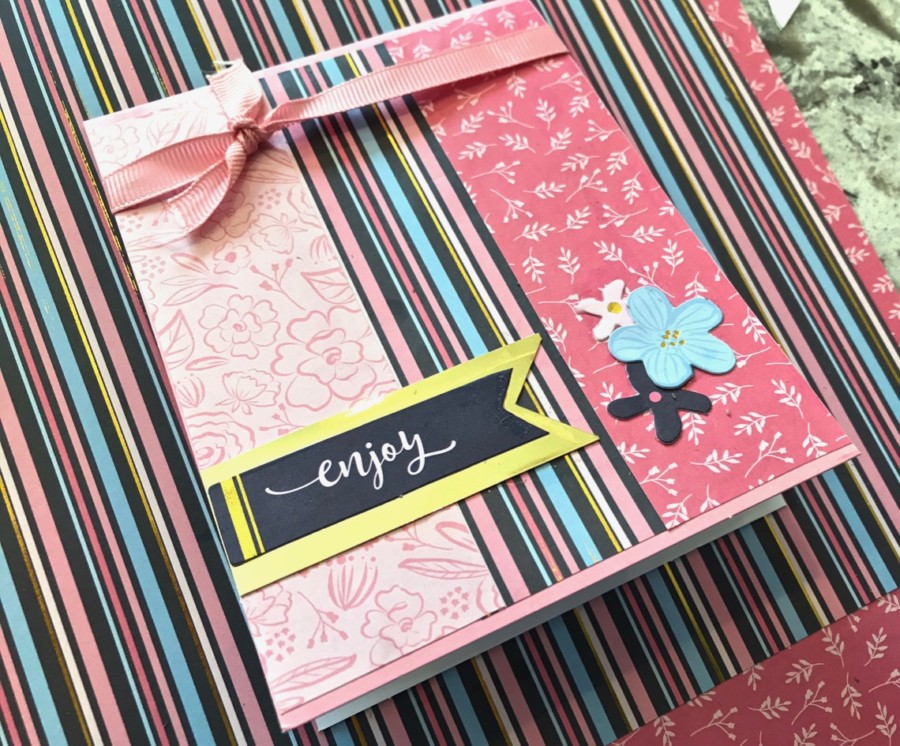
I tied a pink ribbon around the top of the card and tied a knot, then added the rest of the embellishments.
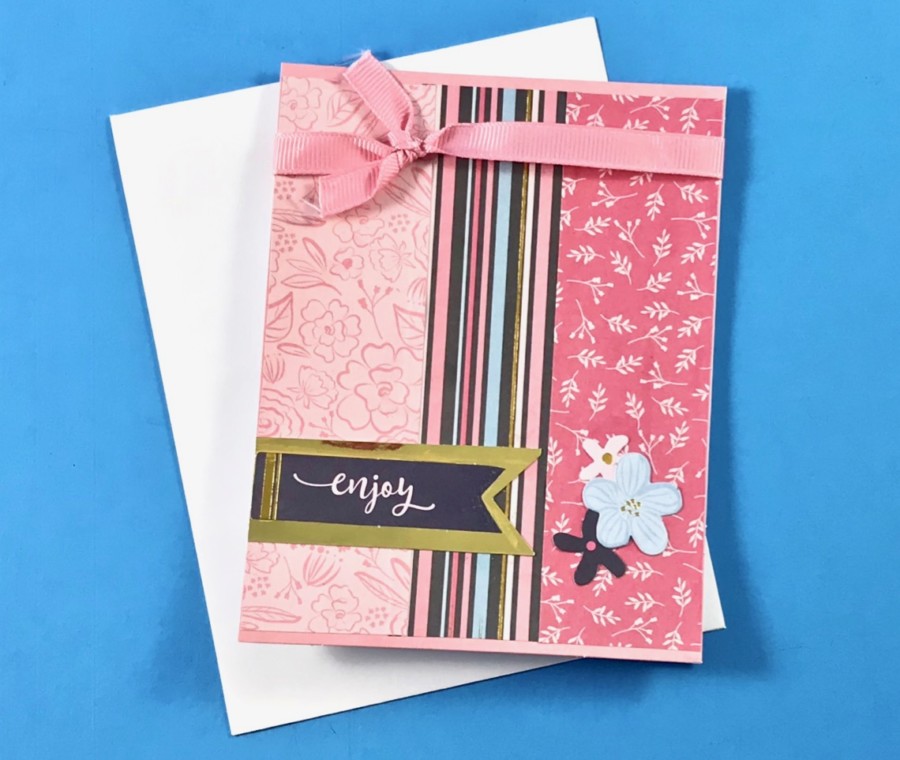
It turned out a lot better than I expected! (I’m easily intimidated by crafty things.)
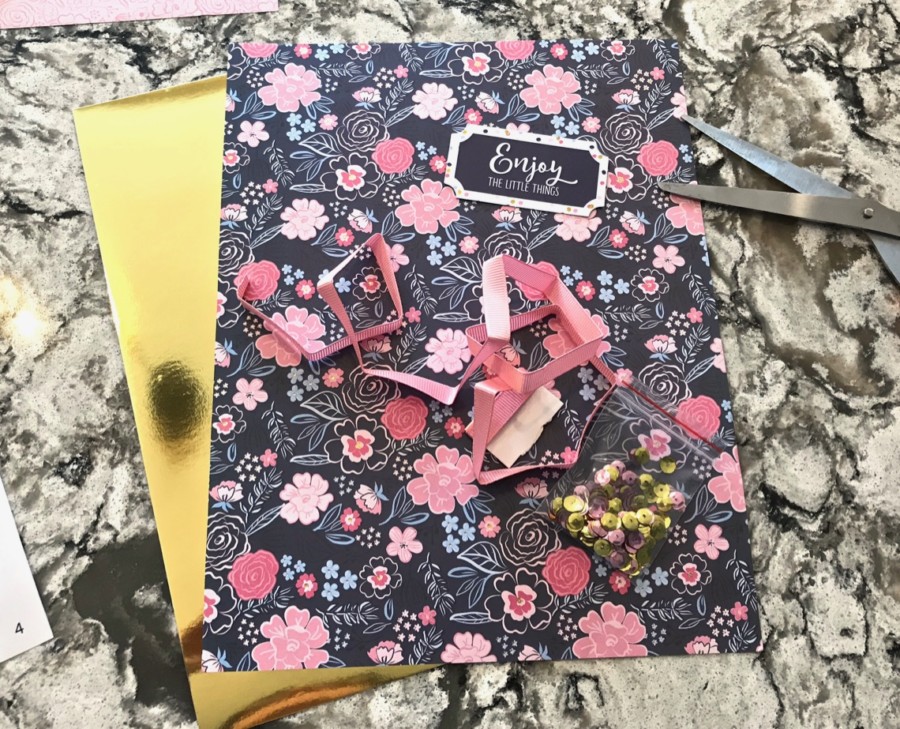
The 3rd card required gold foil cardstock, navy floral paper, pink ribbon, sequins, and an “Enjoy the little things” die-cut.
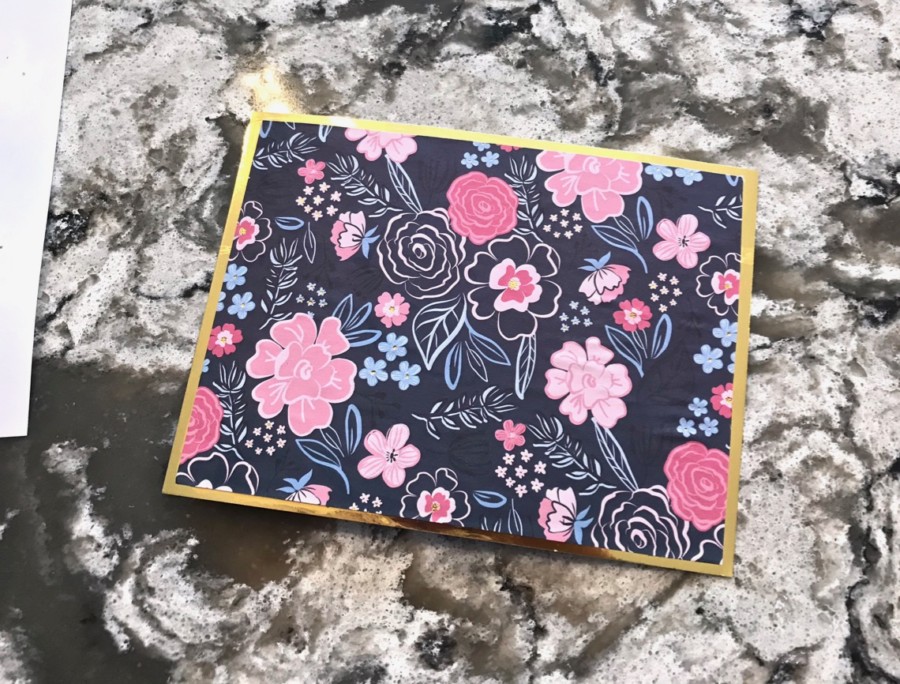
First, I cut out a 5 x 3 3/4 inch rectangle from the navy paper and glued it onto a piece of 5 1/4 x 4 inch gold cardstock.
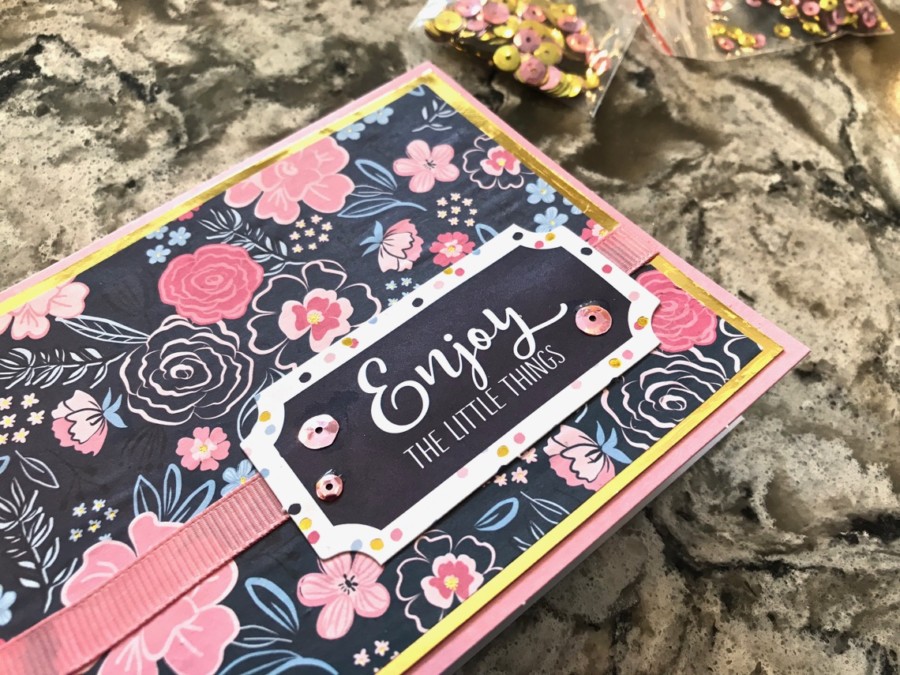
Next, I wrapped the pink ribbon around the bottom front (tucking/gluing the ends on the back), then added the “Enjoy” die-cut and sequins. Then the whole thing was glued onto a pink card.
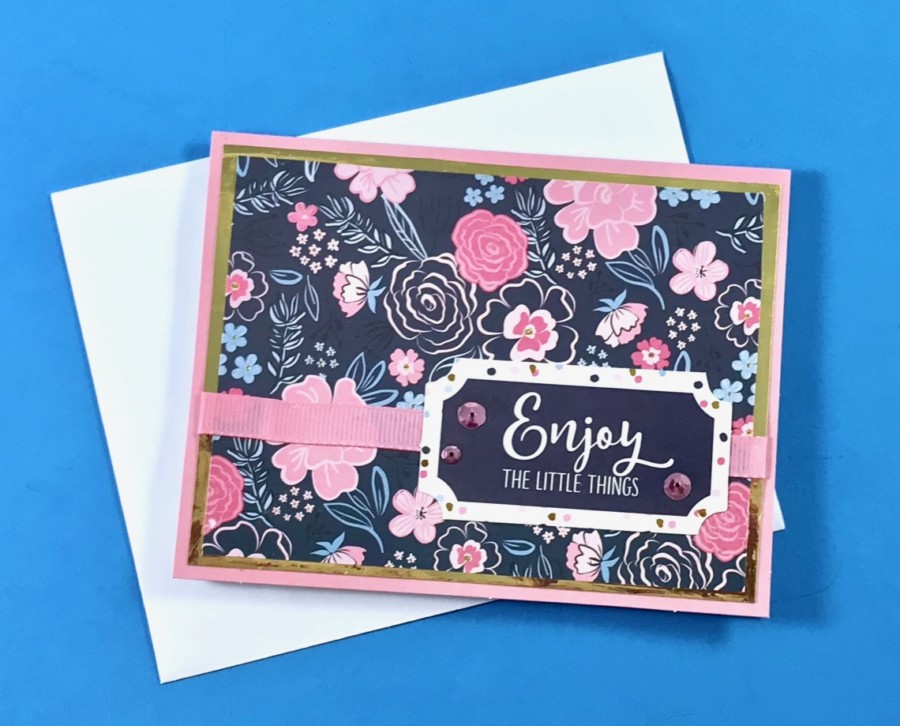
The end result! 🙂
I got lazy (photo-wise) with the final two cards, so I only have shots of the final products…
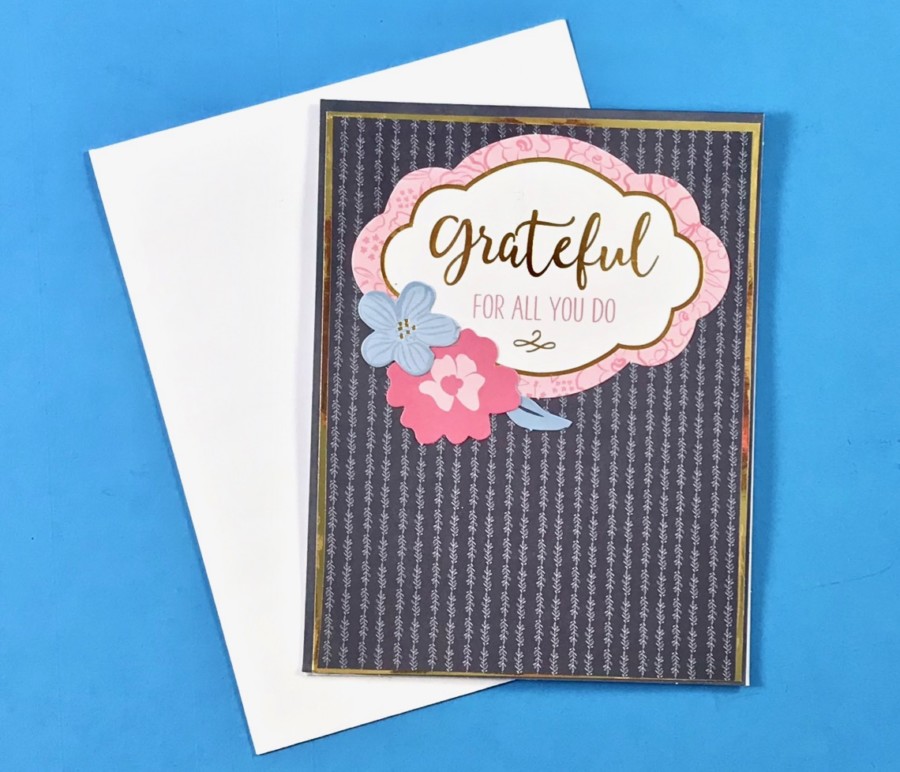
Card #4!
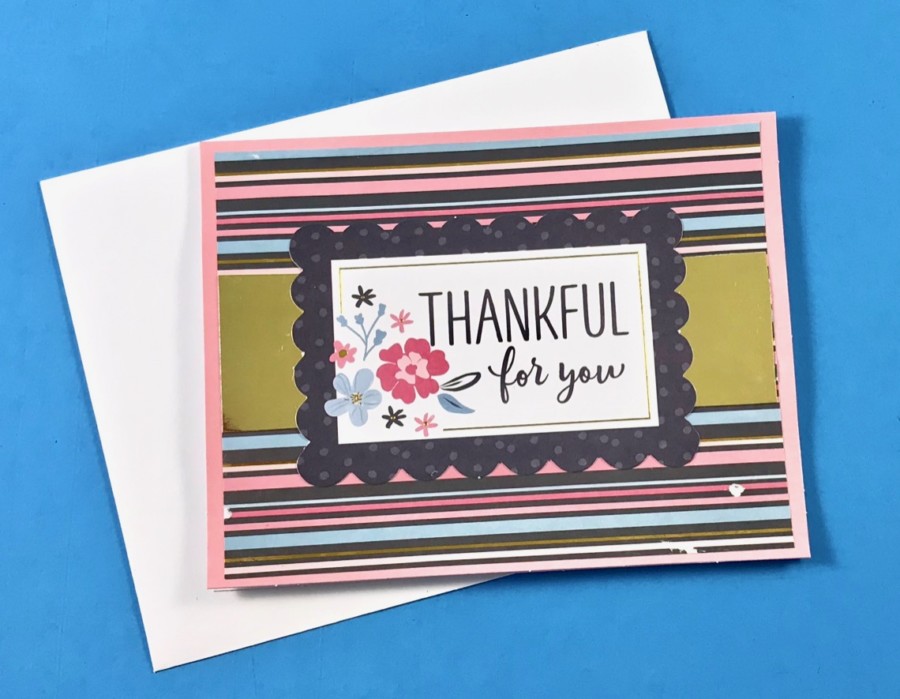
Card #5!
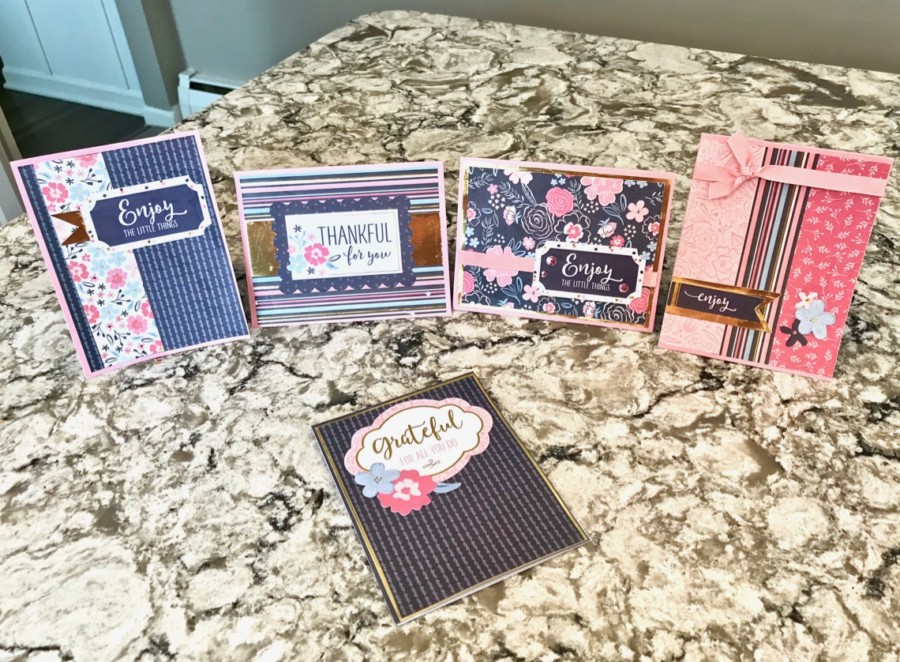
All of them! 🙂
I always say this, but I am NOT a very crafty person — so I was impressed with the end results of my Annie’s Cardmaker Kit-of-the-Month Club project. I never would have attempted to make my own greeting cards, so seeing that it’s possible (and not all that difficult!) was surprisingly satisfying. 😀 — Remember, for a limited time you can save 50% on your first month with coupon code “SHARE50“!

Leave a Reply